How to Take Fine Art Photos
There is perhaps no photography genre that involves more care and slow execution than fine art photography. Fine art photos are the opposite of a “snap.” They are carefully scouted for, composed, exposed, and finally printed. All of this can make it slightly daunting for the newcomer. We might hesitate to proclaim that our photos are “art,” let alone “fine art.” Well, let’s take away that fear and start you down the road to fine art photography in all its glory.
What is Fine Art Photography?
Fine art photography is about conveying the photographer’s vision and evoking emotion in the viewer. It goes beyond capturing reality and allows for creative interpretation of the subject matter.
To get started, create a cohesive body of work with at least 10-15 related images. Study the work of famous fine art photographers for inspiration, but avoid cliches like relying solely on black and white or using strong vignettes to hide poor composition.
Experiment with techniques like shutter speed and unique color grading to alter reality and develop your signature style. Writing an artist statement can help clarify your project’s concept and guide your image selection. For more tips on fine art photography, check out this in-depth guide.
Fine Art vs Commercial
Fine art photography is all about the photographer’s creative vision. The artist has full control over the image, from the concept to the final edit. Fine art photos are often emotional, meaningful, and abstract.
Commercial photography, on the other hand, is about selling a product or service. The photographer must follow the employer’s rules and stick to their vision. Commercial photos are often clear and well-composed to showcase the subject.
While fine art photographers have more creative freedom, commercial photographers usually have a steadier income. Both genres can include various subjects like people, landscapes, and objects. Fine art and commercial art photography may differ in approach, but both require skill and creativity to succeed.
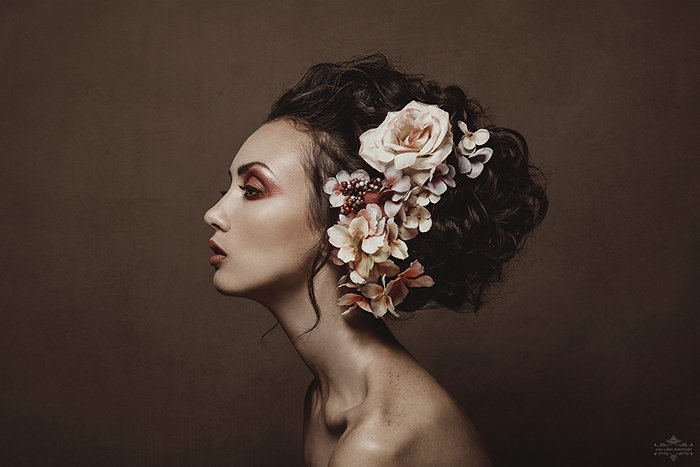
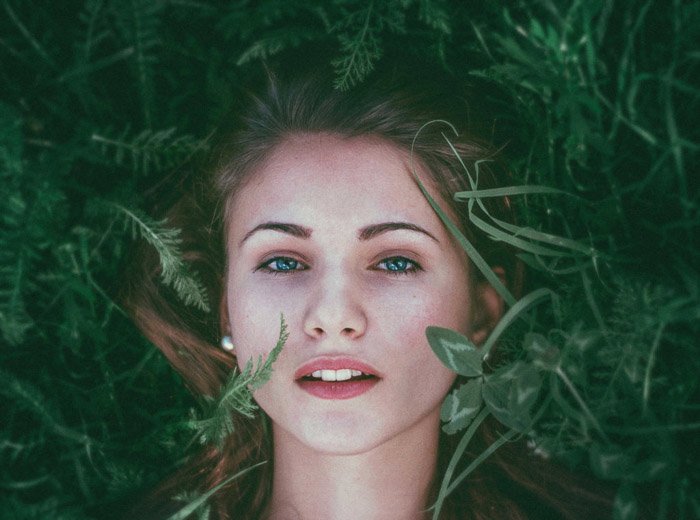
Fine Art Portraits
Here are some tips to create your own fine art portrait photography:
Use simple backgrounds like black or neutral colors to make your subject stand out. Add props like flowers, books, or instruments to tell a story about your subject.
Have your model drop their shoulders, create space between their limbs, use their hands to tell a story, or tilt their head back for an elegant look. Get creative with makeup and costumes to set the scene.
Don’t be afraid to include some motion blur to give your portraits an artistic feel. You can also take faceless portraits that focus on other parts of the body. Finally, use photo editing to add depth and develop your signature style.
Fine art portrait photography gives you the freedom to create unique images. Follow your instincts and keep practicing to capture your finest work.
Fine Art Photography for Different Niches
The world of fine art photography is very diverse. And if you’re looking to enter it, that’s good news, as it gives you plenty of options.
Food
Fine art food photography is all about using lighting, composition, and styling to create a distinct mood. The best lighting depends on the subject, but side lighting or backlighting are great options. Backlighting can highlight liquids beautifully, while side lighting adds depth and dimension.
Composition is key in still life photography. Simple compositions can be very powerful, so avoid having too much going on in the frame. The rule-of-thirds and rule-of-odds are useful guidelines to create harmony and balance in your images.
When it comes to styling, keep it simple. Food in its natural state, like fresh fruits and vegetables, is inherently photogenic. Enhance its colors and textures with lighting and composition. High contrast images with vibrant colors tend to work best for fine art food photography. We’ve put together some useful tips on fine art food photography technique to take your images to the next level.

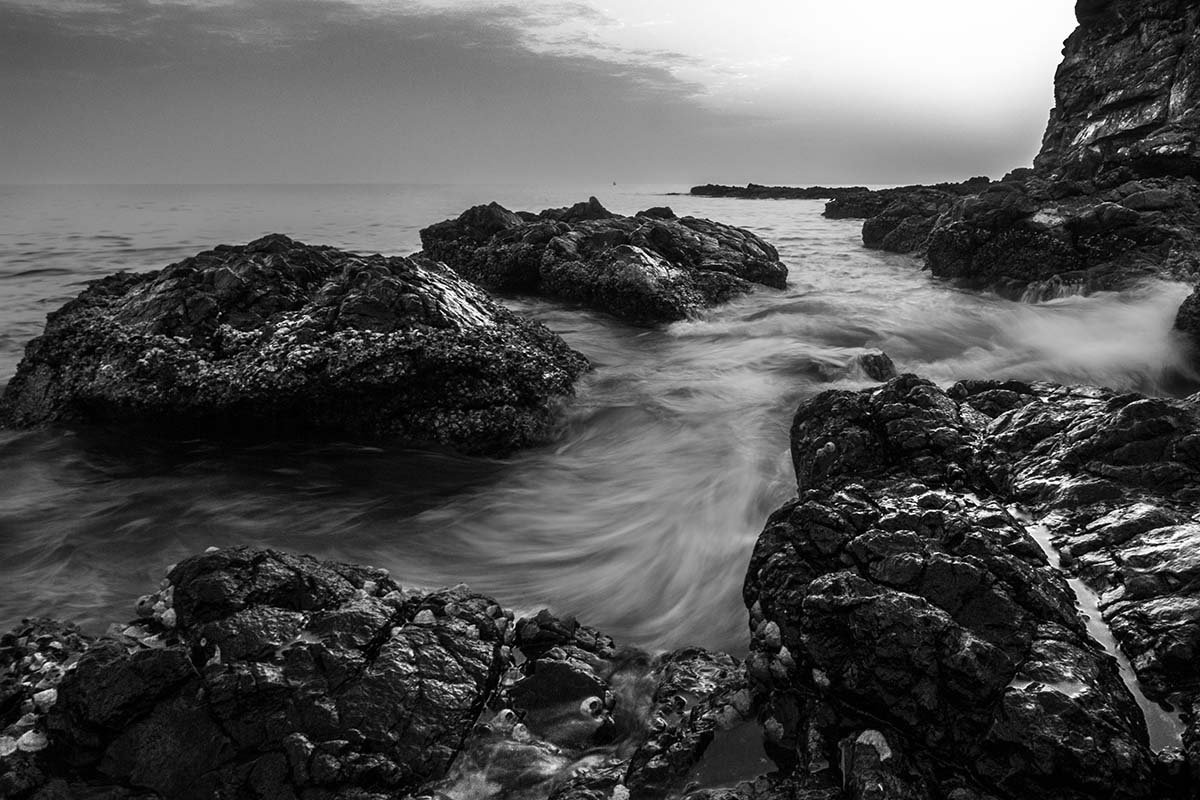
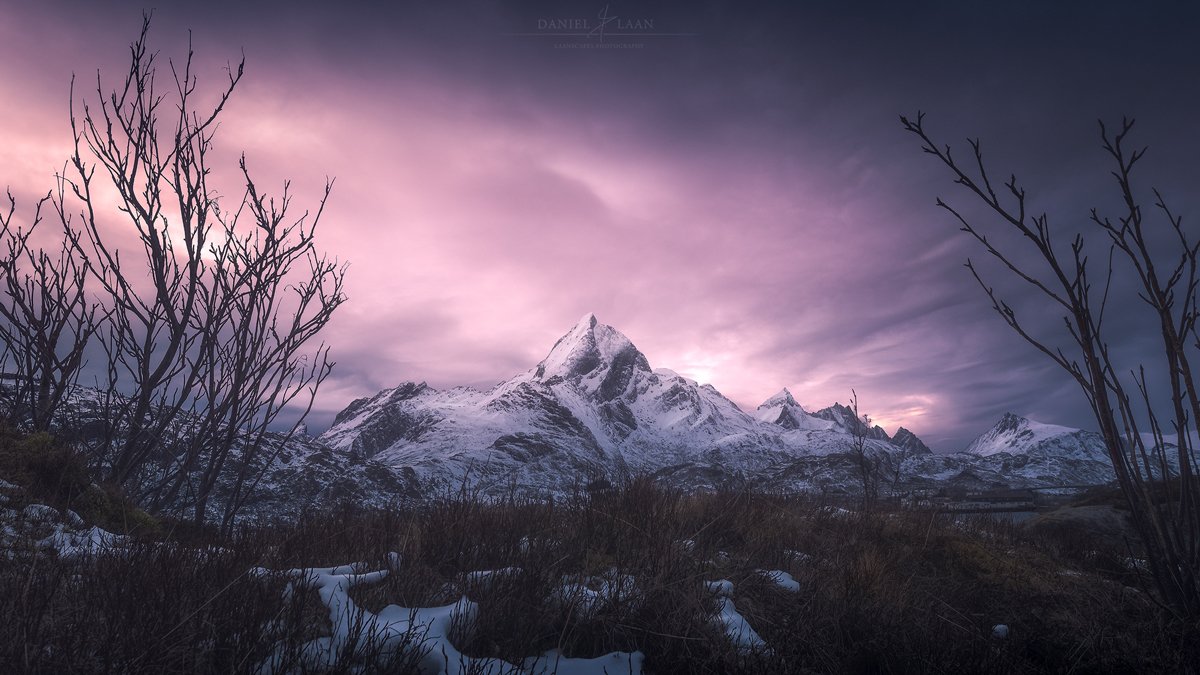
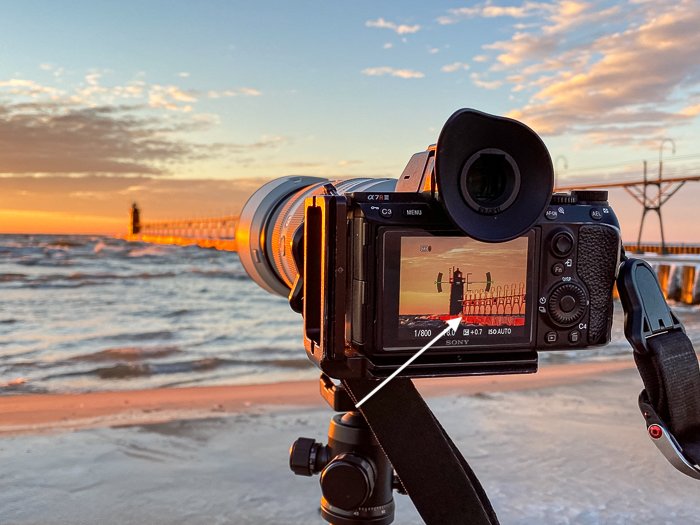
Landscape
Fine art landscape photography is about capturing the emotion and beauty of the natural world. Pre-visualize your final image before pressing the shutter. Consider the colors, processing, and story you want to convey.
Telephoto lenses can help you see the landscape differently by zooming in on patterns and shapes. Always edit your photos in post-processing to realize your vision. Seascapes make great subjects for practicing composition and long exposure techniques.
Black and white photography is all about luminosity, shapes, and contrast. Use negative space to emphasize your subject and don’t neglect the small details in the scene. Returning to the same location in different conditions can help you create more powerful images. To learn more about fine art landscape photography, check out our in-depth guide.
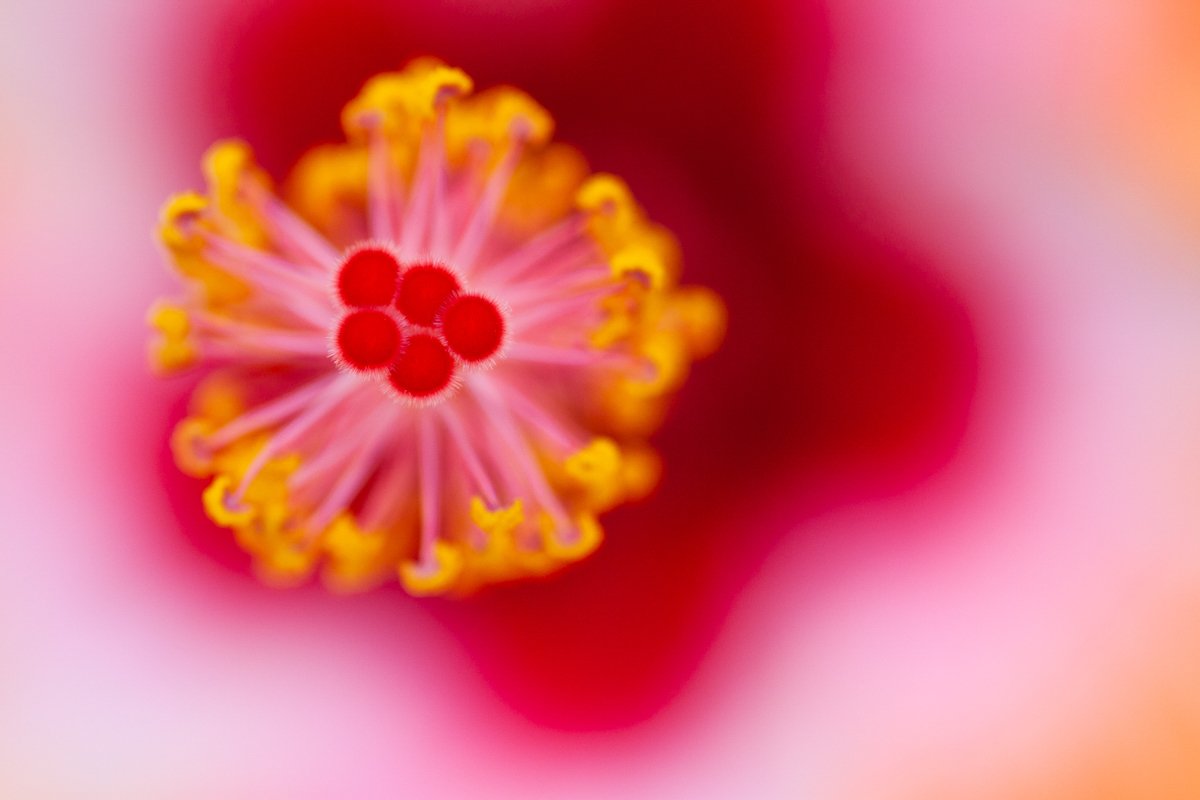
Macro
Capturing stunning fine art macro photos is all about the light. Midday cloudy light is perfect because it’s soft and subtle, giving your subject a nice glow. This diffused light hits your subject from all sides, so you can shoot from any angle that works best for your composition.
To make your photos really pop, use a wide aperture like f/2.8 to f/4. This creates a sharp subject against a blurry background, drawing the viewer’s eye. Get in close to intensify the background blur and contrast.
Look for lines, curves, and shapes to engage the viewer. Fill the frame with these geometric features for the most impact. Keep your compositions and colors simple to avoid chaos. Using the sky as a background is a great way to create minimalistic, abstract shots. For more tips on fine art macro photography, check out our in-depth guide.
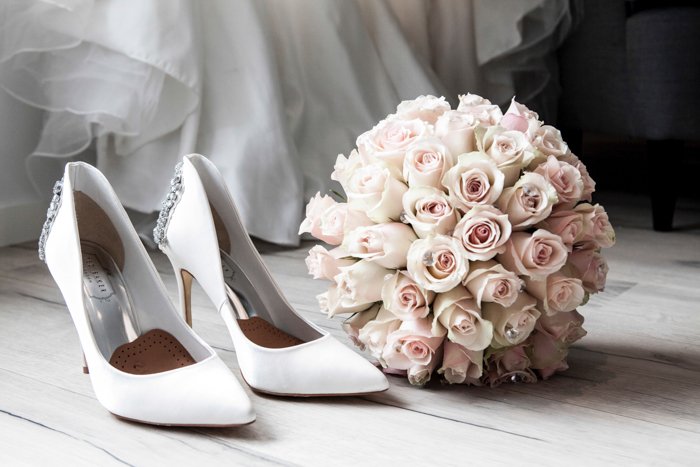
Wedding
Fine art wedding photography captures the beauty and emotion of a couple’s special day in an artistic way. It goes beyond simply documenting the event, instead using unique compositions, perspectives, and storytelling to create images that are meant to be appreciated as art.
Fine art wedding photographers pay great attention to detail, carefully planning each shot. They often use soft, creamy lenses to create a whimsical look. The goal is to capture the emotion of the day in a way that will last long after the wedding is over.
To learn more about fine art wedding photography, including tips on capturing details, thinking creatively, and finding the story in your images, take a look at our guide.
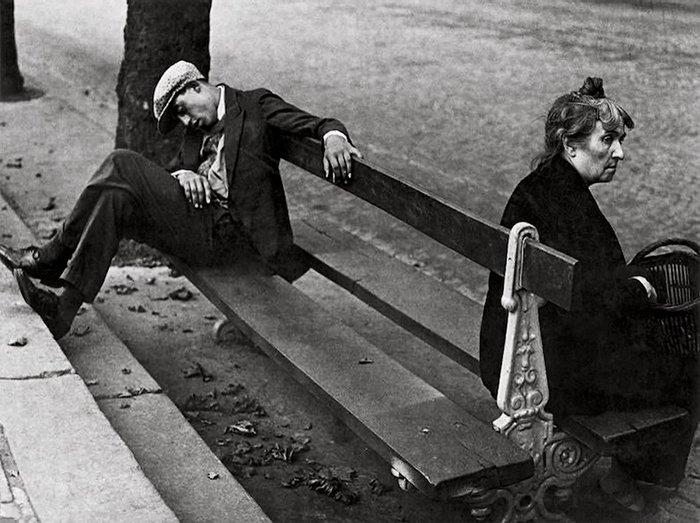
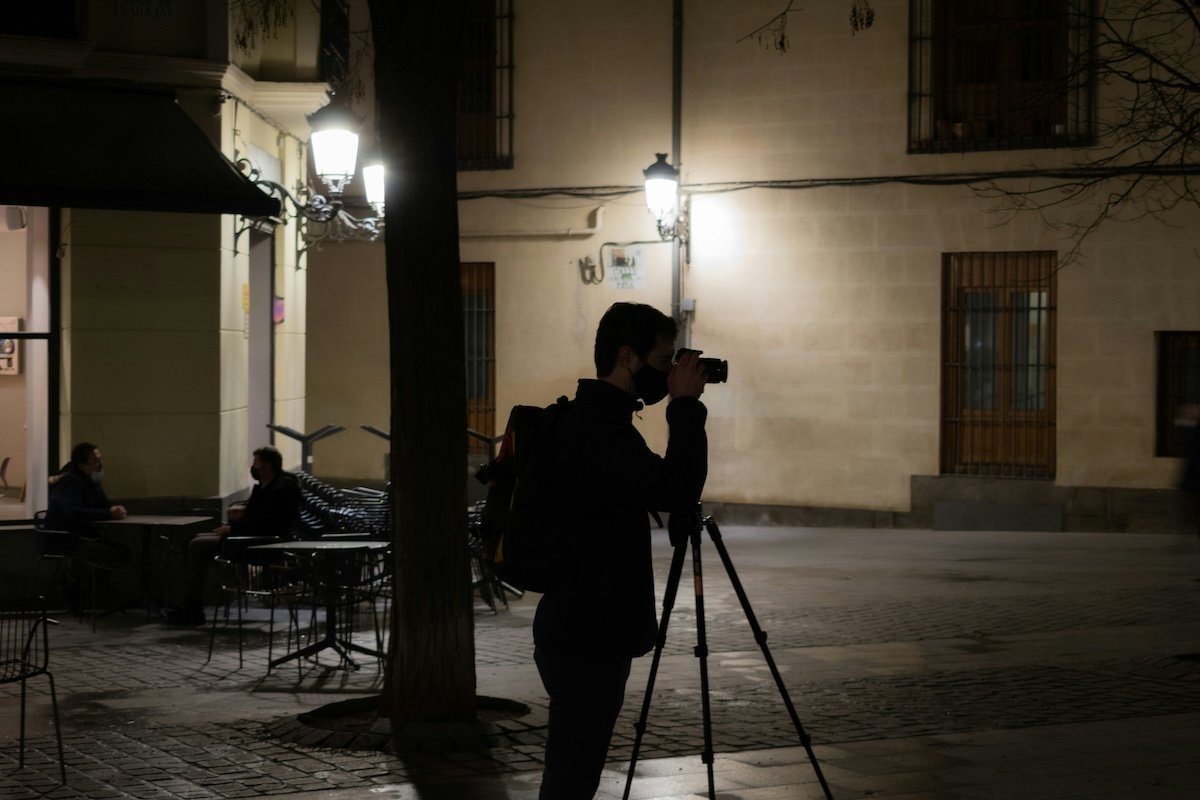
Street
Fine art street photography combines traditional art, photography techniques, and street narratives to create high-quality images that tell stories. To capture stunning fine art street photos, take your time and be patient. Wait for the perfect light, usually during the golden hours, and use a tripod if possible.
Be picky and only accept your best images. Engage all your senses to understand the environment and the story you want to convey. Pay attention to sound, smell, and even taste to help you compose the scene.
Experiment with both color and black and white photography to find what works best for each image. Remember that street photography doesn’t have to be limited to urban scenes; your interpretation can include seaside settlements, suburban neighborhoods, or any community you feel passionate about. To take your fine art street photography to the next level, consider techniques such as advanced post-production skills and unique storytelling approaches.
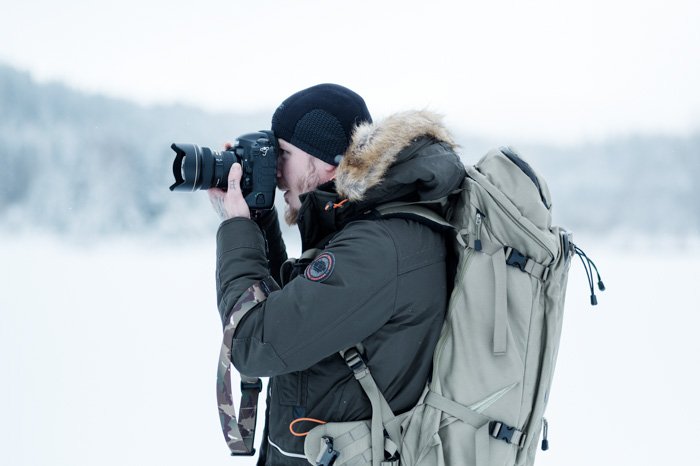
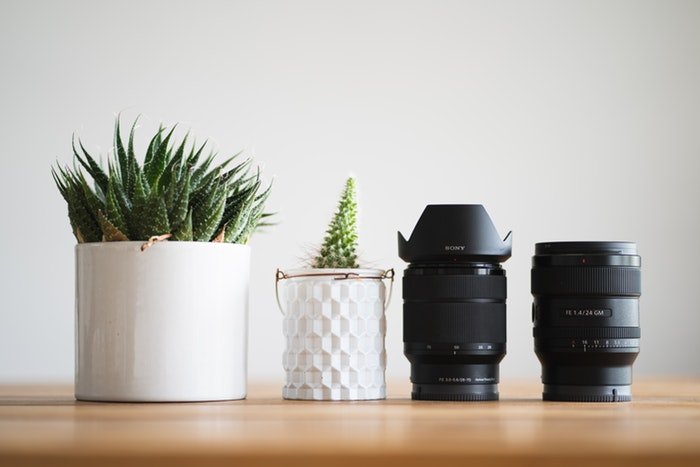
What Is the Best Fine Art Photography Gear?
By definition, fine art photography needs quality camera gear. It’s likely you’ll want to make large prints, and that takes great lenses and plenty of pixels. A full frame camera probably gives the best balance between cost and quality. Although there are APS-C and Micro Four THirds cameras that might work for you too.
Mirrorless
Mirrorless cameras just keep getting better and better. They are gradually replacing DSLRs as the top-performing cameras, at both pro and consumer level. They are well worth considering as your fine art camera.
The Panasonic Lumix S5 is popular for video, but it has plenty to recommend it to still photographers looking for quality. There are dual memory card slots and image stabilization. It’s compact and weather-sealed, making it ideal for outdoor work.
The Sony a7R IV boasts an impressive 61.2 MP sensor for extremely detailed images. It has excellent autofocus with eye detection, a high-resolution electronic viewfinder, and a rugged body.
For professional sports and wildlife photographers, the Canon EOS R3 delivers with its 30 fps shooting, backside-illuminated sensor for better low-light performance, and up to 8 stops of image stabilization. It also offers 6K 60p video and a pro-level body.
Full frame mirrorless cameras now provide many great options for photographers of all levels.
DSLR
DSLR cameras are still a great choice for photographers of all levels. They’re reliable, have excellent features, and produce stunning images. The Canon EOS Rebel T8i is our top pick for the best DSLR camera.
It’s easy to use and has a 24.1 MP sensor that captures sharp, detailed photos. The autofocus is quick and tracks subjects well. You can also shoot 4K video, making it a versatile camera for both photography and videography.
If you want to learn more about DSLR cameras, we have an in-depth guide that covers everything you need to know. From beginner models to professional-level DSLRs, you’ll find the perfect camera for your needs.
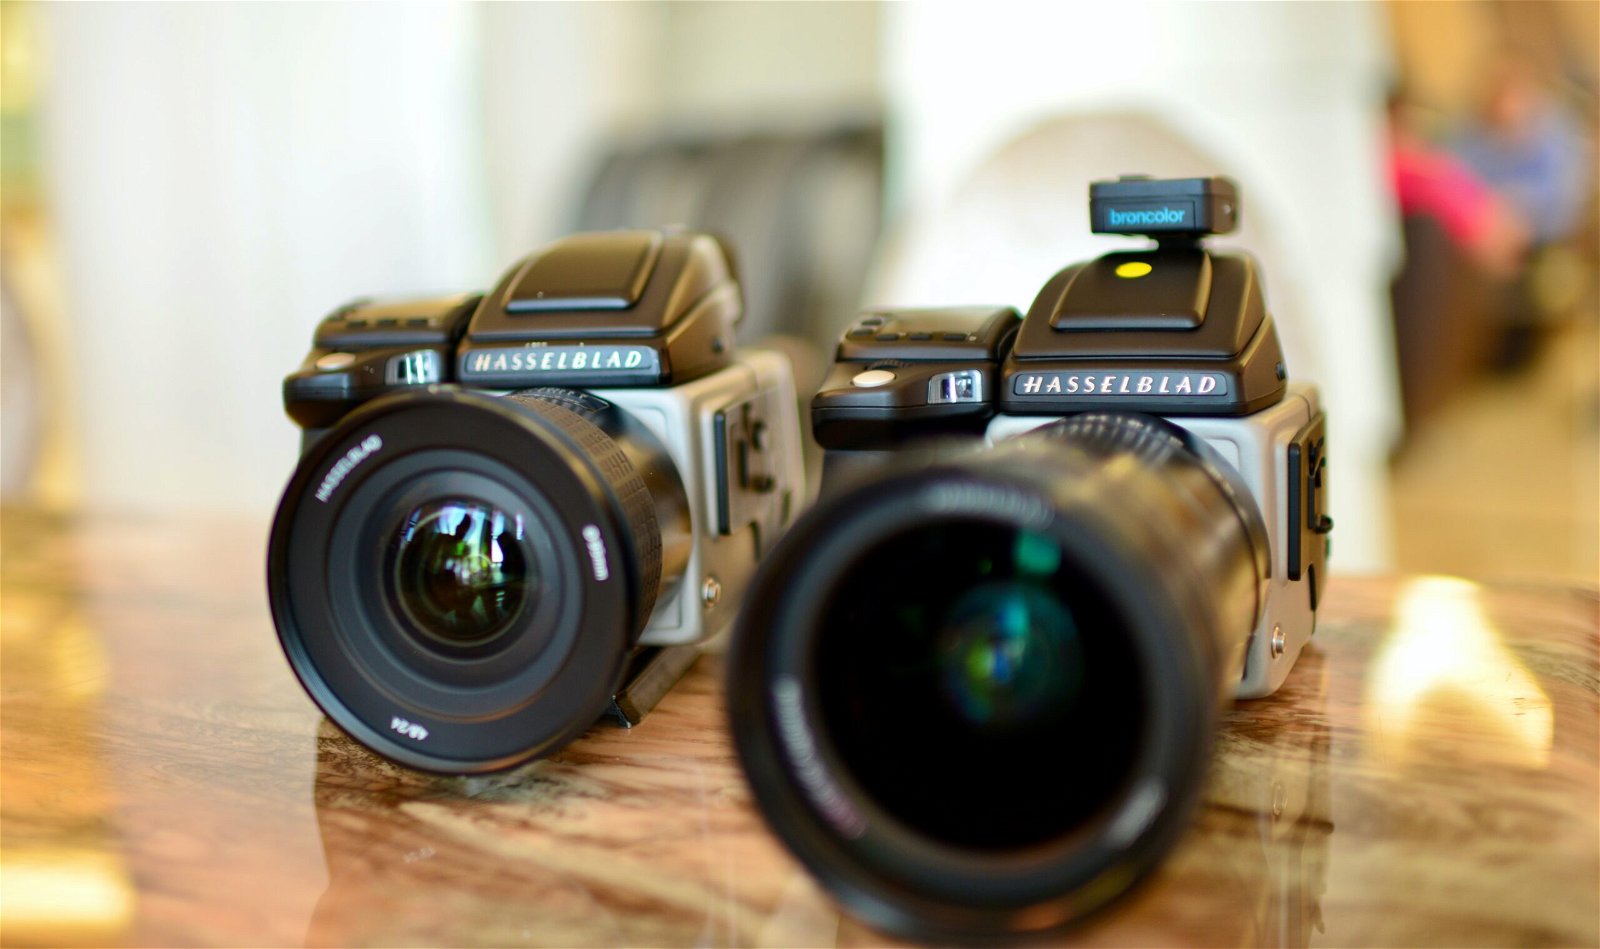
Medium Format
Medium format cameras offer high-quality images with incredible detail. They have large sensors, almost double the size of full-frame DSLRs. This allows for higher resolution and dynamic range.
The best medium format cameras have advanced features like fast autofocus, custom controls, and rugged build quality. They also come with higher price tags than other camera types.
Our top pick is the Fujifilm GFX 50S II. It offers excellent image quality and features in a compact body at a relatively affordable price. For those looking for the absolute best medium format camera then look at the Hasselblad X2D 100C, with its 100MP sensor and 15-stop dynamic range.
Lenses
Fine art photography has a loose definition, so choosing the best lens can be tricky. But this means it’s a perfect genre for almost any photographer. With the right lenses, you can produce high-quality fine art photos.
The Canon EF 50mm f/1.8 STM lens keeps it simple, delivering great sharpness at a low price. It’s very versatile and works well in low light to create soft bokeh. The Tamron SP 45mm f/1.8 Di VC USD is perfect for demanding light conditions with its fast maximum aperture and image stabilization.
For a unique look, the Lensbaby 56mm f/1.6 brings a dreamy feel to your pictures. It’s great for taking soft, cinematic photos of people, landscapes, food, and even insects. If you’d like to learn more about lenses for fine art photography, we have a detailed guide.
Tripods
A tripod is an important tool for many photographers. It keeps your camera steady in low light and when using slow shutter speeds. Tripods come in different sizes and materials, like aluminum or carbon fiber.
The best tripod for you depends on the type of photography you do. Landscape photographers may want a sturdy tripod for stability in windy conditions. Travel photographers often prefer lightweight tripods that are easy to carry.
Look for a tripod with a height that brings your camera to eye level. Make sure it can support the weight of your camera and lens. Quick-release plates make it easy to attach and remove your camera. And adjustable legs help you set up on uneven ground.
If you want to learn more, check out our guide to the best tripods for photographers.
Some Fine Art Photography Inspiration for You
Sometimes our creativity needs a little nudge in the right direction. Thankfully there are plenty of amazing fine art photographers to whet your appetite. We have sought out some images and some image makers to get you started.
Fine Art Photos
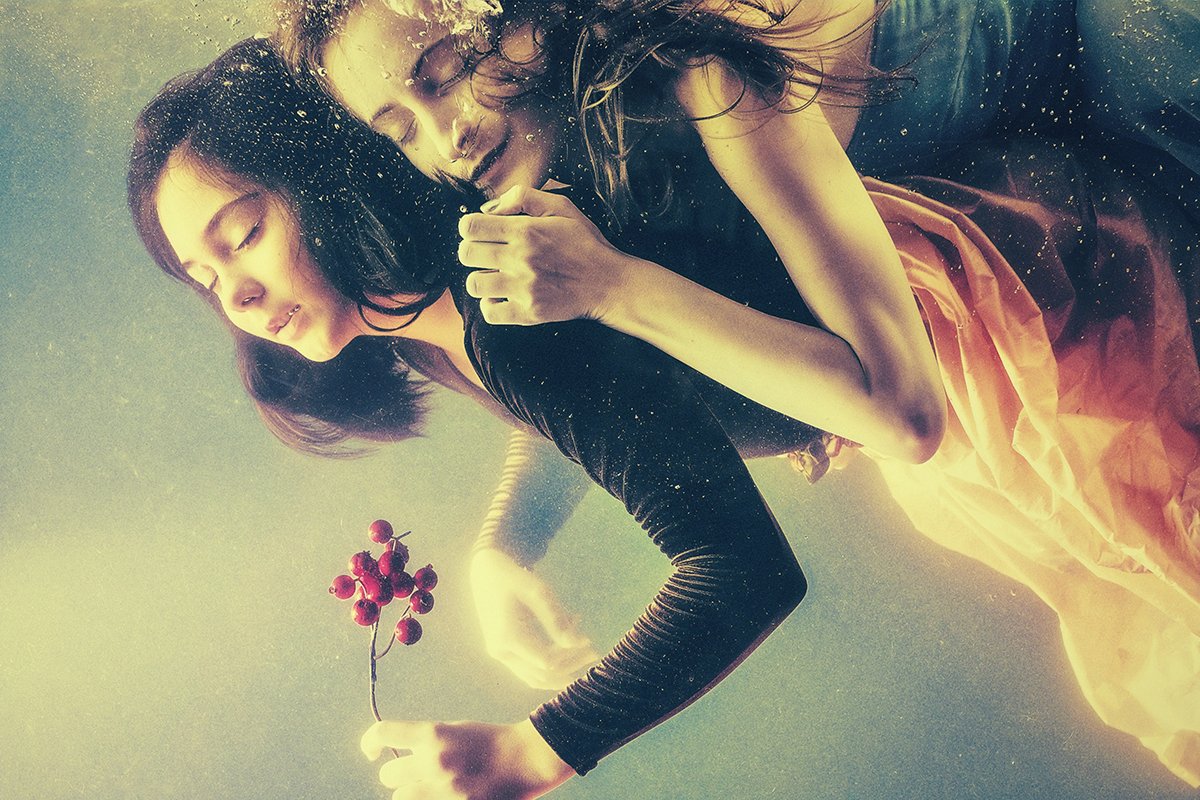
Fine art photography is a powerful medium for creative expression. The 21 examples showcased here demonstrate the incredible diversity and artistic potential of the genre. From surreal photo manipulations to minimalist landscapes and thought-provoking portraits, these images push the boundaries of traditional photography.
Each photograph tells a unique story, evoking emotions and inviting the viewer to explore deeper meanings. The use of light, composition, and post-processing techniques adds depth and mystery to the scenes. Whether it’s the dreamlike quality of a boat sailing through the sky or the haunting silence of a deserted cityscape, these images leave a lasting impression.
To dive deeper into the world of fine art photography examples, explore the works of these talented artists and let their creativity inspire your own photographic journey. Embrace the freedom to experiment, express your unique vision, and create images that captivate the imagination.

Fine Art Photographers
Fine art photography is a genre that allows photographers to express their creativity and ideas through unique concepts. Some of the best fine art photographers have turned abstract ideas into artistic masterpieces that inspire and motivate others to pursue their own creative goals.
From Damiano Errico’s Renaissance-inspired portraits to Sarah Ann Loreth’s fairytale-like conceptual photos, these photographers have created unforgettable stories through their work. Inna Mosina’s soft, elegant portraits and Alex Stoddard’s exceptional art showcase their ability to transform simple themes into outstanding pieces.
Other notable fine art photographers include Olga Fler, known for her candid family and child portraits, and Marta Syrko, whose romantic and soulful images are filled with natural confidence. Carolyn Hampton’s monochromatic childhood-inspired photos and Lucy Michaela’s thoughtful, dark atmospheres also demonstrate the depth and meaning behind fine art photography. To discover more about these and other talented fine art photographers, explore their portfolios and learn from their unique styles and techniques.