Is being a photographer easy? That’s a tough question to answer, because it depends on what you consider to be easy. If all you need is a camera and an internet connection, then yes, photography is easy. But if you want to take great photos that people will actually want to look at, then it’s not quite that simple. In fact, there are a lot of things that make being a photographer difficult. Here are ten reasons why it sucks!
Is Being a Photographer Easy? Read This:
The reason for writing this post was not to show you why not to be a photographer. It’s to make you aware of the pitfalls that await you if you decide to take it on. This post is intended to prepare you, as well as warn you about what to avoid when starting your professional photography career. Being a photographer sucks sometimes, but it’s still most definitely worth it.
Hope it helps.
1 – No Fixed Income
Unless you work for a studio doing family portraits, or have had an extensive career with a strong list of regular clients, you’re likely to be self employed. You’ll be relying on referrals and self promotion to find work.
Being self employed, you get to choose your own hours. But you have to price and market yourself to gain interested before you can sell anything.
If you’re in high demand, the pay can be great. But that won’t happen overnight from a good portfolio. You have to really work at it. There’s also no accounting for economic downturn. Photographers aren’t on the top list of priorities for most people unless they’re doing well financially.
2 – It’s Become Really Competitive
With the advent of cheap digital SLR’s, everyone wants to be a photographer. While a little competition can be a good thing, I would say that the industry has far too much of it.
Some people are so keen for the experience and eager to get published that they will give their work away for next to nothing.
This is never a good idea. People will under value you. And you’ll take work away from true photographers who rely on it to make their living.
The amount of amateur photographers working for free to build a portfolio can become a real problem. At the end of the day, the amateurs will never produce the best results. But, if the price is right, they’ll still get the work.
3 – People Will Rip You Off
If you’re any good, it will happen to you.
The main problem with publishing your work anywhere (not just on the internet) is that people can take it and do what they want with it. I’m aware of a couple of cases recently involving major retailers who have supposedly ripped off photographers to create t-shirts and other clothing.
It isn’t legal but it still happens.

4 – The Pay Can Suck
With so many amateurs keen to get into the photography industry, you’ll find that you’re competing with people charging very little money. This leaves you in a tough situation.
When you’re starting out in particular, you may feel that you should give the client a low price. If your work isn’t up to standard, this will be relative to the money you’ve charged.
This is a mistake. If your work isn’t up to standard, low price or not, your client won’t be happy.
Charge what you think you’re worth and you’ll get taken more seriously.
5 – Too Much Time Away
Photography is a lot of fun. If you get good at it, you’ll be wanted for jobs far and wide.
This is great news when you’re young and have all the time in the world. When you’re a little older with a family to look after, the last thing you want to do is fly off to the other side of the country to document a conference on sofa sales.
Time away from home can have obvious effects on your personal life. My advice? Get it done while you’re young and still have the time.

6 – Bitchy People
dissertation writing services
We all know the type: people who expect more than is possible from you and/or your camera.
‘Bridezilla’ is a term you’ll come across shooting weddings. Absolutely everything has to be perfect.
There’s nothing wrong with expecting perfection from someone you employ. But it’s unfair to expect unrealistic results when they’re simply not possible.
Make sure you sit down with your client. Go through the types of shots they want and show them your portfolio. Have everything written down and agreed upon in advance to avoid any customer disappointments.
7 – People Want Something For Nothing
People tend to think that, because you’re good at doing something creative with ease, you should do it for free.
‘Hey, do you mind bringing your camera?’, ‘Ooh, can you send me that photo?‘ are phrases you’ll start to hear a lot.
It is, however, a bit of a double edged sword. You’ll find yourself invited to a lot more parties but will be expected to bring your camera. Not a problem if you usually have it on you (as I do) but more so if they’re expecting certain results.

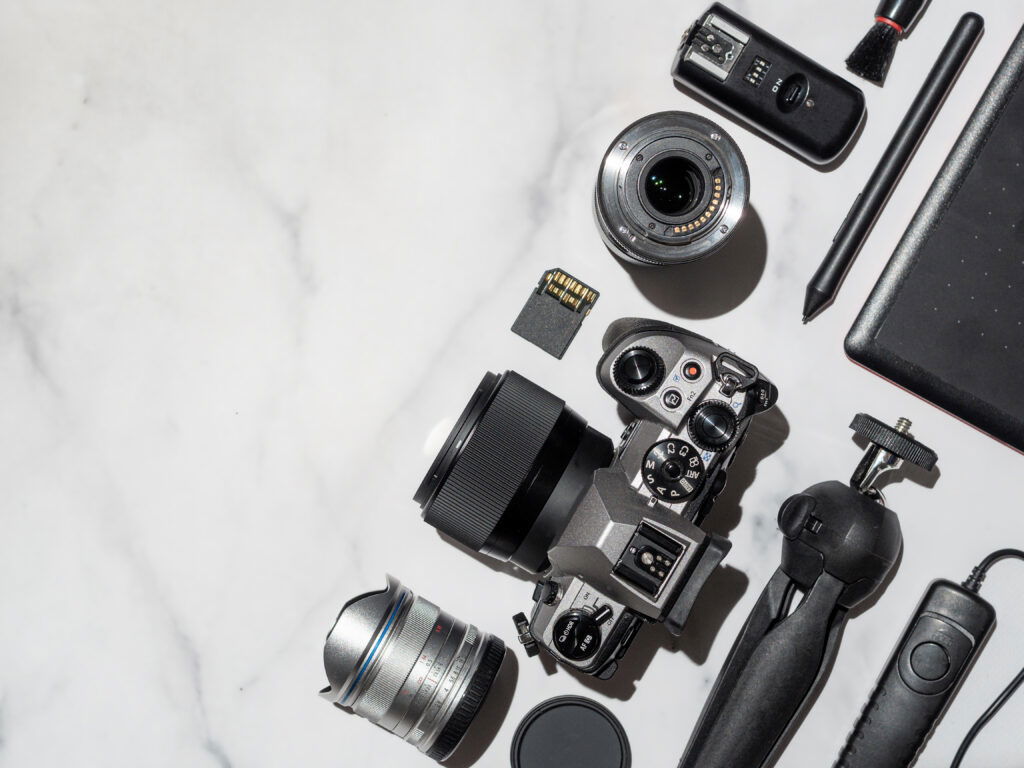
8 – Expensive Technology
Top quality gear isn’t cheap; when you’re just starting out, it’s not really something you can afford.
If you’re going to be a professional, people expect certain results, results that can’t really be achieved on an old bridge camera.
While knowing how to use a camera is more important than the camera you’re using, you are going to have to buy quality gear as soon as you can afford it.
9 – Same Old Thing
No matter which line of work you’re in, if you want to be successful, you’re going to have to find a niche – that means you’re going to find yourself shooting the same old thing time and time again.
Choose the right niche, like an event photographer: every day is different and it’s not a problem.
If you’re going to be a portrait photographer in a white studio with boring lighting, be prepared; this may end up very boring and repetitive.
Most people get into photography because they love using their cameras. It’s easy to see why you may want to try your hand at every style at first but I urge you to find the one type you love the most and work on perfecting that.

10 – Post Production Sucks
One of my pet peeves with photography is post production.
I avoid it like the plague and try to do as little as I can – it’s slow, boring, and repetitive.
Some photographers spend more time behind a computer screen then they do behind a camera and that, for me at least, is not what I signed up for. I do my best to get it right in the camera but, when shooting in RAW, there is always going to be some aspect of post production.
If you’re still deep in the learning curve, have a look at my tutorials on understanding exposure – you’ll be amazed at what you have left to learn.