Are You Struggling to Get Traction on Your Social Media?
How to Build A Large Following of Raving Fans on Instagram, Facebook & More
(In Only 30 Minutes a Week)
Kayla Troskie
Finding your website and going through your content helped me discover the key things I’m doing wrong and how I can fix them. Thank you so much!
Kayla Troskie
99% positive reviews
1,439 students
eBook (155 pages)
3 FREE bonuses
Online & at your own pace
Downloadable onto any device
Language: English
Level: Beginner
There’s never been a more competitive time to build a following for your photography.
It’s a crowded market. It only takes five minutes for an average photographer to set up a page on Instagram… Facebook… 500px…
And the worst part is that your raw talent won’t help you get ahead.
I know, because I’ve met dozens of talented photographers who struggle to find a following online.
They set up their profiles with the best intentions, but without a strategy… they struggle to get any traction.
It’s usually not long before they stop posting entirely.
The truth is, in the world of social media, it’sstrategy (not talent) that gets you ahead.
The most successful photographers know this, and they use it to find success every day.
It’s the same problem whether you’re a photographer, artist, actor, or musician… you’ll struggle to be seen online, without the right strategy.
What Most Photographers Get Wrong About Social Media
Allow me to state the obvious: The role of social media marketing is to get your work seen.
This will allow you to sell prints, sessions, workshops, or exhibition tickets… it’s up to you.
But great photos and good intentions are not enough.
Not only do you need an effective strategy… but you need one for every platform.
Because a potential client or follower that finds you on Instagram, probably isn’t looking for you on LinkedIn.
If you want to reach everyone, you have to have a presence everywhere.
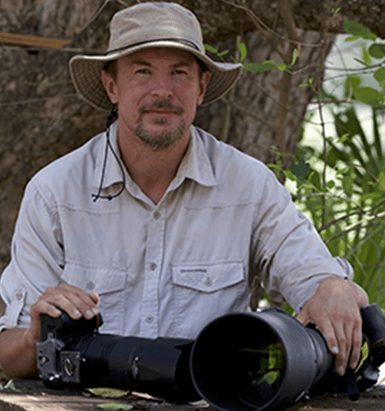
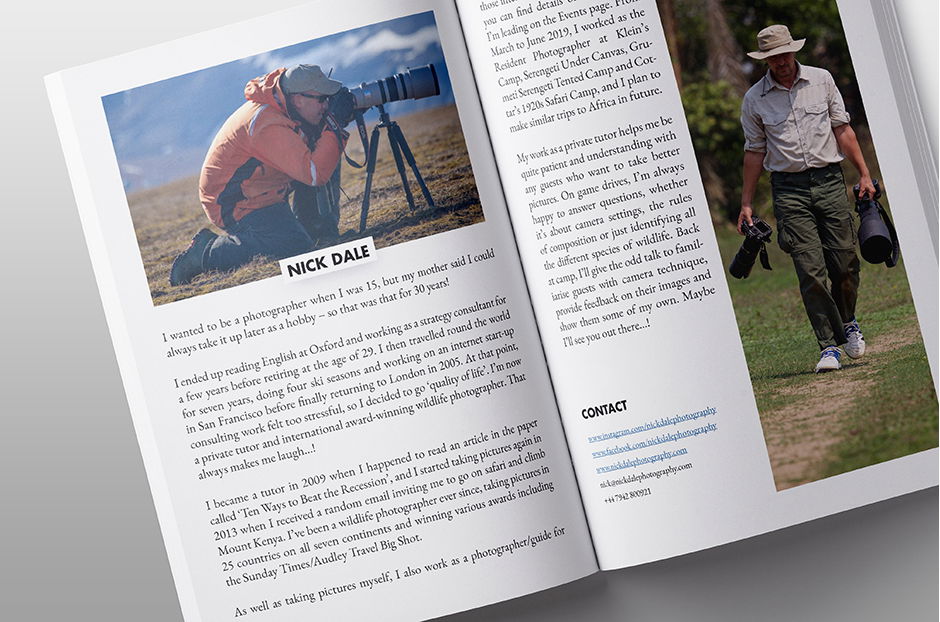
Meet Your Social Marketing Mentor
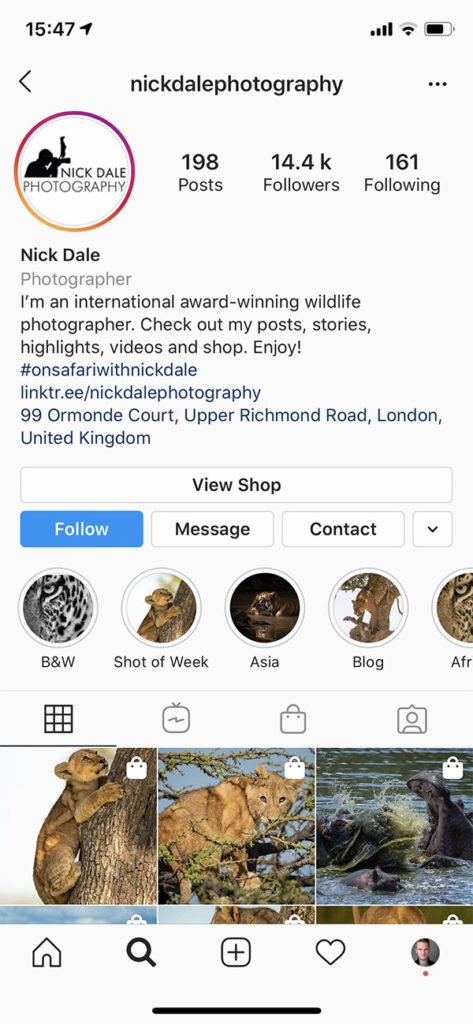
@nickdalephotography
14,4K Followers
Our readers started asking for more in-depth advice on social media. So I reached out to one of the most diversely successful photographers I know, Nick Dale.
I went to him because he not only has well over 10,000 followers on Instagram… but a strong presence on Facebook, Pinterest, Twitter, YouTube, Flickr, 500px and LinkedIn too.
But like all successful people, Nick made his share of mistakes when he started. To find success, he learned from (and overcame) them.
And now he uses his social media following to build legions of new fans, sell his prints, and fill his exhibitions. And now he teaches others how to do the same.
I gave him this brief: “Show photographers how to build a following online. With a detailed strategy that takes no more than 30 minutes per week.”
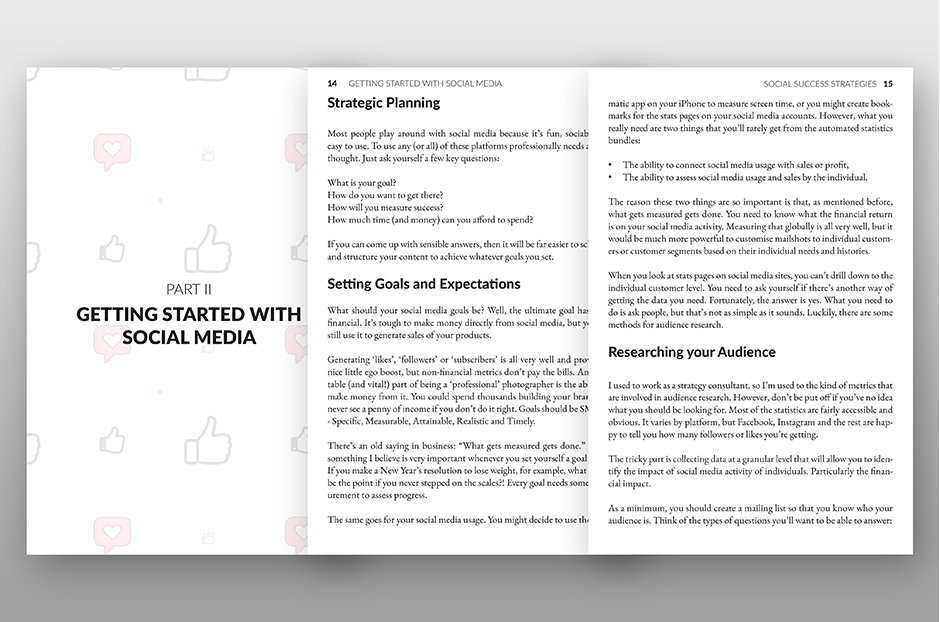
Introducing: “Social Success Strategies”
(For illustration purposes only; this is a downloadable ebook)
This 155-page ebook walks you through the process of building your online following.
This includes setting up accounts on each platform, competitor research, and organic strategies.
It doesn’t matter if you shoot portraits, landscapes, wildlife, or street… The advice in this ebook applies to all forms of photography.
With “Social Success Strategies”, you’ll soon discover:
Dozens of creative ways to attract followers to your social media profiles
Highly-engaging post ideas that get shared frequently (and when to post them)
The five-step process for a perfect IG post, covering everything from the title to hashtags
Social media tools that allow you to schedule a week of content in 30 minutes
A simple way to have your portfolio seen by 140,000+ people a month
How to set up your profiles so that your content is easy to find and share (across 8 networks)
Our editorial team have worked with Nick to ensure the ebook is both specific and actionable.
There’s no filler text, no out-dated advice, and you don’t have to buy any other products to get real value.
And these methods are relevant even if you only want to spend 30 minutes a week on them.
With Nick’s social blueprint for success, you have everything you need to get started.
You can read the ebook in an afternoon and start growing your following right away.
When you follow Nick’s advice you’ll be able to:
Grow 10,000+ followers on Instagram
Have your portfolio viewed thousands of times a month
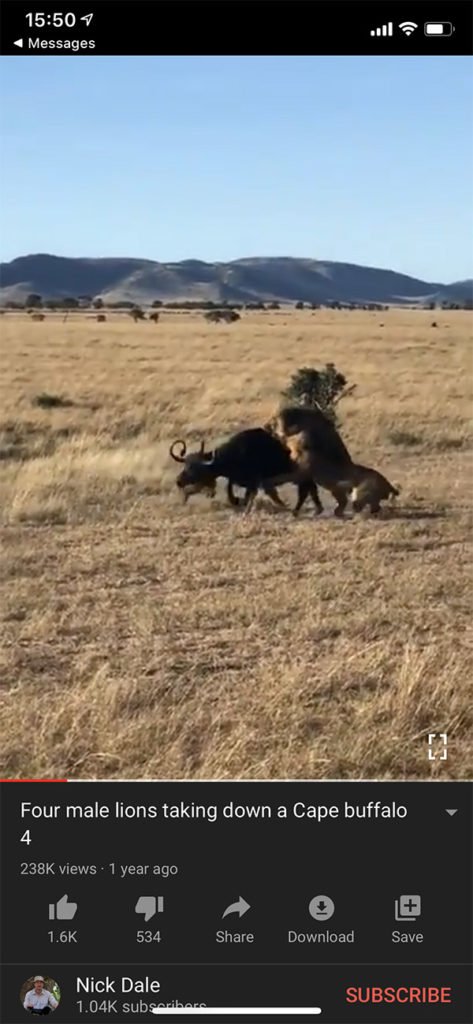
Get hundreds of thousands of views on YouTube
Sell your photos on Facebook
With over 140,000 students, photographers love our training. But don’t just take our word for it, check out what some of them have to say about our other training:
"It's clear that the author thoroughly 'gets' photography"
Michael Long
This is a fantastic ebook. I like the fact that the book is comprehensive, and, like Josh’s video courses, is presented in such a way that it provides good, understandable information, without being “professorial”. By this, I mean that it’s clear that the author thoroughly “gets” photography, and presents it in such a way that we “get” it too.
Ian Marston
Without me stumbling across your website and taking a chance and spending what little I have, I would not have the smile I do today. I wouldn’t be up/active early in the mornings and taking photography as seriously as I do now, and I’d still be in a deep depression. I want to say THANK YOU for helping me get my life back.
Kayla Troskie
Finding your website and going through your content helped me discover the key things I’m doing wrong and how I can fix them. Thank you so much!
Organic Strategies For Every Platform (Value $336)
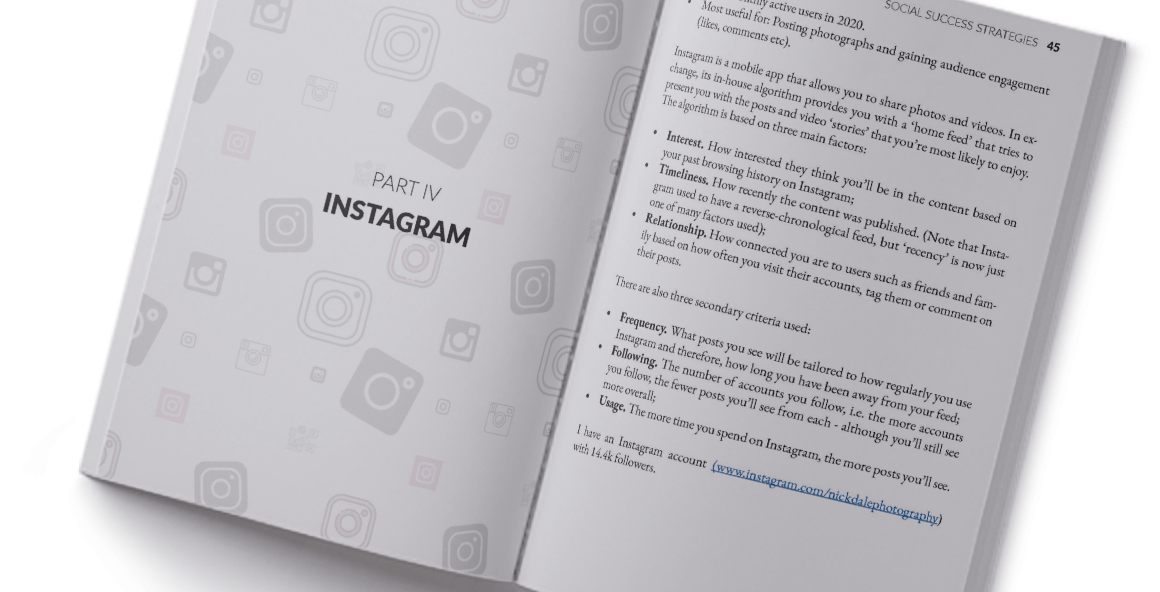
Instagram - The #1 Hub for Photographers
Instagram is the most powerful platform for photographers, but it’s also the most crowded.
The good news is that most photographers don’t know what they’re doing. And if you can use some of our techniques around using hashtags… tags… stories… you’ll soon find yourself at the top of the discover page.
We break down how the IG algorithm works so that you can use it to your advantage.
Including: (Click to open)
How to set up a business profile so you can scale your account quickly
The five-step process for a perfect IG post, covering everything from the title to hashtags
10 post ideas that are both interesting and relevant to your followers
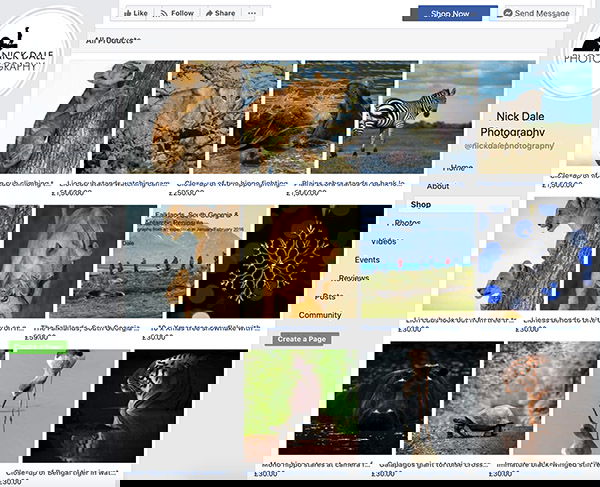
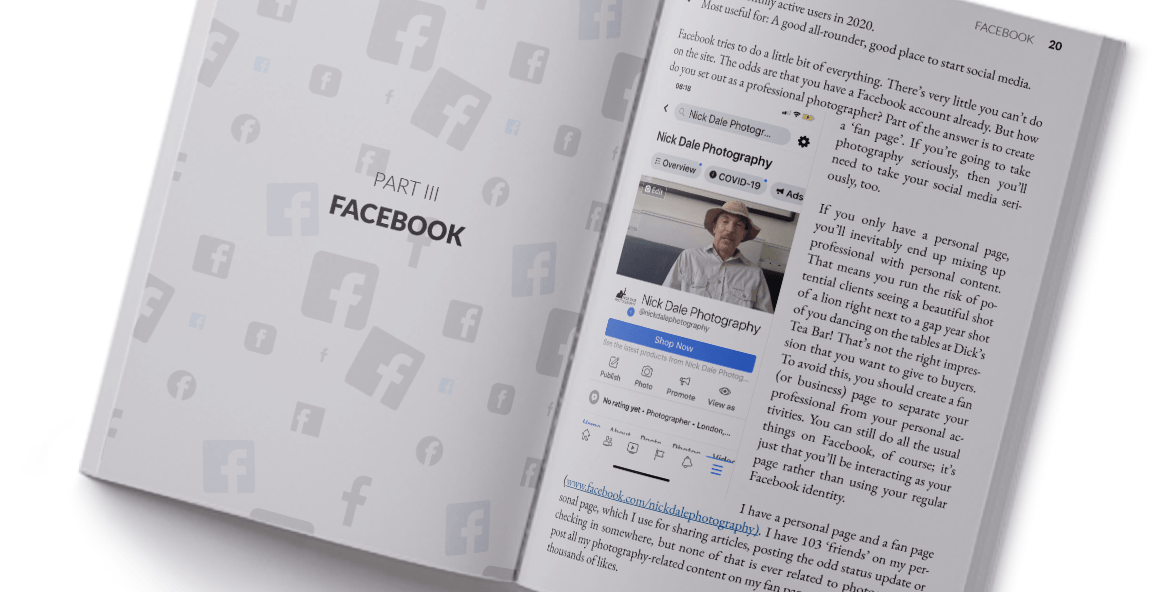
Facebook - Collect Fans, Reviews, and Leads
This is often the first place people go to check a business’ contact details, reviews, and events.
But the difference between existing and thriving on Facebook comes down to the engagement you have.
You see, Facebook doesn’t often give engagement away for free anymore. They want you to pay for it. But if you follow our simple strategies, you can grow your fans without paying a cent.
Once we show you how to set up an optimised profile, we also cover: (Click to open)
How to leverage your profile for lead generation so you can personally contact your fans
18 ways to encourage people to like your page and add to your social proof
How to create the perfect post to capture attention, drive engagement and show your character
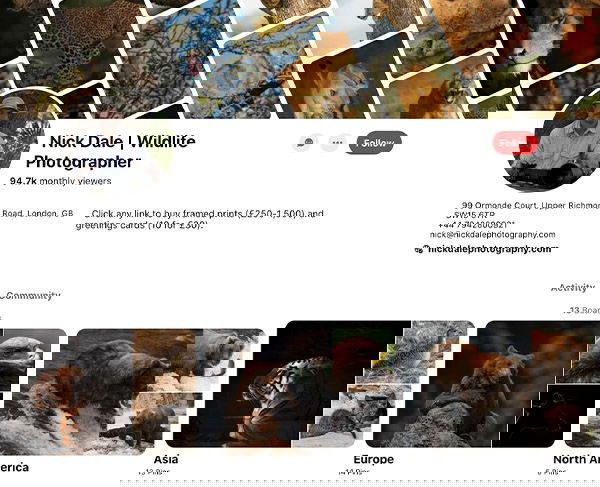
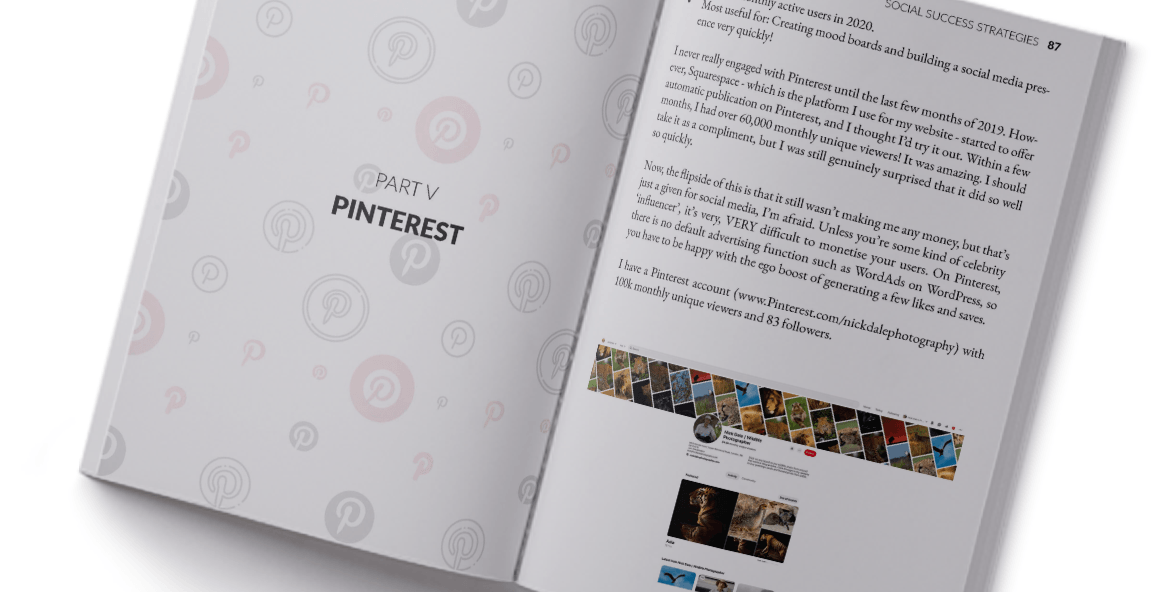
Pinterest - Virally Share Your Portfolio
Pinterest is a powerful content discovery platform. And we’ve used it for years to drive hundreds of thousands of visitors to our website.
Nick covers his low-effort approach to create engaging pins. As well as how to generate repins, and quickly drive viral traffic to his website. And his pins often receive 100k+ viewers a month.
Boards should be arranged to include your best photos (or even just photos you like) based on the type of shot.
Nick organises his into continents for his wildlife photography… a wedding photographer might organise their boards into shots like the first dance or the bouquet toss.
It allows you easily display your portfolio on a platform that’s built for discovery. And you can even piggyback on group boards to get your work seen more often.
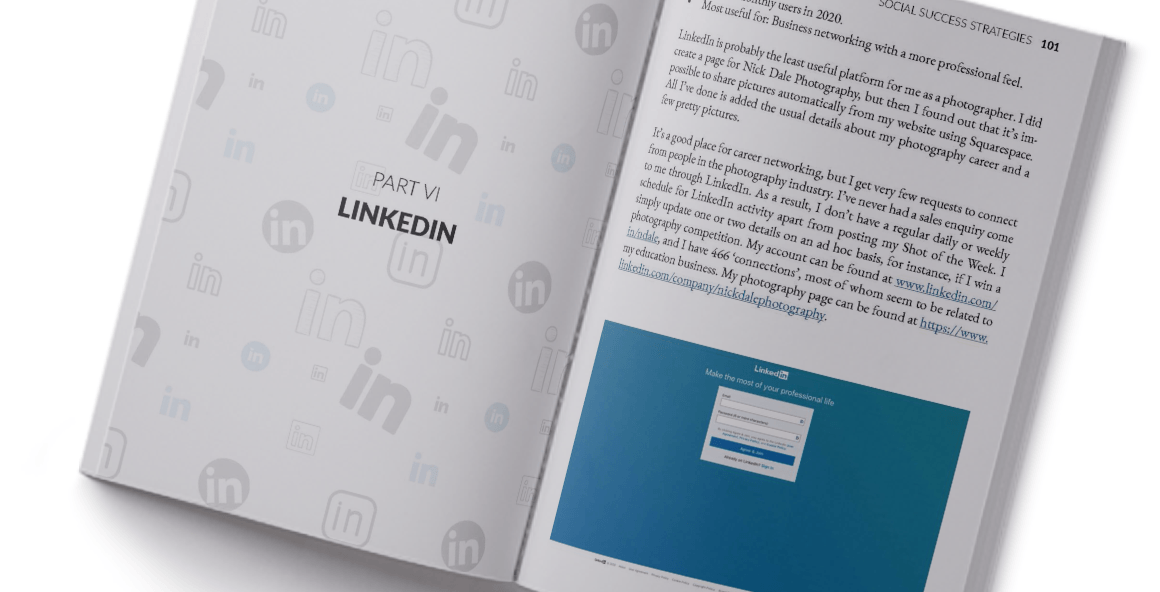
LinkedIn - Your Professional Side
LinkedIn is all business. And, believe it or not, some people use this as their primary social network.
It’s where professionals expand their network and it’s another place where you can improve your social proof.
We breakdown everything you need to know to grow a presence on LinkedIn. From building genuine connections to using groups to find followers.
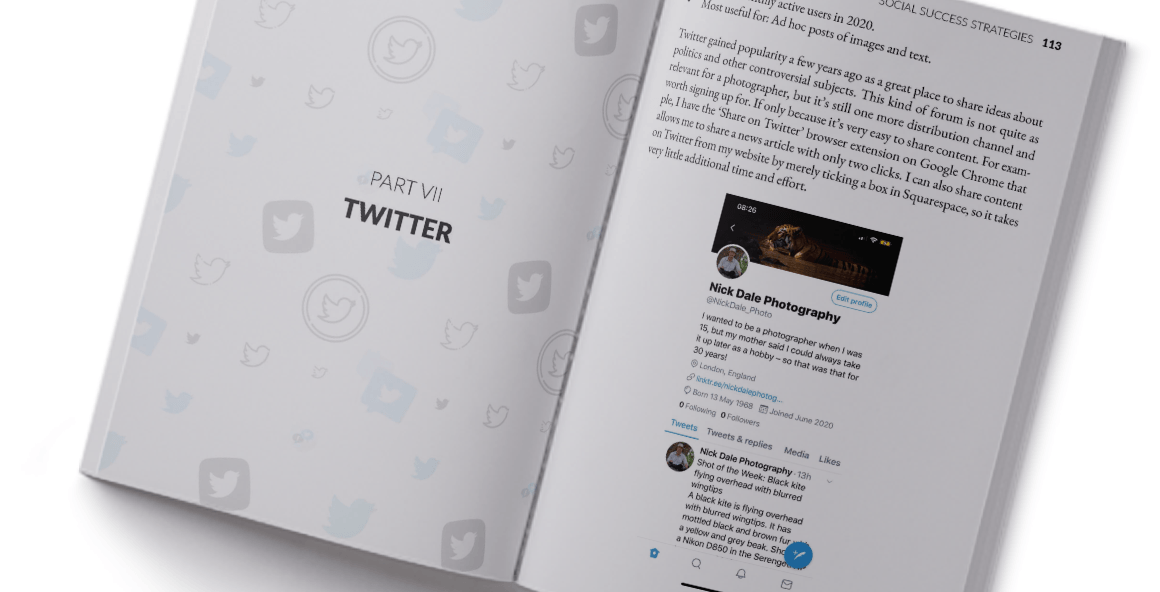
Twitter - Your Personal Side
Twitter is unlike any other platform on this list. Your posts are limited by character count, and will quickly get lost in the feed.
But this isn’t a bad thing.
The purpose of Twitter is to be conversational and grow genuine connections. Often with people you wouldn’t usually come into contact with.
This means you can post more frequently, a show a side of yourself that others may not see otherwise.
And of course, there are strategies for building your following and promoting your work too.
What else is included?
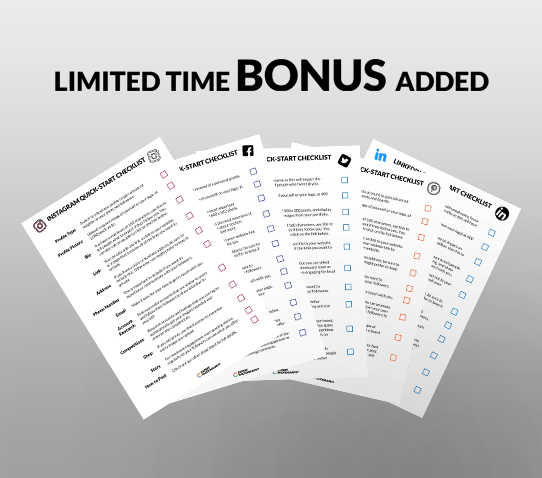
New Bonus Added: Social Success Quick-Start Checklists (Value = $99)
If you want to start building your social media account, but feel daunted by the work ahead… don’t be. This is going to help.
I sat down with my designer yesterday and we came up with a printable checklist.
These five checklists cover the most effective way to set up all of the social media accounts covered above.
From choosing the right name through to publishing your first post.
…Everything you need to get started with social media.
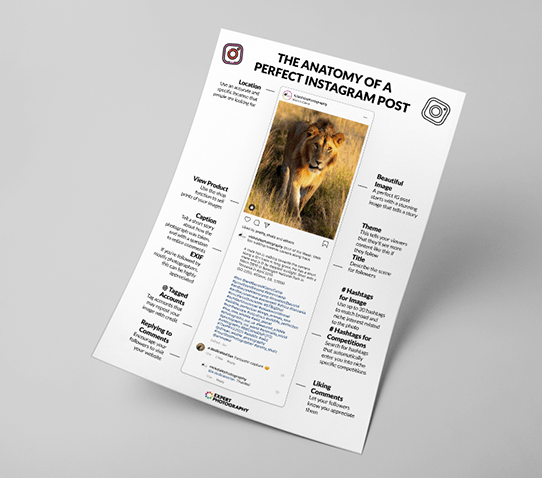
Bonus #1: The Anatomy of a Perfect IG Post (Value $49)
Instagram is the primary platform for many photographers, so we wanted to break down the different aspects of a perfect post.
This includes everything from the image size and description… to hashtags and tagging.
If you follow this simple checklist for every post you publish, you maximise the chances of your images being discovered.
As Nick was finishing the ebook, he felt something was missing…
He had an idea for three crucial chapters that didn’t fit into the original outline.
So, he pitched them to me, and I loved them.
They cover the three most popular platforms for photographers: 500px, Flickr & YouTube
While not technically social media, Nick has used these platforms to have his photos seen 250,000+ times.
If you’re trying to get your work seen, these are great platforms to help grow your following.
100%
90 Days Guarantee
I stand behind every product we offer. And having planned and commissioned this ebook, I’m happy to put the ExpertPhotography name on it.
So I’m putting my money where my mouth is with these two guarantees:
Guarantee #1: If you don’t think Social Success Strategies is the best $19 you’ve spent on your social media success… send me an email. I’ll provide you with a full refund.
Guarantee #2: If you DO what’s recommended, and your results aren’t great, I’ll refund double your money. All I ask is that you give it an honest effort. How’s that for fair?
And these guarantees are good for 90 days after purchase!
Here’s The Amazing Deal We’ve Put Together
Nick and the ExpertPhotography team have created an excellent ebook on social media for photographers.
And although the value far exceeds $299.00, we’re offering this for a very limited introductory price.
Social Success Strategies
Build A Large Following of Raving Fans on Social Media
The entire ebook contains:Value
Getting Started with Social Media (2 Chapters)
$79.00
Facebook, Instagram & Pinterest (3 Chapters)
$129.00
LinkedIn and Twitter (2 Chapters)
$79.00
Bonus Tips for Social Media Success (1 Chapter)
$49.00
Total Value:
$336.00
Plus... you're also getting these powerful bonuses:
Social Success Quick-Start Checklists
$99.00
The Anatomy of a Perfect IG Post (Cheat Sheet)
$49.00
500px, Flickr & YouTube (Bonus Chapters)
$99.00
Total Value:
$247.00
A combined value of $583.00
But you won’t be paying $583.00 today. You won’t even be paying $99.00. Or even half of that.
It’s Yours Today For Just $19🔥
But hurry! Only the first 500 copies are discounted!
Save an amazing $564.00 before the countdown ends.
Get Instant Access to:
“Social Success Strategies”
Yes, I want it! I want access to this ebook right now!
When we release a new product, we always discount the price for the first 500 people. But it’s 500 people only.
For that reason, time is very much “Of the Essence”… I can’t stress the time-sensitiveness of this offer enough.
Not only will the 500 eBooks go quickly, but at that point, the $564.00 discount will expire. And I’m taking the bonuses away too.
Great Photos And Good Intentions Are Not Enough… Do This Instead
Nick wrote this ebook under my brief:
“Show photographers how to build a following online. With a detailed strategy that takes no more than 30 minutes per week.”
If you follow his advice, you can avoid mistakes, save time, and find success sooner.
So it’s decision time: You can either go out on your own and learn from your own mistakes… or decide today that you’re going to learn from the mistakes of others.
Because if you don’t seek guidance, you will make mistakes, and waste time and money… in areas you haven’t even thought of yet.
You could go out and try this on your own. But can you imagine how much faster and easier it is when you follow a proven system?
This simple $19 eBook is the only thing standing between you and the success you want to achieve.
Nick’s methods have worked for other people like you, and it’s 200% guaranteed so you can’t lose money.
It’s a no brainer. The choice is yours.
Yours Truly,
Josh Dunlop
Founder, Expert Photography
P.S. – You’re getting everything you need to get started with social media, AND you’re getting The Anatomy of a Perfect IG Post, and 3 Bonus Chapters for FREE. But remember – 500 is the magic number.
Questions?
Who is ExpertPhotography?
ExpertPhotography was founded in 2011 by Joshua Dunlop.
Since then ExpertPhotography has grown into the world’s largest photography education website with a variety of online courses, ebooks, cheat sheets, presets, and more.
Everything we do here is to make the process of learning photography easier, so you can experience the same joy we do.
We’ve taught photography to 140,000+ very happy and satisfied students over the past 11 years.
Photography has changed our lives, and we hope we can help it to change yours too.
How long is the ebook?
155 pages. Short enough that you can read it in an afternoon.
I don't want to spend lots of time posting to social media, is this ebook still right for me?
Yes, absolutely. Not only can these strategies be done in a short space of time, but we recommend software to help automate the process.
I'm not looking to make money from photography, is this ebook right for me?
Yes, absolutely. Whether you’re building a social following for fans, profit, or both… the process is the same.
Will you send me a physical copy of this ebook to my address?
No, this is a downloadable file only. That means we can keep it up to date and offer immediate delivery.
How much prior knowledge of social media is needed to get started?
None. This ebook covers the basics of social media marketing, so you don’t need to worry about having any prior knowledge.
What's your refund policy?
You can get a full refund within 90 days of your purchase – no questions asked.