Attention: Adventurous Photographers, Nature and Wildlife Lovers...
How to Capture Breathtaking Photos of Wild Animals in Their Natural Habitats
(Print-Worthy Photos That Make People Say 'WOW')
Jim Dundee
Nick’s approach was superb, he demonstrated his technical skills, making it interesting, especially for a beginner. The wildlife photographs were stunning. It’s a great primer for anyone aspiring to become a professional wildlife photographer.
Jim Dundee
99% positive reviews
1,687 students
Wildlife photography eBook (172 pages)
30 Global Wildlife Case Studies
2 FREE bonuses
Online & at your own pace
Downloadable onto any device
Language: English
Level: Beginner
Have you ever dreamt about photographing wild animals in their natural habitats?
Birds in your garden, bears in the woods, elephants in Botswana, tigers in India…
The great thing about wildlife photography is that you can do it anywhere in the world.
You don’t have to go on an expensive African safari to capture great photos… you can shoot much closer to home.
But… it does often require a telephoto lens, and that can make the camera settings quite tricky.
You also have to understand animal behaviour, the ‘decisive moment’, and composition too.
The good news is, there’s a set of principles that allow you to shoot animals small or big… fast or calm… mammal, bird or reptile…
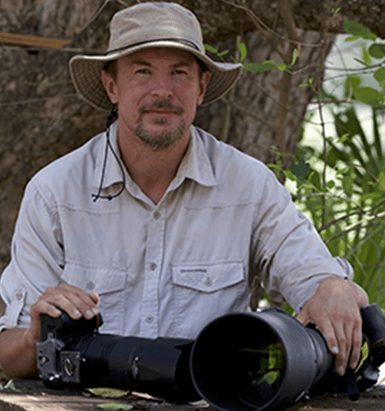
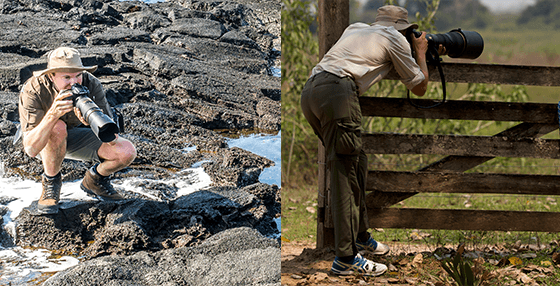
Meet Your Wildlife Photography Coach
@nickdalephotography
14,3K Followers
Nick Dale is a multi-award-winning wildlife photographer and workshop leader.
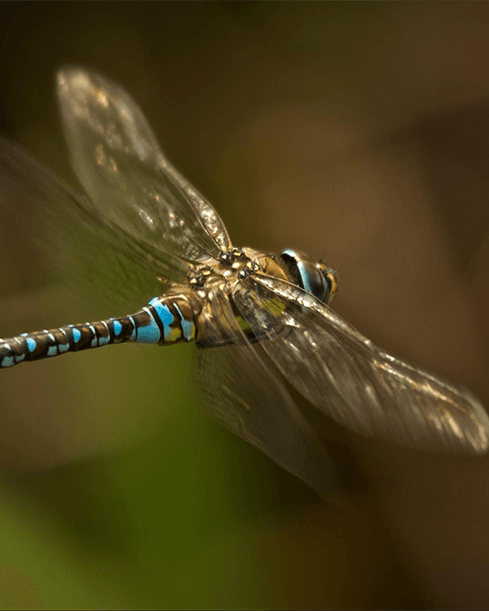
His work has taken him to all seven continents, from Spain to Antarctica, shooting everything from tiny butterflies to big game.
He left his corporate career over a decade ago and never looked back. Instead, he’s built a bond with nature and perfected his craft of wildlife photography.
We are proud to say that he’s agreed to share his knowledge…
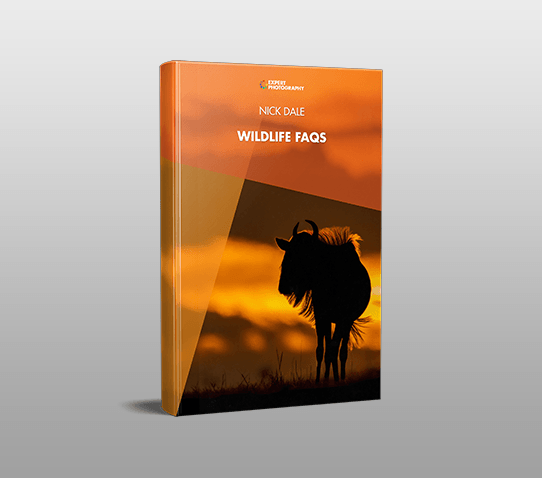
Introducing: “Wonderful Wildlife”
(For illustration purposes only; this is a downloadable ebook)
This 172-page eBook walks you through everything you need to take spectacular photographs of wildlife.
From choosing the right destination, gear and settings. Through composing – and shooting – breathtaking images. He even reveals how he makes money from his wildlife shots!
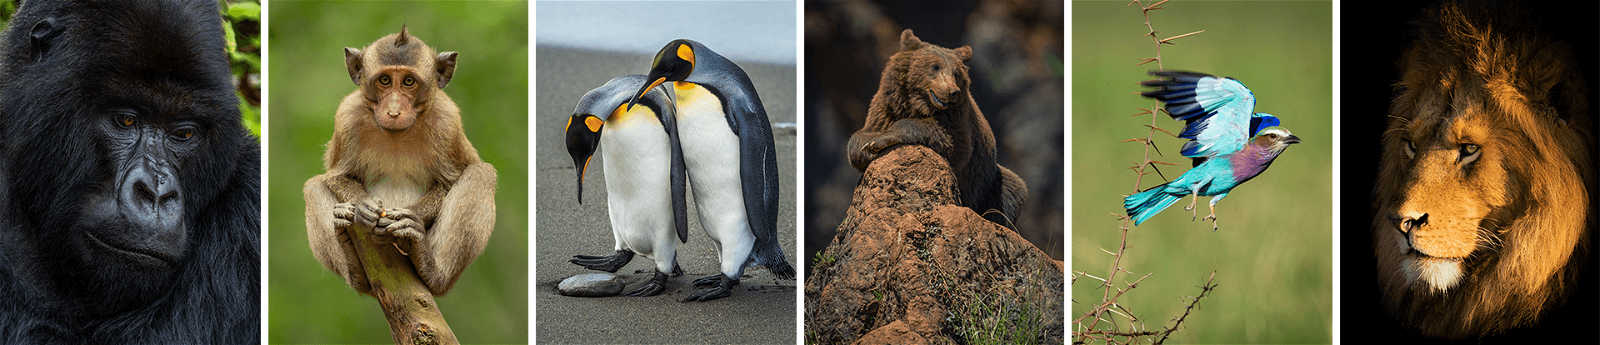
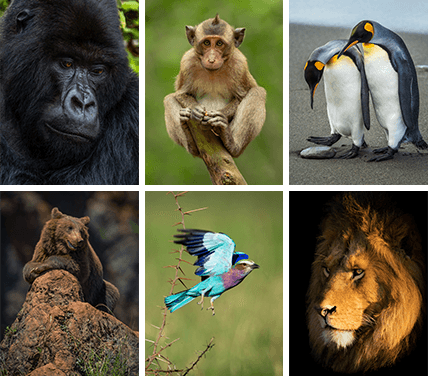
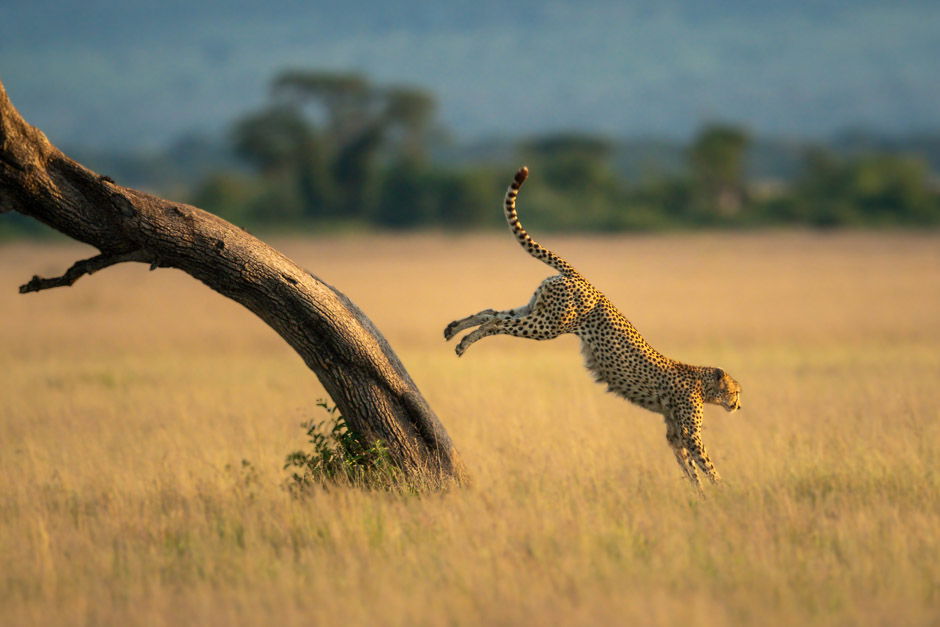
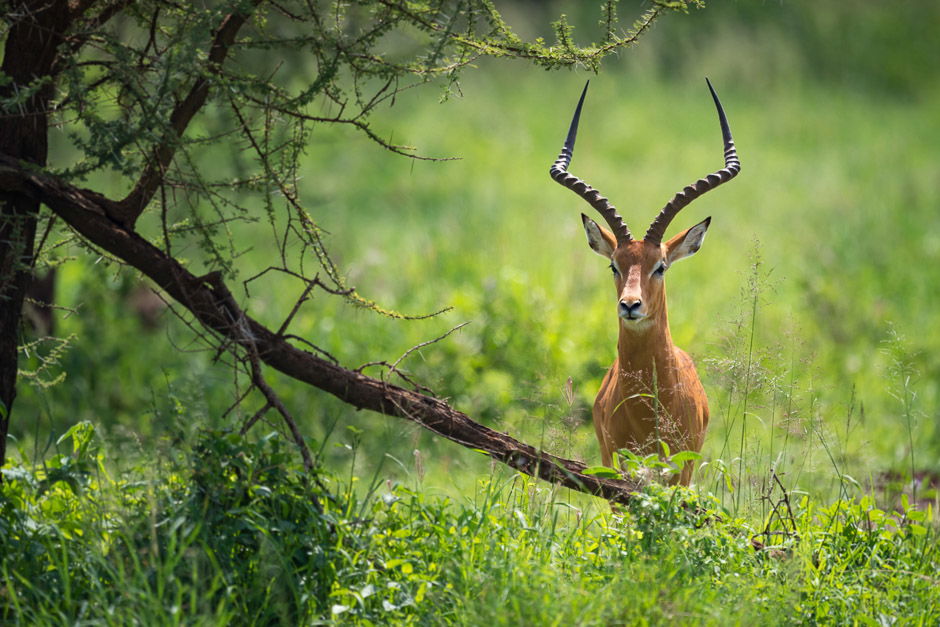
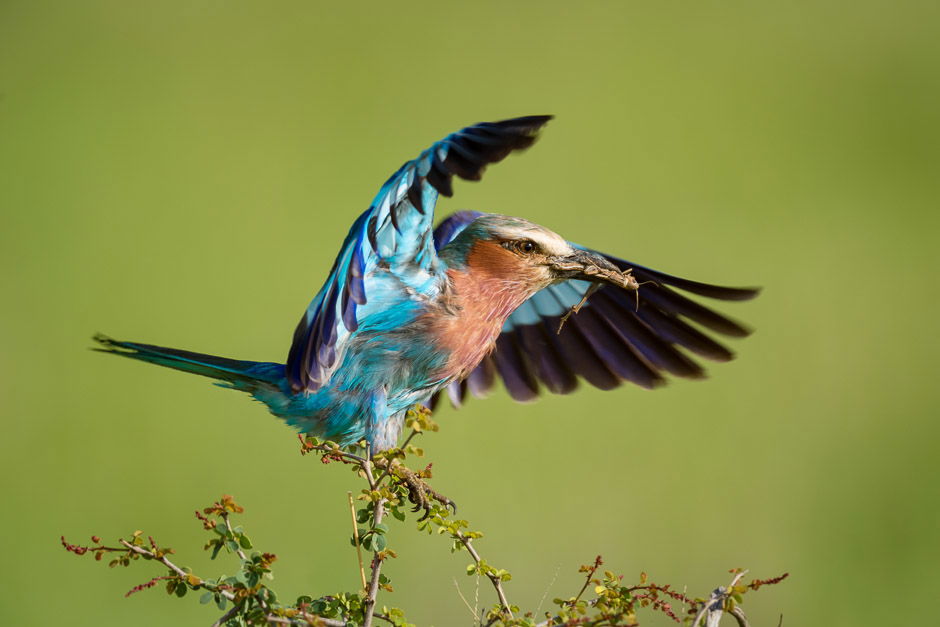
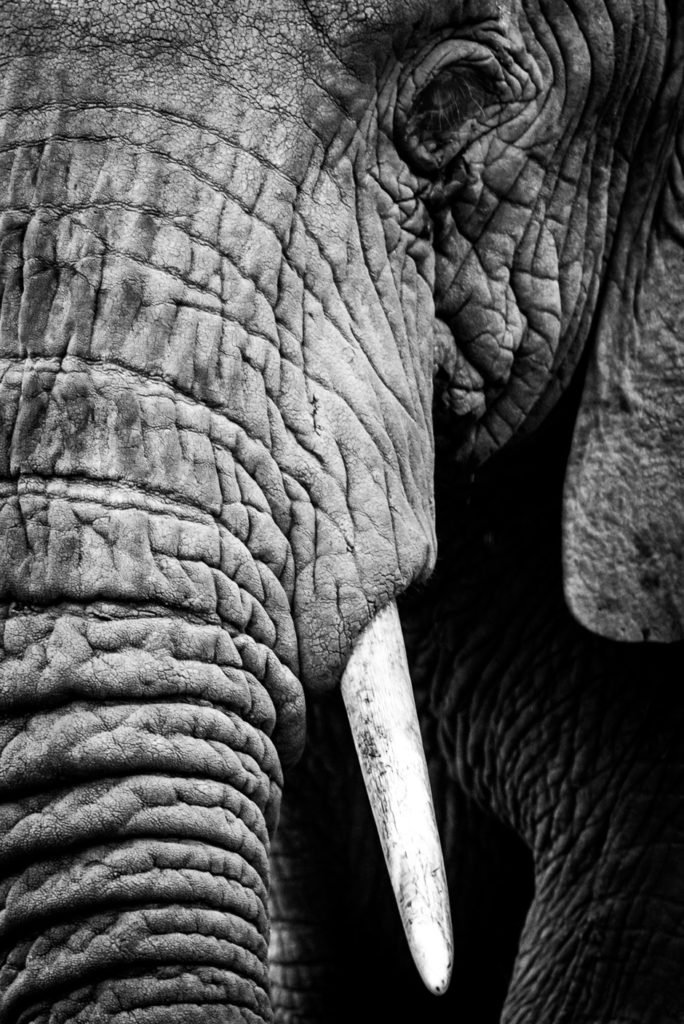
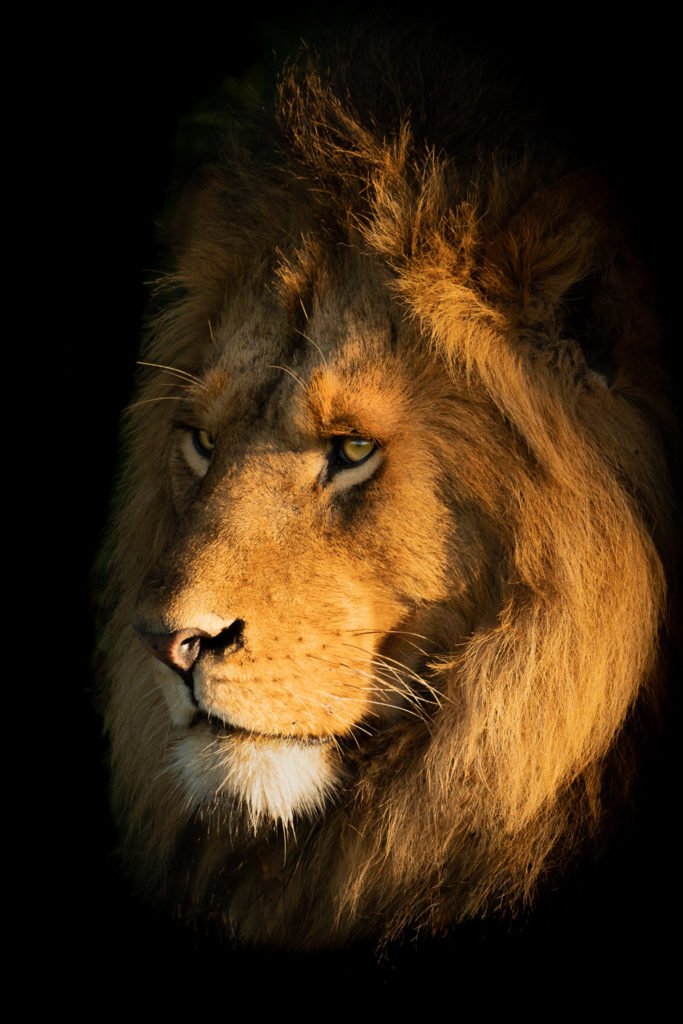
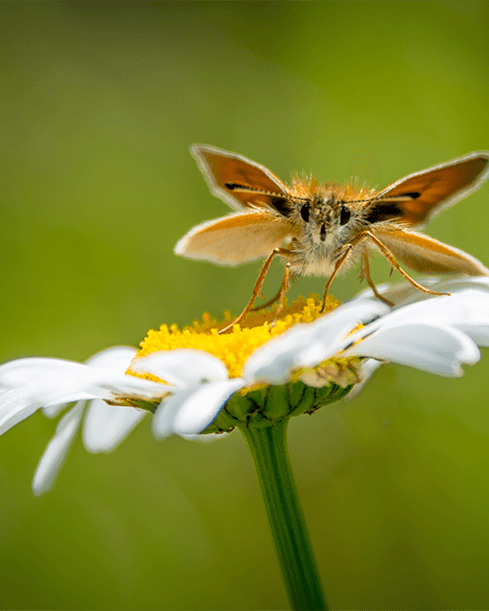
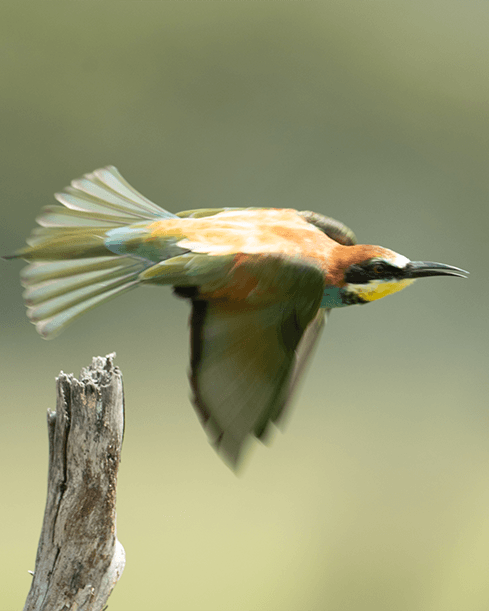
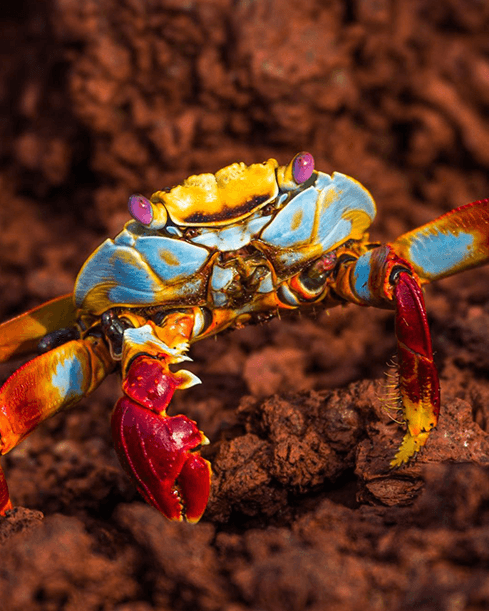
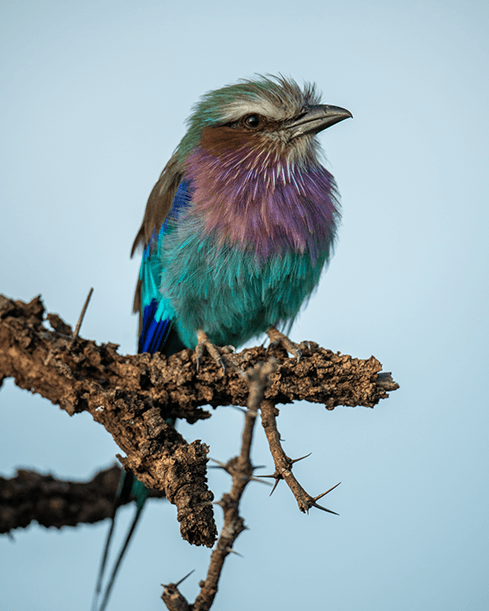
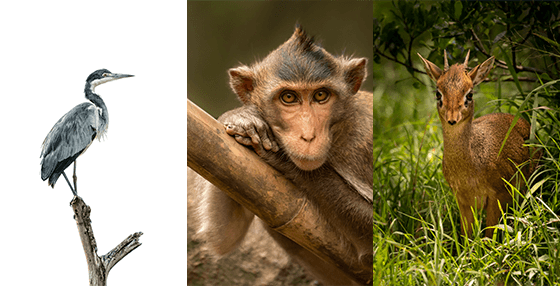
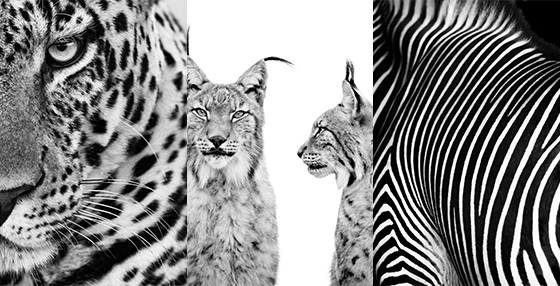
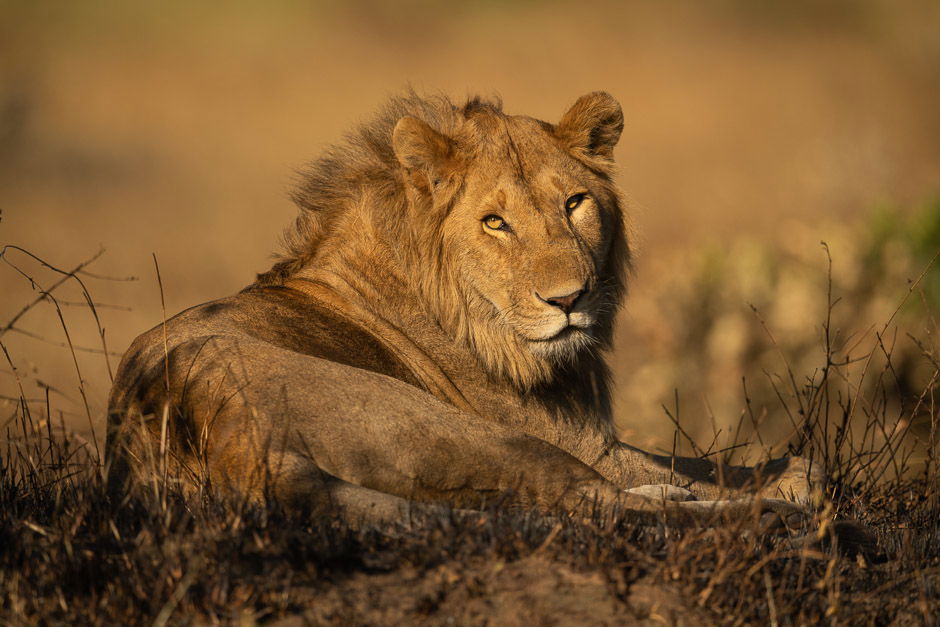
With Nick’s inspiring insights, you’ll soon develop an eye for shooting stunning photos of animals in the wild like this:
How Professionals Capture Great Wildlife Photos
Although the settings you choose will vary greatly based on what you’re shooting…
How you approach wildlife photography should always remain the same.
Location – from lakes to deserts
Gear – ultra-wide-angle to super-telephoto
Settings – the right choice for sharp photos
Composition – frame the shot to perfection
Shooting Style – action shots and artistic scenes
Wildlife photography is about shooting animals in their natural habitat.
This requires preparation and patience… but it doesn’t have to be difficult.
Nor does it have to cost a fortune, or require long-haul flights…
You can shoot animals in their natural habitat anywhere in the world, all you need is the right approach.
With “Wonderful Wildlife”, you’ll soon know how to:
Find animals to shoot all over the world (and close to home)
Get close up shots of your subjects while still remaining safe
Capture 30 different animals with tried and tested approaches
Add depth and interest through simple composition rules
Capture action and motion by timing your shots to perfection
Wildlife photography is more accessible than you may think. It’s not just about shooting elephants in Botswana (which is covered in detail), but there’s plenty to shoot in your local area.
And with Nick’s guide, the process is very simple.
Nick doesn’t waste time explaining how your camera works… he just tells you which settings to use… in dozens of situations.
If you follow his advice, you’re guaranteed to capture spectacular photos and come home with lasting memories.
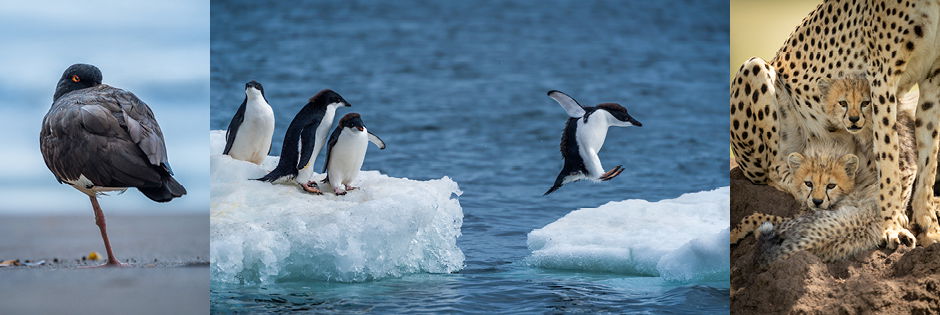
You’ll soon have the ability to:
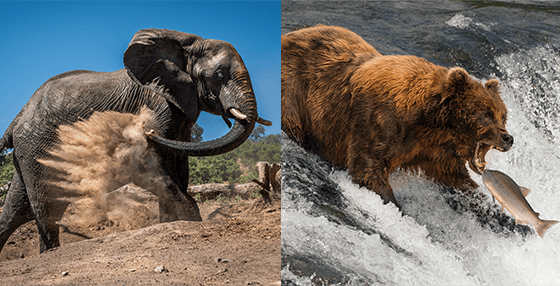
Take pictures of birds capturing dinner
Photograph artist shots of elephants
Shoot action shots of bears in Alaska
Capture portraits of proud lions in the wild
With over 140,000 students, photographers love our training. But don’t just take our word for it, check out what some of them have to say about our other training:
@nickdalephotography
@nickdalephotography
@nickdalephotography
@nickdalephotography
@nickdalephotography
@nickdalephotography
@nickdalephotography
@nickdalephotography
@nickdalephotography
"Nick's approach was superb, he demonstrated his technical skills..."
Chris Knowles
I can honestly say you have improved my photography. For me, the greatest benefit is that I have the material to refer back to. It’s a product that will retain its value, and the more you absorb it, the better you will become. The style is very user friendly and easy to follow.
Tapas Ray
You have made photography so simple! I am deeply moved by your hard work and how you make photography understandable. Kudos to your effort. I find you to be a true teacher and mentor!
Trang Nguyen
I think that Expert Photography has the best customer service ever! I love the quick response and the person who has helped me was straightforward! Love the communication that I was able to return something I didn’t need at all. A GREAT example of what customer service should be!!! Responsive, easy to return, answers were clear, and very patient with me!
Jim Dundee
Nick’s approach was superb, he demonstrated his technical skills, making it interesting, especially for a beginner. The wildlife photographs were stunning. It’s a great primer for anyone aspiring to become a professional wildlife photographer.
5 Steps to Astonishing Wildlife Photos (Value $446)
Step 1. Gear
The gear you use is really important for wildlife photography.
If you’re shooting animals in their natural habitat, it’s vital that you don’t disturb them… this means you can’t get close.
Nick shoots almost exclusively with a 400mm and an 800mm lens. And these aren’t cheap.
BUT… you can rent gear, you can use teleconverters to increase your focal length, and you can use crop sensors to get closer.
This ebook covers the gear you need for almost any wildlife situation.
Step 2. Location
Nick is lucky to have shot on every continent in the world over the past ten years.
This means he has insights into the best nature reserves, parks, and natural habitats.
Whether you’re looking to shoot in your local area, or you’re planning a trip to Africa…
Nick’s insights will save you time and money.
Step 3. Settings
When you’re shooting at 800mm, with a maximum aperture of f/5.6… your settings start to get quite tricky.
You have to work within the limitations of your gear, while still capturing perfectly sharp images.
Fortunately, Nick has shot hundreds of wild animals and he has great advice on how to make your camera work in tough conditions.
Camera settings won’t always be complicated, but it’s important to know what to prioritise.
Step 4. Composition
Great composition can make ordinary scenes look remarkable… just imagine if you could apply that to wildlife photography!
Whether you’re using the rule of odds, eye lens, repetitions, or juxtaposition… the right composition can transform your scene.
Nick covers his favourite tips to add depth and context to his wildlife images.
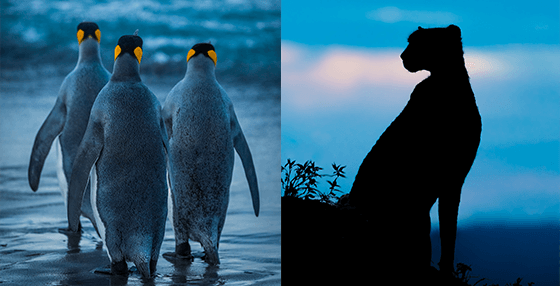
Step 5. Capturing The Moment
Wildlife photography is about more than capturing photos of animals… it’s about capturing their lives.
When you study an animal’s movement, you can predict their actions and be ready to capture stunning action shots.
Whether that’s a jaguar killing a caiman, a bear catching a salmon, or an elephant blowing dust.
With Nick’s advice, you’ll be ready for them all.
What else is included?
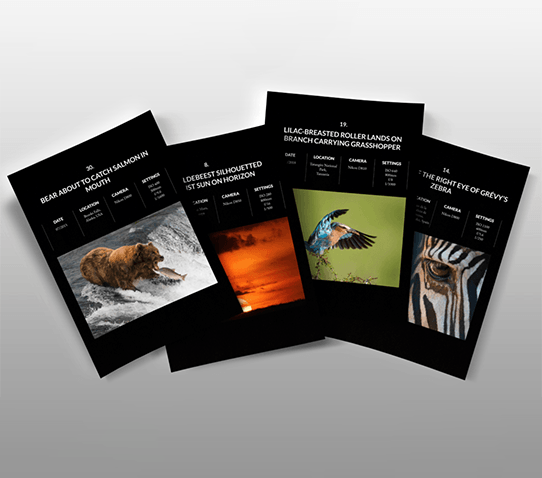
Bonus #1: 30 Global Wildlife Case Studies (Value $99)
Do you want to go behind the scenes of 30 of Nick’s most famous photos?
In this bonus, Nick shows you the exact process he used to capture photos in 13 countries, across five continents.
Not only are these exciting to read, but they’ll help you to be prepared for the same shooting situations when your time comes.
Along with the settings he uses, he also tells detailed stories of how the images were captured.
Bonus #2: Wildlife Camera FAQ’s (Value $99)
Throughout the ebook, Nick makes references to things like the histogram, back button focusing, bracketing…
But instead of stopping to go into the technical side of photography, we decided to produce this FAQ document.
This way, you can reference anything you don’t understand without having to get lost in the flow of the ebook.
100%
90 Days Guarantee
I stand behind every product we offer. And having planned and commissioned this ebook, I’m happy to put the ExpertPhotography name on it.
So I’m putting my money where my mouth is with these two guarantees:
Guarantee #1: If you don’t think Wonderful Wildlife is the best $19 you’ve spent on your wildlife photography… send me an email. I’ll provide you with a full refund.
Guarantee #2: If you DO what’s recommended, and your results aren’t great, I’ll refund double your money. All I ask is that you give it an honest effort. How’s that for fair?
And these guarantees are good for 90 days after purchase!
Here’s The Amazing Deal We’ve Put Together
Nick Dale and the ExpertPhotography team have created an excellent wildlife photography ebook.
And although the value far exceeds $399.00, we’re offering this for a very limited introductory price.
Wonderful Wildlife
Capture Breathtaking Photos of Wild Animals
The entire ebook contains:Value
Gear, Settings & Location (3 Chapters)
$129.00
How to Take Breathtaking Images (3 Chapters)
$169.00
Lightroom Editing and Workflow (1 Chapter)
$69.00
Make Money & Market Your Network (2 Chapters)
$79.00
Total Value:
$446.00
Plus... you're also getting these powerful bonuses:
30 Global Wildlife Case Studies
$99.00
Wildlife Camera FAQ’s
$99.00
Total Value:
$198.00
A combined value of $644.00
But you won’t be paying $644.00 today. You won’t even be paying $99.00. Or even half of that.
It’s Yours Today For Just $19🔥
But hurry! Only the first 500 copies are discounted!
Save an amazing $625.00 before the countdown ends.
Get Instant Access to:
“Wonderful Wildlife”
Yes, I want it! I want access to this ebook right now!
When we release a new product, we always discount the price for the first 500 people. But it’s 500 people only.
For that reason, time is very much “Of the Essence”… I can’t stress the time-sensitiveness of this offer enough.
Not only will the 500 ebooks go quickly, but at that point, the $625 discount will expire. And I’m taking the bonuses away too.
Do This If You Want To Capture Stunning Wildlife Photos…
Did you know that you can do wildlife photography from anywhere in the world?
You don’t have to travel to Botswana and take photos of elephants. You can capture animals in your local area.
And that’s the beauty of “Wonderful Wildlife”… we show you how to capture it all.
If you follow Nick’s advice, you can avoid mistakes, save time and money, and capture remarkable photos.
You are free to go out on your own and learn from your own mistakes, but…
Can you imagine how much faster and easier it is when you follow a proven process?
This simple $19 eBook can help you capture the most amazing photos of animals in the wild.
Nick’s methods have worked for others like you, and it’s double guaranteed so you can’t lose.
The choice is yours.
Josh Dunlop Founder, ExpertPhotography
P.S. – You’re getting everything you need for wildlife photography, AND you’re getting two FREE bonuses. But remember – 500 is the magic number.
Questions?
Who is ExpertPhotography?
ExpertPhotography was founded in 2011 by Joshua Dunlop.
Since then ExpertPhotography has grown into the world’s largest photography education website with a variety of online courses, ebooks, cheat sheets, presets, and more.
Everything we do here is to make the process of learning photography easier, so you can experience the same joy we do.
We’ve taught photography to 140,000+ very happy and satisfied students over the past 11 years.
Photography has changed our lives, and we hope we can help it to change yours too.
How long is the ebook?
Only 172 pages, so you can read it comfortably in an afternoon.
How good does my photography have to be to get started?
You can be a total beginner. We walk you through the camera settings to use, including exposure, focusing, focal length, and more.
Does it matter where I plan to shoot?
Nope! Nick has been given workshops all over the world. The same principles apply regardless of where you shoot.
What gear do I need to get great results?
Great question! The answer is: it depends. Depending on what you’re shooting, you may need specialised gear. This can be expensive to purchase, but cheap to rent. If you have a DSLR or mirrorless camera, you can get started right away. But if you plan on shooting Wildebeest in the Serengeti, you may need to borrow a telephoto lens.
Will you send me a physical copy of this ebook to my address?
No, this is a downloadable file only. That means we can keep it up to date and offer immediate delivery.
What's your refund policy?
You can get a full refund within 90 days of your purchase – no questions asked.