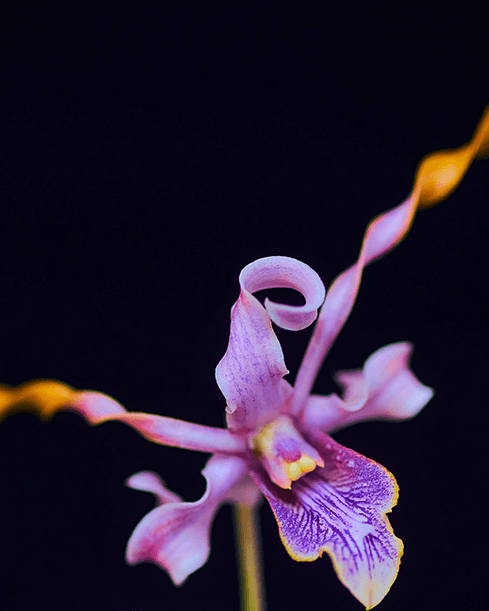
A Simple Way to Get Off Auto-Mode and Take Stunning Photos for Life
(Even With The Most Basic Camera)
Natalia Moyano
I major in Photography but I’ve always had so much trouble understanding Depth of Field. But finally, after reading your content, I was able to understand! I got my first ‘perfect 100’ on my Depth of Field project. Thank you sooo much, you really inspire me.
Natalia Moyano
99% positive reviews
60,418 students
190 pages
2 FREE bonuses
Online & at your own pace
Downloadable onto any device
Language: English
Level: Beginner
When I bought my first proper camera, I expected to take better photos. But somehow… my photography got worse.
My old point-and-shoot camera got better results.
So when my family asked to see the first photos I’d taken, I was embarrassed to show them…
For the first few months, my images came out soft, blurry, and underexposed.
That’s because I was overwhelmed by settings I’d never used before, like focus modes, white balance, and metering.
I rarely switched out of full-auto… despite knowing that I could take better photos with manual mode.
I wasn’t using my camera to its full potential and it felt like a waste of money.
Hi, I’m Joshua Dunlop, Founder of ExpertPhotography
@expertphotography
58,8K Followers
I realised that if I wanted to take photos I was proud of… I had to take control of my camera and master manual mode.
Back in 2006, this meant reading my free camera manual…
Like most free advice, it was worth what I paid for it. This tiny black and white booklet was very hard to understand.
But hard or not, I learned photography. And 14+ years later I’m proud to have produced a simple solution for mastering photography…
Now, I’m confident that I can show any photographer how to:
Quickly set the right exposure setting so they never miss a shot
Take tack-sharp photos that are always in good focus
Capture moments and memories they will cherish for a lifetime
I developed this process in 2011 when I founded ExpertPhotography.
It’s helped us to grow into the world’s most-read photography education website… with 1.5 million+ visitors a month.
And I’ve outlined my knowledge into a simple ebook that’s sold 60,418 copies to date…
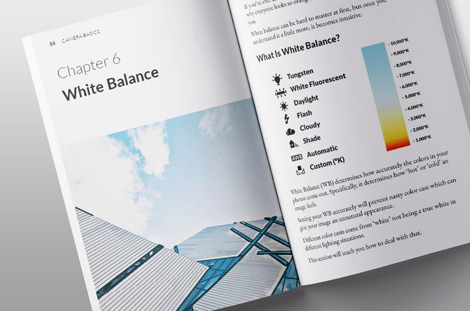
Introducing: Photography Unlocked 2.0
(For illustration purposes only; this is a downloadable ebook)
I’ve dedicated my entire adult life to learning and teaching photography.
I’ve read countless books, taken dozens of courses, and attended 10+ workshops… and it all comes down to this.
Cover to cover, it’s 190 pages long, but don’t let the size intimidate you…
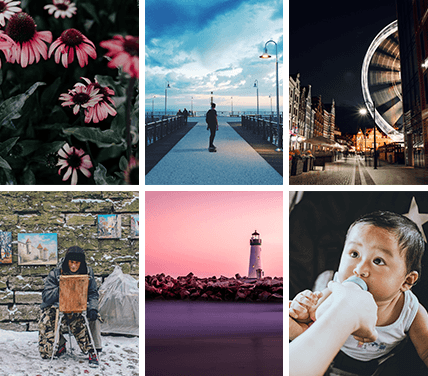
There are hundreds of imagesand illustrations that demonstrate my system for taking great photos. Perfect for visual learners.
You’ll soon discover how to:
Set up your camera for perfect photos every time (without buying any extra gear)
Take well exposed and sharp photos, even in bright sunlight or low light
Make your photos more engaging with simple (but powerful) composition rules
This system is suitable for every camera user, as it’s not brand specific.
It doesn’t matter if you’re using a 15-year-old bridge camera, or a top of the line Digital SLR… they all work the same way.
The system is simple and FAST to learn. There’s no fluff and no B.S…
You can start taking better photos right away.
When I finally became good at photography I was able to:
Shoot beautiful sunsets that my phone couldn’t
Capture memories with family and friends
Take magazine-worthy holiday photos
Use powerful composition instinctively
But don’t just take my words for it, check out what some of our 60,000+ customers have had to say:
Chris Hoover
@expertphotography
@expertphotography
@expertphotography
@expertphotography
@expertphotography
@expertphotography
Sudhir Mani
“Your ebook is easy to understand, and not too technical…”
Shirley Cove
“Thank you! Thank you! Thank you! I have been trying to learn on my own for about 5 years. I have purchased videos, books and everything I could get my hands on. It was only when I studied your ebook that could I understand how to get the right exposure. Thank you so much, you make it so much easier to understand!“
Natalia Moyano
I major in Photography but I’ve always had so much trouble understanding Depth of Field. But finally, after reading your content, I was able to understand! I got my first ‘perfect 100’ on my Depth of Field project. Thank you sooo much, you really inspire me.
Greg Buckman
Before I purchased Photography Unlocked, I feared that it was another online gimmick. I thought that if I wanted the full version, I would have to pay more money, but I was wrong! Your ebook is easy to understand, and not too technical. I’ve already recommended this to my best friend, and he’s getting it too!
3 Steps to Unlocking Your Photography (Value $327)
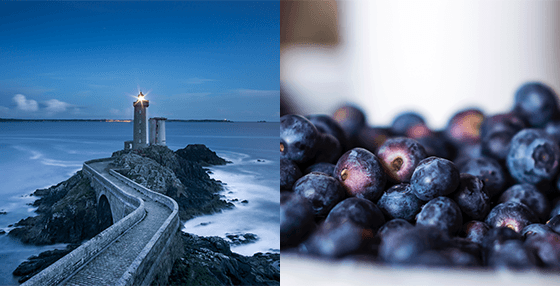
Step 1. Understanding Exposure
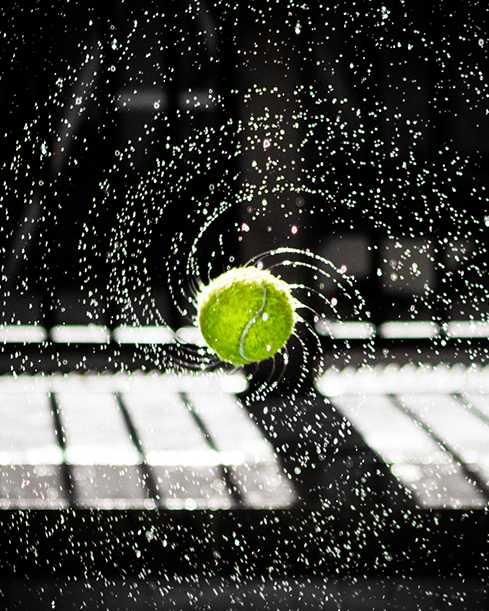
Exposure is one of the most important elements in capturing a good photo.
The exposure of a scene is determined by the amount of light that is allowed to reach the camera sensor.
This can be controlled by adjusting the aperture, shutter speed, and ISO settings on your camera.
Each of these settings works together to create an exposure that is perfect for the scene you are trying to capture.
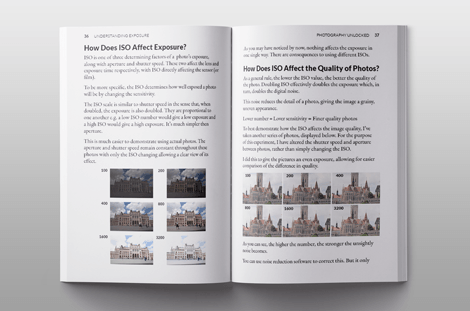
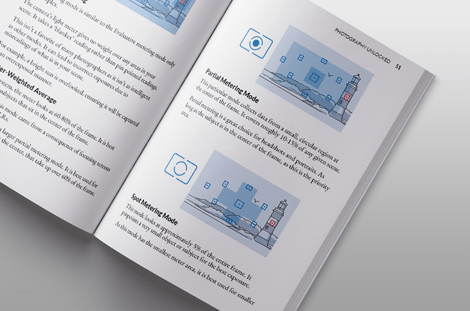
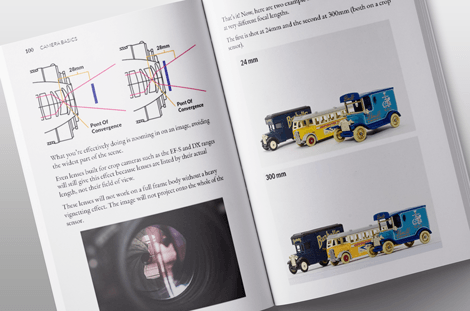
Step 2. Camera Basics
Modes, histograms, focal length…
We run through all the elements that ensure you get the best from any given scene.
Here, you’ll not only learn about camera basics but how to use them and for which scenario.
We finish this section off with ten tips on how to gain sharper images. This might be the list you’ve been searching for a long time.
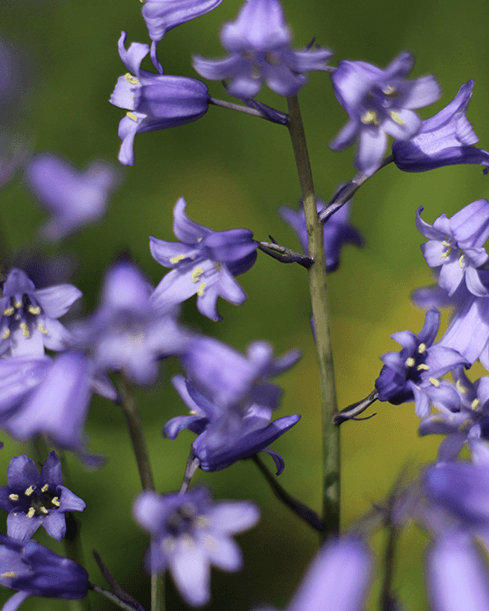
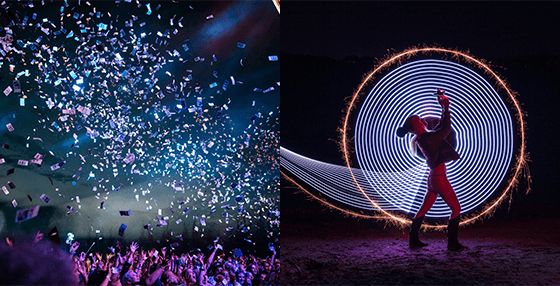
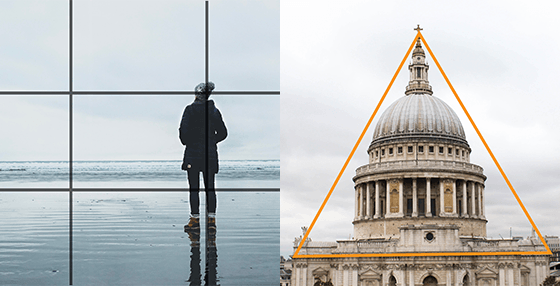
Step 3. Composition 101
Composition is essential in photography.
It’s how you arrange the elements in your scene to create the most interesting images possible.
The basics of composition are pretty simple: you want to create a sense of balance and symmetry, and you want to use leading lines to draw the viewer’s eye into the image.
But it is also about creativity and making choices that will result in a composition that is pleasing to the eye.
This eBook details the priceless lessons I learned over many years of photography. All my most painful mistakes and frustrations.
These easy lessons are coupled with images and tips on how you can avoid the same dumb mistakes I made.
Including how I stopped taking such terrible photos with my on-camera flash!
Not Sold Publicly – Yours FREE Today
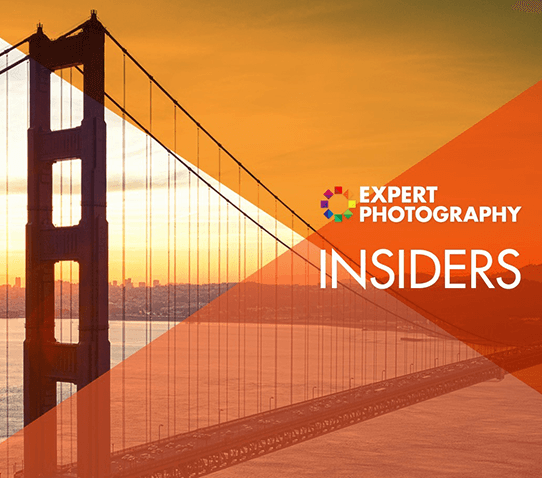
Bonus #2: Our Secret Facebook Community (Value $149.00)
This Secret ExpertPhotography Insiders Group is for Customers only.
It’s a Facebook group where we show off our photos and share valuable feedback. We talk about photography, and host competitions where you can win big prizes.
A community for budding photogs.
Not Sold Publicly – Yours FREE Today
100%
90 Days Guarantee
I stand behind every product we offer. And having planned and commissioned this ebook, I’m happy to put the ExpertPhotography name on it.
So I’m putting my money where my mouth is with these two guarantees:
Guarantee #1: If you don’t think Photography Unlocked is the best $10 you’ve spent on your photography… send me an email. I’ll provide you with a full refund.
Guarantee #2: If you DO what’s recommended, and your results aren’t great, I’ll refund double your money. All I ask is that you give it an honest effort. How’s that for fair?
And these guarantees are good for 90 days after purchase!
The Best Part? It's Currently Only $10...
I’m charging only $10 for this eBook (and not giving it away) for 3 reasons:
$10 puts the eBook within reach of the vast majority of people. It’s not too expensive for even the humblest amateur photographer.
Anyone who’s not serious enough about their photography to invest $10 into this eBook… isn’t going to take the time to use the methods laid out in the eBook anyway.
Anyone who is serious enough to put down the price of a fast-food dinner and buy this eBook… has the opportunity to rapidly improve their photography, creativity, and inspiration.
If you need to justify the expense, skip going to McDonald’s for dinner one time and it’s paid for.
Here’s the amazing deal we’ve put together:
Photography Unlocked
Get Off Auto-Mode and Take Stunning Photos for Life
The entire ebook contains:Value
Understanding Exposure (5 Chapters)
$79.00
Camera Basics (10 Chapters)
$129.00
Composition 101 (6 Chapters)
$119.00
Make Money From Photography (2 Chapters)
$59.00
Total Value:
$386.00
Plus... you're also getting these powerful bonuses:
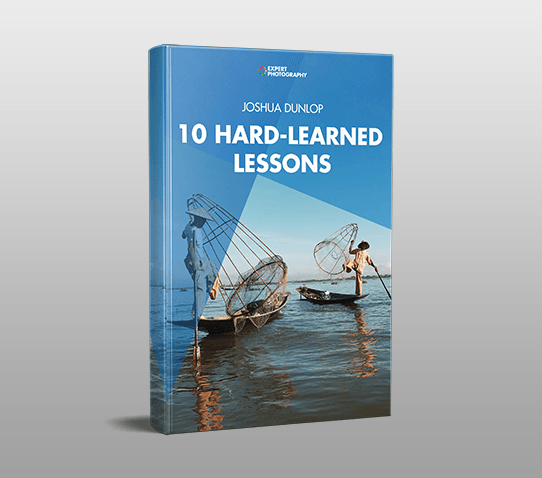
10 Hard-Learned Lessons eBook (19 pages)
$99.00
Our Secret Facebook Community
$149.00
Total Value:
$245.00
A combined value of $631.00
But you won’t be paying $631.00 today. You won’t even be paying $99.00. Or even half of that.
It’s Yours Today For Just $10🔥
But hurry! Only the first 500 copies are discounted!
Save an amazing $621.00 before the countdown ends.
Get Instant Access to:
“Photography Unlocked”
Yes, I want it! I want access to this ebook right now!
When we release a new product, we always discount the price for the first 500 people. But it’s 500 people only.
For that reason, time is very much “Of the Essence”… I can’t stress the time-sensitiveness of this offer enough.
Not only will the 500 eBooks go quickly, but at that point, the $621 discount will expire, and I’m taking the bonuses away.
Take advantage of this offer now.
The Truth Is… You Will Make Mistakes
We all know that most people who don’t read the instructions screw things up. I learned that lesson the first time I tried to put together IKEA furniture.
If you don’t get help to take amazing photos, you could screw up big time. And that means missing out on golden photo opportunities. Moments that slip away and won’t come back.
So it’s decision time. Either give up on your idea, or get this eBook. Otherwise, you’re sure to make giant mistakes… in areas you haven’t even thought of yet.
You could go out and try this on your own… But can you imagine how much faster and easier it is when you follow a proven system?
This simple $10 eBook is the only thing standing between you and success taking the kind of photos you want.
Photography Unlocked has worked for other people like you, and it’s 100% guaranteed so you can’t lose money.
It’s a no brainer.
The choice is yours.
Josh Dunlop Founder, ExpertPhotography
P.S. – You’re getting everything you need to unlock photography, AND you’re getting two FREE bonuses. But remember – 500 is the magic number.
Questions?
Who is ExpertPhotography?
ExpertPhotography was founded in 2011 by Joshua Dunlop.
Since then ExpertPhotography has grown into the world’s largest photography education website with a variety of online courses, ebooks, cheat sheets, presets, and more.
Everything we do here is to make the process of learning photography easier, so you can experience the same joy we do.
We’ve taught photography to 140,000+ very happy and satisfied students over the past 11 years.
Photography has changed our lives, and we hope we can help it to change yours too.
How long is the ebook?
Only 190 pages, so you can read it comfortably in an afternoon.
How good does my photography have to be to get started?
You can be a total beginner. We walk you through the camera settings to use, including exposure, focusing, focal length, and more.
Will you send me a physical copy of this ebook to my address?
No, this is a downloadable file only. That means we can keep it up to date and offer immediate delivery.
What's your refund policy?
You can get a full refund within 90 days of your purchase – no questions asked.