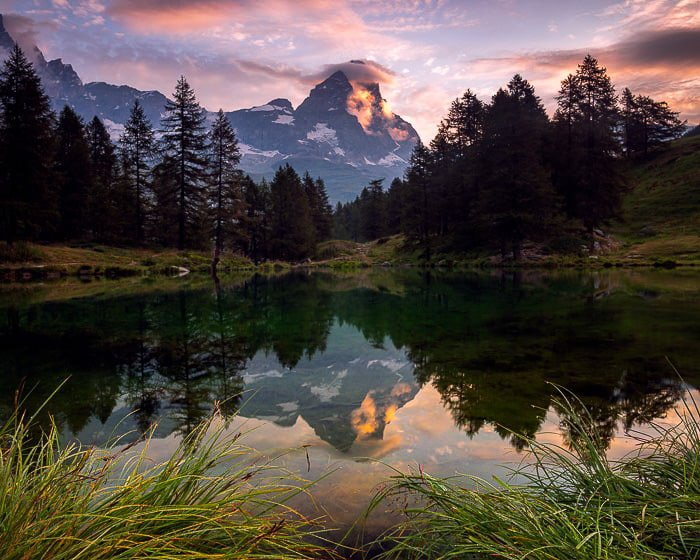
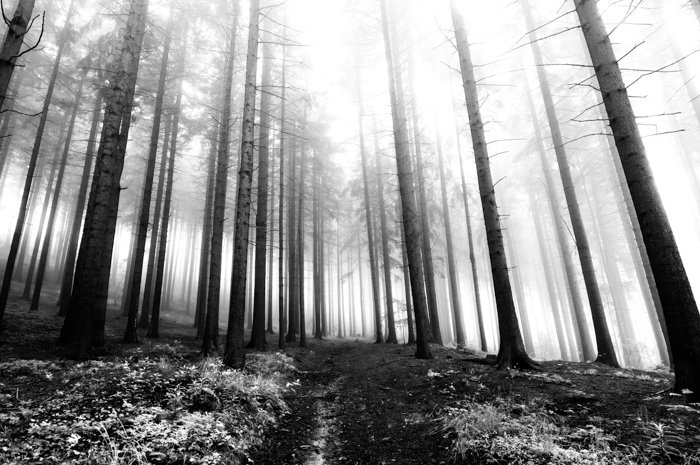
Filters for landscape photography are a simple accessory that can greatly improve your images. Whether you shoot sweeping landscapes or bustling cityscapes, filters help you get better results!
We give you a thorough introduction if you want to incorporate landscape filters into your photography setup. We also help you start with articles on different types of landscape filters. We have lists of the best filters in each category so you can precisely find what you need.
- Master a five-step process for consistently stunning shots
- Discover local shooting locations with advanced scouting techniques
- Learn foolproof settings for perfect landscape photos every time
What Are Filters for Landscape Photography?
The best filters for landscape photography help you get the shots you want. Some give you more control over your exposure settings in tricky conditions. Other filters improve clarity and definition.
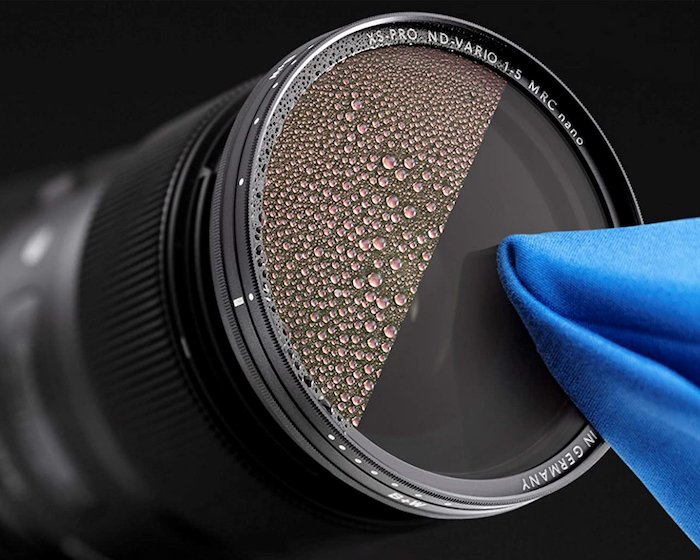
Neutral density (ND) filters are the most commonly used filters in landscape photography. They restrict light transmission into the lens. And they allow longer shutter speeds and wider apertures. Variable and graduated ND filters are also available.
Polarizing filters are another popular choice with landscape photographers. They reduce light reflection and improve clarity, giving you sharper details. Black-and-white photography filters, which also improve clarity and detail, are available.
Filters are physical camera accessories you place on the front of a lens or mount directly on the lens. But you can also use filters in photo editing software to achieve the same effect in post-production.
Our article reviews the best filters for landscape photography. It covers both physical and editing filters. Click on the links in the text to learn more about each topic.
What Are ND Filters?
ND filters reduce the amount of light entering your camera. They allow you to use slower shutter speeds and faster apertures in bright conditions. This feature is useful for capturing motion blur in water or clouds.
ND filters come in different strengths, measured in stops. A 1-stop ND filter cuts the light in half, while a 10-stop filter reduces light by a factor of 1000. They are available as screw-on or square filters that slide into a holder.
ND filters are an essential tool for landscape photographers. They help you achieve creative effects that aren’t possible without them.
How to Use Landscape Filters
This section looks at how photographers use different filters for landscape photography.
These tutorials cover actual lens filters and replica filters in editing software. They give you an introduction to each filter, so you can start shooting with one the next time you head out.
Graduated ND Filters
The graduated filter is a powerful tool in Adobe Lightroom that can dramatically improve your landscape photos. It allows you to make targeted adjustments to specific areas of an image.
To use the graduated filter, select the tool and drag it across the image where you want the effect to begin and end. Holding down the Shift key while dragging can keep the filter straight. Once applied, you can edit the filter’s position, rotation, and transition softness.
The graduated filter offers many creative possibilities. You can adjust exposure, contrast, and color in specific areas. It’s also useful for adding blur effects to create a shallow depth of field or tilt-shift look.
Make sure to experiment. There are countless ways to use graduated filters to improve your landscape photos in Lightroom.
Neutral Density Filters
Neural filters in Adobe Photoshop use AI to generate new pixels in your photos. They can do once impossible things, like turning a photo into a cartoon or painting. To use neural filters, open an image in Photoshop and go to Filter > Neural Filters.
Some filters, like Skin Smoothing and Colorize, are fully tested and give good results. Others, like Smart Portrait and Landscape Mixer, are still in beta testing and can be unpredictable. Most filters are simple to use.
Select a filter, adjust the settings, and choose an output option. With just a few clicks, you can smooth skin, colorize black and white photos, or apply an artistic style to your image. Neural filters are powerful new additions to Photoshop that are worth exploring.
See the full article to learn more about neural filters in Photoshop.
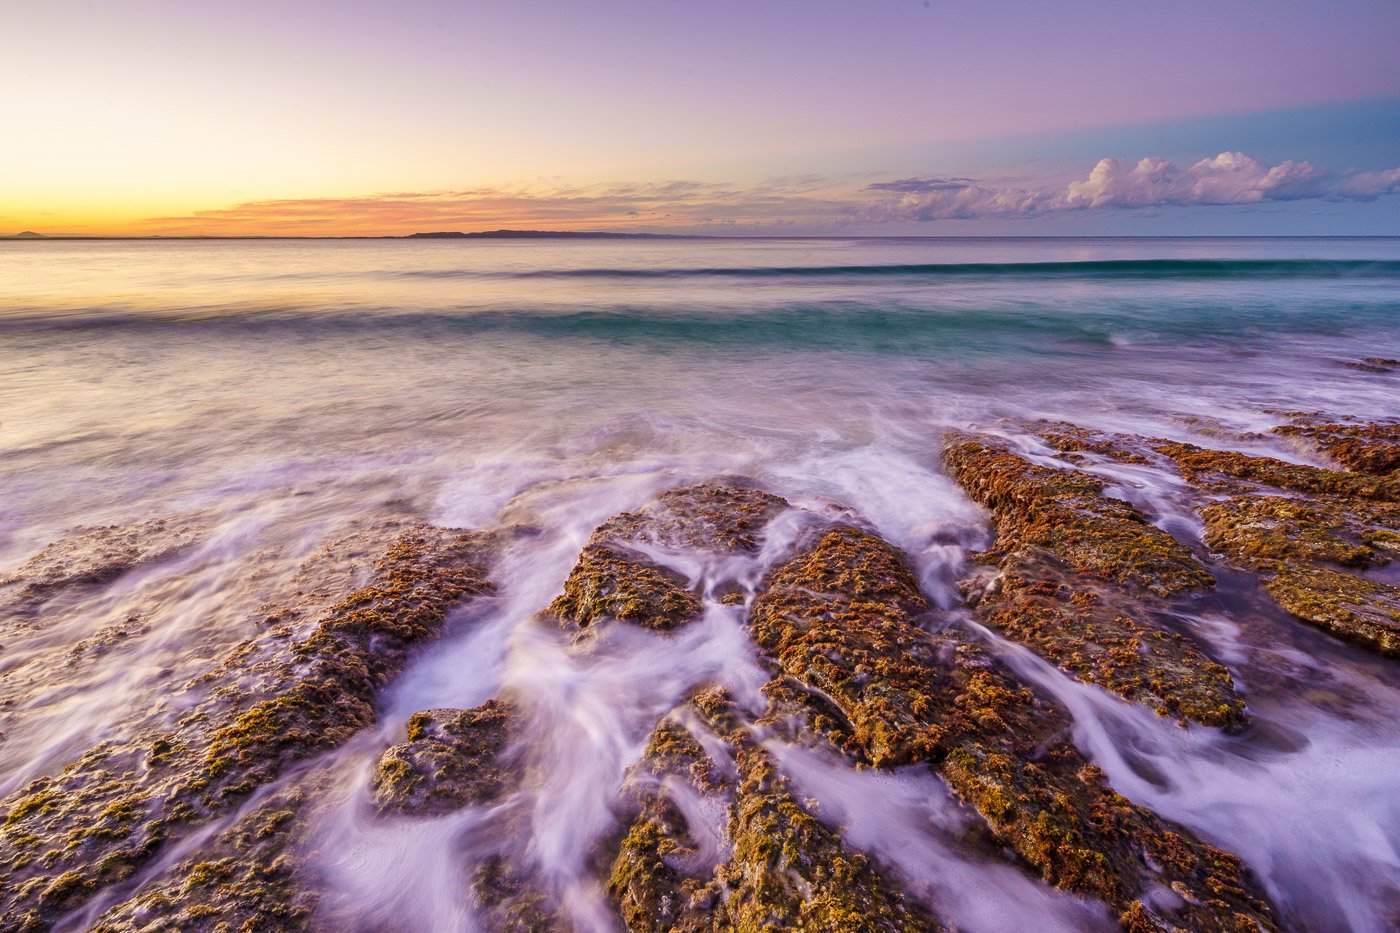
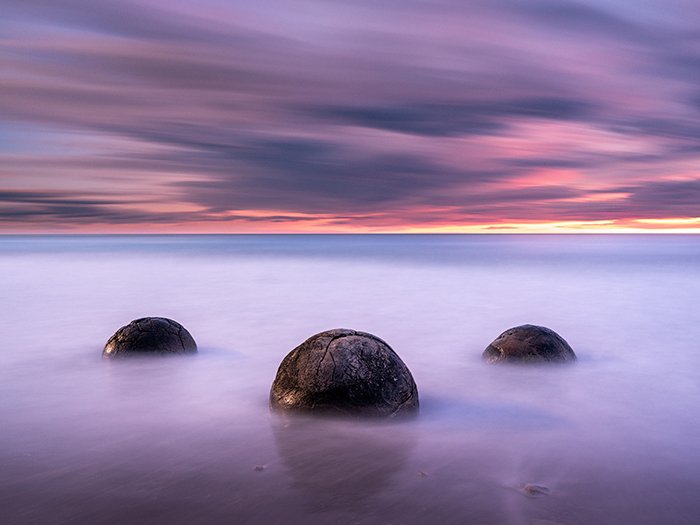
ND for Long Exposure
Using an ND filter is the easiest way to take long-exposure photos. It mitigates light transmission into your lens so you can use slower shutter speeds without overexposing your images.
If you don’t have an ND filter, you can use a few tricks to take long exposures. Use a small aperture to limit the amount of light entering your lens. Take photos when it’s not too bright outside.
You can also take several photos of the same scene and merge them later in editing software. This process creates the illusion of a long exposure.
Check out our in-depth guide to learn more about using ND filters for long-exposure photography.
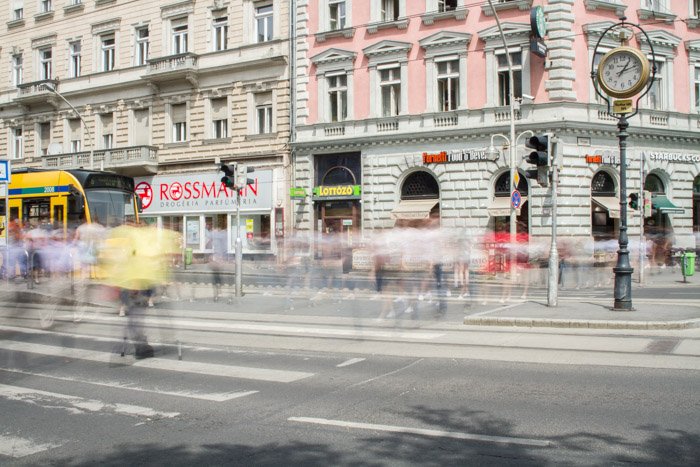
Remove People with ND Filter
A neutral density (ND) filter is a great way to remove people from your photos. It limits the light entering the camera, letting you use longer shutter speeds. It makes moving objects, like people, disappear from the scene.
Shoot in low light at sunrise with minimal crowds to get the best results. Use a tripod to avoid blurring from camera shake during long exposures. Start with your lowest ISO and a shutter speed of 4 to 30 seconds in Shutter Priority mode.
If your aperture is blinking at its minimum (like f/22), you need an ND filter to reduce light and get a good exposure.
Stack multiple ND filters if needed, but don’t use more than two to maintain image quality. Manual mode gives you full control to perfect the exposure. Keep the shutter speed long enough to blur out people, then take a few shots when the scene is emptiest.
Click the link to learn more about removing people from photos with ND filters.
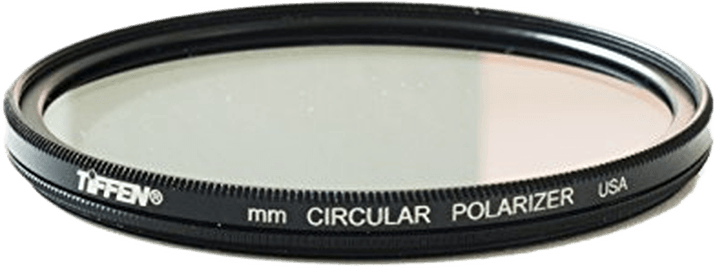
Circular Polarizing Filter
A CPL (Circular Polarizing Filter) filter is a must-have for landscape photographers. It reduces glare and reflections from surfaces like water and glass. CPL filters also darken and intensify blue skies, making clouds pop.
The filter only allows light waves with a specific orientation to pass through. You can adjust the filter’s effect by rotating it until you get the look you want.
Remember that a CPL filter can reduce the light entering your lens by one or two stops. If you’re using a tripod, this isn’t a problem, but be aware if you’re shooting handheld.
Click the link to learn more about CPL filters and read our full article.
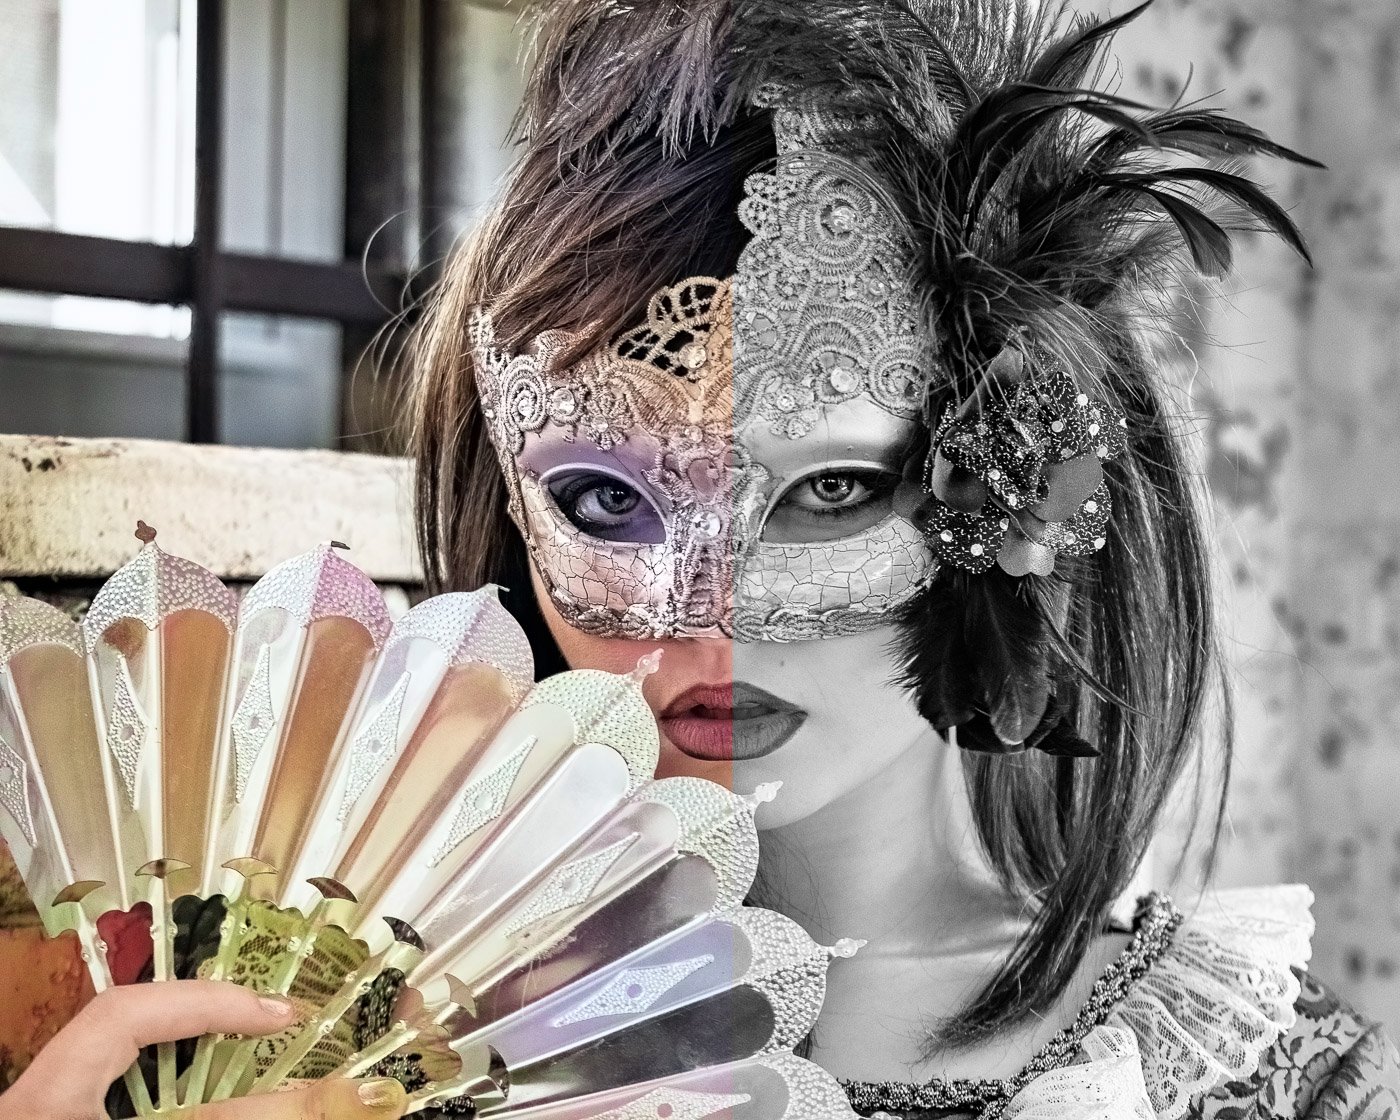
Black-And-White Filters
Black-and-white filters can have a big impact on your monochrome photos.
Color filters let through their color and reflect their complementary color. This feature affects the tones in black-and-white images. Different color filters are best for different types of black-and-white photography.
Red filters lighten reds and pinks while darkening greens and blues. It makes them great for moody landscape scenes with foliage. Orange filters add contrast and depth while reducing blemishes in portraits.
Yellow filters darken blue skies to make clouds pop. Green filters lighten foliage for pleasing landscape shots.
Neutral density filters reduce light entering the lens. They allow long exposures in bright conditions. Polarizing filters reduce glare and reflections while darkening skies for more dramatic images.
Experiment with various black-and-white filters. They can help you create a more unique and sophisticated style in your black-and-white photography.
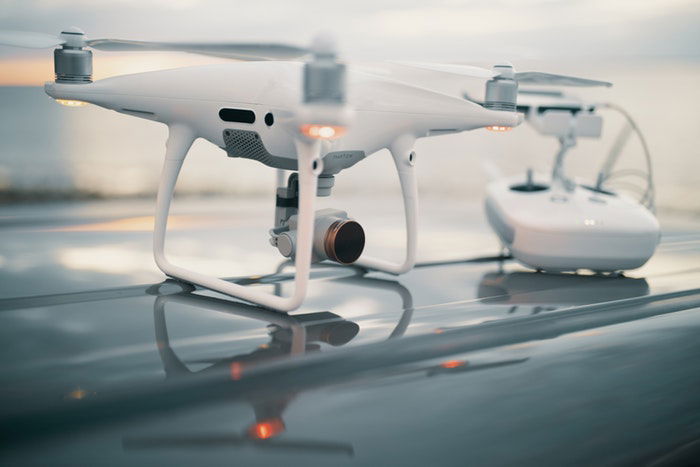
Drone ND Filters
A drone ND filter can help you capture stunning aerial photos in bright sunlight. But to ensure the best results, investing in a good-quality filter pack is important.
ND filters reduce the light entering the lens, letting you use slower shutter speeds without overexposing your images. This feature is especially useful for creating smooth motion blur in drone videos.
When choosing an ND filter, consider the intensity level you need based on the lighting conditions. ND filters have various strengths, such as ND4, ND8, ND16, and ND32, with higher numbers indicating less light transmission.
To effectively use an ND filter, shoot in manual mode to fully control your camera settings. Then, use the ND filter to adjust your shutter speed and ISO to achieve the desired exposure.
Find the right combination of settings and an ND filter. And you can capture beautiful aerial photos and videos in even the brightest conditions. Our in-depth guide is the best place to start if you want to learn more about drone ND filters.
White Balance Filter
A white balance filter, known as a color temperature filter, adjusts an image’s colors. It ensures that colors are accurate and consistent, regardless of lighting conditions. There are two types: warming filters that add warmth and cooling filters that add coolness.
White balance filters can be placed over the lens to affect all images. They can also be attached to the front of the camera to affect only images taken with it.
Using a white balance filter saves time on photoshoots and editing by quickly and easily ensuring accurate white balance. It acts as a white balance meter. It converts your camera into an incident meter that measures light falling onto your subject rather than bouncing off it.
White balance filters are particularly useful for shooting in difficult lighting situations. Use them in yellowish artificial light, rooms with colored walls, or uneven lighting. They also work well for high-contrast scenes and glossy or reflective surfaces.
To learn more about white balance filters, check out our in-depth article.
Guides to the Best Filters
Camera filters are important tools for improving your photography. The best camera filters help you achieve better results in different shooting conditions.
Polarizing filters are very popular for outdoor photography. They reduce glare and reflections, giving your images more color saturation and contrast.
Neutral density (ND) filters are another common filter type. They reduce the light entering your lens, letting you use slower shutter speeds or wider apertures in bright light. ND filters are especially useful for long-exposure photography.
There are many other types of camera filters to choose from. Infrared filters are great for creative photography. Light pollution and narrowband filters help with astrophotography. And solar filters let you safely photograph a solar eclipse.
Check out our full list of the best camera filters to learn more.
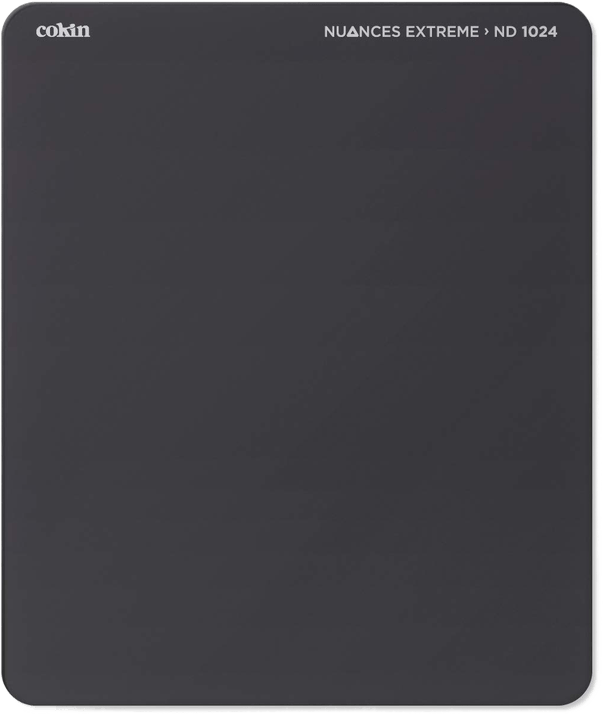
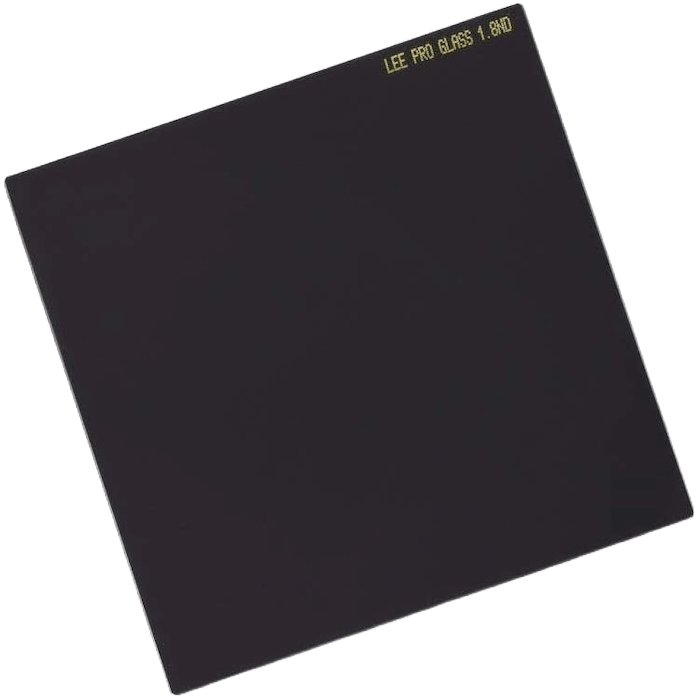
Neutral Density
Neutral density filters are essential for long-exposure photography. They reduce the light entering the lens, letting you use slower shutter speeds or wider apertures.
The best ND filters maintain sharpness and color accuracy. Cokin’s Nuances Extreme ND 10 Stop Filter is a top choice, offering excellent performance at a reasonable price. It’s made of durable optical glass and includes a protective pouch.
The Lee Filters ProGlass IRND 10 Stop Filter is a professional-grade option for those seeking the highest quality. It maintains exceptional clarity and color neutrality, making it ideal for demanding photographers.
Check out our in-depth guide with a full list of the best neutral density filters.
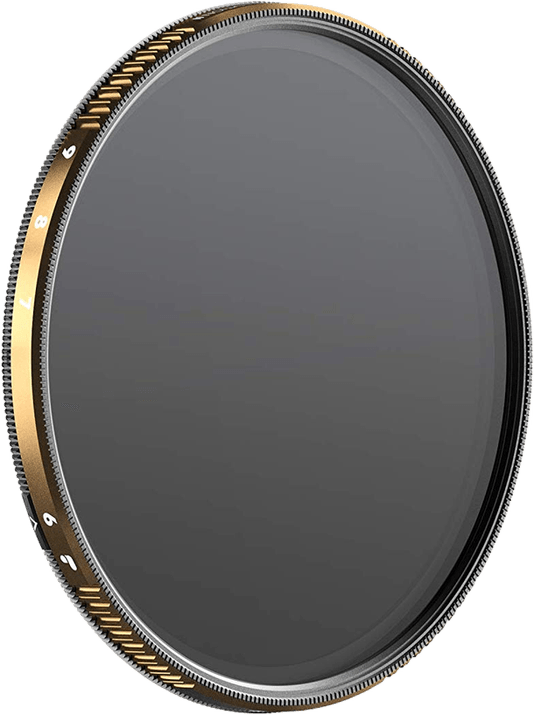
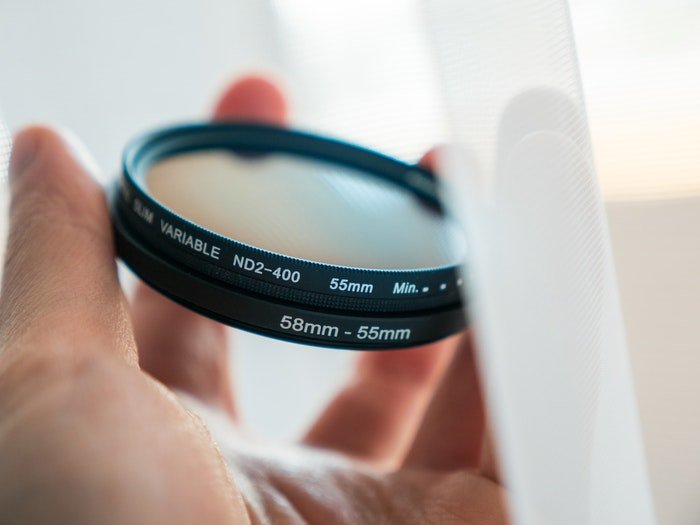
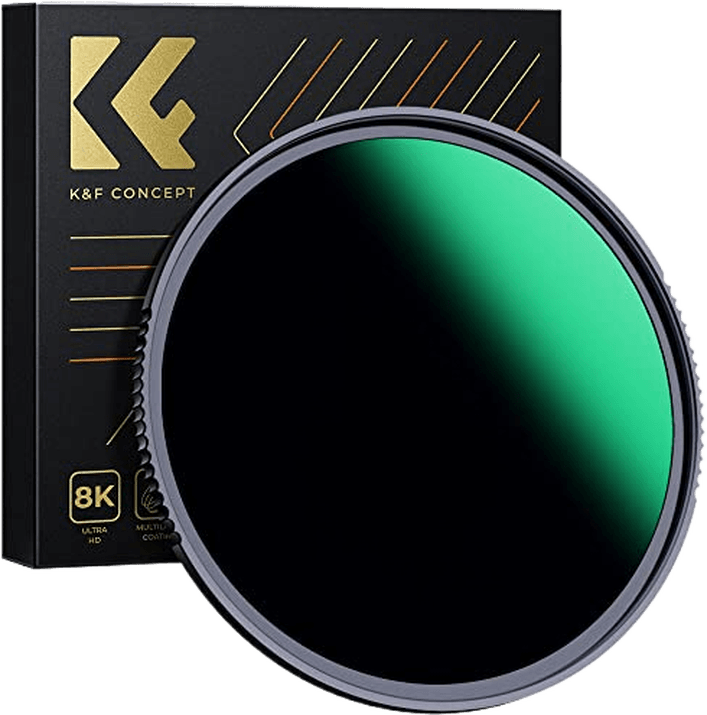
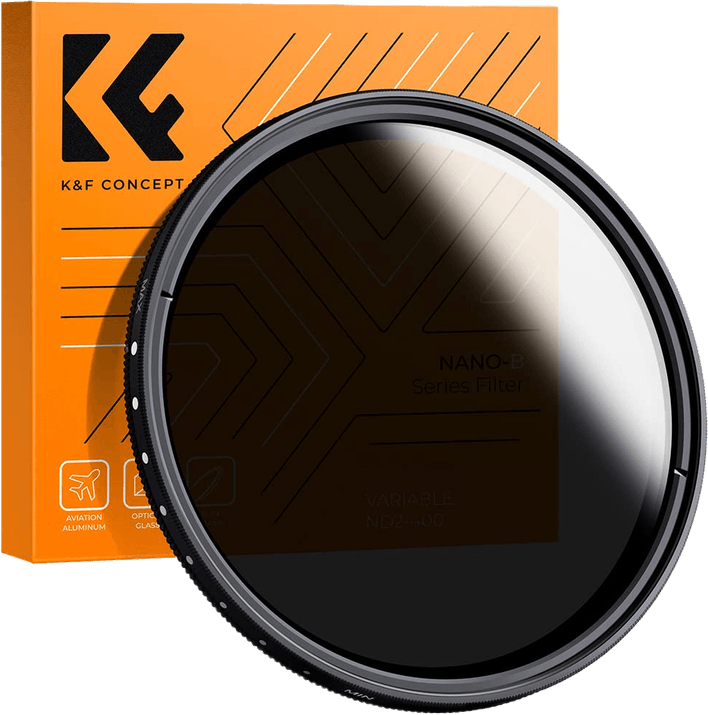
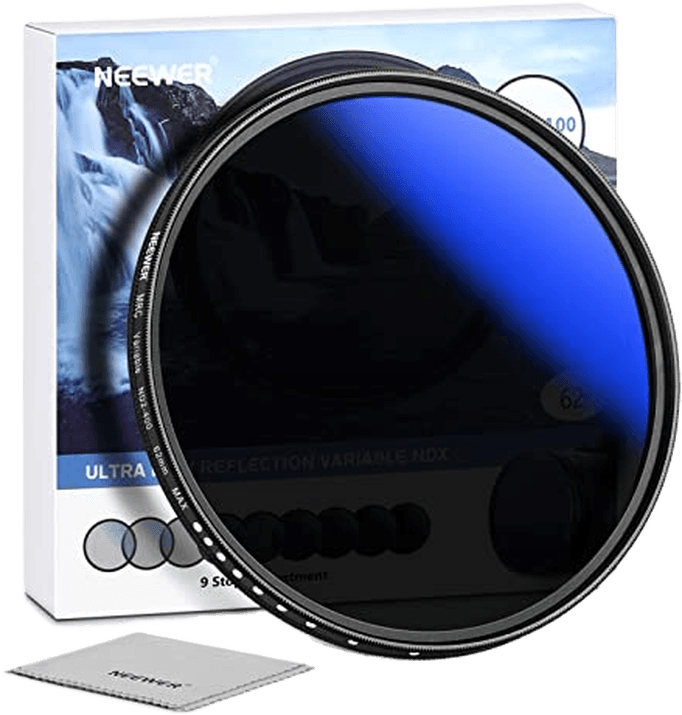
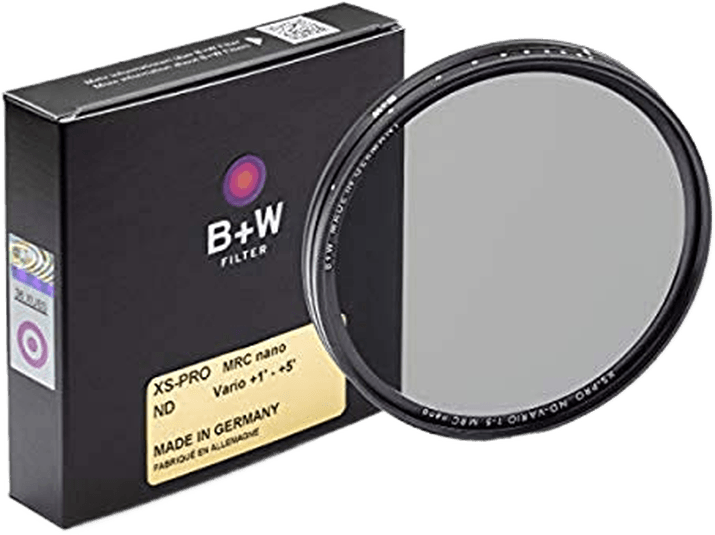
Variable ND Filter
A variable ND filter is a must-have accessory for landscape photographers. It gives you more control over your exposure settings in bright conditions. You can use slower shutter speeds or wider apertures without overexposing your image.
The best variable ND filters have a wide range of stops. They let you adjust the strength of the filter to suit the conditions. They also improve image quality by reducing lens flare and ghosting.
Variable ND filters come in different sizes to fit different lenses and at different price points. You can find the perfect one for your needs and budget. Our full article has all the best variable ND filters.
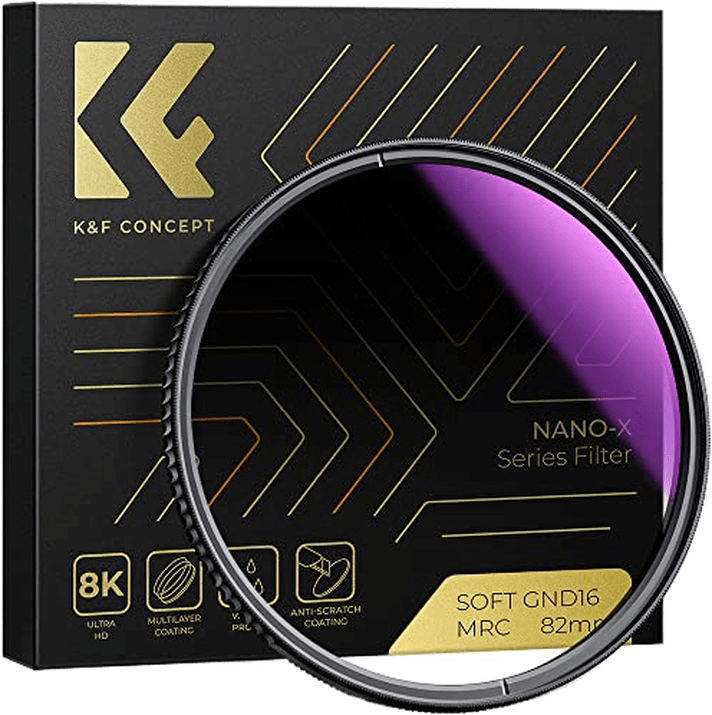
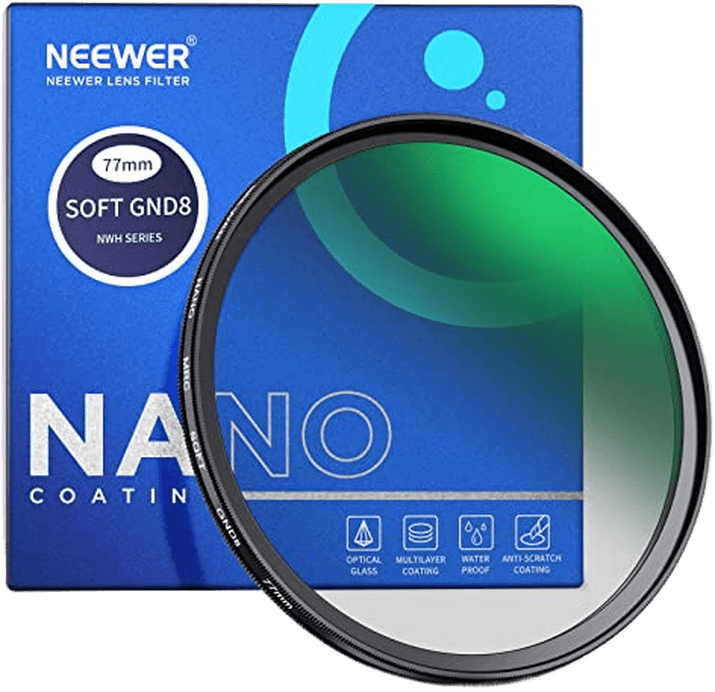
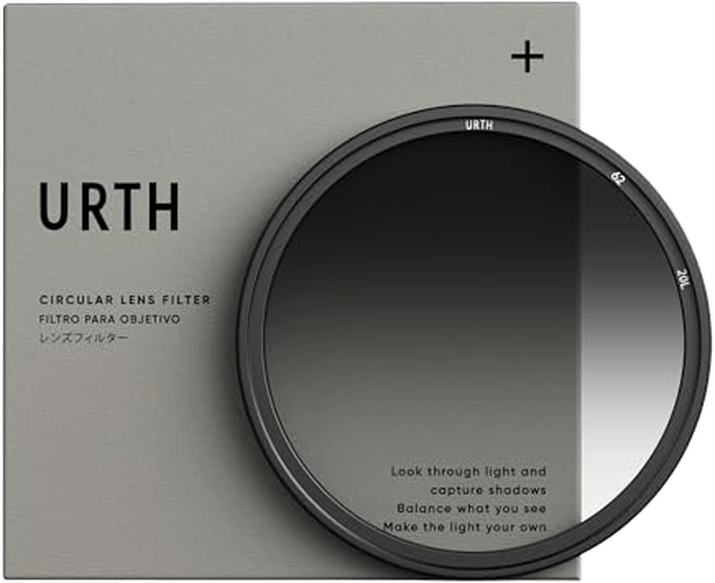
Graduated ND Filters
A graduated ND filter is a must-have for landscape photographers. It balances exposures across the scene, eliminating blown-out skies or dingy foregrounds. The best graduated ND filters maintain excellent optical quality with no color loss.
Graduated ND filters come in different strengths, measured by optical density. They also have different transitions between the filtered and unfiltered sections, from hard to soft.
Landscape photographers commonly use soft and medium grad ND filters. Its gradual transition makes the filter less detectable.
The K&F Concept Soft Graduated Neutral Density Filter is an excellent choice. It’s well-made, maintains great optical quality, and is available in many sizes.
If you want to improve your landscape photography, a graduated ND filter is an important accessory to add to your camera bag.
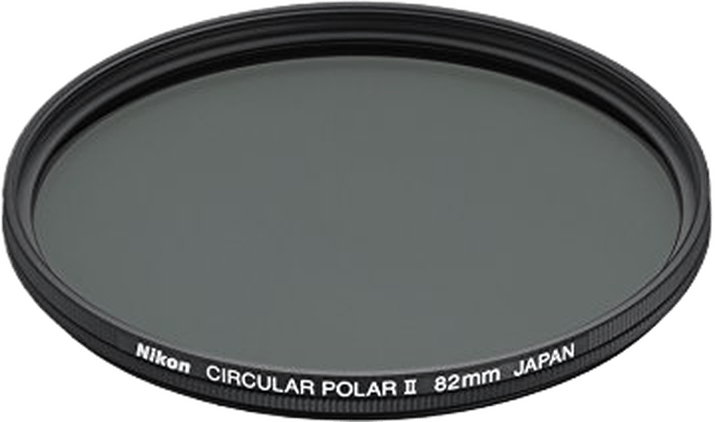
Polarizing Filters
Polarizing filters are a secret weapon for landscape photographers. They reduce reflections and glare on water, snow, and glass. At the same time, they deepen colors and boost contrast in a way impossible to replicate in post-processing.
The best polarizing filters balance affordability with quality. Look for high-quality glass with no color cast and thin frames to avoid vignetting.
Another important feature is high light transmission. Coatings that reduce glare, repel water and oil, and protect against scratches can significantly affect the price.
Most polarizers screw onto the front of your lens, but some use magnetic or drop-in systems for quick attachment. When choosing a size, buy a filter to fit your largest lens diameter and use step-down rings for your other lenses.
Whether you shoot digital or film, polarizing filters are a must-have for any landscape photographer.
Our top polarizing filter recommendation offers drop-in simplicity, multi-coating, and a clam-shell case.

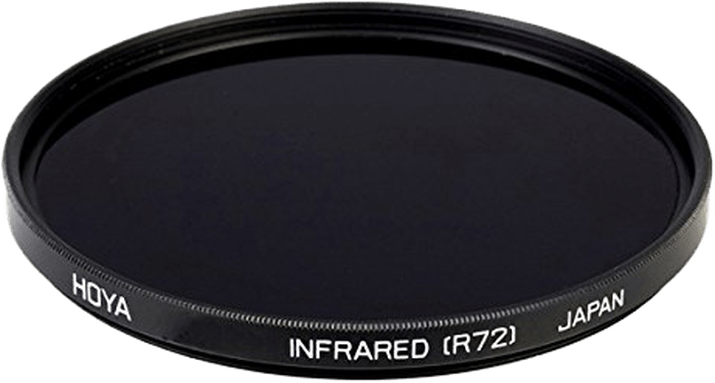
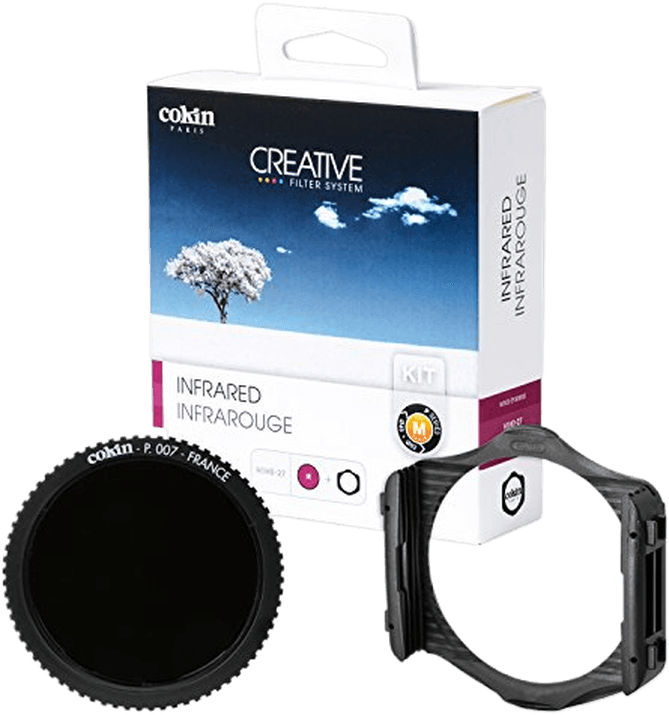
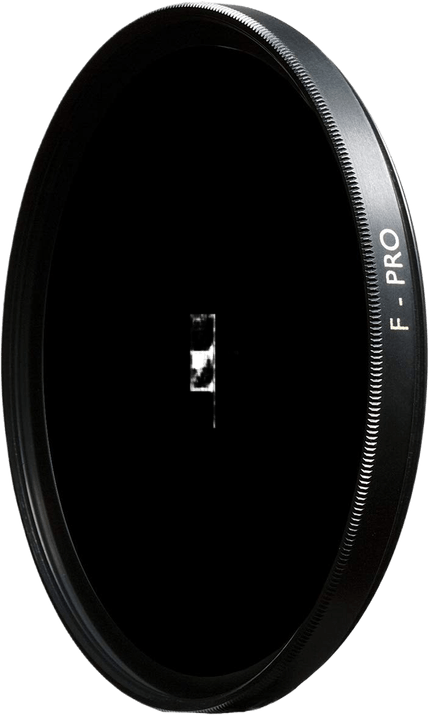
Infrared Filters
Infrared filters block visible light, allowing only infrared light to pass through. This feature creates unique, surreal-looking photos. The best infrared filters are available in different densities, each producing a distinct effect.
Circular infrared filters screw directly onto your lens, preventing light leaks. Square filters need an adapter, but you can use them with multiple lenses. Focus and compose your shot before attaching the filter, as it will be very dark after it’s attached.
Infrared filters work best for landscape and nature photography. They make vegetation appear bright white for an otherworldly look. To learn more about infrared filters, check out our in-depth guide with a list of the best options for landscape photographers.
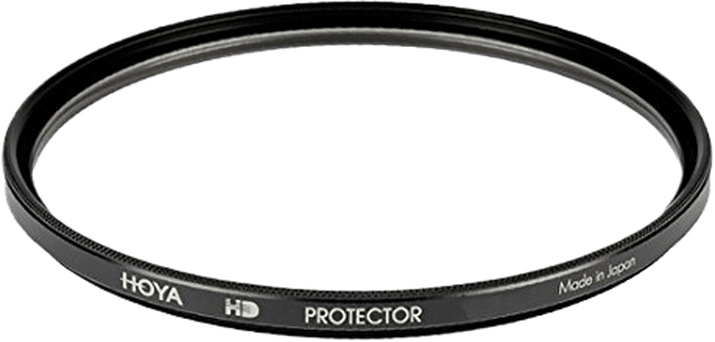
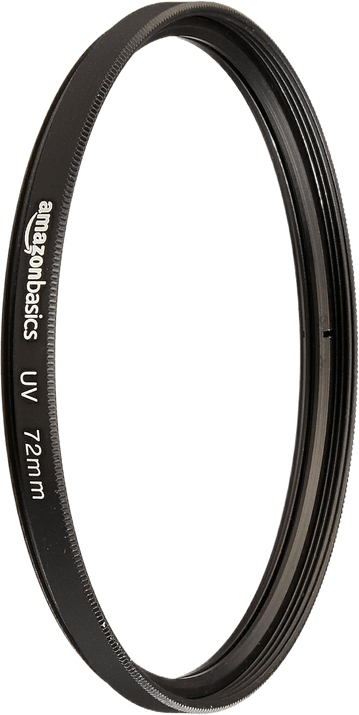
Lens Protection Filters
Lens protection filters are important for keeping your lenses safe from damage. They provide extra protection against scratches, dust, and moisture. This safeguard can save you thousands of dollars in lens repairs or replacements.
UV filters are the best type of lens protection filter. They reduce haze, especially in mountainous or coastal areas. UV filters are also cheap and don’t dramatically affect image quality.
Every photographer should use lens protection filters on all their lenses. Our top choice is the Hoya HD Digital Protector Filter. It offers great performance and simplicity and comes in many sizes. Get one now to avoid buying a new lens if yours gets damaged.
See our article’s full list of options on the best lens protection filters.
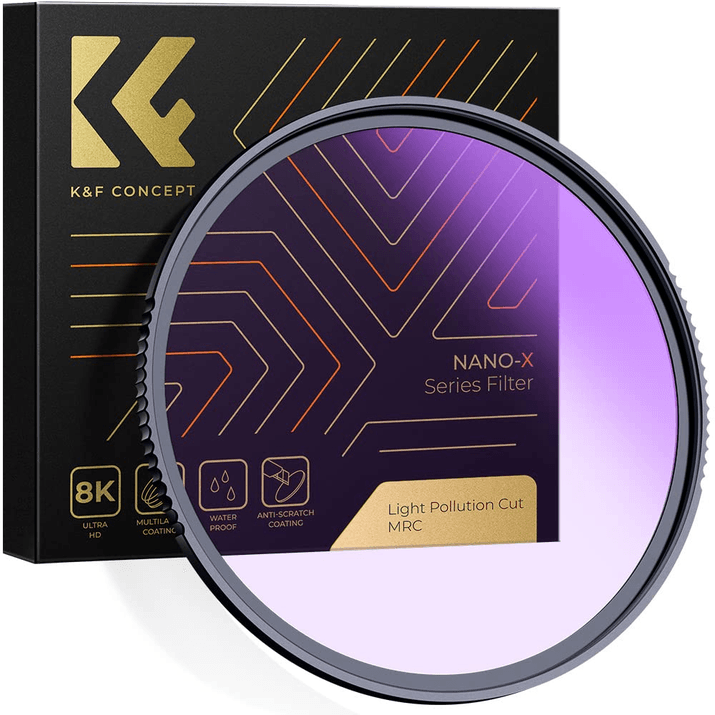
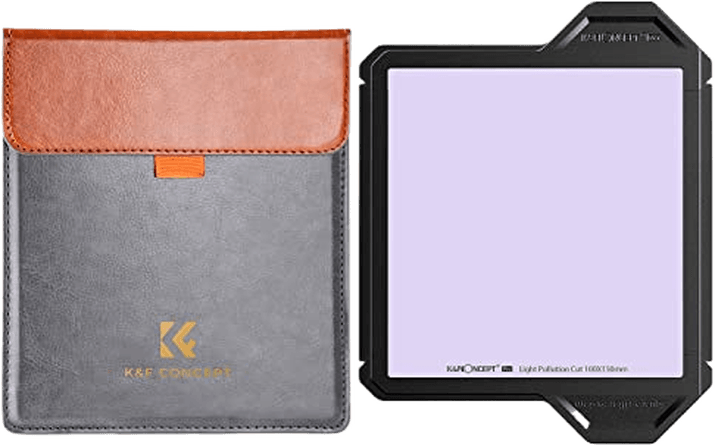
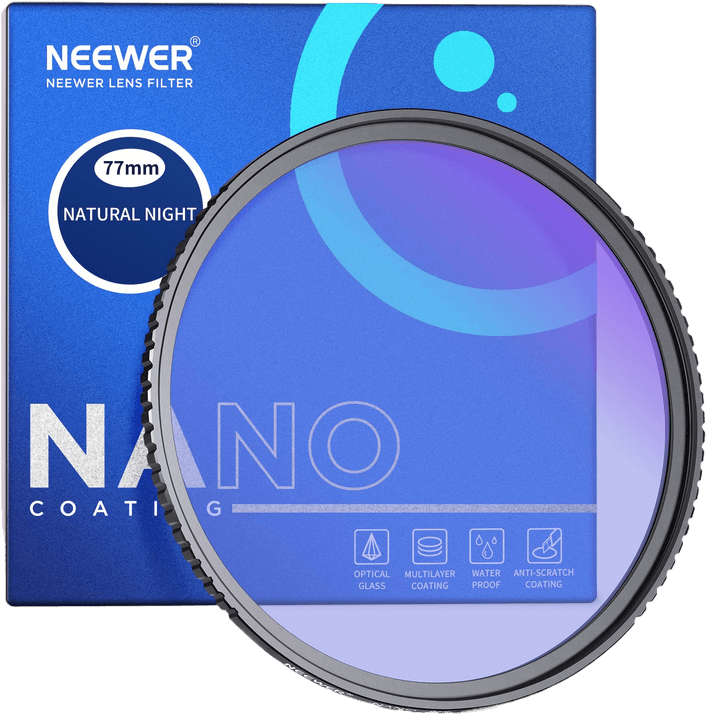
Light Pollution
Light pollution filters are important for night sky photography. Photographers don’t commonly use them in landscape photography. But they do use them for night landscapes and cityscapes.
They block artificial light from street lamps and buildings, letting stars shine brighter. This feature makes capturing the Milky Way and other celestial objects easier.
The best light pollution filters use high-quality glass with special coatings. These coatings reduce glare and reflections while protecting the glass from dirt and scratches. They come in different sizes to fit various camera lenses.
Using a light pollution filter requires a few camera setting adjustments. A manual white balance between 700 and 1,500 K works best. A tripod and wide aperture are also key for sharp, detailed night sky images.
Light pollution filters are a must-have for urban astrophotographers. They can greatly improve image clarity and quality.