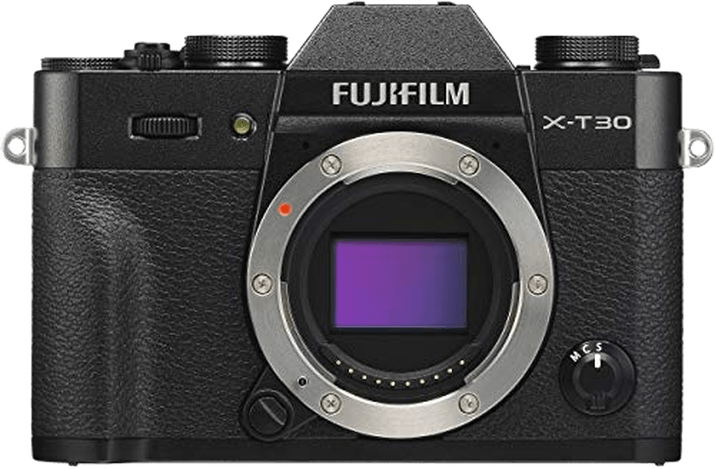
The first thing you might notice about the Fujifilm X-T30 is just how stylish it is. The world is full of bland black plastic. And the metal and imitation black leatherette makes a powerful statement.
But can it deliver thoroughly modern results from its very retro body? Read this review to see how good the X-T30 is in today’s crowded market.
Fujifilm X-T30 Overview and Specifications
Fujifilm X-T30
| Released |
Released
2019
|
| Sensor Format |
Sensor Format
APS-C
|
| Lens Mount |
Lens Mount
Fujifilm X
|
| Megapixels |
Megapixels
26 MP
|
| Autofocus Points |
Autofocus Points
425
|
| Maximum ISO (Native) |
Maximum ISO (Native)
12800
|
| Frame Rate |
Frame Rate
30 fps
|
| Video |
Video
1
|
The X-T30 was once Fujifilm’s latest mid-range mirrorless camera. (There is an updated X-T30 II you can compare it to.) And its specifications are compelling for both video and stills shooters.
It has a small, retro-style body built from decent materials. It houses a 26 MP APS-C sensor, excellent video features, and great autofocus. Plus, it can be highly customized.
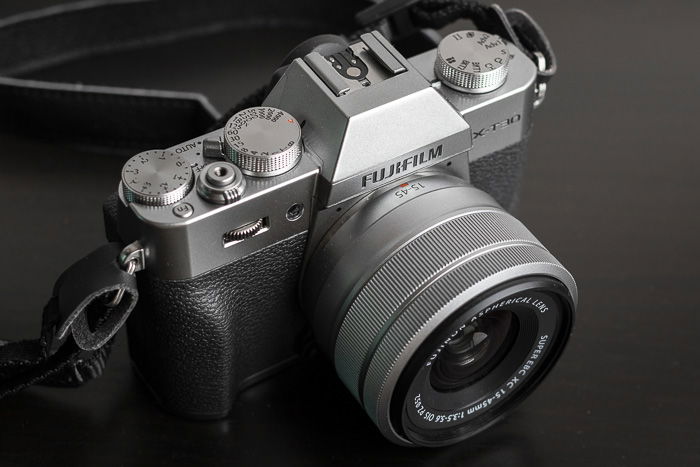
Lenses on the X-T30 are interchangeable. For this review, I picked up the 15-45mm kit lens, which was an unwise choice. More on that later.
Who Is the X-T30 For?
I can’t fully answer this question, as this is an interchangeable lens system. The qualities of the X-T30 make it an outstanding and highly economical choice for many types of shooting.
It excels in travel photography, portraits, studio work, and casual shooting. In the category of midrange cameras, it’s a great choice for landscapes, nature, and street photography. Surprisingly, it’s fantastic in low-light videography.
I would recommend considering this camera if you’re looking for the following:
- A moderate camera price
- Mirrorless construction
- A great sensor
- Beautiful colors
- High portability
- Excellent video features
Key Features of the X-T30
Camera Sensor
The sensor in the X-T30 is borrowed from the X-T3, a camera that costs considerably more. It gives you a resolution of 26 megapixels, which is plenty for anything.
Unlike most sensors, its color filter array is X-Trans rather than Bayer. This means that pixels are laid out in 6×6 blocks, not 2×2. It’s a different layout. Pixels are arranged so that all lines include pixels of all three colors.
This array makes an optical low-pass filter unnecessary by reducing moiré. Consequently, the softening effects of low-pass filters are not present in the X-T30.
And the sensor is not stabilized. But this disadvantage is compensated by the excellent stabilization in some Fujifilm lenses.
Low-Light Performance and Dynamic Range
APS-C cameras today easily outperform full frame cameras from a few generations back. Gone are the days when the key to low-light shooting was an expensive full frame DSLR. (A step I had to take.)
The X-T30 is a very solid option in this respect. And it’s among the best in its category. I would feel very comfortable using it at ISO 6,400 and 25,600 if I really had to.
In video mode, the scenes are contrasty and retain a lot of color data until ISO 12,800. The footage looks better than that of Sony cameras or Canon cameras in this price range and slightly higher.
Its dynamic range at base ISO (200) is great. But it’s not among the best. At higher ISOs, above 800, it becomes comparably better than most of its competition.

Autofocus (AF) and Burst
The X-T30’s autofocus system, while not market-leading in its class, is excellent. For anything except fast-paced action, it’s perfect.
It’s an on-sensor phase-detection system. It’s a solution many modern cameras use. It pairs the speed of DSLRs with the accuracy of contrast detection. The result is a very noticeable improvement over mirrorless cameras when they first came out.
Face detection is sensitive and reliable. And tracking is provided across the entire area of the sensor. This is a trait of most mirrorless cameras.
Focus points can also be selected anywhere in the frame. A joystick (“focus lever,” as Fujifilm calls it) helps with quick adjustments. And the AF system is overall snappy and precise. In video mode, it’s still nice. But it’s a tiny bit slower.
One of the strong selling points of the X-T30 is its burst shooting capabilities. The mechanical shutter can shoot up to 8 fps (frames per second).
But turn on the electronic shutter and the performance switches. You get an impressive 30 fps! This burst lasts only a few dozen frames (a card limitation). Yet it’s still very powerful. With autofocus enabled, it still goes up to 20 fps.
Thankfully, rolling shutter artifacts are very well controlled. This is due to the quick sensor readout speed. So you can comfortably shoot anything except very fast action with the electronic shutter.
Video Features
Many of the X-T3’s video features are included in the X-T30, too. And it once set this camera apart from much of its competition.
If you’re sticking with the camera and nothing else, you can shoot 4K at 30 fps. This is in below-standard 8-bit 4:2:0. But it is in Ultra HD (UHD) or Digital Cinema Initiatives (DCI) formats.
This was once the standard. And you can crank it up to 200 Mbps. But the bit rate is much larger in newer cameras, like the Fujifilm X-T5.
Files at this 8-bit setting are still packed with tonal data. So it’s still pretty good. One thing I mentioned before is low-light video quality. It is awesome, far ahead of anything comparable cameras can produce.
With an external recorder, you can actually further improve video quality and get 10-bit 4:2:2. This is a rare feature in this price range. Only the Panasonic G9 offers similar options.
The X-T30 is also capable of shooting at 120 fps in FullHD.
As I mentioned, rolling shutter artifacts are extremely well-controlled. This was an issue in the previous generation of Fujifilm cameras. But it has been solved in both the X-T30 and the X-T3.
There are limitations to shooting video with the X-T30, though. 4K recording is restricted to 10 minutes in one take. This is less than usual. Most cameras only stop at 30 minutes.
Another issue is overheating, which is unsurprising in a camera so small as the X-T30. You shouldn’t really shoot for more than 10 minutes anyway because the camera gets uncomfortably hot. This might explain the time restriction.
Body and Handling
The body of the X-T30 is made of aluminum. Much of it is covered in simple plastic. It looks rugged. But overall, it doesn’t feel particularly comfortable or solid. To be honest, I expected more.
Competitor cameras are built slightly better. This mirrorless also lacks weather sealing, which is standard in this category. So it would’ve been nice to see it included. But the X-T30 is perhaps the best-looking camera in this category.
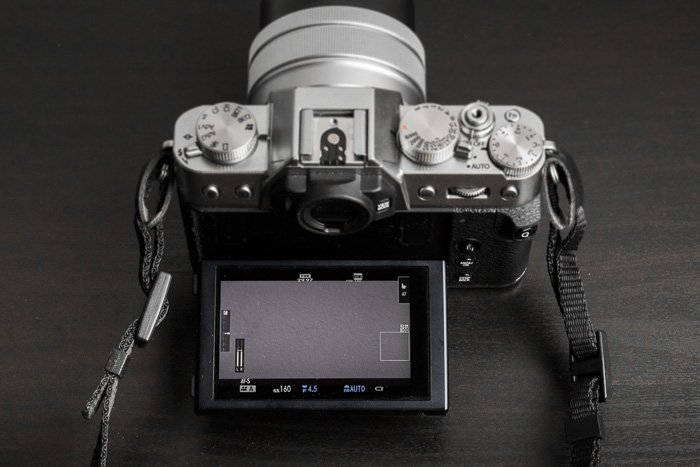
A flip-up screen is a welcome addition. But it only rotates on the horizontal axis. You can’t flip it out for shooting vertically or use it for vlogging.
The electronic viewfinder is quick. iIs refresh rate is excellent at 100 or 60 fps with power saving. The colors and contrast are not so impressive. But they’re tweakable. It’s still a very usable viewfinder. So it’s up there with the better of the competition.
Battery life is rated at 380 shots. During my test, I shot with it for a day. And it held up, with 10% remaining after a long hike. I wasn’t fully focused on shooting, though. In a more demanding context, consider getting a spare battery or two.
The camera is chargeable via USB-C. Or the battery can be charged separately with an adapter not included in the base package.
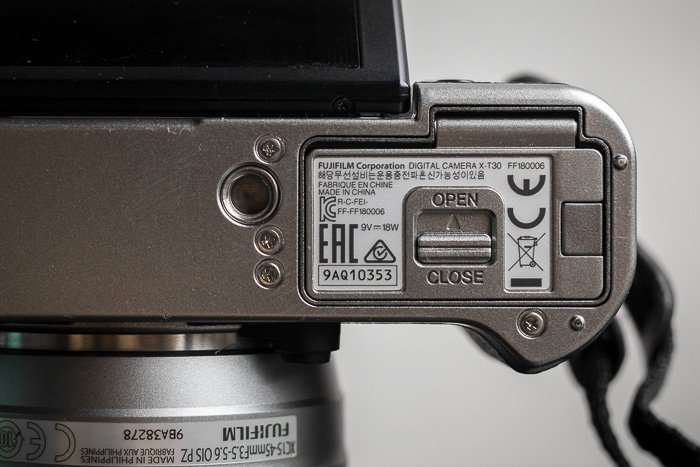
A single UHS-I SD-card slot shares space with the battery. But this slot is not placed well.
You can’t open the door if you’re using a tripod (or any accessory that screws onto the bottom). And the tripod mount is also off-center with the lens, which is not ideal.
While not bad, the grip on the right side is not comfortable for longer periods. It’s simply too small. But both problems above can be solved by getting an external grip. Yet, it is not an ideal workaround.
Overall, construction and ergonomics are the X-T30’s largest weaknesses.
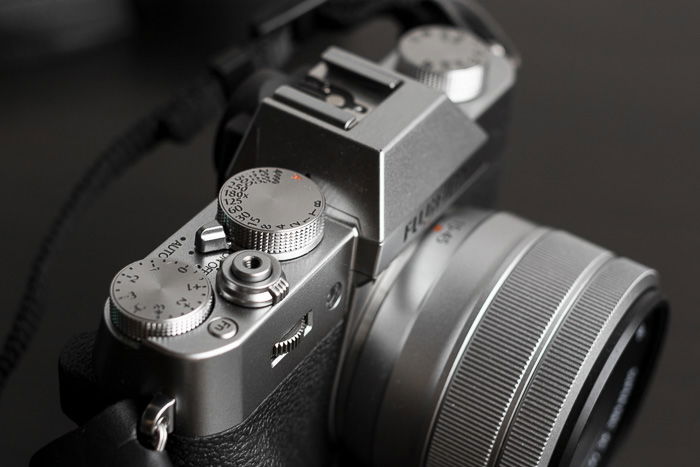
Camera Controls
Fujifilm’s cameras are controlled differently than usual. Most cameras have a well-known mode dial with Manual, Program, and Priority modes. Here, you can set all exposure parameters independently of each other at all times.
On the X-T30, you have a fixed shutter speed dial on the top. ISO and aperture can be mapped on the two control dials on the back and front.
So to use the X-T30 in aperture priority mode, simply set your desired aperture. And set the shutter speed to A (Auto). Likewise, set your aperture to A on the lens to use Shutter Priority. And set your desired shutter speed.
A drive mode dial and an exposure compensation dial are located on the top. All in all, if you choose so, the X-T30 gives you control of all exposure parameters on separate dials.
There is also an Auto switch. It quickly lets you jump between fully automatic mode and your preset settings. It’s for situations where you only have a second or so to react and don’t have your camera set up. So it can be a lifesaver.
Most of the back is occupied by the three-inch touchscreen. It’s great for touch focus. But I’ve found that touch functionality is not implemented well in general. You can’t use it in the menus. And it’s sluggish when reviewing images.
Sadly, the four-way controller is gone. But buttons and dials are fully customizable. So you can set pretty much any function to them.
You can access a quick menu by pressing a dedicated button. And you can set up several such menus for different shooting occasions.
The shutter button is designed to accept a standard mechanical remote release cable. This makes it easier and cheaper to find such cables, as all you need is a non-electronic cord. The X-T30 also accepts digital, programmable releases, though.
Connectivity is great. Bluetooth and Wi-Fi connection can be used to transfer images and to control the camera remotely.
Film Simulations and Color
Fujifilm’s signature feature is its film simulations. They are basically color and tone calibration profiles. They very faithfully emulate the look of some popular film types. Many photographers love them, and they are truly great.
They only apply to JPEG files and videos. But if you shoot RAW, don’t worry. Even RAW colors are excellent. They hardly require any tweaking to get to perfection.

What I Loved About the Fujifilm X-T30
The most important thing I truly liked about this camera was actually the results I was getting from it. Sharpness (with the 15-45 kit lens), dynamic range, colors, and tones are fantastic. This is especially true for a camera this size.
It’s also a very versatile yet compact camera with intuitive controls. It has become a popular choice for a wide range of photographers.
What I Wish Was Different
While it might be advantageous to some people, I wish the X-T30 was a bit larger and sturdier. And here’s why.
If you want a small, compact camera, the X-T30 may not be your best bet. You could choose Fujifilm’s own excellent X100V. Or I would go for the fantastic Ricoh GR III.
For the X-T30, I must use a camera bag that can fit a slightly larger camera body. It would also have to fit a larger grip, a tripod mount that is actually centered, a larger battery, and more.
If I use a better zoom lens than the 15-45mm, the package is quite larger anyway. With the same features, it wouldn’t make a difference in price. The X-T30 should have been made more comfortable, perhaps larger.
A Word on Lenses
I used Fujifilm cameras in the past with fairly expensive zoom lenses. Specifically, they were the XF 18-55mm f/2.8-4 and the fantastic XF 16-55mm f/2.8.
So for this review, I wanted to try something different. I chose the cheapest kit lens available with the 15-45mm powerzoom.
My experiences with it are ambivalent. Its image quality is excellent for such a small and cheap optic. And its stabilization module also does the job very well. It partly makes up for the lack of such in the camera.
But in every other aspect, it’s forgettable. Its build quality is perhaps the worst I’ve ever touched.
The powerzoom motor is loud, slow, and drains the battery. I’d argue it’s completely unnecessary. Plus, there is no focal length indication. This is a deal-breaker for me.
The 15-45mm lens is small when not used. But as soon as you turn on the camera, it protrudes forward. So the shooting experience with it is similar to a compact zoom camera from 20 years ago.
So I definitely recommend going for the X-T30 with the 18-55mm if you plan on buying a kit lens. It’s more expensive and larger. But its advantages are worth that.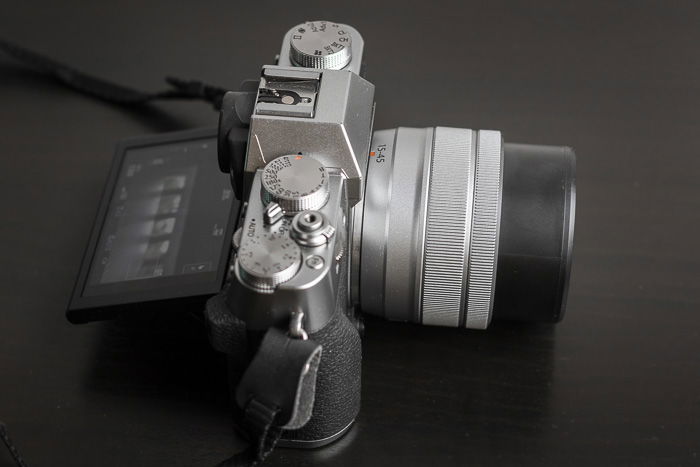
Alternatives to the Fujifilm X-T30
There are several alternatives to the X-T30, including the newer X-T30 II. Some we have more thoroughly reviewed.
The Sony a6400 shares many traits. This includes a similar sensor and a similar price. Its autofocus system is the best in its class. And 4K recording is not restricted by any time limit. But videos are not as high quality. Read our full a6400 review.
The Nikon Z50 is an excellent choice with great ergonomics and user experience. But the Z ecosystem lacks an extensive lens palette. Read our full Z50 review.
The Panasonic G9 is a highly capable hybrid camera for video and stills. It’s especially good for action and wildlife. Read our full G9 review.
The Canon EOS M6 Mark II has a 32 MP sensor and a fantastic autofocus system. And it has surprisingly great ergonomics in a tiny body.
And another Canon, the EOS RP, has a full frame sensor and a bunch of effectively adaptable EF lenses available. Read our full Canon EOS RP reveiw.
Our Verdict
If I had to choose a field the X-T30 best suits, I’d say it’s portraiture. But this mirrorless camera is a great choice for many other types of photography, like travel. It remains highly compact and portable while not sacrificing a lot on the quality side.
If you value image quality over construction, I definitely recommend the X-T30. But you can buy the newer X-T30 II version for about the same or even cheaper price.
Scores
| Measurement |
Measurement
Score
|
| Main Features |
Main Features
|
| Extra Features |
Extra Features
|
| Construction and Durability |
Construction and Durability
|
| Handling and Ergonomics |
Handling and Ergonomics
|
| Value for Money |
Value for Money
|
| Total Score |
Total Score
|