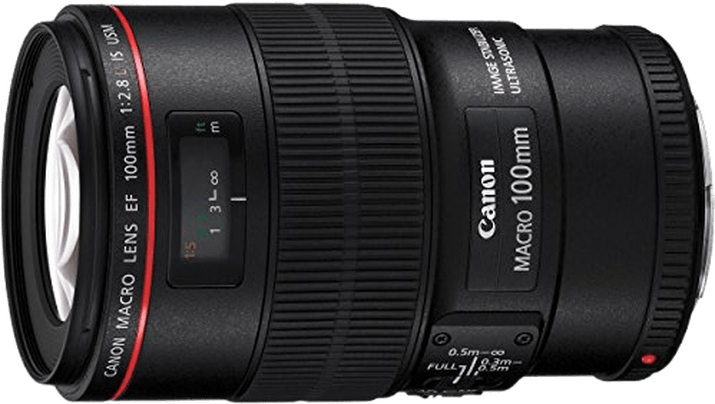
The Canon EF 100mm f/2.8L IS USM macro is one of my favorite macro and portrait photography lenses. It’s a genuine macro, so it gives 1:1 reproduction. And at 100mm, it’s the perfect length for portraits. The f/2.8 maximum aperture delivers smooth bokeh. And the excellent image stabilization helps even when f/2.8 isn’t fast enough.
Canon’s L Series lenses have a well-deserved reputation for optical quality. And so they should, as they come with a hefty price tag. Does this Canon EF 100mm f/2.8L IS USM macro deserve the famous red ring of quality? Let’s take a closer look at this lens. And we’ll see if it is the best macro lens for your Canon camera.
Canon EF 100mm f/2.8L IS USM Overview and Specs
| Brand |
Brand
Canon
|
| Lens Mount |
Lens Mount
Canon EF
|
| Maximum Aperture |
Maximum Aperture
f/ 2.8
|
| Focal Length Range |
Focal Length Range
100 mm
|
| Image Stabilization |
Image Stabilization
|
The EF 100mm f/2.8L IS USM macro was introduced in 2009. It was a fairly new optic at the time as an EF lens. It was partially supposed to supersede and improve upon its predecessor, the 100mm f/2.8 USM.
It’s unlikely that we will see an update. But a dedicated RF version exists for Canon’s full-frame mirrorless cameras.
Compared to its cheaper predecessor, it offers slightly better image quality. It also has weather sealing and hybrid image stabilization.
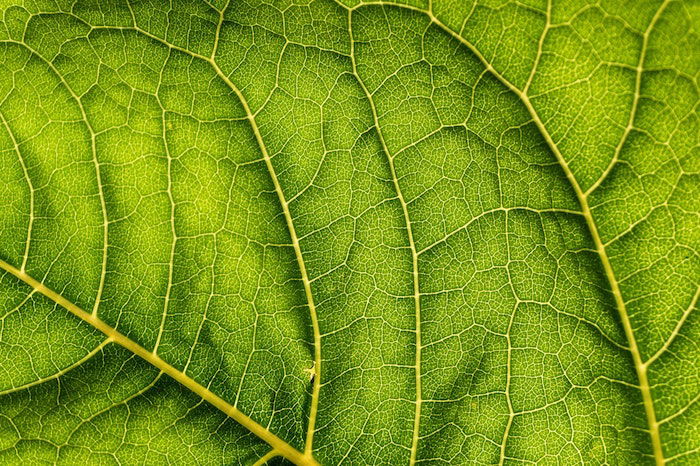
As a true macro lens, the EF 100mm f/2.8L IS USM gives you a magnification ratio of 1:1. This means that subjects appear in their real-life size on the sensor at the closest focusing distance. When you view the image on a screen, this results in an impressive close-up experience.
You’ll find a few accessories upon opening the box. The package includes a plastic lens hood, a leather carrying pouch, and front and rear lens caps.
As it’s part of Canon’s professional L Series lenses, it’s not exactly cheap. But there are several less expensive dedicated Canon macro lenses if you don’t want to invest in a top-of-the-line lens.
Who Is the Canon EF 100mm f/2.8L IS USM Macro For?
The Canon EF 100mm f/2.8L IS USM macro is ideal for many uses. It’s great for professionals who often need macro capabilities to justify buying a dedicated macro lens.
For example, it’s excellent for wedding photography. Not only is it perfect for the ring shot and other detailed images. But it’s also a great general portrait lens.
It will find its way just as easily to the camera bags of food, architecture, and portrait photographers. We even used it to shoot landscapes in our Simply Stunning Landscapes course because of its exceptional image quality!
Enthusiasts who want a versatile, high-quality macro lens will also greatly benefit from this lens. To use this 100mm lens, you will need a compatible interchangeable lens camera. But as you’ll see shortly, that list is quite long.
Key Features
Mount and Compatibility
The EF 100mm f/2.8L IS USM macro is made primarily for full-frame EF-mount Canon cameras. These are the Canon EOS 5D, EOS 6D, EOS 1DX, and the 1Ds series of digital cameras. And they are all of Canon’s 35mm film cameras since 1987.
But the lens will work perfectly on crop sensor EOS bodies (such as the 77D, 10D to 90D series, and all the Rebels). It can also be adapted flawlessly to Canon’s full-frame mirrorless R bodies (like the R3, R5C, R10, and R50).
It works just fine with a slight drop in autofocusing speed on Canon’s crop sensor mirrorless EF-M-mount cameras (M100, M50 Mark II, M5, and M6).
You can also use any EF-mount adaptor with this lens. These include adaptors to Sony E-mount, Fujifilm X-mount, Micro Four Thirds, Nikon Z-mount, Leica L-mount, and more.
But autofocusing speed and reliability on these off-brand cameras depend on the quality of the adaptor you use.
The lens’s image circle is large enough (with IS turned off) to cover smaller medium-format sensors. This includes cameras like those in Fujifilm’s GFX cameras.
Macro lenses for these formats are quite rare. And even if they exist, they cost a fortune. So the 100mm is a real prospect here.
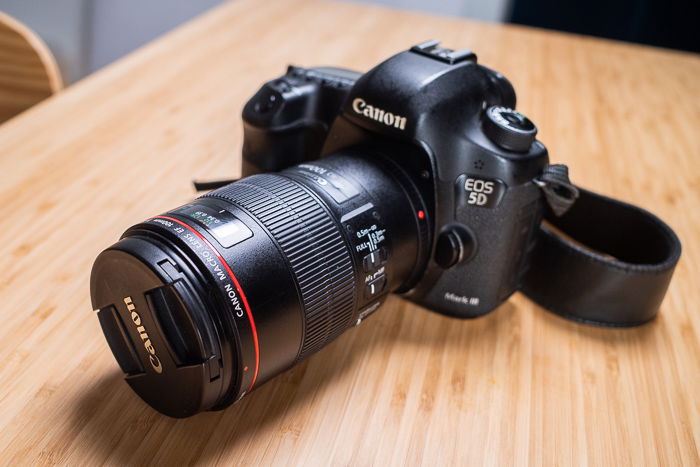
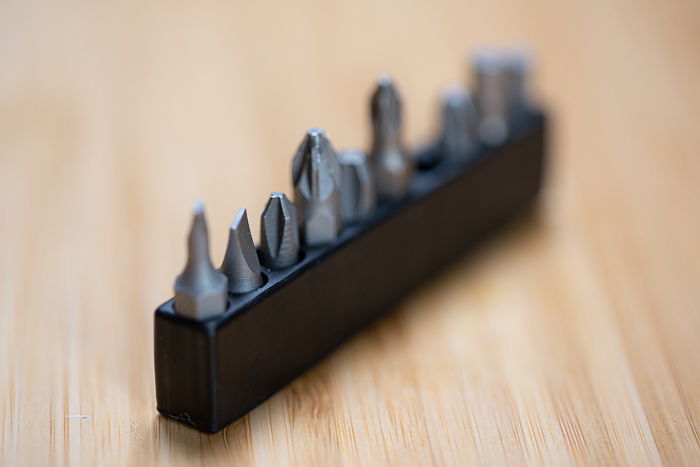
Image Quality
The Canon EF 100mm f/2.8L IS USM macro isn’t the sharpest lens I’ve used, but it’s still a very sharp lens.
A large portion of the frame is tack-sharp already at f/2.8, except for the extreme corners. As you’d expect from a macro lens, close-up image quality is excellent. And at f/5.6, the corners are just as sharp as the center of the frame.
The EF 100mm f/2.8L IS USM is distortion-free in almost all shooting scenarios. This is usually not an issue at focal lengths in this range. But its performance is exceptionally good.
Chromatic aberration is also almost nonexistent. Sometimes, out-of-focus edges have a minor purple-green coloration, but it’s only noticeable when shooting grey or white subjects.
The bokeh quality is really pleasing and creamy. Of course, this is a major consideration in a macro and portrait lens. That’s because an out-of-focus background is popular in both types of photography.
The lens responds well to direct sunlight. There’s a slight loss of contrast and apparent flaring, but this can even be appealing if the flaring is done on purpose. For general shooting, I recommend keeping the lens hood on.

Focusing
The EF 100mm f/2.8L IS USM macro is equipped with quick autofocus. And it has a sensitive manual focus ring.
During my tests, which were conducted on 5D Mark III, 5D Mark IV, and 7D Mark II camera bodies, the 100mm generally performed really well.
It’s extremely consistent. Even though it’s not the fastest I’ve used, its AF speed is still more than decent.
It’s quick enough to capture street scenes full of motion or keep close-up subjects constantly in focus in Servo mode. If you flick the limiter switch and cut off the closer distances up to 1.5 feet (0.5 m), it’s even faster.
The manual focus ring is mechanically connected to the focusing elements, but it’s coupled only one way. The motor doesn’t turn the ring when focusing, so it offers full-time manual override even in autofocus mode.
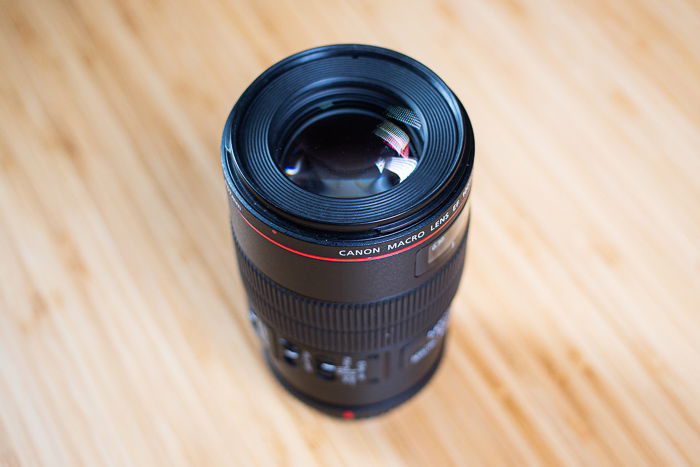
Plus, the USM (ultrasonic motor) is almost completely silent. When focusing, the front element stays completely still. This ensures better sealing and filter usability.
This 100mm lens offers a distance scale on the lens. It is particularly useful with macro photography. As mentioned, there is a limiter switch between 1 and 1.5 ft (0.3 to 0.5 m). This makes focusing on macro situations quicker.
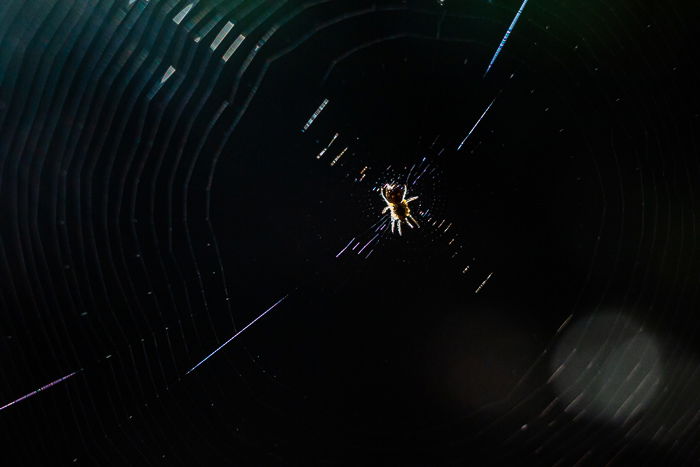
Image Stabilization
One of the big hit features of the Canon EF 100mm f/2.8L IS USM macro is its hybrid Image Stabilization (IS). Canon developed it specifically for close-up applications. This system has greater leverage on the lens axis than most other systems.
This allows me to shoot handheld with a shutter speed of 1/20 s at maximum magnification. That’s almost five stops better than without stabilization, which is an impressive feat.
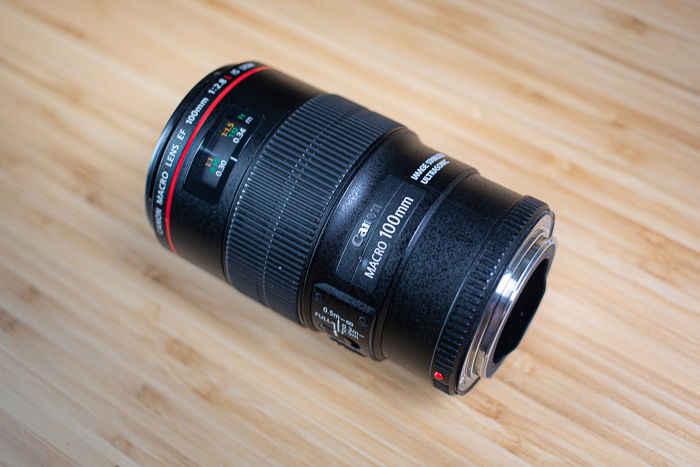
Handling and Build Quality
This lens is primarily made of plastic, except for the lens mount, which is metal. But it feels like one of the most fragile L Series lenses I’ve used—and I’ve encountered many of them.
It’s weather-sealed, so it should withstand rainy, dusty, or sandy environments pretty well. I have first-hand experience with shooting in the rain, and I would have no concerns about the other conditions.
It has a 67mm filter thread, which puts it in the same league as Canon’s 70-200mm f/4 lenses. Filters of this size are not too expensive.
There are three switches on the side: a manual and autofocus (M/MF) switch, a stabilization on-off switch, and the focus limiter switch mentioned earlier.
They are easy enough to flick quickly without much effort. But they’re sometimes hard to switch because they’re situated slightly below the rest of the barrel.
The lens measures 4.8 inches (123 mm) in length and 3.1 inches (78 mm) in diameter and weighs 1.4 lb (625 g).
It balances really well with 90D and 5D-sized camera bodies. It’s coated in black, except for the signature red ring of the L Series lenses towards the front.
The included ET-73 hood is plastic and doesn’t feel too solid. But it does the job in all other aspects. Plus, it has a light-absorbent surface on the inside. With the hood on, your working distance shortens to around two inches (5 cm) at 1:1.
I don’t recommend keeping it on when shooting macro, but it’s useful when capturing portraits.
Alternative Macro Lenses
There are several alternatives to the Canon EF 100mm f/2.8L IS USM macro lens. Here are some of our favorites.
The Tamron AF SP 90mm f/2.8 Di VC USD is the most similar to the Canon. It offers similar build quality, stabilization, and image performance at a lower price.
The Sigma 105mm f/2.8 EX DG OS HSM Macro is another third-party lens with comparable specifications on paper. It’s also cheaper than the Tamron and Canon lenses. However, it’s known to have some reliability issues, especially with autofocus. So it might not be ideal for professional applications.
The Canon EF 100mm f/2.8 USM Macro is the predecessor of the 100mm f/2.8L mentioned earlier. It’s slightly behind in image quality, and it doesn’t have stabilization like the previous two. But the lens is also quite cheap, and some say it’s build quality is better than its L Series counterpart.
The Canon EF-S 60mm f/2.8 USM Macro offers a 100mm-equivalent focal length for crop sensors and great close-up performance. Its image quality is exceptional among EF-S lenses. This lens is very reasonably priced, but it lacks image stabilization.
Our Verdict—Canon EF 100mm f/2.8L IS USM
The Canon EF 100mm f/2.8L IS USM macro is an excellent lens. The lens lives up to the expectations of the L Series in all areas, except maybe build quality.
In my opinion, it’s worth the price. But if that’s hard to justify, there are less expensive alternatives that still deliver great images.