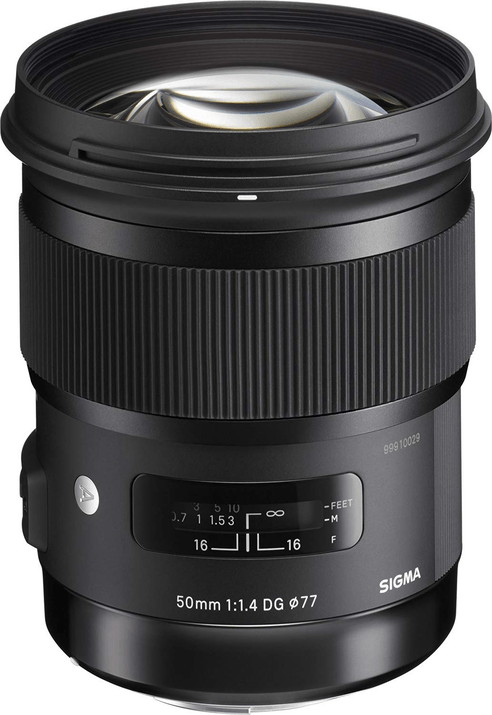
This Sigma 50mm f/1.4 DG HSM is from Sigma’s Art range. The range has many fans. And it is known for its sharpness and clarity. They are not cheap. But they might save you money compared to your camera manufacturer’s spec lens.
With its f/1.4 maximum aperture, this lens is superb in low light. And that’s one of the reasons it’s my favorite lens for shooting weddings. But is the 50mm f/1.4 DG HSM Art lens right for you too? Read on to find out!
Sigma 50mm f/1.4 DG HSM Art Lens Overview
The 50mm f/1.4 DG HSM Art is Sigma’s second version of this lens. It replaces the older 50mm f/1.4 DG EX lens. The Art series was designed to provide a faster and sharper solution than its predecessor with better build quality and handling.
This Sigma prime lens won the EISA Award for the Best Product Category in 2015. And after all that time, it still holds its place among the best lenses on the market.
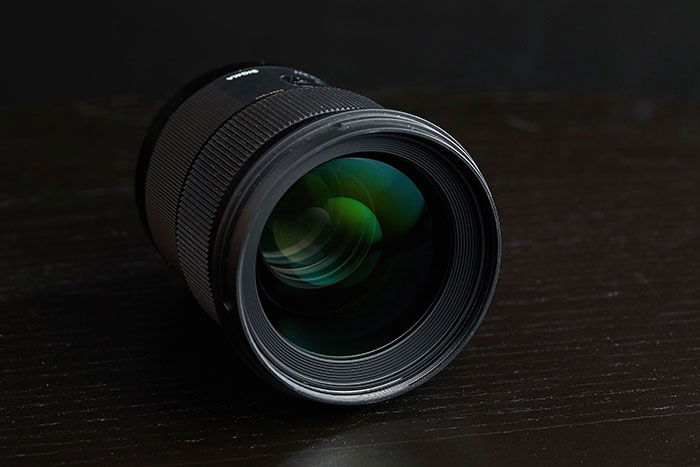
When you pick this lens up, you immediately realize it’s not just some cheap, third-party budget alternative. It’s big and heavy (for a 50mm lens). And it feels solid.
From a photographer’s perspective, it can be considered a competitor to luxury-level lenses. Similar lenses would be Canon’s L Series, Nikon’s ED lenses, and Sony’s GM range when judging it just by its looks.
In the box, you’ll immediately see that the lens has a hood and a protective case with a belt loop. For comparison, the Canon equivalent comes with neither.
The 50mm f/1.4 DG HSM Art lens isn’t designed to be a budget option. It’s actually designed to be a step up. Sigma is positioning this lens as a top-of-the-line lens for people who want the best.
For this review, we will test the Canon EF-mount version of this lens on a Canon 5D Mark IV full frame body.
Who Is the Sigma 50mm f/1.4 DG HSM Art For?
The 50mm f/1.4 DG HSM Art lens is designed for the working professional. Or it’s for the advanced enthusiast who wants a fast prime lens and is willing to pay for quality at the cost of convenience. (This is a large, heavy lens for a 50mm.)
That’s why it’s ideal for portrait, event, or wedding photographers. It’s for those who want a versatile focal length with good low-light performance and shallow depth of field.
It tips the scales at 1.8 lb (815 g). And it measures 3.9 inches (99.9 mm) in length. So the casual hobbyist might find it a bit too much lens to carry around.
For comparison, the Canon EF 50mm f/1.4 USM weighs only 0.6 lb (290 g). So this lens might not be the ideal choice for travel photography.
Key Features
Let’s review some of the specs which make the 50mm f/1.4 DG HSM Art lens unique.
Mount and Compatibility
The Sigma 50mm f/1.4 DG HSM is available in Canon EF-mount, Nikon F-mount (FX), Sony E-mount, and Sony A-mount. And it’s also available in the L-mount and Sigma mounts.
One nice thing about this lens is that it’s eligible for Sigma’s mount-conversion service. If you buy this lens and then switch camera systems in the future, they can change the mount for you.
This feature keeps this lens a viable option for those on the verge of switching to the mirrorless system.
It’s worth mentioning that it’s unavailable for Canon RF or Nikon Z mirrorless mount systems. But a Nikon adapter and a Canon adapter work perfectly for those systems. So you can mount the 50mm Art on them as well.
The price of this lens puts it in its own category. The Canon and Nikon equivalents are set at the lower end in the 50mm f/1.4 category. Meanwhile, the Sony-Zeiss lens and Canon’s EF 50mm f/1.2L lens are among the most expensive prime alternatives.
The 50mm f/1.4 DG HSM Art lens sits right in the middle. So it’s the right choice for prosumer users who don’t want to break the bank.
Image Quality
Generally speaking, the Sigma 50mm f/1.4 DG HSM brings reasonable resolving power. So it won’t break even under the pressure of a high-megapixel sensor.
According to DxoMark metrics, it resolves 40 P-Mpix on a 50.6 MP (megapixel) Canon 5DS R model. This is an impressive sharpness score.
I took photos of a brick wall to test the lens in real life. (So boring they must be scientific.) This way, you can decide how it performs in terms of vignetting, distortion, and sharpness at various aperture levels.
They’re not artistic masterpieces. But the test shots did give me some interesting results about these characteristics.
In the before image (left), I used the widest aperture. Then on the after (right), I stopped it down to f/2.8, and the vignetting faded almost completely.
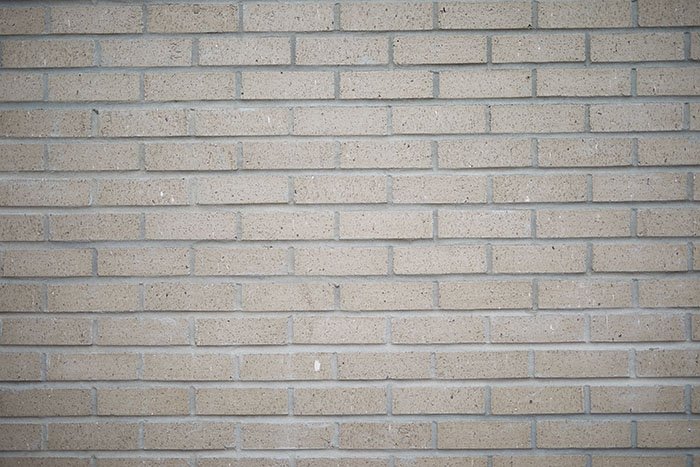
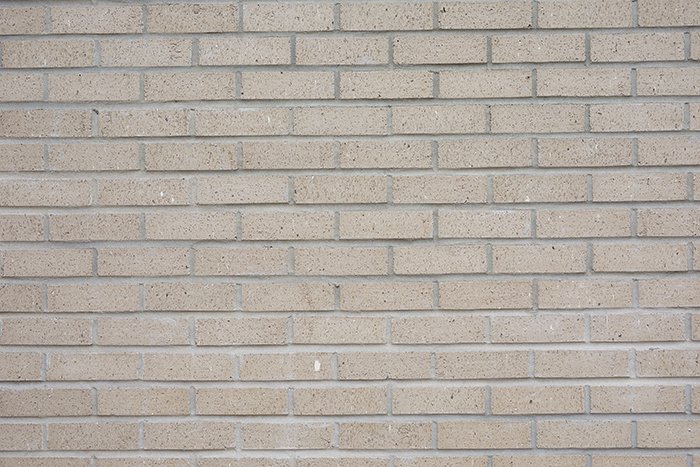
I didn’t notice any barrel or pincushion distortion with the 50mm f/1.4 DG HSM at any aperture, as expected from a 50mm lens. This is usually the nature of using a nifty-fifty. It will result in close to an invisible error in perspective.
As for sharpness and vignetting, this is where we can see some differences. At f/1.4, there was a noticeable amount of vignetting on this lens. The center was a fair bit brighter than the corners.
Interestingly, there seemed to be a slight loss of light when shooting with a narrow aperture, like f/16. I noticed similar results for sharpness.
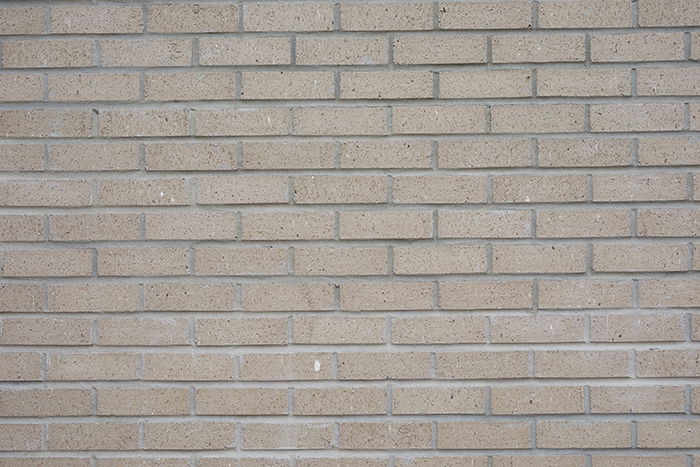
When shot wide open, the center of the lens is quite sharp. And the corners, while still very good, are a bit soft in comparison.
Sharpness evens out from edge to edge rather quickly as you stop down. And by f/4, there was no difference I could see. Plus, lens flare is fairly well-controlled.
This lens features a smooth and even bokeh in terms of background blur. This is why this lens can be perfect for portraits. While using a shallow depth of field, the impact of the outstanding center sharpness is even more emphasized.

It doesn’t outperform such lenses as the 50mm f/1.2L by Canon. But the 50mm f/1.4 DG HSM certainly gives a reason to upgrade if you want to create a nice background separation for your main subject.
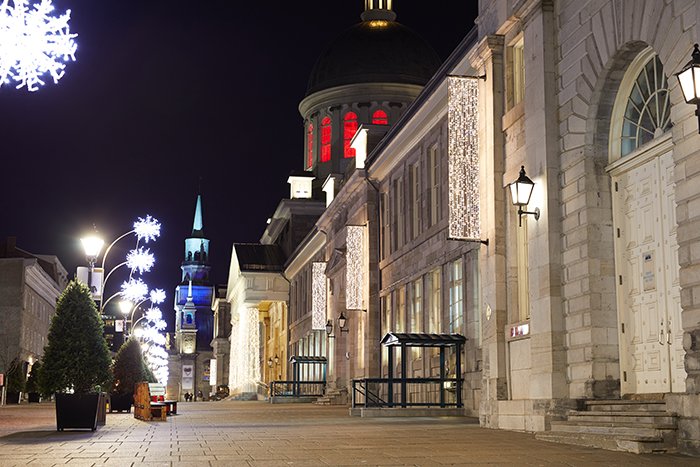
In terms of avoiding flares and chromatic aberration, this lens is a beast. My night shots in Old Montreal did give some flare around blown-out lamp posts. But this is to be expected, and the lens handled it well.
Chromatic aberration is almost irrelevant when using this lens. And this is awe-inspiring, considering the price tag.
Focusing
The Sigma 50mm f/1.4 DG HSM features Sigma’s HSM (Hyper Sonic Motor) autofocus (AF) technology. This has an internal focus. So it’s pretty quiet. (As one would expect from a higher-end lens like this.)
But it’s not completely silent. And your on-camera microphone may pick up the focus motor while shooting video.
Focusing itself is pretty fast. Focusing accuracy seems pretty good. But I may have been lucky to get a good version.
Sigma lenses can have back-focusing issues. But this can be corrected by sending it to Sigma for calibration or calibrating it yourself using Sigma’s USB dock.

The lens features full-time manual focus, with the focusing ring mechanically connected to the lens elements. The ring is nice and smooth. And the throw is pretty short.
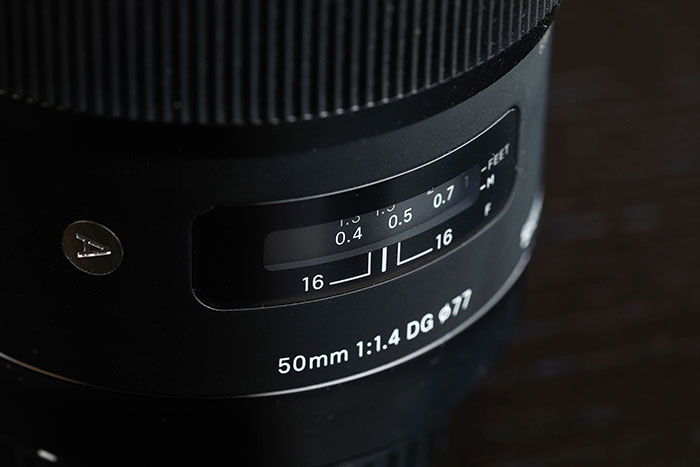
The Sigma 50mm f/1.4 DG HSM Art will go from its minimum focusing distance to infinity in a quarter-turn. This would only be an issue for someone needing precise manual focusing, such as macro photos. The lens does have a distance scale, but it only has depth-of-field markings for f/16.
To sum it up, I’ve never had any focusing issues with this lens, even when shooting a moving subject. I guess it’s the nature of using a Sigma Art lens.
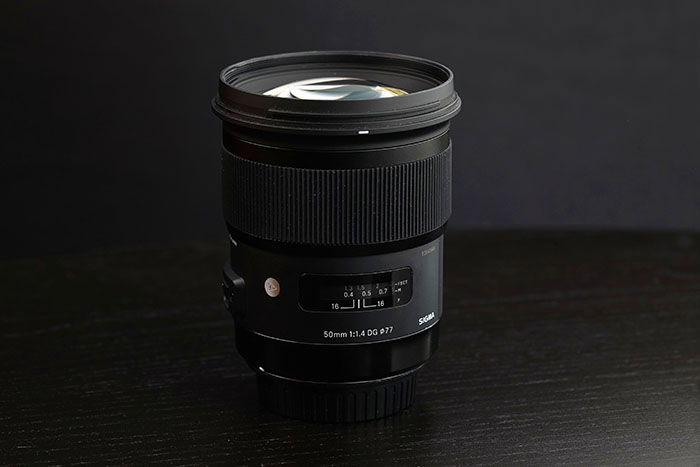
Handling and Build Quality
As previously mentioned, the Sigma 50mm f/1.4 DG HSM is a big (for a 50mm) and solid lens. It weighs 1.8 lb (815 g). And it is 3.9 inches (99.9 mm) long.
It has threads to accept 77mm filters. This 77mm thread does not rotate after focusing (similarly to the Canon L variant). This is ideal for those who like ND and CPL filters on their lens.
It feels well-built and able to handle the stress of daily use that professionals demand. And it has a single switch on its left side. This is used to switch between auto and manual focus.
The lens has a certain plastic feeling. But overall, it’s a durable lens. The handling of this glass is pretty good. The rubber elements, like the focusing ring and the grip, provide a steady hold.
One detail I was a bit disappointed with is the 50mm f/1.4 DG HSM‘s lack of complete weather sealing. The lens doesn’t have the rubber O-ring on the lens mount that most professional lenses have.
If I had to shoot in the rain, I’d be more comfortable with a Canon EF 50mm f/1.2. It does have that weather-sealing feature.
Alternatives
Since the 50mm focal length has been a standard for decades, there are many alternatives to this lens in many price ranges. All major camera brands have 50mm f/1.4 lenses. And many of those brands also offer a less-expensive 50mm f/1.8 option.
As the version of the lens that I tested was the Canon mount, it seems best to mention the three options that Canon offers as alternatives:
- A Canon EF 50mm f/1.8 STM
- A Canon EF 50mm f/1.4 USM
- Canon’s top-of-the-line EF 50mm f/1.2 L
Prices for these lenses range from about $124 to $1400.
You could also choose the Zeiss Otus 50mm f/1.4 (Nikon F-mount) if you don’t mind spending triple the amount. With prime lenses, it’s all about personal preference, use purpose, and quality requirements.
Verdict
The Sigma 50mm f/1.4 DG HSM Art lens delivers what it promises. It’s great quality for the price. But it is not cheap. Still, if you’re looking for the best-value lens, this is better than similar top-of-the-line lenses. (Ones from original camera manufacturers.)
I’ve had mine for a little over a year. And I’m confident enough in this lens to use it in a professional setting. So if you’re looking for a longer prime lens, check out our 85mm f/1.4 DG HSM Art lens review.
| Measurement |
Measurement
Score
|