The Canon RF 85mm f/1.2L is the premium portrait prime lens for Canon’s mirrorless cameras. It is a pro-level lens, and as such, you can expect both exquisite quality and a hefty price. All Canon’s L-series lenses are weather and dust-sealed to protect them from the hard use dished out by working pros.
The big question is, does the Canon RF 85mm f/1.2L perform in a fitting way for such a prestigious lens? Read our review to find out what we think of this addition to the RF stable.
Canon RF 85mm f/1.2L USM Overview and Specifications
Canon RF 85mm f/1.2L USM
| Brand |
Brand
Canon
|
| Lens Mount |
Lens Mount
Canon RF
|
| Maximum Aperture |
Maximum Aperture
f/ 1.2
|
| Focal Length Range |
Focal Length Range
85 mm
|
| Image Stabilization |
Image Stabilization
|
The Canon RF 85mm f/1.2L USM is a professional short telephoto prime lens designed for Canon’s mirrorless R system. It was introduced in early 2020. As of early 2021, it’s the most expensive prime lens in Canon’s RF lens lineup. It’s a speciality lens. Its price, size, weight, and optical characteristics limit its ideal use to a niche segment of photography.
Predecessors of this lens include the Canon EF 85mm f/1.2L USM versions I and II. Both of these lenses are known for their signature wide-aperture look, along with their slow autofocus and old design. The original optical formula was developed in the ‘80s, so their image quality doesn’t fully represent what the industry is capable of today.
So, when upgrading this lens for the RF mount, Canon has decided to redesign it from scratch. The other goals were class-leading optical performance and much better autofocus. Factors such as size, weight, and price were secondary in the design process. And so, the Canon RF 85mm f/1.2L USM was born.
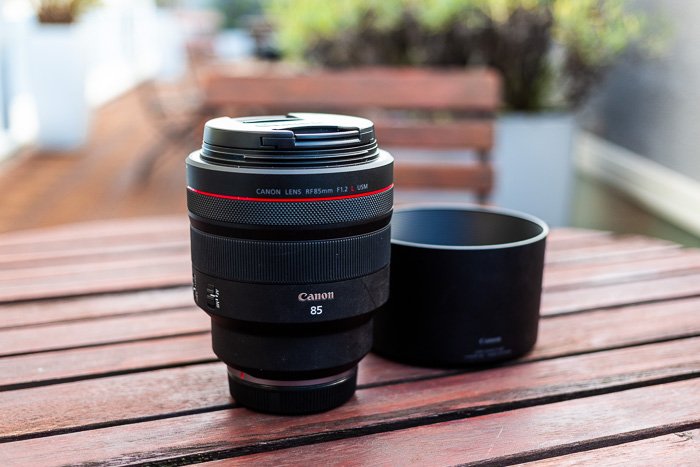
In the box, you’ll find the lens itself; a big, plastic lens hood; front and rear caps; and an L-series leather pouch.
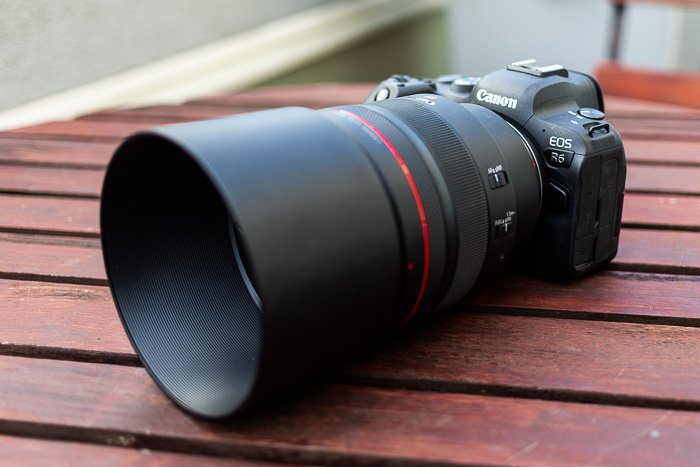
I tested the RF 85mm f/1.2L USM on a Canon EOS R6 camera body, one of Canon’s newer releases. It works marvellously with this 85mm lens, driving its autofocus accurately and providing sensor stabilization. Thus, the experiences in this article mostly reflect use on the Canon EOS R6 and R5 bodies. However, the image quality findings are equally applicable to all compatible cameras.
I received this lens for a testing period of three weeks from Canon UK, along with the EOS R6.
Who is the Canon RF 85mm f/1.2L USM for?
The potential market for a lens that requires such a huge investment is limited. That this is very much a single-purpose lens doesn’t help.
The RF 85mm f/1.2L USM is primarily aimed at portrait photographers, who are either professionals or passionate enough to justify the cost.
Besides portrait photography, potential applications include wedding, fashion, event, astrophotography, and conceptual photography. I myself use an 85mm lens as one of my go-to everyday lenses.
Handling this lens for a lengthier time can be challenging. Because of this bulkiness, I don’t recommend it for general-purpose photography. You’ll find that a slightly slower but more portable lens will work much better for this purpose.
Key Features
Mount and Compatibility
The Canon RF 85mm f/1.2L USM is made for Canon’s RF mount and attaches to mirrorless R-series cameras. At the time of writing, there are five: EOS R, EOS RP, EOS Ra, EOS R5, and EOS R6. This lens will not work on EOS DSLRs, such as the 5D and 1D series, or any other mirrorless system.
The RF system of mirrorless-optimised lenses has been continuously growing in the past two years, and many more new lenses are expected this year. Currently, the only similar lens in the lineup is the RF 50mm f/1.2L.
The RF mount is an advanced, modern construction. Similar in size and design to the older EF mount, it offers a much shorter flange distance, which allows for the particular rear-heavy optical design of this lens. It also increases communication bandwidth between the lens and the camera, enabling more detailed metadata. It also has new features, like the control ring.
A minor but annoying issue is the rearrangement of bayonet pins on the new mount. These are placed equally on the EF mount so that you can twist on the lens caps in three different positions. On the RF mount, you have to align the lens and the cap carefully before attaching it—and it’s nearly impossible to do without looking. In other words, you can’t develop muscle memory for quickly attaching lens caps.
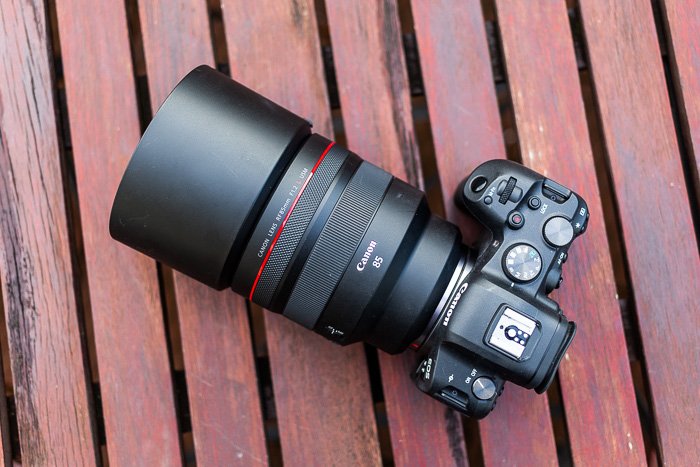
Image Quality
The sharpest available lenses are the 85mm prime lenses. A new lens really has to stand out to raise the bar, and the Canon RF 85mm f/1.2L USM does exactly that!
Right from f/1.2, this lens is incredibly sharp and provides a very high level of detail. Although I did most of my testing on a 20-megapixel Canon EOS R6, I had a brief chance to put it on an R5. The latter’s 45-megapixel sensor is more demanding. Still, my experiences are the same. There’s not even a hint of softness, which indicates that this lens is capable of a resolving power far beyond commercially available cameras have.
The lens reaches peak sharpness across the frame around f/2. Beyond this setting, the low-pass filter on the camera doesn’t let it sharpen up any further. Beyond f/11 (f/8 on the R5), you’ll notice that diffraction starts to soften the image.
Its microcontrast is excellent, as its overall contrast is very high, especially compared to the somewhat hazy look of the EF versions.
I found it hard to make chromatic aberration show up. Occasionally, it’s visible on contrasting sharp edges. Fortunately, out-of-focus areas are free of it (this would have been an editing nightmare).
Vignetting and distortion are nearly non-existent. There is a very slight barrel pattern, but I’ve found it useless to turn on corrections in Lightroom.
Flare and ghosting, which have been problematic yet trademark charm of the EF versions, are really controlled. The supplied lens hood is not necessary to keep flaring down, but it’s useful for protecting the lens.
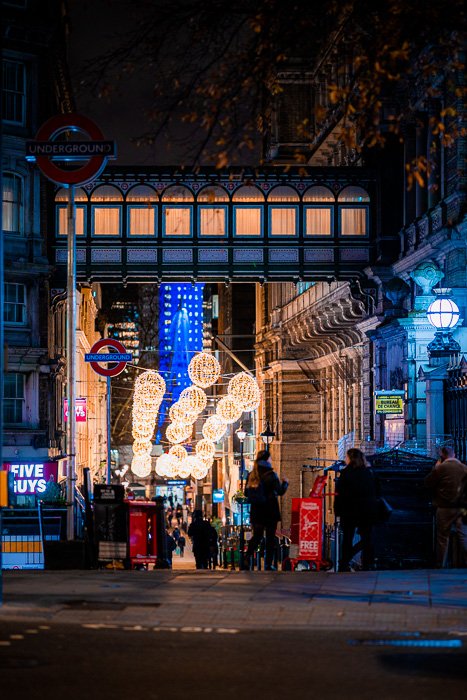
And then, there’s the bokeh. It’s the old story from the EF versions and before, a ton of clean, beautiful Bokeh. The bokeh balls are circular most of the time. Wide-open, towards the corners, they sometimes have a cat-eye shape.
Overall, the Canon RF 85mm f/1.2L USM fulfils your expectation at its current price point. It’s among the most optically spectacular lenses I’ve used.

Stabilization
This lens is not stabilised on its own. On Canon EOS R, RP, and Ra cameras, you won’t have any stabilization helping you.
On EOS R5 and R6 cameras, the sensor-based stabiliser works wonderfully with the Canon RF 85mm f/1.2L USM, thanks to its huge projection circle. I’ve been able to achieve around 4.5 stops of stabilization on the Canon EOS R6.
Focusing
The Canon EF 85mm 1.2Ls are infamous for their sluggish autofocus performance, so I was really curious to see how this RF lens performs. I wasn’t expecting anything close to the new RF L-series zooms, but even then, this lens still feels a little bit slow. To be fair, it has to move very heavy optics inside.
During actual portrait shooting, however, the difference is very noticeable. I always had trouble using the EF versions in a fast-paced setting. When it doesn’t have to change focus drastically, the RF lens is actually very responsive. Paired with the excellent eye-tracking of the R6, I had a near 100% hit rate of perfect focus on eyes. It flawlessly tracks test subjects running towards the camera and cyclists on the street.

It takes around a second to find precise focus from a close-ish setting to infinity. The focus limiter (1.5m) is not particularly useful with the EOS R6, as the lens doesn’t hunt for focus at all with that camera. I presume you’ll use it more on a camera with a less sophisticated AF system.
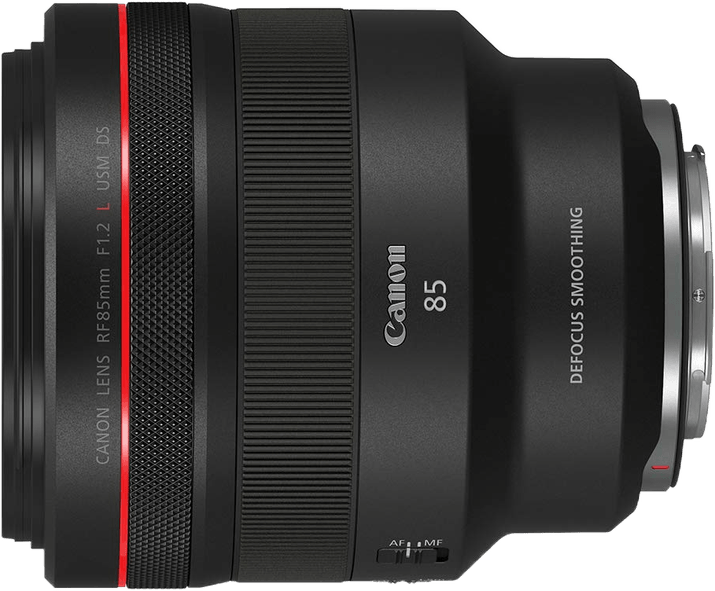
Just like the RF 50mm f/1.2, this lens is a semi-closed design. The front element moves forwards and backwards when focusing. The filter thread is further towards the lens barrel’s front and not connected to the front element.
A high-performance, ring-type drive ultrasonic motor (USM) is responsible for dragging along the RF 85mm f/1.2’s focusing lens group. There is no mechanical connection between the lenses and the focusing ring. It’s all fly-by-wire, but thankfully, it’s one of the best implementations of it so far.
It’s smooth, has a good grip, and most importantly, precise enough to allow for the miniature adjustments you need at f/1.2. There is no full-time manual override. You need to half-press the shutter or use the back focusing button to activate it, depending on your settings.
You can choose whether it responds linearly (like a mechanical ring) or not (the faster you turn it, the more it adjusts) from the camera menu. Although video shooters will greatly appreciate the former, the massive amount of focus breathing will put them off.
There is no focusing distance indicator or depth of field scale on the Canon RF 85mm f/1.2L USM. This information is digitally displayed in the viewfinder and on your camera’s LCD if you choose so.
Like most RF lenses, this lens retracts to infinity focus when the camera is switched off. You can turn off this feature from the camera menu.
The minimum focusing distance on the Canon RF 85mm f/1.2L USM is 0.85m, in line with most 85mm lenses.
Handling and Build Quality
The Canon RF 85mm f/1.2L USM has a metal frame, but the outer layer is reinforced plastic, following the design principles of RF lenses. The EF versions aren’t particularly solid constructions, so this one feels more durable. Still, I do prefer the more metal-dominant designs of some other EF L-series primes.
That, however, would make this lens even heavier, which it already is. In fact, at 1195gm, it’s among the very few 85mm lenses to surpass 1kg in weight. Funnily enough, the new RF 70-200 f/2.8L IS is lighter.
It’s also massive in size, measuring 103mm in diameter and 117mm in length, to which the lens hood adds a further 71mm. Its filter thread size is 82mm. A filter is recommended to perfectly seal off the lens. Still, it is rated for weather-sealing without a filter.
On the side, you’ll find two switches, an auto/manual focus switch and the focus limiter.
The lens has two rings: the afore-mentioned electronic focus ring and a control ring. The latter is right below the front. You can use this to adjust a range of settings, such as aperture or ISO. It has a click mechanism, but Canon service centres can de-click it (for a fee) for smoother exposure adjustments.
Overall, the RF 85mm f/1.2L has excellent build quality.
Alternatives
There are a few other lenses you might pick over the Canon RF 85mm f/1.2L USM.
The older Canon EF 85mm f/1.2L USM II is still an excellent choice. Sure, it’s softer, responds to bright lights with astonishing flares, and has problems with slow focusing. However, this slightly ‘dirtier’ look is what makes some people buy it (apart from the immense control over depth of field at f/1.2). It can be adapted with Canon’s official adapter to R-series cameras, and on these, it will also work with eye and face detection autofocus. It’s considerably less expensive when bought new, but the second-hand market has some real bargains.
The Samyang AF 85mm f/1.4 is one of the first autofocus third-party RF lenses. It offers excellent image quality for a fraction of the price, although it’s not going to dethrone the RF 85mm f/1.2L USM lens anytime soon. It’s weather-sealed, has snappy and accurate autofocus, and has a solid built. If you’re looking for a fast but not quite f/1.2-fast portrait lens, this might be a good call.
If you need a small and light 85mm lens for your Canon R-series camera, the recently released RF 85mm f/2 IS Macro is a better option. Of course, it lacks many of the distinctive features of the f/1.2L, but it sells for a fraction of the price. It’s also a great starting point if you haven’t used an 85mm prime before and want to test how you can use it before committing to the L version.
Additionally, it has some features that the L lens doesn’t have. This includes optical stabilization (which works on older R bodies) and a much closer minimum focus distance.
There are other lenses that you can adapt to RF mount. The Canon EF 85mm f/1.4L is a stabilised, fast lens with excellent image quality even for high-resolution R cameras.
The Sigma Art 85mm f/1.4 is also available in EF mount. It’s much cheaper than the RF L lens and, perhaps, closest to it in image sharpness.
Verdict
The Canon RF 85mm f/1.2L USM is one of the best 85mm lenses on the market. Its distinctive image character and perfect image quality rocket it above just about everything else. The question here is whether you need this Canon lens for the work you do and whether you have the budget. If you choose to get a copy, it will definitely help your photography stand out.