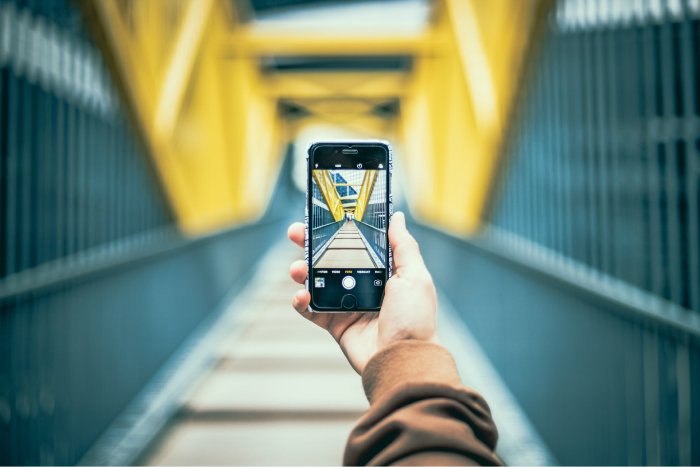
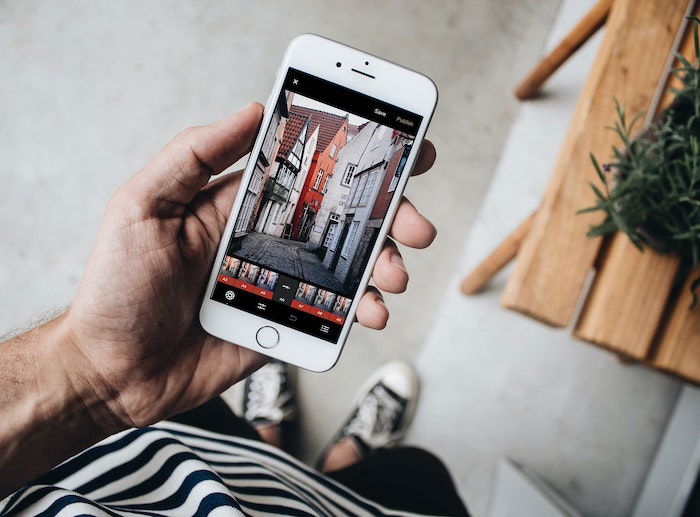
Our complete guide to smartphone photography teaches you everything you need to know to get the most out of your camera phone. It’s hard to overstate how much our phones have revolutionized photography.
Standalone cameras are far from dead, but the smartphone has almost killed off the compact consumer camera. All the more reason to learn more about how to get the most from your phone’s camera. You get excellent results with just a few tricks and techniques.
- Discover 30 unique projects for minimalist urban shots.
- Learn simple editing methods for stunning, clean images.
- Master smartphone photography for print-worthy urban photos.
What Is Smartphone Photography?
Smartphone photography involves capturing photos using a camera integrated into a smartphone. And it has revolutionized photography.
It has made it accessible and convenient to take high-quality images anytime, anywhere. It lets us document our lives and share moments instantly.
Most of our recommendations here apply to whatever operating system you have. But some articles help specifically with iOS or Android. So let’s take a look at some of the best ways of improving your smartphone photography:
- Smartphone photography basics
- Shooting techniques
- Niches
- Photography Apps
- Editing Apps
- Photo management
- Smartphone Photography Gear
Smartphone Photography Basics
Improving your smartphone camera photography is easy with a few simple tips. Clean your camera lens regularly to ensure sharp photos. Use manual controls like the exposure slider and tap-to-focus for more control over your images.
Avoid using digital zoom, as this can reduce image quality. Instead, get closer to your subject or consider buying an attachable lens. And shoot in good lighting conditions whenever possible for the best results.
Editing your photos can also help improve quality. Adjust sharpness and definition, but be careful not to overdo it.
If you want to improve the quality of your smartphone photography, these tips are a great place to start.
iPhone Camera Settings
Your iPhone has many exciting camera settings to help you take amazing photos. Turn on the gridlines in your camera settings to help you master composition using the rule of thirds. Adjust the focus by tapping the screen where you want the camera to focus.
Use Live Photo mode to capture movement and sound in your images. The Burst mode is excellent for capturing action shots. Just press and hold the shutter button. The self-timer is also perfect for taking group photos or reducing camera shake in low light.
The Exposure Slider lets you manually adjust the brightness of your photo. Tap the screen to make the slider appear, then move your finger up or down to change the exposure.
You can also use the iPhone’s built-in filters to adjust the look of your images.
Other iPhone camera settings let you select the image size, RAW and ProRes settings, and preferred camera.
iPhone Tips
Follow a few simple tips to take amazing photos with your iPhone. Use the swipe feature for quick camera access, and touch the screen to set focus on your main subject.
Pay attention to lighting direction and color for creative effects. And compose shots using the thirds grid rule and leading lines.
Use fill-in flash in the shade to brighten subjects. And experiment with different shooting modes, such as square, panorama, and portrait.
Crop your images for better composition. Enable HDR for more detail in high-contrast scenes. Use the View on Map feature to remember photo locations, and try a selfie stick to capture a broader perspective.
Master these iPhone photography tips, and you’ll take your iPhone photography to the next level.

Android Manual Mode
Switching to manual mode on your Android camera gives you complete control over your photos. You can adjust settings like ISO, shutter speed, and white balance to get the perfect shot.
Manual focus lets you choose your focal point, even if it’s not in the center of the frame. You can also play with depth of field by selecting a wide aperture for a shallow focus effect.
Going manual might initially seem daunting. But it’s the best way to improve your photography skills. Practice teaches you how to use the exposure triangle to capture stunning images in any lighting situation.
Check out this in-depth guide for more tips on mastering Android camera settings.

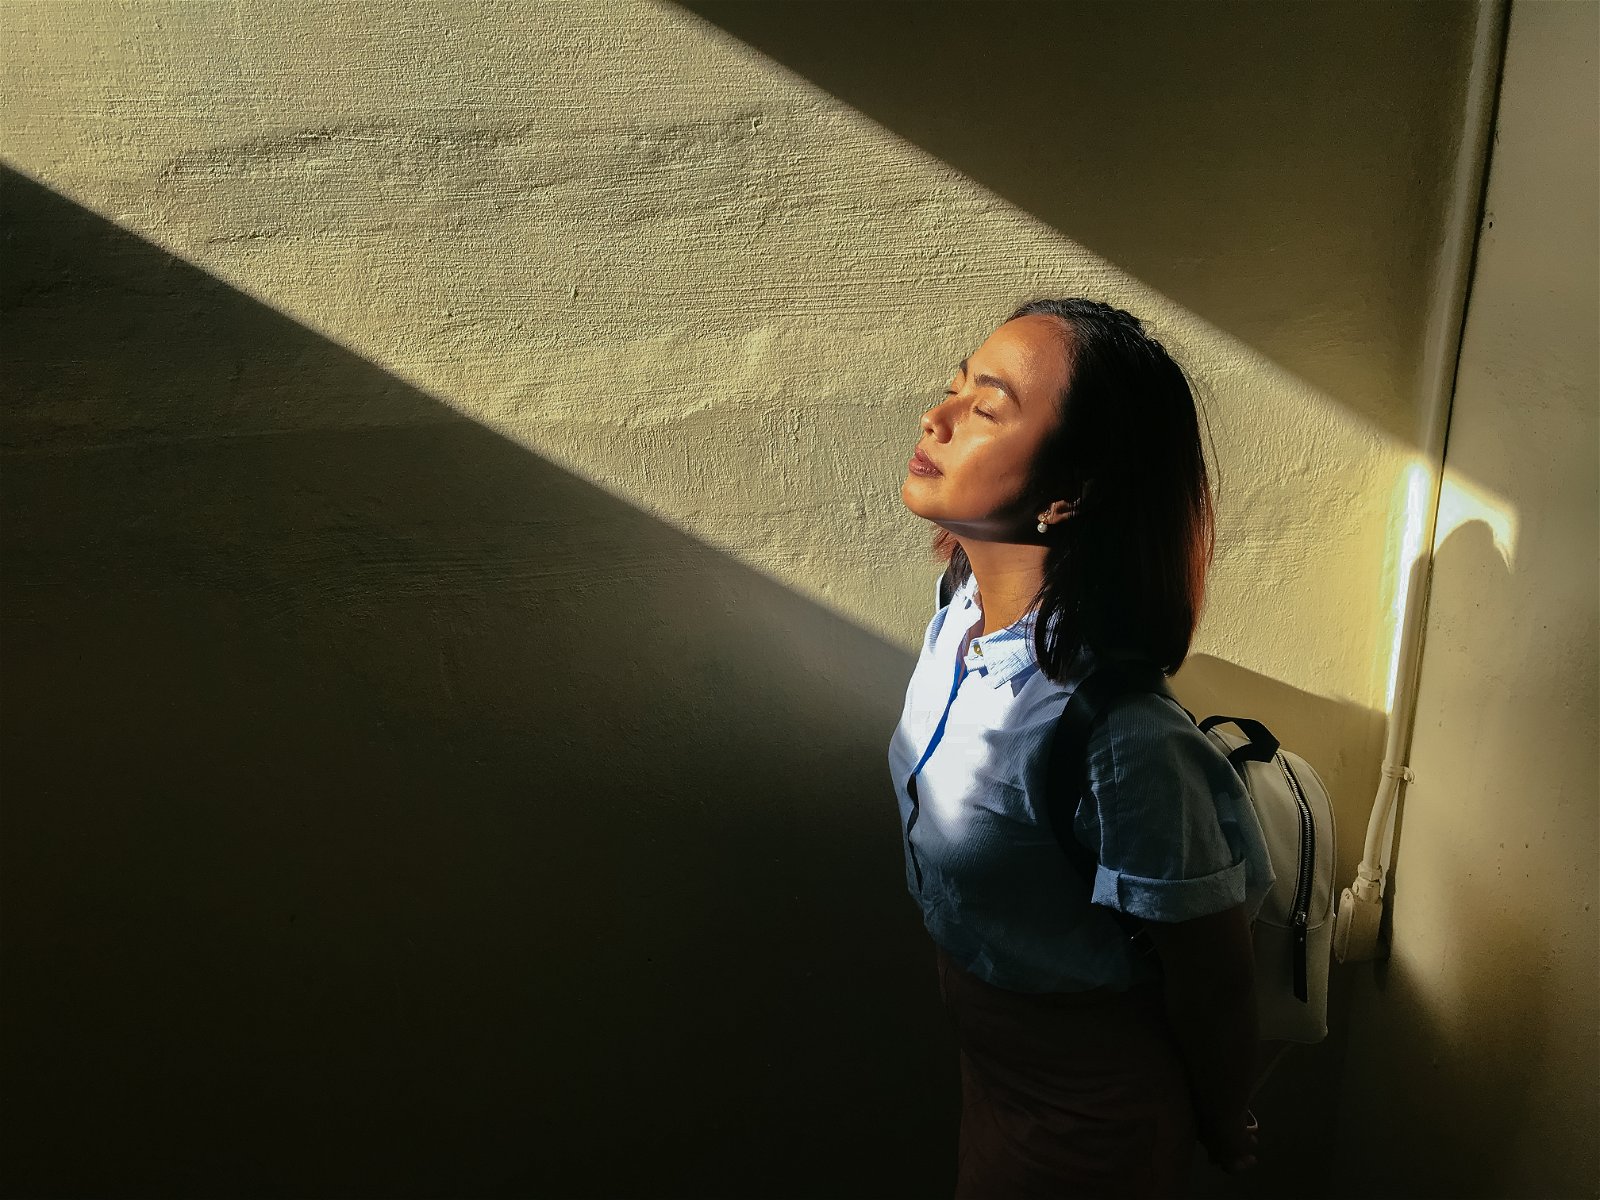
Lighting
Getting the best lighting for phone photography can be tricky. But there are some simple tips to remember.
Natural light is always best, so shoot outdoors or near a window when possible. If you must shoot in direct sunlight, look for shade or wait until the sun is lower in the sky to avoid harsh shadows and blown-out highlights.
The golden hour after sunrise or before sunset provides a beautiful, warm glow perfect for portraits and silhouettes. The blue hour before sunrise and after sunset adds a moody, dramatic feel to your images.
When shooting indoors, window light is your best friend. It diffuses the sun’s rays for a soft, even exposure.
Get creative with artificial lights in dark settings like fluorescents, incandescents, or neon signs. You can even use a friend’s phone flash for side lighting.
You can achieve excellent lighting for phone photography in any situation with a little experimentation.
Burst Mode With iPhone
The iPhone’s burst mode lets you capture rapid-fire shots, ensuring you never miss the perfect moment. To use it, open the camera app, then press and hold down the shutter button. Your iPhone keeps snapping photos until you release the button.
Burst mode is great for action shots but fills up storage quickly. Three seconds of shooting will give you 30 pictures! To pick the best ones, go to your Photos app, select the burst, and then tap the Select button to choose which photos to keep.
Burst mode works best in well-lit areas to avoid blurry shots. You can also get creative by using a fisheye lens attachment for unique close-ups or trying panning techniques for cool motion blur effects.
With a little practice and more iPhone photo burst tips, you’ll capture amazing action shots in no time!
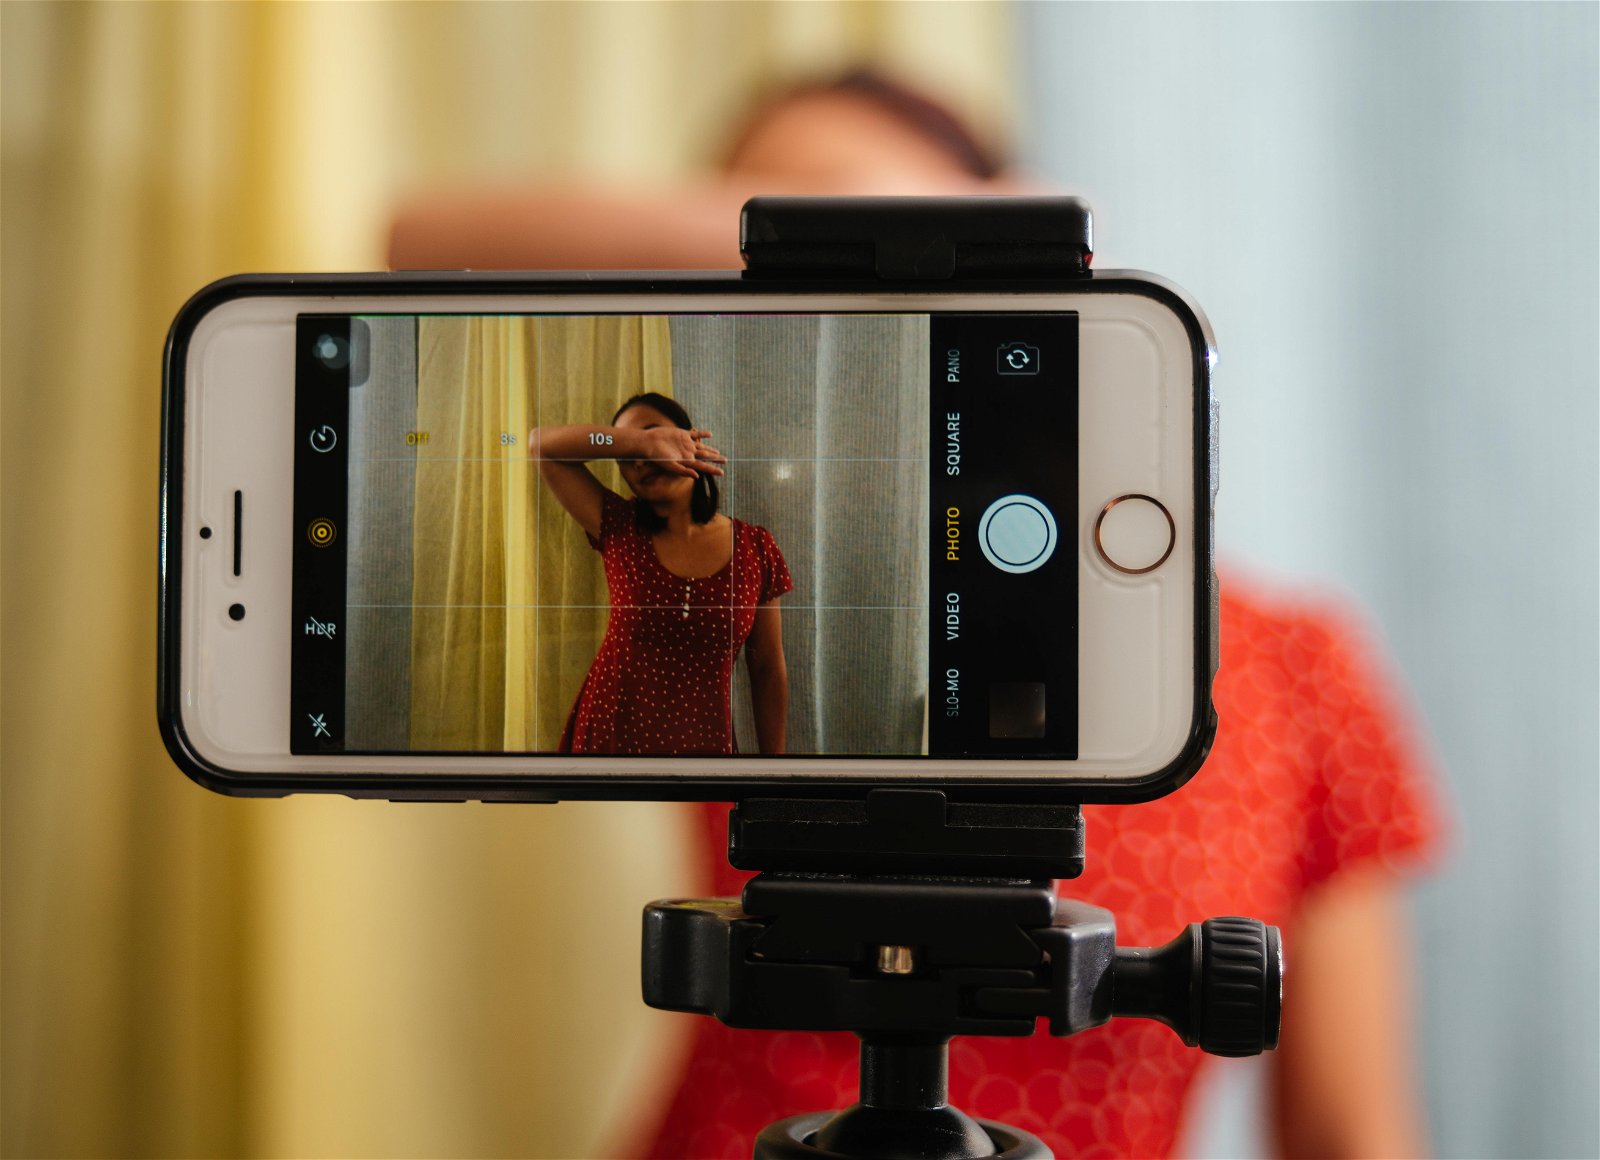
Self-Timer With iPhone
The iPhone’s built-in photo timer is a great way to take hands-free photos. To set the timer, open the native camera app and tap the clock icon at the top of the screen. You can choose between a 3-second or 10-second delay.
The 3-second timer is best for landscapes and still subjects, giving you just enough time to let go of the phone before the shutter fires. For self-portraits or group shots, use the 10-second timer so you have time to get in the frame.
Before starting the timer, pre-focus your shot by tapping and holding on the area you want sharp. This prep locks the focus and exposure so the camera doesn’t hunt for a new point when you step into the scene.
Learning more about your iPhone’s photo timer helps you easily capture your desired shots.
Smartphone Photography Techniques
Once you know the best way to shoot with your smartphone, you’ll notice how most people get it wrong! Small changes can make a big difference in results. Smartphones are amazingly sophisticated and make up for lots of human errors. But the better the starting point, the better the results.
Panoramas With iPhone
Taking stunning panorama photos with your iPhone is easy. Open the camera app and select Pano mode. Hold your phone close to your chest and slowly pan from left to right, keeping the arrow centered on the line.
Using a tripod can help keep your iPhone steady for the smoothest shots. If you don’t have one, practice stabilizing your hand while panning. Compose your shot by choosing where to start and end the panorama.
It’s also a great option for capturing tall cityscapes. Rotate your phone and pan up.
Try moving your phone slightly up and down while panning or capturing moving objects for creative effects. For more features, you can also use third-party apps like Microsoft Pix or 360 Panorama.
We have a helpful resource available if you want to learn more about iPhone panoramas.

Blurring Background (Bokeh)
Taking pictures with a blurry background, also known as bokeh, can add depth and creativity to your iPhone photos.
One of the easiest ways to achieve this effect is using your iPhone’s Portrait Mode. This feature automatically blurs the background while keeping your subject sharp. The bokeh makes your photos look like you took them with a professional camera!
If you have an older iPhone model without Portrait mode, you can still blur the background using third-party apps like Tadaa SLR or Instagram’s Focus Mode. These apps use algorithms to separate the subject from the background, letting you create a shallow depth-of-field effect.
Try using lens attachments or make filters for even more creative possibilities! Experimenting with different materials placed before your phone’s lens can lead to unique and surprising results.
If you want the cleanest, most professional-looking bokeh, consider connecting your DSLR to your iPhone and using Photoshop to take a picture with a blurry background.
HDR With iPhone
HDR, or high dynamic range, is a technique for capturing a wide range of light in photos.
It takes multiple shots at different exposures and combines them into one image. HDR helps to balance the highlights and shadows, giving you more detail in bright and dark areas of your photo.
To use HDR on your iPhone, open the camera app and look for the HDR option at the top of the screen. Tap it to turn it on, compose your shot, and take the photo.
Keep your phone steady while it captures multiple exposures. Use a tripod or set your phone on a stable surface for the best results.
HDR works well for landscapes, high-contrast scenes, and backlit subjects. It can also help in harsh sunlight by reducing the intensity of shadows and highlights.
If you want more control over your HDR photos, try third-party apps like Pro HDR or TrueHDR. These offer manual settings and extra features to fine-tune your images.
Learning more about HDR on your iPhone is worth your time.

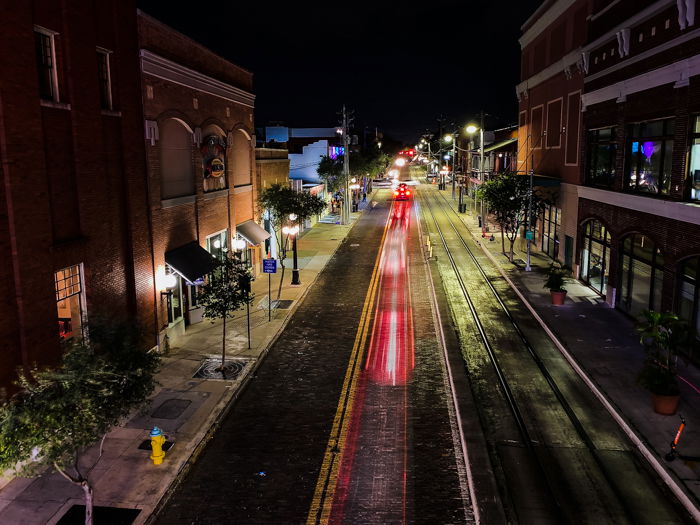
Long Exposure With iPhone
Shooting long-exposure photos with an iPhone is easier than you think. All you need is a tripod to keep your phone stable. You can use the Live Photos feature to apply a long-exposure effect automatically or try third-party apps like Camera+ 2 for more control.
To capture long exposures during the day, use ND filters to block out some light. You can also get creative with light painting by drawing in the air with a flashlight while the shutter is open. Don’t be afraid to experiment without a tripod for unique motion effects.
Editing your long-exposure shots can make them even more stunning. Increase the contrast and darken the blacks to make the light streaks stand out. You’ll be amazed at the creative possibilities of long-exposure iPhone photography with practice.
Our guide to iPhone long-exposure photography is a great resource for diving deeper into this technique.
Time-Lapse With iPhone
Creating time-lapse videos on your iPhone is simple. Open the native camera app and select Time-lapse mode. Press the record button to start capturing photos every few seconds, then press it again to stop.
For the best results, use a tripod to keep your phone steady. Consider using a fisheye lens to make your shots look more engaging. You can also use third-party apps like Hyperlapse for image stabilization or NightCap Camera for shooting time-lapse videos at night.
Look for places with good lighting and plenty of movement, such as traffic, people, or the sky. You can also try shooting a stationary subject with a busy scene behind it to create an interesting effect.
Have a look at our guide to learn more about iPhone time-lapse photography.
Light Painting
Light painting is a fun photography technique that captures the movement of light in a scene. You don’t need expensive equipment. A decent smartphone with manual settings or a long-exposure camera app does the trick.
To get started, rest your phone on a tripod or a stable surface. To avoid any camera shake, use a camera remote (or your Apple Watch) or self-timer. You can also use an LED light, flashlight, or even another smartphone as the light source.
Experiment with different exposure times and light sources to create unique effects. You can capture traffic light trails or “paint” letters and shapes in the air.
With some practice, you can create stunning, ethereal images with your smartphone.
Read our in-depth guide to learn more about light painting with a phone.

Smartphone Photography Niches
Phone photography has progressed way beyond just snapping pictures on the go. Social media is one area where the phone is possibly the dominant tool. It isn’t the only niche, though. So, we have gathered advice and ideas for various photography genres for you to look at.
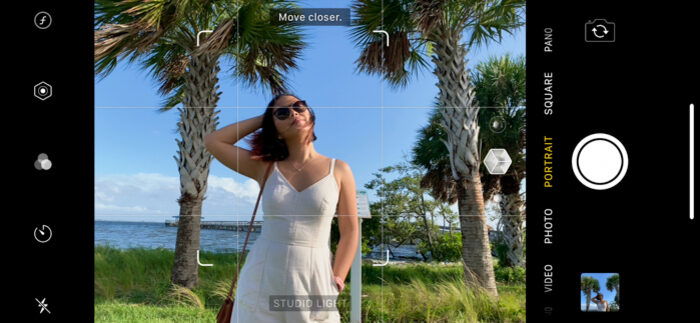
Portrait With iPhone
The iPhone’s Portrait Mode is a game-changer for mobile photography. It lets you take stunning photos with a blurred background, similar to what you’d get with a DSLR camera. To use it, launch the camera app and select Portrait Mode.
Ensure your subject’s eyes are visible and you’re not too close or far away. Portrait Mode works best with a simple background that doesn’t distract from your subject. Turn on the gridlines to help you compose a balanced image.
After taking your portrait, you can edit it in the phone’s app. You can adjust the amount of background blur, try different lighting effects, and use the basic editing tools to perfect your image.
For even more options, try a third-party app like Snapseed or Lightroom. With these iPhone Portrait mode tips, you’ll take professional portraits quickly.
Fashion
Smartphones have advanced greatly and can now take amazing fashion photos. If you want to get into fashion photography but don’t want to invest in expensive camera gear, your smartphone is a great option.
To take the best fashion photos with your phone, prioritize good lighting. Early morning or late afternoon are the best times to shoot outdoors. Indoors, pose your subject near windows or doors to use natural light.
Composition is key, so use the Rule of Thirds grid on your phone to place your subject uniquely. Communicate clearly with your model about the mood and emotions you want to capture.
Experiment with different angles and use your phone’s Portrait Mode to blur the background. You can also have fun with detachable lenses and props to add variety to your shots. After shooting, use editing apps like VSCO or Adobe Photoshop Express to perfect your images.
Fashion photography with a smartphone takes practice, but applying these tips can create impressive work. Check out our in-depth article to learn more about smartphone fashion photography.

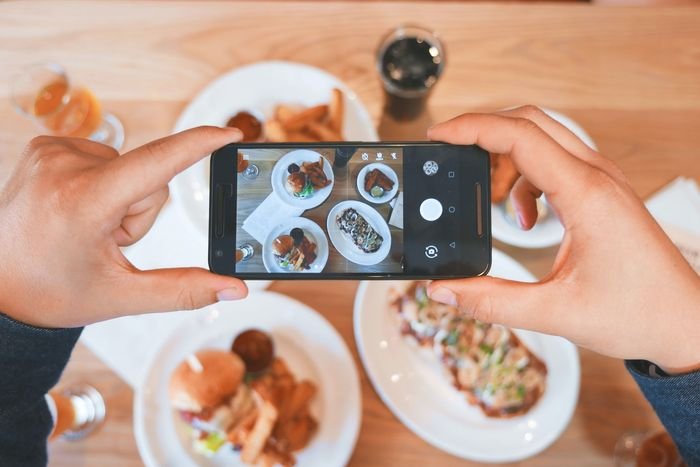
Food
Food photography with your phone is easier than ever. Use natural light from a window or shoot outside in the shade for the best results. Avoid artificial lighting, which can create unwanted color casts and make your food look flat.
Composition is key—turn on the grid overlay on your phone’s camera to help you place the main elements of your dish along the lines or at the intersecting points. Close-up shots can be great, but be sure the viewer can still tell what the food is.
Editing your photos is important, but avoid using filters at full strength. Instead, you can use apps like Snapseed, VSCO, or Lightroom Mobile to adjust exposure, brightness, white balance, and saturation.
With some practice, you can create food photography with a phone that looks professional and delicious.
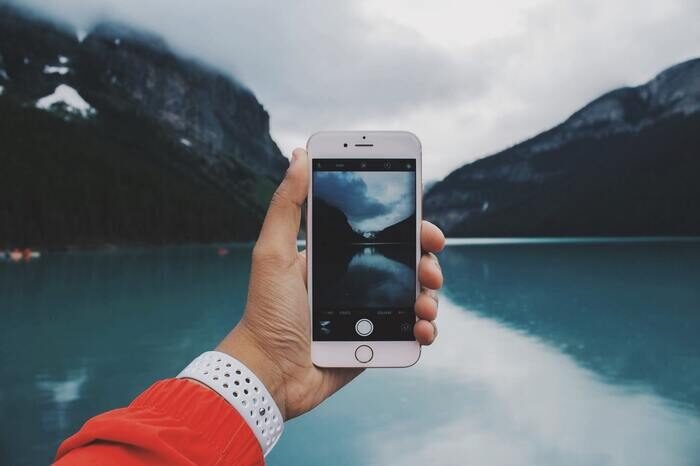
Landscape With iPhone
Taking stunning landscape photos with your iPhone is easy with the right techniques. Use a tripod to stabilize your phone and prevent motion blur, especially in low light. Tap the screen to set the focus on your main point of interest.
To create silhouettes, tap the brightest area and use the AE lock. Tap the dark area for backlit scenes, use the AE lock, and take the shot. HDR mode is great for high-contrast scenes, capturing multiple exposures to produce a balanced image.
Shoot around sunrise or sunset for the best light and colors. Compose your shot using the rule of thirds grid, placing key elements where the lines intersect.
Taking landscape photos on your iPhone is a great way to capture the beauty of nature wherever you go.

Flower
Flowers make beautiful subjects for smartphone photography. With the right techniques, you can capture their natural beauty. Get close to your subject to highlight the flower’s intricate details and eliminate distracting backgrounds.
Shoot in soft, diffused light for the best results. Overcast days or the golden hours around sunrise and sunset provide ideal lighting conditions. You can also create an indoor floral still life near a window, using a sheer curtain to diffuse direct sunlight.
Experiment with unique angles and compositions to make your flower photos stand out. Try shooting from a low perspective or adding water droplets for a fresh, dewy look.
Editing apps with tools like curves and white-balance correction can further enhance your images. For more tips on capturing stunning flower photos, explore in-depth tutorials and techniques from experienced photographers.

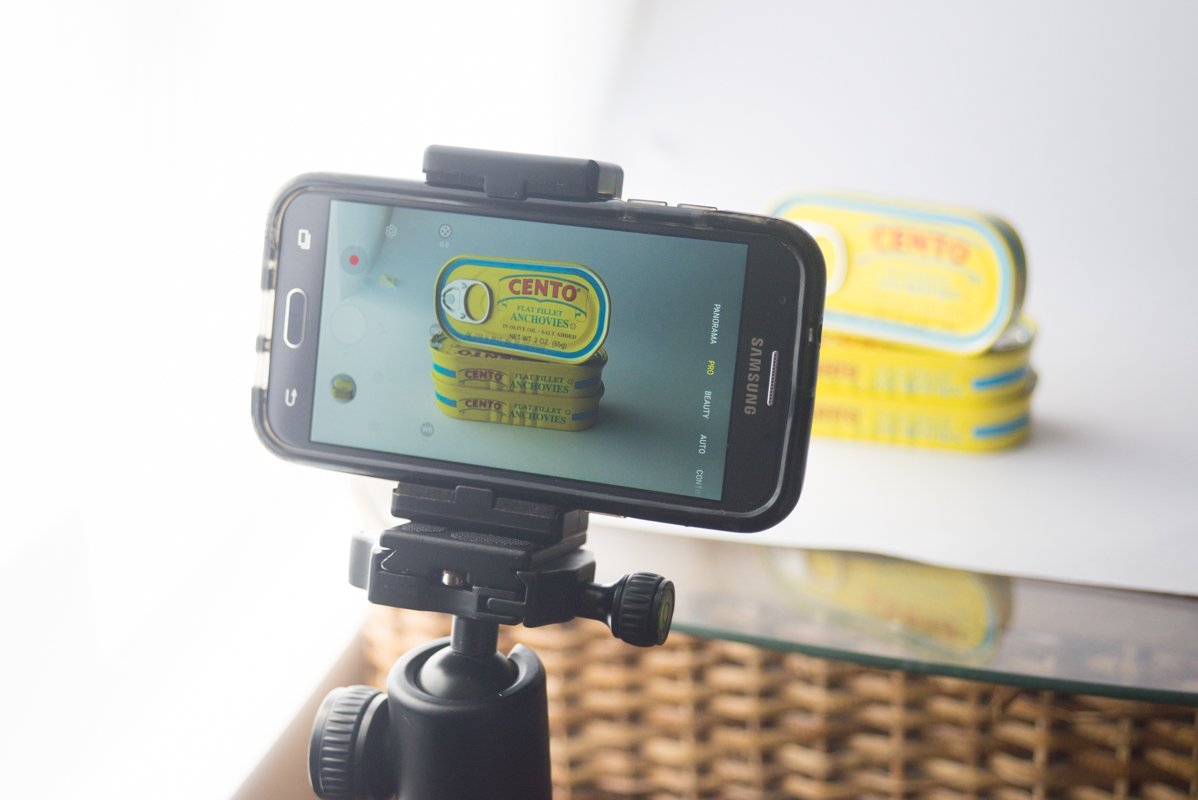
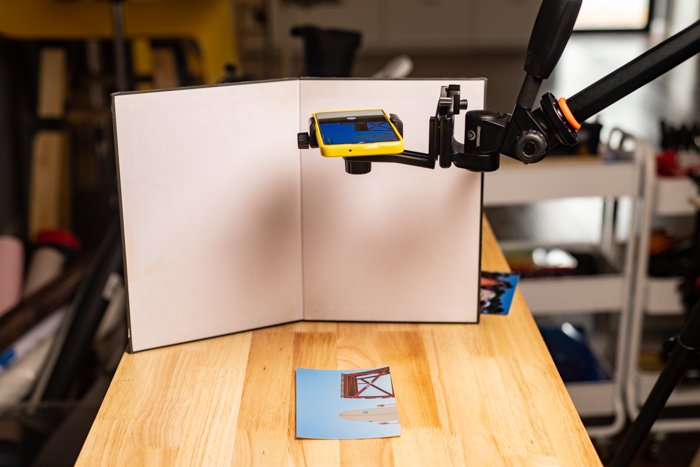
Product
You don’t need expensive equipment to take great product photos. Your smartphone camera is all you need. Use a tripod to keep your phone stable and the shots consistent. A white backdrop, like construction paper or a blanket, works well for a professional look.
Adjust your camera settings for the best results. Keep the ISO at 100 to avoid noise, choose the right aspect ratio, and use autofocus. Attach a macro lens for sharp close-ups, and experiment with Portrait Mode for a blurred background effect in lifestyle shots.
Natural light from windows is perfect for product photography. Place your product near a window to take advantage of the soft, even light. Use table lamps with bendable necks and matching color temperatures if the light is too dim.
After shooting, use editing apps like Adobe Lightroom, VSCO, or Snapseed to color correct, adjust exposure, and remove blemishes. With these tips, you can take smartphone product photography that looks professional.
Street
Smartphone street photography is a fun and creative way to capture the world around you. Apps like Camera+ give you more control over your phone’s camera, with features like exposure lock, focus lock, and shutter release. Apps let you take better photos in tricky lighting situations.
When composing your shots, look for interesting backgrounds like walls or windows to frame your subject. Getting close to your subject can also lead to more compelling images.
Working on a photography project or theme is a great way to push your creativity. You could focus on a specific location, like a market or city, or explore ideas like light and shadow.
With some practice and experimentation, you can create stunning street photos with your smartphone.
To learn more techniques for smartphone street photography, check out our in-depth guide.

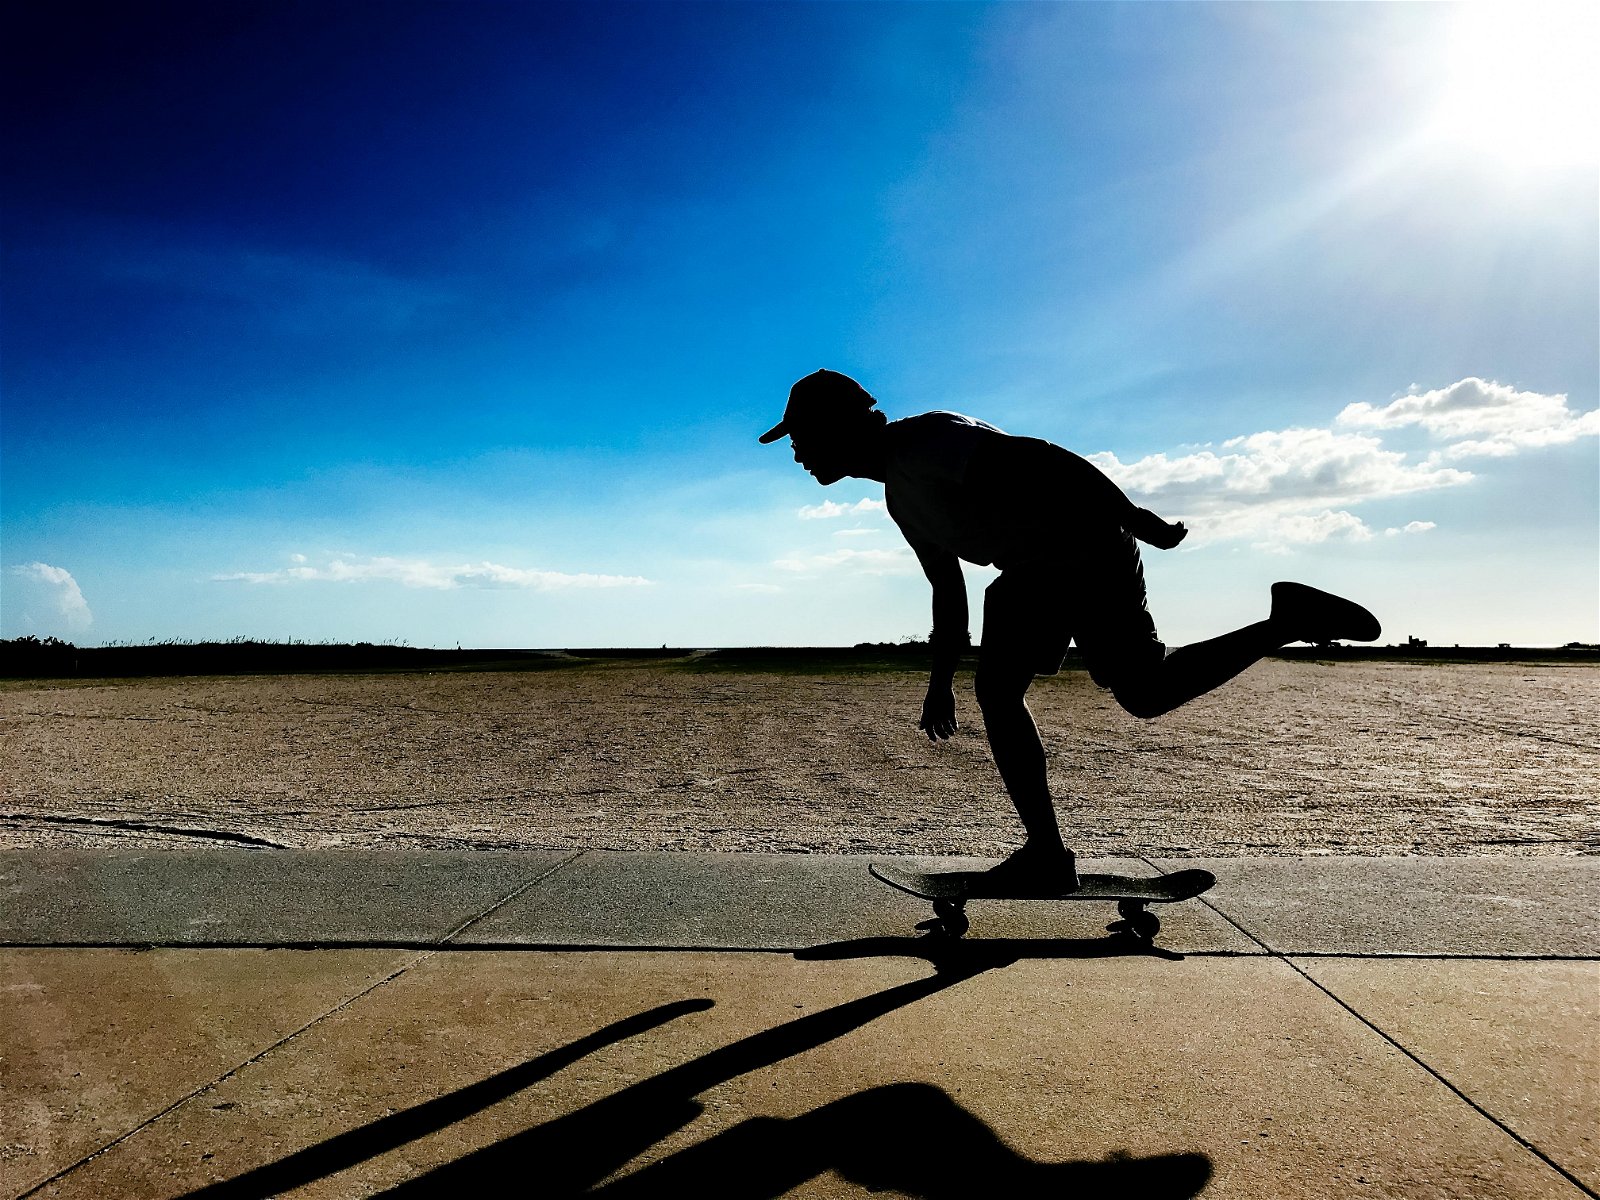
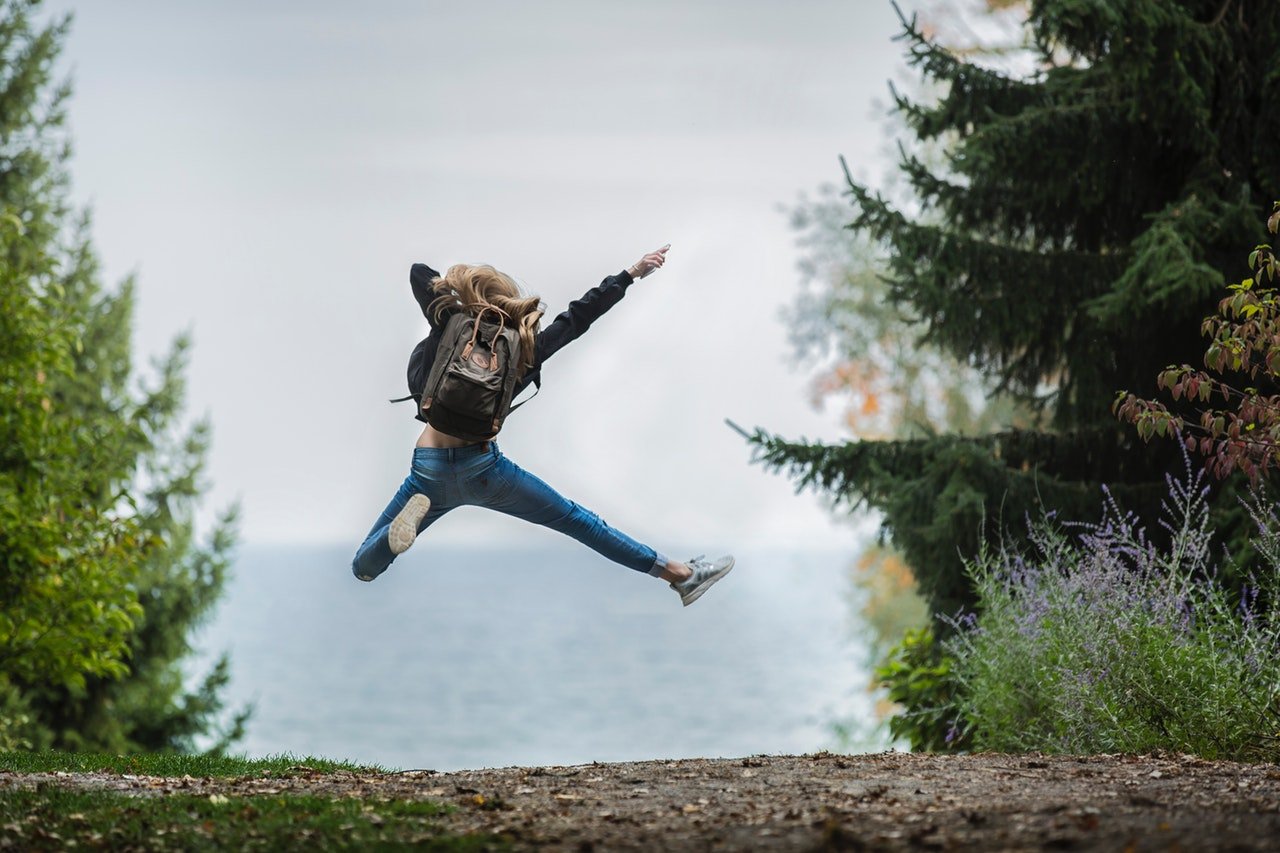
Action
Capturing fast-moving objects with your phone can be challenging, but simple techniques can help you get great action shots. First, anticipate your subject’s movement and be ready to take the shot. Pay attention to your composition, keeping your subject in the frame.
Using burst mode is a great way to capture the perfect moment. Press and hold the shutter button, and your phone rapidly takes many photos.
You can also try panning (following your subject from left to right or vice versa). Do this using a slow shutter speed to add motion blur to the background.
Experiment with different angles to add drama to your action shots. Low angles can make your subject look bigger and more heroic while shooting from above can show more of the environment.
Perhaps you want to capture fast-moving objects with a phone and fit everything in the frame. If so, consider using a fisheye lens or the built-in super-wide-angle lens on newer phones.

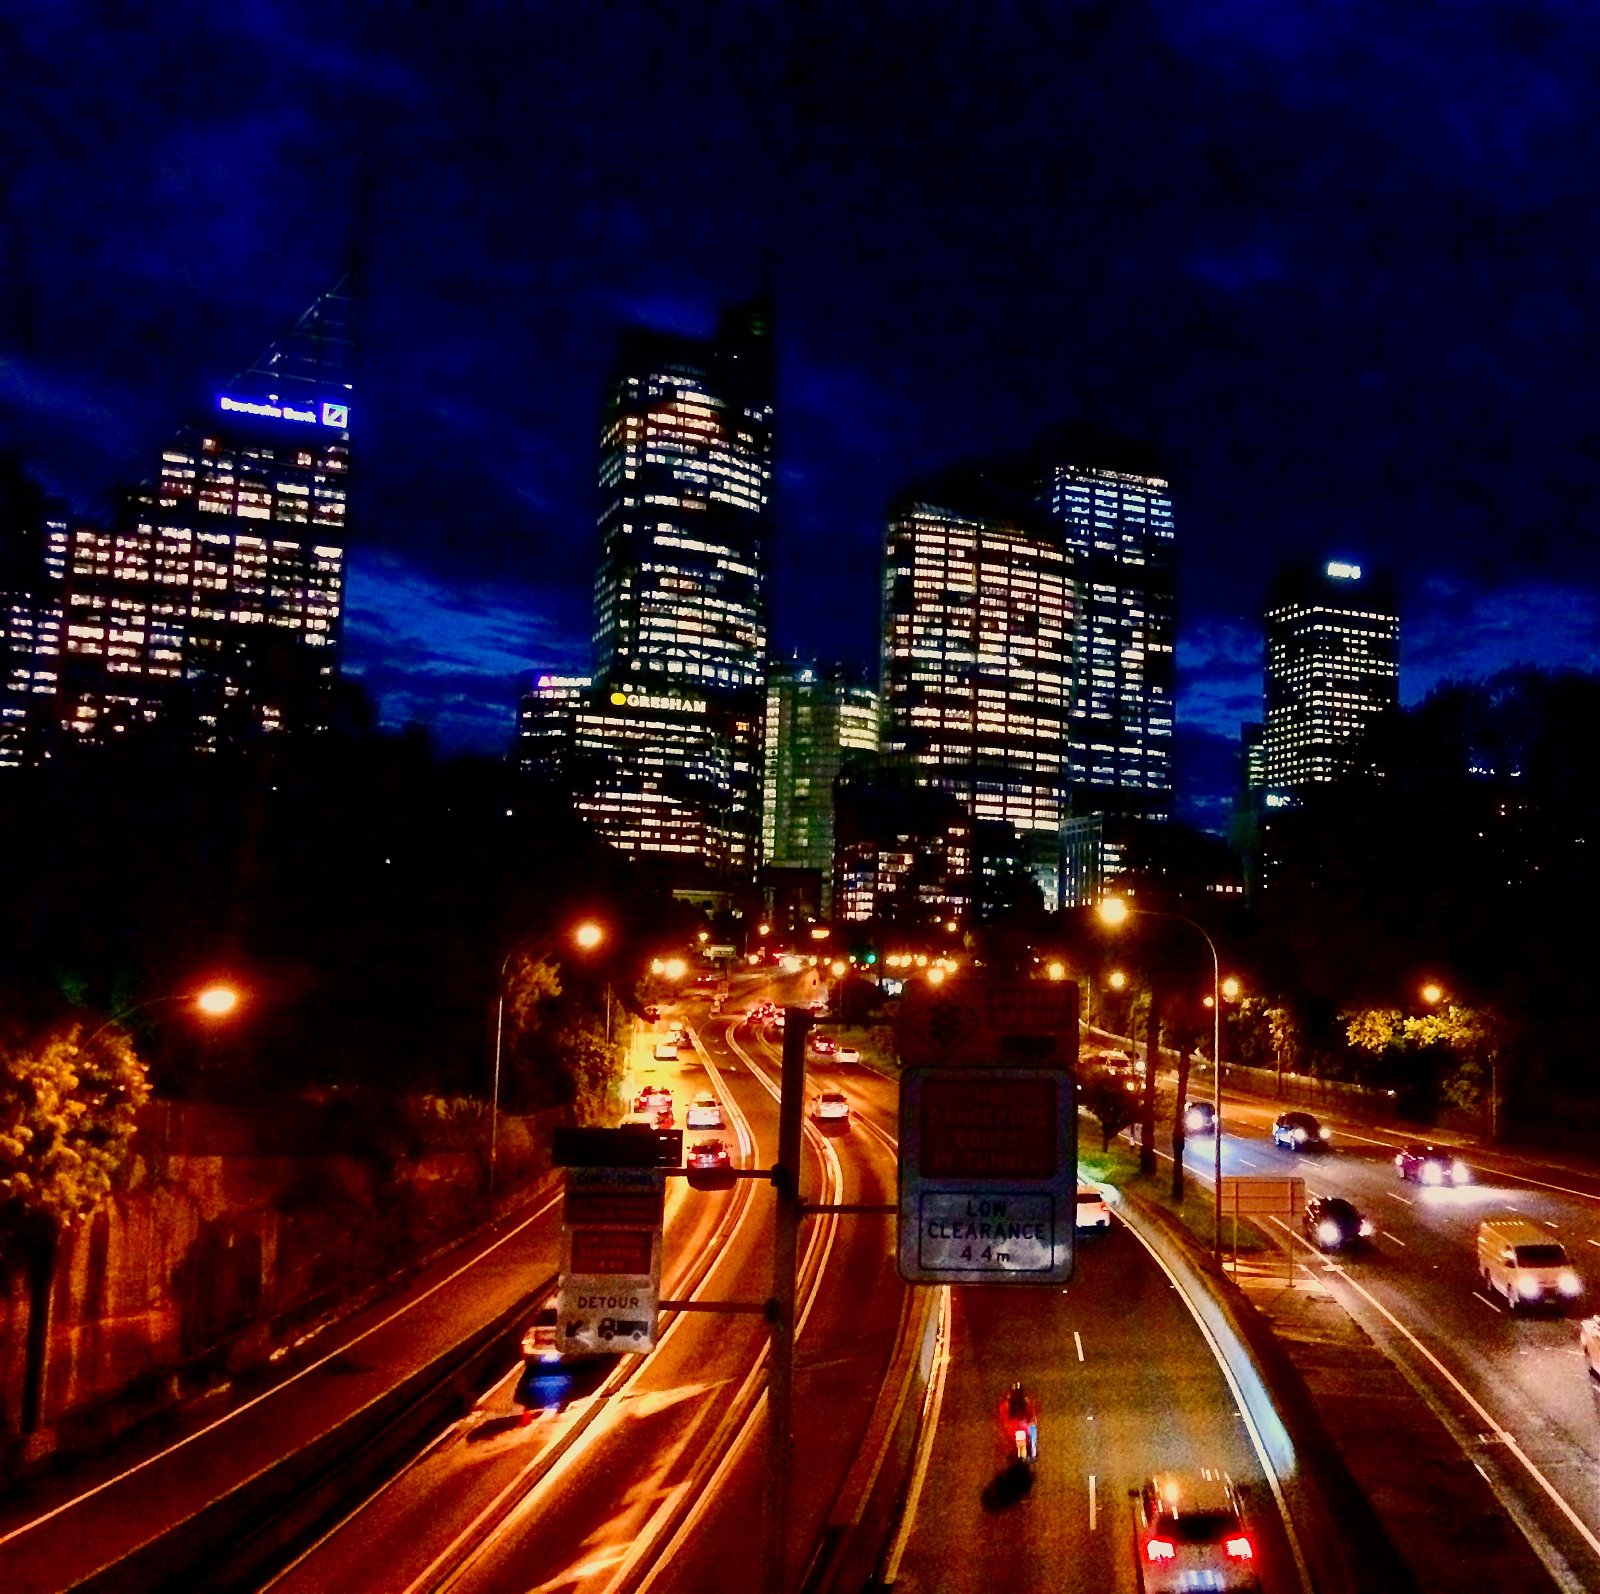
Nighttime With iPhone
Capturing stunning night photos with your iPhone is easier than you think. Start using a third-party app like Camera+ 2 that lets you adjust settings manually.
Keep your ISO between 400 and 800 to avoid grainy images. And use a shutter speed of 1/120 to 1/60 s (seconds) for handheld shots.
Stabilize your phone with a tripod to prevent motion blur using slower shutter speeds. Activate HDR to capture more detail in highlights and shadows. Try shooting during the blue hour just before sunrise or after sunset for vivid sky colors.
Get creative with long exposure effects like light streaks from moving cars. Play around with editing apps to adjust brightness, contrast, and other settings for the best results. If colors look distracting, try converting to black and white for an elegant look.
With practice, you’ll be taking incredible iPhone night photographs in no time.
Photography Apps
Smartphone photography has come a long way. There are many great apps for photographers of all levels. Camera apps like Photoshop and Pro Camera give you manual control over settings like ISO and shutter speed.
For editing, Lightroom Mobile and VSCO are popular choices. They have preset filters for quick adjustments and advanced tools for precise edits. Snapseed is another powerful editor with brushes for healing imperfections.
PhotoPills and The Photographer’s Ephemeris are helpful planning apps. These astronomy apps help calculate the positions of the sun, moon, and stars to find the best shooting times.
Flickr and 500px are great platforms for sharing your best work with the photography community. The best photography apps have made taking and editing stunning photos on your phone easier.
iPhone Camera Apps
The best camera apps for iPhone can take your photography to new levels. Camera+ 2 offers manual settings like ISO, white balance, and shutter speed. You can also shoot in RAW and edit the photos in the app.
ProCamera has features similar to Camera+ 2. You can also use your Apple Watch as a remote trigger. The long exposure feature lets you set a self-timer and exposure time for several seconds.
The Slow Shutter Cam app is great for long exposures and creating motion blur or light painting effects. It may not have all the newest iPhone’s Night mode features. But it’s still a solid option for creative photography.
Camera apps for iPhone can open up new possibilities for your mobile photography!
Android Camera Apps
If you’re an Android user, there are also apps to take your smartphone photography to the next level. The native camera app on most Android phones has improved. But many people want more control and features.
Apps like ProShot and Camera Zoom FX Premium offer ISO, white balance, and exposure compensation manual controls. For those looking to boost their social media content, apps like Adobe Photoshop Camera and Cymera have excellent portrait controls and fun filters.
Are you a keen photographer who wants the most control? Apps like ProShot and Camera FV-5 have DSLR-like interfaces and support RAW files.
With so many great camera apps available, you can find the perfect one for your needs. If you’d like to learn more about camera apps for Android, we have a detailed guide that covers the best options.
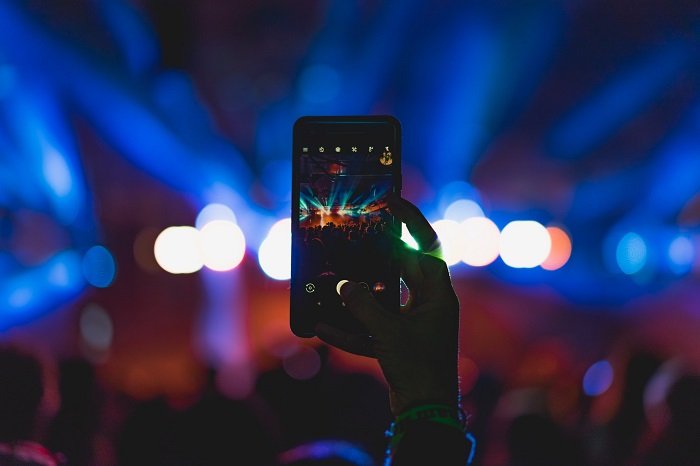
Photo Storage
Smartphones make it easy to take photos, but storage space fills up fast. Free photo storage apps can help manage your growing collection. Dropbox and Google Photos are popular options that automatically upload and sync your images across devices.
iCloud is the go-to for Apple users, with 5 GB of free storage. Larger plans are surprisingly affordable. Amazon Prime members get unlimited photo storage with the Amazon Photos app. Microsoft OneDrive provides 5 GB of free storage for various file types.
Mylio takes a different approach by keeping your photos on a primary device instead of the cloud. Photography communities like 500px and Flickr offer free storage with some limitations.
We cover the best free photo storage apps in depth if you want to learn more.

Photo Recovery
Having a reliable photo recovery app can be a lifesaver. You might accidentally delete important photos or lose them due to phone issues.
These apps scan your device’s internal memory or SD card to find and restore lost images. They are quick and easy to use, making the recovery process simple.
The best photo recovery apps are compatible with both Android and iOS devices. Some even offer extra features like cloud backup or permanently destroying files. Choosing a reputable app ensures your data stays safe during recovery.
With the right photo recovery app, you can retrieve lost photos in just a few steps and avoid losing precious memories forever.

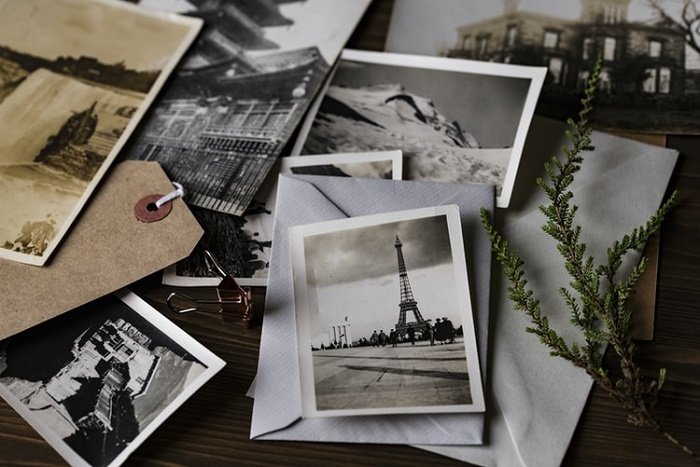
Scanner Apps
Do you have old photos you want to digitize but don’t own a scanner? You only need a smartphone to scan your printed memories. There are many photo scanner apps available for iOS and Android devices.
Adobe Scan is a popular choice. It uses AI to automatically correct perspective and remove glare and shadows.
Microsoft Lens is an all-in-one scanner that produces high-quality scans in formats like PDF, Excel, and Word. Clear Scanner has a user-friendly interface and advanced features like edge detection, all for free.
Photo Scan by Google Photos combines four separate scans into one glare-free image. Pic Scanner Gold and FilmBox by Photomyne can scan multiple photos simultaneously, and they offer editing tools to restore faded colors in old prints.
Try photo scanner apps with unique features for the best results when scanning photos.
Editing Apps
You can also use your smartphone for photo editing. We all know how great smartphone cameras are, but now you can enhance and adjust your images using editing apps.
You no longer have to rely on big, expensive photo editing software on your computer. You can do everything you need to do right on your smartphone. The apps don’t have some of the advanced tools of the full editing suits. But apps like Adobe Lightroom Mobile and Prisma have sophisticated tools for enhancing images.
See our full article on the best photo editing apps for more information. We’ll give you an introduction to editing apps below, but you need to see that article full picture.
Best Editing Apps
Editing your smartphone photos is a must to make them stand out. Many editing apps are available for both Android and iOS devices. Some are simple and only offer filters, while others have advanced editing tools.
Adobe Lightroom for Mobile and Adobe Photoshop Express are two popular options. They offer a variety of features and are easy to use. Snapseed is another great choice, especially for beginners.
VSCO is perfect if you like the look of film photography. It has a massive collection of filters and advanced controls. TouchRetouch is the best app for removing unwanted objects from your photos.
Check out our in-depth guide to learn about the best editing app options.
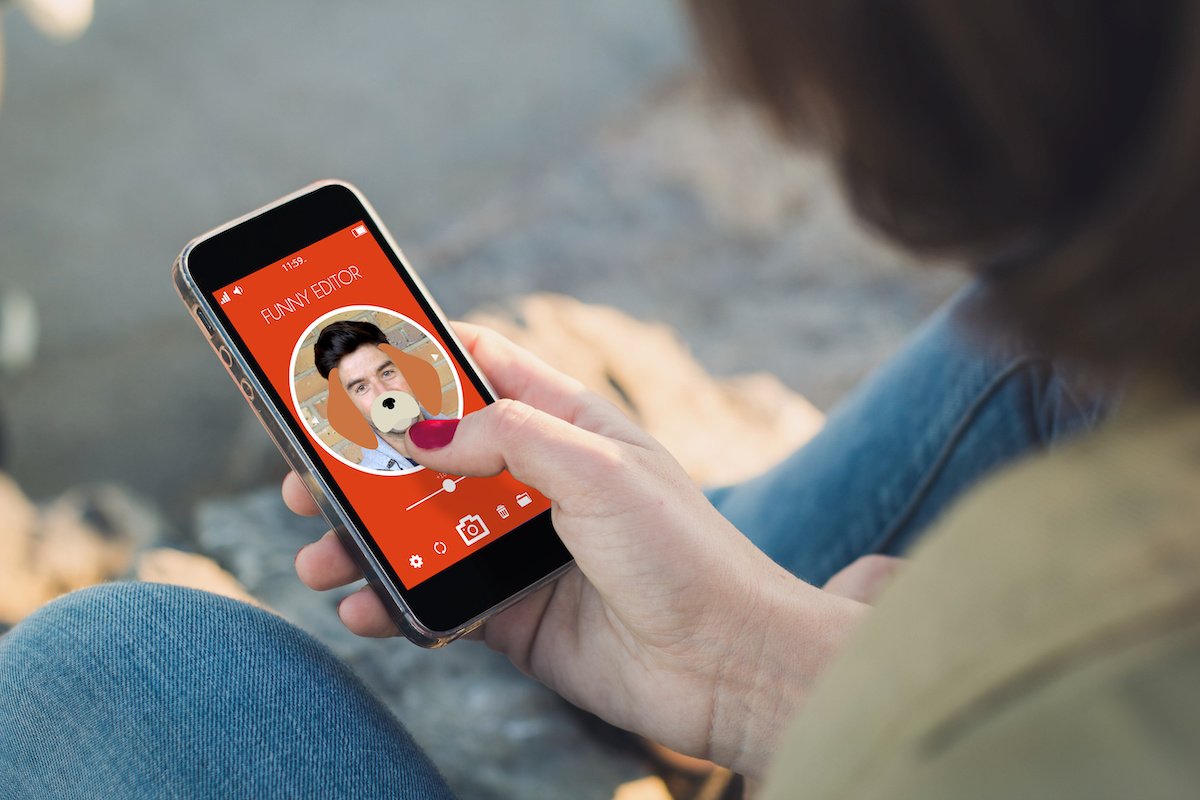
Background Removal Apps
There are many reasons to change the background of your photos. Sometimes, backgrounds are too simple or busy, so we want to change them completely. Other times, we can use a background app to make a subject stand out.
The best background change apps offer advanced tools, such as different blending modes and double exposures. They also let you create shadows to make your results look natural.
Simple apps are great for quick edits, while more complex ones are better for creating art pieces or surreal collages. When choosing a background changer app, look for accuracy, smooth brush tools, and a good selection of backgrounds.
Also, consider how much you’ll use the app and how simple you want the editing process.
Look at our guide to learn more about using a background change app.
Collage Apps
Creating photo collages is easier than ever with the right app. The best collage apps offer a variety of templates, layouts, and editing tools to help you make unique designs. Some apps even let you add videos and music to your collages.
Popular collage apps include Canva, PicStitch, and Moldiv. These apps have user-friendly interfaces that make it simple to arrange your photos. You can also add text, stickers, and filters to personalize your collages.
When choosing a collage app, look for one with plenty of layout options and the ability to adjust borders and backgrounds. You can create eye-catching social media or print designs with the perfect collage app.
Photo Management
As camera phone sensors gain more pixels, phone memory comes under increasing pressure. One way to alleviate this stress is to use a management and file transfer solution. You can use the native phone apps or opt for a third-party answer.
You might also want to scan or print images. If that’s the case, we have you covered!
iPhone to Computer
Transferring photos from your iPhone to your computer is simple. You have several options, including using the Photos app, iCloud, or Airdrop on a Mac. ITunes and cloud services like Google Drive and Dropbox work well for PC users.
To transfer photos from your iPhone to your Mac, connect your phone and open the Photos app. Select the images you want to download. iCloud Photos lets you sync images between devices wirelessly. Airdrop is another Bluetooth option, so you don’t need Wi-Fi.
Sending photos back to your iPhone is just as easy. Use iTunes to sync albums from your computer to your phone. Cloud services work in both directions, so you can upload from any device and access your photos anywhere.
If you want to transfer photos from an iPhone to a computer, these methods help keep your memories safe and accessible.

Live Photo Transfer
Apple’s Live Photos captures moments before and after you press the shutter button. This feature lets you save moving images that tell a story. To take a Live Photo, tap the icon with three concentric circles at the top right of your camera screen.
Encourage your subjects to move around to make the footage interesting. Look for elements like swaying trees or moving water in landscapes. You can edit Live Photos like regular images but with extra tools to mute the sound, choose a key photo, and add special effects.
Sharing Live Photos is easy, but they only play for other iPhone users. You can convert them to videos using apps like Lively to share on more platforms. For even more control, edit converted Live Photos in apps like iMovie or Adobe Premiere Rush.
Sending live photos is a great way to capture and share special moments!
Scanning Photos
Scanning photos with your phone is quick and easy. Use Google Photos or Microsoft Lens to digitize your printed pictures in just a few steps.
Google Photos has a simple interface that looks like a regular camera app. It also has an anti-glare feature to avoid bright spots in your scans. Follow the on-screen instructions to scan your photo, then crop it to remove any unwanted background.
Microsoft Lens works similarly but also lets you scan documents and whiteboards. It has various editing tools to touch up your scans before saving them as JPEG, PDF, or PowerPoint files.
Scanning a photo with your phone is a breeze once you get the hang of it.
iPhone Photo Printing
Printing iPhone photos is easy with the right tools and techniques. Use an online printing service like Shutterfly for high-quality prints. You can also print at home with an inkjet printer, but it may be tricky to get good results.
Taking your photos to a local photo lab is the most expensive and convenient option. Look at your iPhone’s resolution to determine how big you can print. Decide your printing purpose and choose the right print size.
Get your photos ready for printing by adjusting the resolution and other settings. Choose a photo paper type and size that fits your needs.
At home, use AirPrint for a quick printing process. Try a portable printer for more convenient printing on the go. We’ve put together a useful guide to learn more about iPhone printing.
Smartphone Photography Gear
There are many things to consider when choosing a new smartphone. Maybe your main consideration is the quality of its camera or how well you can use it for photography and video. That helps to narrow down the selection.
Almost every phone these days has a pretty decent camera. But the best ones excel, and we’re here to help you find your way through the options.
But there are other gadgets and gizmos that can enhance your smartphone photography. You can get attachable zoom or macro lenses. You can get tripods and gimbals for stabilization. And you can also get external microphones for professional sound recording.
We’ll give you an introduction to some of the best smartphone accessories here, but we also have a full article on the best smartphone photography gear. That’s the place to go if you want to see all the best camera phone gadgets.
Smartphone Cameras
The camera phone has revolutionized photography. Smartphones now have cameras that rival or surpass many compact cameras. The best camera phones offer multiple lenses, high-resolution sensors, and advanced features like optical image stabilization.
When choosing a camera phone, consider the number and type of lenses. A wide-angle lens is great for landscapes, while a telephoto lens helps you get closer to your subject. Look for a main sensor with at least 48 MP for detailed images.
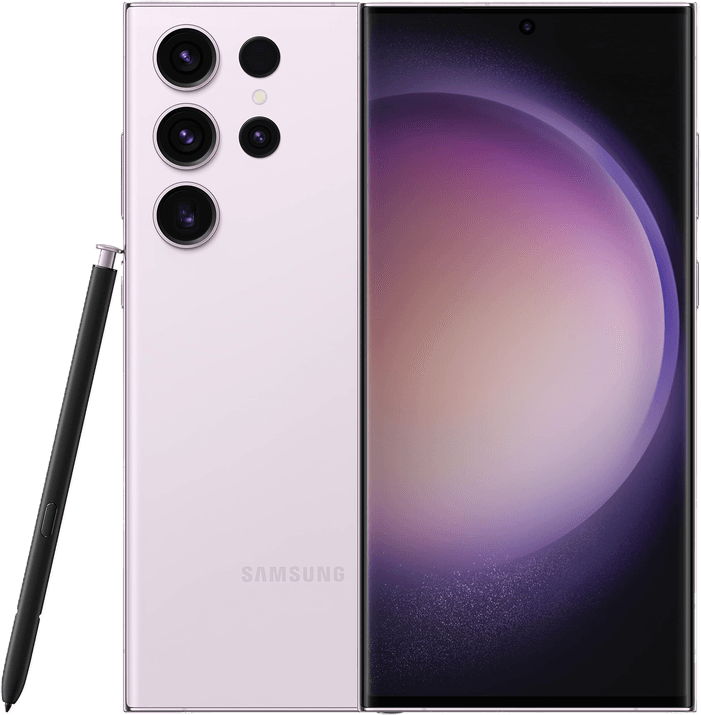
If you want to learn more about camera phones, check out our guide. It covers the top Apple, Google, and Samsung models and details camera specs and features.
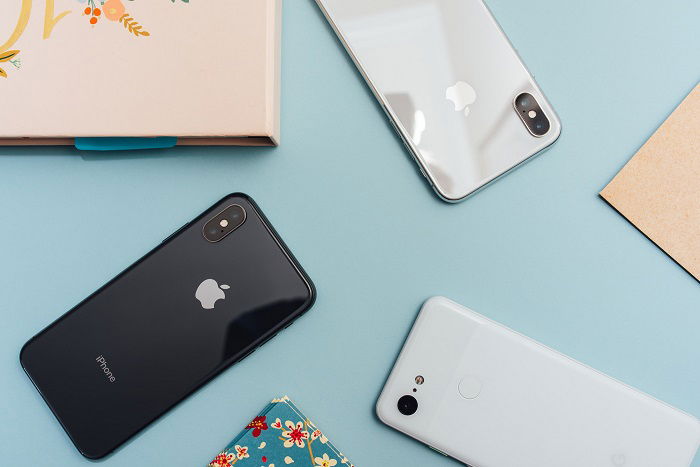
iPhone or Android?
There’s no clear winner in the iPhone versus Android camera debate. The latest and best iPhone and Android phones have astonishing cameras, which is why the consumer-level compact camera has all but disappeared.
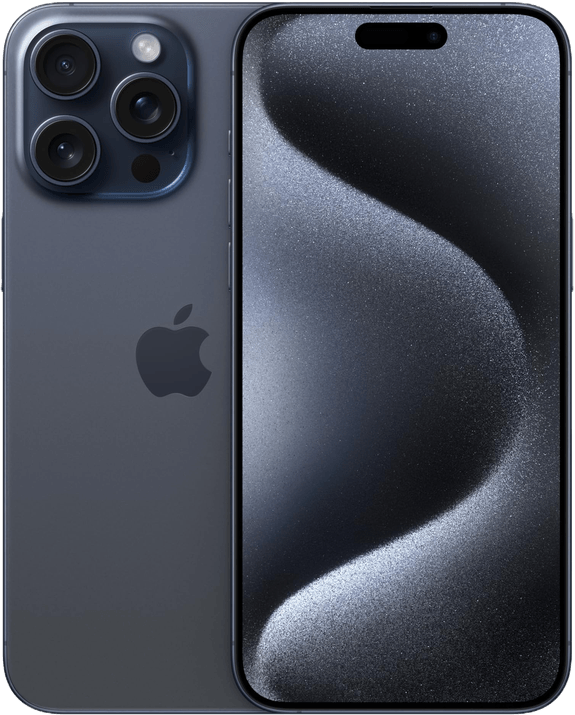
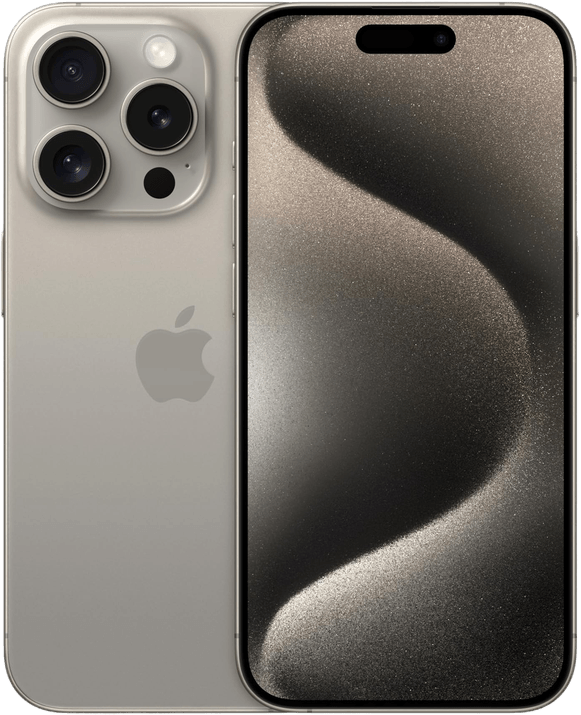
The top contenders are the Apple iPhone 15 Pro Max and the Google Pixel 8 Pro. The Phone 15 Pro boasts a 48 MP main camera, adding 2x, 3x, and 5x telephoto to the 0.5x and 1x. The Pixel 8 Pro gets a whole extra camera with a 48 MP sensor and an optical 5x zoom.
Choosing between the best iPhone and Android phones comes down to personal preference. When looking at side-by-side comparisons, you may prefer one over the other.
It might also depend on which operating system you prefer. Read our in-depth comparison to learn more about the differences between iPhone and Android cameras.
Best iPhone Camera
The iPhone 15 Pro Max is the best iPhone camera available. It has a 48 MP main sensor, up to 5x telephoto zoom, and can shoot 4K video at 60 fps. The iPhone 15 Pro is a close second, with most of the same features except for the 5x zoom.
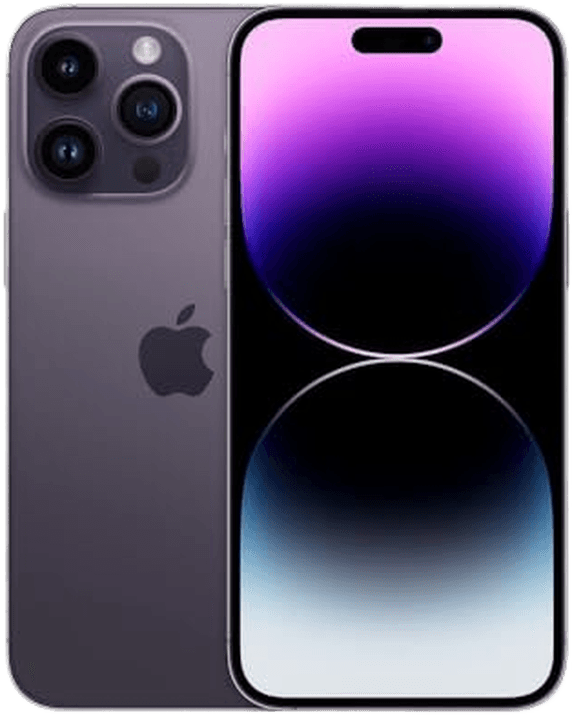
The iPhone 14 Pro Max is still an excellent choice for those on a tighter budget. It has a 48 MP main sensor, sensor-shift image stabilization, and can also shoot 4K video at 60 fps.
If you want to learn more about the best iPhone camera, our comparisons can help you find the model that best suits your needs and budget.
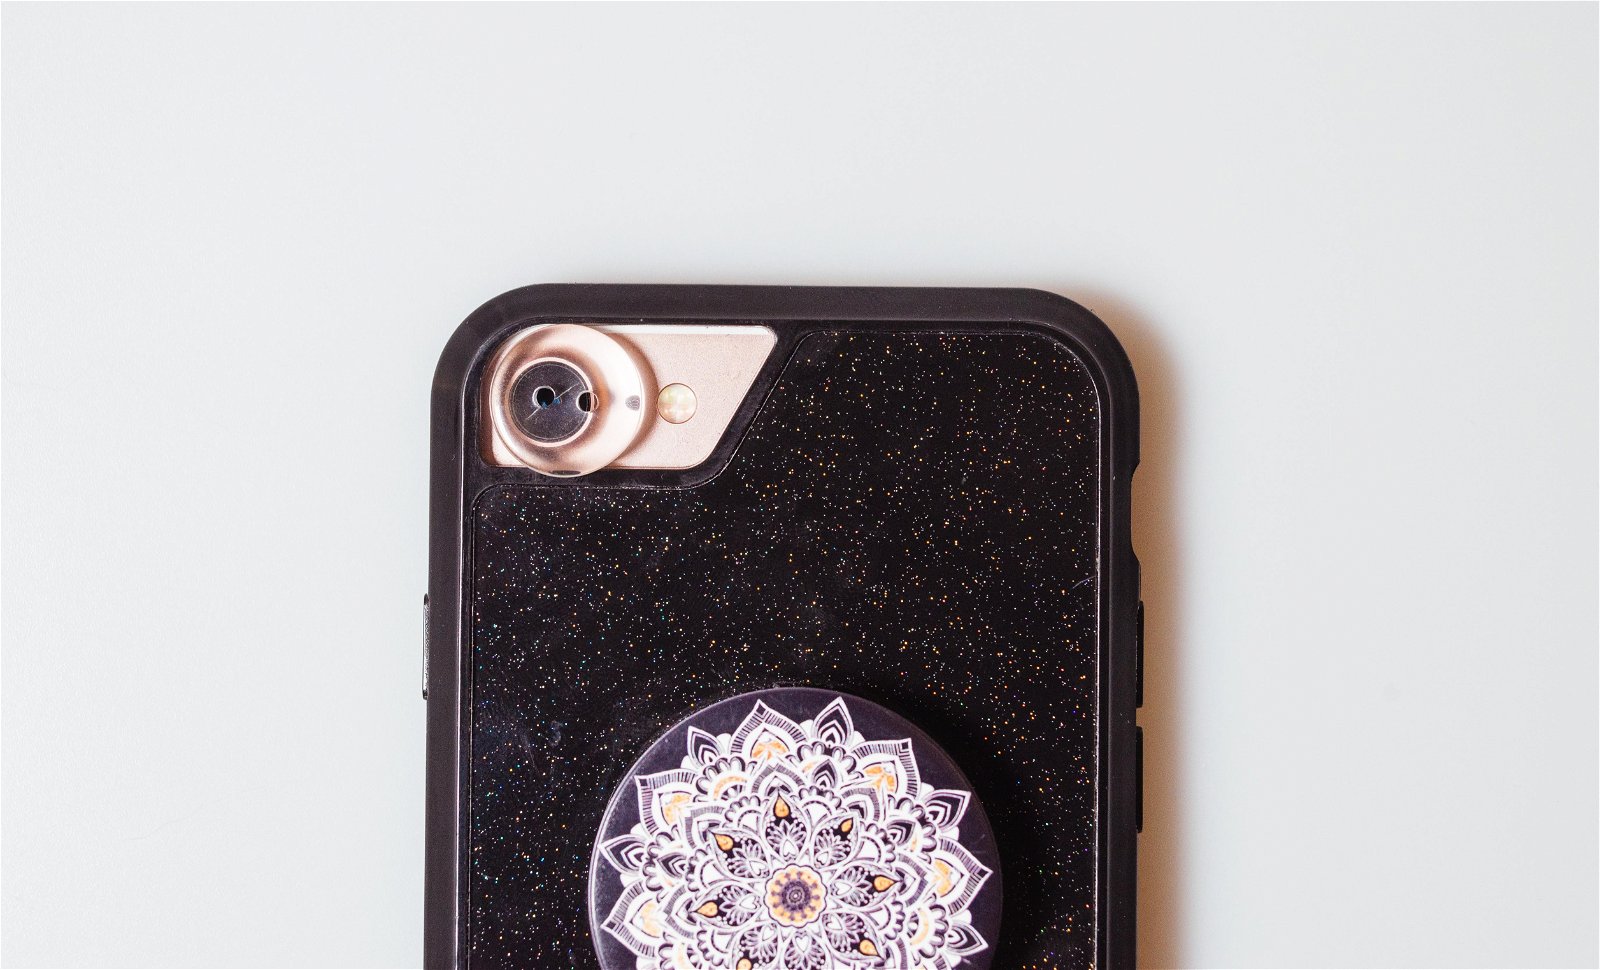
iPhone Accessories
The best iPhone camera accessories make an incredible piece of technology even better. Our top pick is the HP Sprocket Portable Printer. It’s battery-powered, prints wirelessly, and the photos are fadeproof.
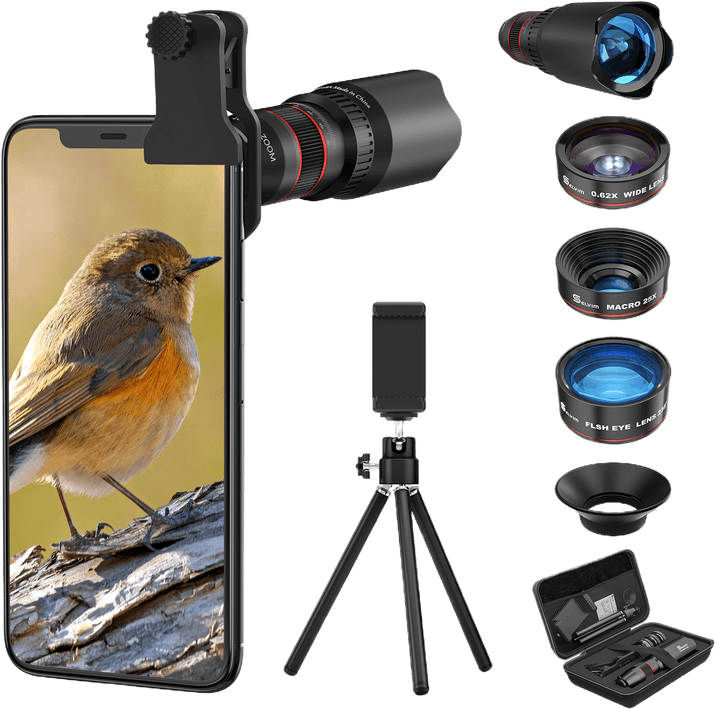
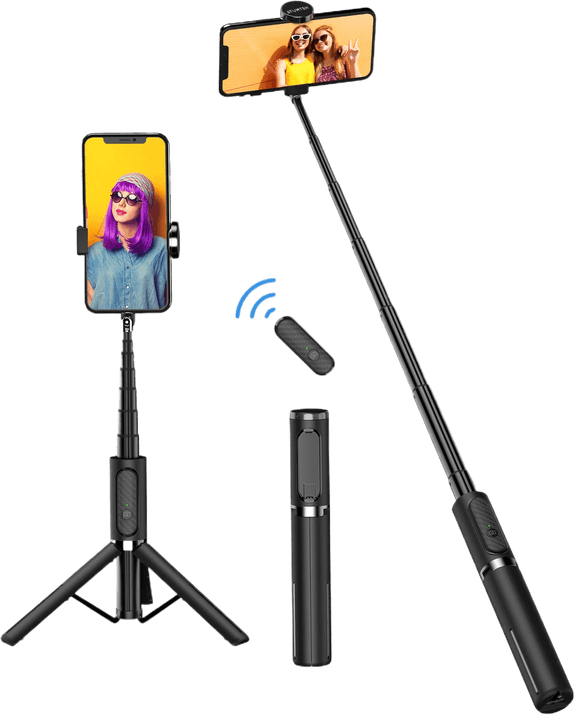
The Selvim 4-in-1 Phone Lens Kit is like a Swiss army knife with attachable optics. It includes telephoto, fisheye, wide angle, and macro lenses that snap onto your phone. The ATUMTEK Selfie Stick Tripod is perfect for selfies and group photos.
These iPhone camera accessories can help you take your mobile photography to the next level. iPhone camera accessories are a great way to get the most out of your phone’s camera and expand your creative options.

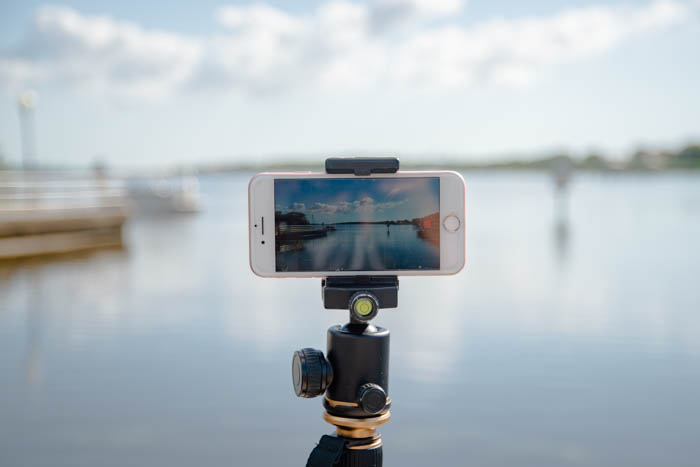
Phone Tripod Mounts
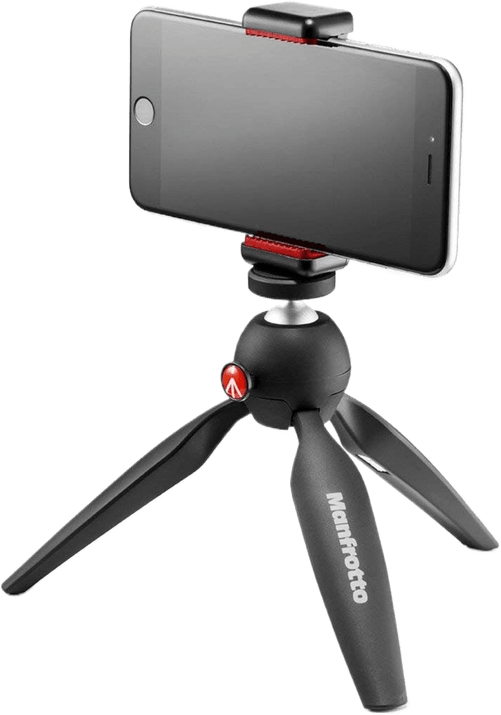
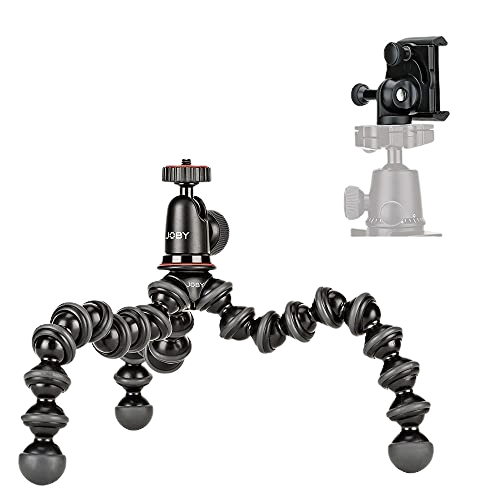
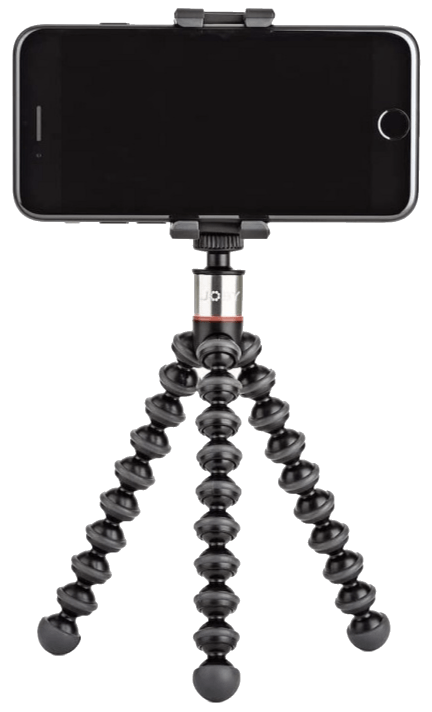
Tripod mounts provide a stable base for your smartphone, letting you capture sharp photos and smooth videos. They come in various designs.
Some have flexible legs that wrap around objects to telescoping selfie sticks that double as tripods. Others even include Bluetooth remotes for wireless control.
Look for a mount with a secure grip to hold your phone firmly in place. Spring-loaded clamps and rubberized pads prevent scratches while keeping your device safe.
Compact and lightweight options are ideal for travel photography. They fold small to fit in your pocket or bag, ready to use whenever inspiration strikes.
You can take your mobile photography to new heights with the right phone tripod mount. Our top recommendation is the Manfrotto Mini Tripod Kit with a universal smartphone clamp.