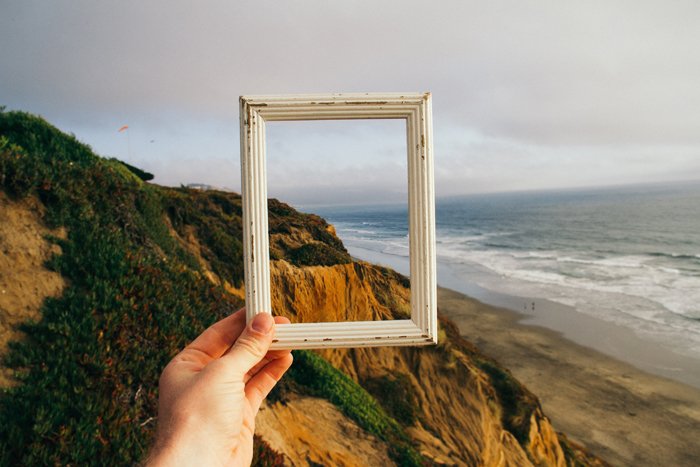
Social media is a fantastic tool for photographers. While having a proper website is still beneficial, a social media platform gives you a wider reach. By displaying your best work on Instagram or Facebook, you vastly increase your visibility and online presence. And with more eyes seeing your work, it’s easier to attract clients.
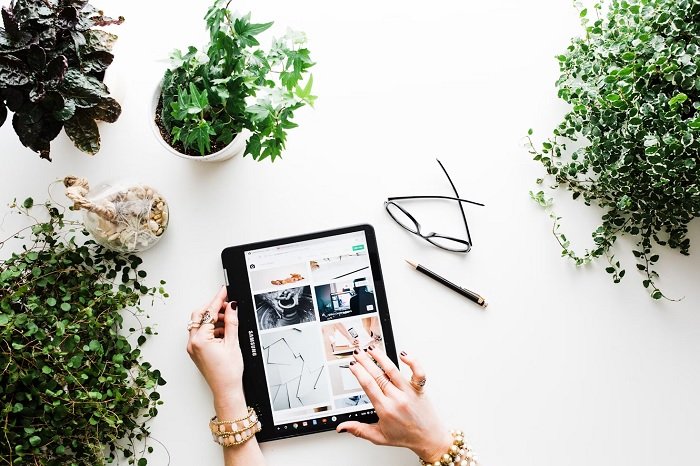
Whether you’re a seasoned photographer or just starting your photography career, you need to make social media a key part of your professional strategy. But don’t worry if logging on to all these apps and platforms seems daunting—we’re here to help.
This article looks at how photographers can use social media to enhance their photography business. It covers specific details relating to Facebook and Instagram, helping you build an online brand. The main article is full of links to in-depth posts, so click on those for more information on each topic.
Social Media for Photographers
Social media marketing is an important way for photographers to get their work seen by more people. Choosing a niche appeal or diversifying your content can help you gain a consistent following. Interacting with your followers and being relatable are also great ways to increase engagement.
Using trending hashtags, embracing your brand, and being active in relevant online communities can expand your reach. Producing quality content that provides value to your viewers is key. Adapt your strategy for each social media platform and schedule your posts for maximum visibility.
Social media marketing for photographers takes some effort, but it’s worth it to grow your business. Avoid fake interactions and focus on authenticity to build a loyal following.
Best Platforms
There are many different social media platforms to promote your photography work. Using more than one platform is the best approach, but with so many options, it can be hard to decide which ones to sign up to.
Instagram remains one of the most popular options, offering exposure to a wide audience. Plates is a newer app designed specifically for photographers, providing a positive community to share photos and find inspiration.
Behance functions like a portfolio site where photographers can display their best work and receive feedback from colleagues.
For those wanting to tell the stories behind their photos, Exposure offers a clean, professional layout for combining images with text. Flickr is still one of the best places to store high-resolution photos online.
Facebook pages can help photographers build their business and attract clients, while Youpic is geared toward professionals looking to exchange ideas and sell their work.
Pinterest is great for boosting a photography business through backlinks, and Tumblr appeals to younger, more experimental photographers.
Finally, Steller Stories allows users to create a narrative around their images in a mobile-friendly format.
Social media is an important way to increase your reach and showcase your talent, so check out this article for all the best social media platforms for photographers.
VSCO Filters
VSCO is a popular photo editing app that offers a variety of filters to enhance your smartphone photos for social media. The app provides a range of presets inspired by actual film stocks, giving your images an authentic and vivid look.
To find the right preset for your image, simply upload a photo and browse through the available filters.
You can also adjust the intensity of the filter and make further tweaks using the editing tools like Exposure, Contrast, Saturation, and more. VSCO’s film effects, such as grain, fade, and split tone, can help you achieve a film-like aesthetic.
If you find a combination of adjustments you like, save it as a “recipe” for future use. To maintain a consistent style on your social media feed, try sticking to just a couple of presets.
VSCO filters offer a great way to improve your smartphone photography and create a cohesive look for your online presence.
Creating a Facebook photography page is a great way to showcase your work and build a community of fans. To get the most out of your page, select the right category when registering. Listing yourself as a website rather than a public figure has advantages, like being able to reach more than 10,000 fans.
Choose a profile picture that best represents your photography services. Use the cover photo to advertise and catch people’s eyes. Make sure to include access to your portfolio on your page, but only share your best photos. Posting regularly keeps fans engaged.
Adding a call-to-action button makes it easy for potential clients to get more involved. Claim a relevant username that includes the word “photography” for better search results.
Share your page on your personal Facebook and ask friends to like it to boost your numbers initially. By following these steps, you can create a Facebook photography page that attracts more customers.
To learn more about creating a successful Facebook photography page, check out our in-depth guide.
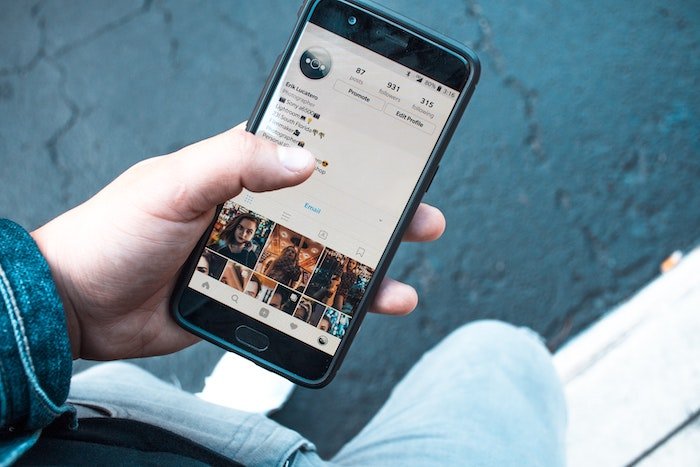
Instagram is the best social media platform for photographers. It allows you to display your best work in a professional, well-organized manner, and it helps you attract new followers, fans, and clients. But you need to know how to use the app to get the most out of it, so here are a few tips.
Use Instagram as a social media diary to look more approachable. Post behind-the-scenes shots that your audience can relate to. Choose a username and fill out your bio so people can find you.
Find important accounts in your field for reposts. Some have thousands of followers, and a repost can gain you many likes and new followers. Use niche hashtags with under 250,000 posts to make your photos stand out. Be consistent with your posting schedule and photo style to gain relevant followers.
Becoming Instagram famous takes time and effort, but engaging with your community will help you grow and may even lead to unexpected opportunities.
Writing Your Bio
Writing a good bio is one important aspect when creating an Instagram account. It tells people who you are and what you’re about in a concise way that draws in potential fans and collaborators.
Keep your bio short and sweet. Your Instagram bio should be just a couple of sentences long, using keywords rather than full sentences. Bullet points work well and take less time to read than complete sentences.
Show your photography style with your profile picture. Choose a well-taken, high-resolution shot that sums up your photography feed. A good portrait can put a friendly face to your account, while a signature photo can capture your artistic style.
Include your location and photography niche. Let viewers know where you’re based and the type of photos you take, whether that’s ‘Portrait Photographer’ or something more unique like ‘Photographer and Musician’.
Use links to showcase your work. Link to your website in your bio, or use a service like Linktree to direct people to multiple sites with one link. This makes it easy for viewers to further engage with your photography.
Have fun with it! Use an inspirational quote or curated emojis to add personality to your bio. The key info should be front and center, but there’s room to get creative without overwhelming readers.
A photography bio for Instagram is a great way to introduce yourself and provide context for your work. By crafting a bio using these tips, you’ll be well on your way to attracting followers and clients.
Captions
Writing great captions for Instagram can make a big difference in how your photos are received. A clever caption adds to the photo, while a bad one can ruin it. Use a conversational tone and write in the present tense to make the photo feel relevant.
Consider your audience and the purpose of the caption. Are you informing, explaining, or getting attention? Identify important people in the photo and mention their names.
Quotes and lyrics can work well, but be careful not to sound cheesy. The best captions give extra information that adds value to the shot. Captions that engage the viewer by starting a conversation are very effective, especially for businesses on social media.
Writing engaging captions for Instagram takes some thought, but getting it right adds more meaning to your images and helps people engage with your photography.
Hashtags
Hashtags are a great way to get your photos seen by more people on Instagram. But to use them effectively, you need to know which ones work best.
Popular hashtags may have many posts, but that doesn’t mean they’re the right fit for gaining followers and likes. The bigger the following, the more people using that specific hashtag. This means your image can get buried quickly.
Aim to use a mix of popular and niche photography hashtags. Niche hashtags are better because people searching for them are more likely to be interested in that specific topic.
To learn more about Instagram photography hashtags, check out our in-depth guide.

Profile Picture
The Instagram profile picture size is 110 x 110 pixels, perfect for mobile viewing. But for high-quality images on both web and mobile, upload a larger 180 x 180 pixel image. Instagram will resize and crop it for you.
Your profile picture is like a brand logo. People should recognize it quickly, whether it’s your business logo, a photo of you working, or a personal photo. Keep it consistent across social media platforms for easy recognition.
Instagram crops profile pictures to a small circle, so choose an image that fits well.
Click the link to learn more about the Instagram profile pictures.
Shooting for Instagram
Taking good Instagram pictures is easy with a few simple smartphone photography tricks. Avoid using HDR mode, as it can make photos look fake. Instead, underexpose your photos a bit to avoid blown out highlights. Brightening shadows is much easier than trying to recover detail in overexposed areas.
Turn on your phone’s grid to help guide your compositions, and adjust the exposure manually by touching and holding a reference point, then dragging the sun icon up or down. Plan your posts ahead of time to ensure a consistent look and feel for your Instagram feed.
Natural light is key for authentic-looking photos. Take advantage of the soft, golden light during early morning and late day, known as the golden hour.
Compose your shots using the rule of thirds, leading lines, negative space, and symmetry. Change your perspective by looking up, down, or behind you to find unique angles.
Our full article has more information if you want to learn more about taking good Instagram pictures.

Tips for Beginners
Instagram is a fun platform for photographers of all skill levels. To get the most out of it, explore inspiring feeds and study the latest trends. Share something about yourself in your bio and learn proper composition techniques.
Be critical of the photos you post and tell stories through your captions. Use relevant hashtags to help people find your content. Post regularly and develop your own photography style.
Create a coherent theme for your feed and interact with your followers. Most importantly, have fun taking photos and let your passion shine through.
Read our full article on Instagram for beginners if you need more help getting started.
Selling Photos
Instagram is a great platform for photographers to showcase their work and make money. One of the easiest ways to sell your photos is by setting up an Instagram Shopping account.
This allows you to integrate your product catalog directly into your Instagram profile, making it simple for users to purchase your prints without leaving the app.
Another option is to create posts promoting your prints, including details like available sizes and prices. You can direct interested buyers to comment on the post or send you a direct message to complete the purchase.
Linking your Instagram account to a dedicated e-commerce website is also an effective way to streamline the selling process.
In addition to selling prints, you can offer your unique Instagram photos as stock images. Many businesses are always in need of fresh, eye-catching visuals for their marketing materials.
By providing themed bundles or individual photos, you can tap into this demand and generate additional income.
Making money on Instagram as a photographer is a great way to monetize your passion and reach a wide audience of potential customers.