
Adobe Photoshop is widely used, but it isn’t for everyone. This is especially true for hobbyists working on low budgets vs professional photographers.
One great Photoshop alternative that stands out is GIMP. But is GIMP as good as Photoshop? Let’s look at the advantages and disadvantages of GIMP vs Photoshop. This article will help you decide which software program is better for you.
Comparing Advantages of GIMP vs Photoshop
We’ll look at the advantage of editing with GIMP vs Photoshop. And at the end, we’ll see what features they share.
6 Advantages of Gimp
Here are six reasons to give GIMP a try.
1. Beginners Can Try Their Editing Skills for Free
Photoshop, like all Adobe products, used to be very expensive. The only way to use the software was to buy a one-time licensing fee of $700. Now that Creative Cloud has taken over, you can subscribe to Adobe products for as little as $10 monthly.
GIMP is free to use. You only save around $10 a month compared to Adobe subscriptions. But GIMP gives you a chance to try out editing without commitment. This way, you can decide whether or not to purchase software like Adobe.
2. Takes up Less Storage Space
Many photographers are using older laptops and desktop computers to edit images. This is not a problem—until you try to download a huge program like Photoshop.
Not only does it take up a lot of space. It also needs a large buffer space to let you edit your images. So if you are conscious about space, Photoshop may not be for you.
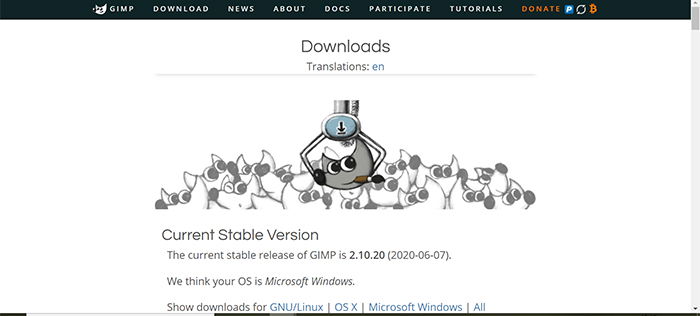
Adobe Photoshop currently recommends at least 20 GB of available hard disk space. But GIMP can take up as little as 200 MB. This means that GIMP is faster to download and set up. And it doesn’t eat away at precious space on your hard drive and RAM.

3. User Friendly and Easier to Learn
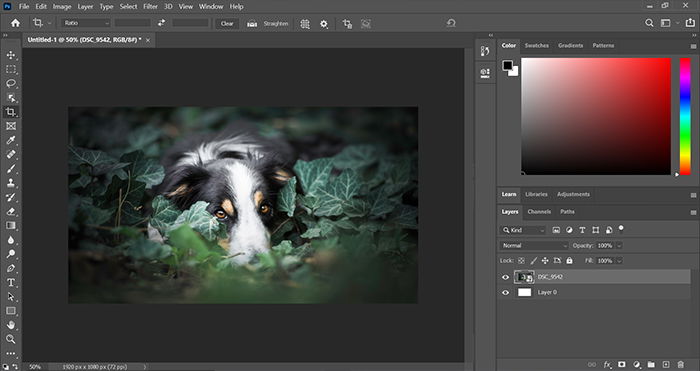
Photoshop isn’t only for digital photos. It covers all aspects of designing, illustrating, and many other disciplines.
Unfortunately, this means Photoshop has many tools that you will never use. This takes up space and makes the learning process much more confusing.
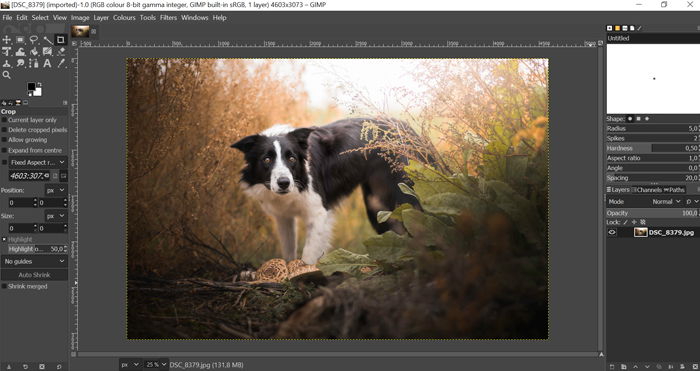
GIMP, on the other hand, is built with digital photography in mind. So it cuts to the chase and eliminates unnecessary tools from the mix. As a result, it’s faster. And you’re less likely to do something you don’t know how to fix.
Thus, GIMP is easier to use for non-professionals.
4. Customizable and Flexible Interface
GIMP not only works on UNIX systems but is also fully customizable. So you are free to move and push away tools and areas you will not require. This is great for keeping only the necessities and speeds up your workflow.
It is flexible enough to suit your needs and allows you to re-create keyboard shortcuts as you see fit.
5. Modifiable Because It’s Open Source
GIMP is an open-source program. It means you can modify features if you know how to change the operating code. It isn’t illegal. On the contrary, it’s encouraged and is set up for this purpose.
The tools that are not immediately apparent or available on GIMP are possible through plug-ins or changing the core code.
For example, the useful Content-Aware Fill feature in Photoshop isn’t part of GIMP as standard. But you can download the Heal Selection plugin (aka Smart Remove) and use it as if you were on Photoshop. But there is no central place to find plugins.
6. Offers Superior Batch Processing
Photoshop can batch process images. But it takes a little getting used to. You could set everything up using actions, wait an hour and find out something didn’t set up correctly.
GIMP is superior in batch processing images. It lets you perform repeatable actions to large groups of images. This alone is a great reason to choose GIMP over Photoshop.
9 Advantages of Photoshop
Here are nine reasons to edit with Photoshop instead.
1. Offers a Smartphone Version
If you need a mobile or smartphone version, then Photoshop is your answer. With Adobe Photoshop Express, you can edit your images on the move. Unfortunately, GIMP has yet to offer a service like this, and it is doubtful they will do so anytime soon.
With more and more of us working remotely, a smartphone might be a viable option for you. And it works in tandem with products such as the Samsun T7 or other portable external hard drives.
2. Qualifies as a Business Expense
As a freelancer, you can claim the Adobe subscription fee back as a business expense. This is great if you need more powerful software than GIMP but want to save on the subscription fee.
And if you decide you aren’t going to use the sotware program for a few months? You can stop your subscription and restart at a later date to save some money.
3. Suitable for Various Purposes
GIMP offers some cool features such as the Droste Effect or even turning your images into “tiny worlds.” It is invaluable for some creative projects. But there will be times when you want to use your photography for other things.
And Photoshop is not built with only digital photography in mind. So it covers many other aspects.
For example, food photography may require using Layers to add text or other graphics into the mix. Photoshop allows this, whereas GIMP falls short.
4. Highly Compatibile With Other Adobe Programs
Photoshop plays well with other Adobe programs. The Adobe Creative Cloud (CC) Suite offers compatibility between all Adobe apps. Because of the cloud system, the synchronisations are automatic.
With the click of a button, you can send your image back and forth between Lightroom and Photoshop. Adobe smartly keeps track of all editing and file resizing across all platforms.
Adobe also offers great cloud storage. So you can access your pictures anywhere!
5. CMYK Mode for High-Quality Prints
If you need to use other color modes, Photoshop is your best friend. GIMP will only process using RGB.
There is a way to convert your images to CMYK with GIMP, but it requires a separate plugin. The RGB color profile is great for the web. So most of your work will be safe.
But when it comes to printing your images, CMYK is necessary. Printers are still based around the Cyan, Yellow, and Key (Black) plates that create a color image. They provide colors on your printer that are closest to what you see on your screen.
6. Non-destructive Editing With Adobe Lightroom
Destructive editing means that you write over the original. This stops you from reverting if you accidentally save over it. This is one of the best reasons to use Photoshop. Here, the original is saved, and any exports are separate files.
Photoshop can use Lightroom easily as a library. So it saves the original in case of accidents. It is also less destructive than GIMP. But you must follow a few editing techniques in Photohop to ensure this.
7. Offers Constant Development and Support
The team behind Photoshop is always tweaking and upgrading the editing software. With the Creative Cloud, things are no different. All you need to do is download and install the updates when they become available.
On top of this, Adobe offers great customer service. Photoshop, just like the rest of Adobe, has a huge team dedicated to giving you the best product possible.
GIMP will continue to grow. But the team isn’t nearly as big as Adobe. It also offers upgrades every few months. But it’ never as big or sufficient as the Photoshop updates.

8. Has More Powerful Tools
Both programs have great tools to help you edit your images properly and efficiently. But the tools in Photoshop are much more powerful than the GIMP equivalents.
Both programs use adjutments like Curves, Levels and Masks. But real pixel manipulation is stronger in Photoshop.
For example, GIMP has one Healing Tool, allowing you to remove the odd spot. On the other hand, Photoshop has four separate healing tools. And each of these come with an array of controls that lets you determine how they operate.
9. Handles RAW Images
One of the best things about Photoshop is it can convert RAW images. Camera RAW software comes as a standard now. As soon as you open your RAW file, the RAW editor pops up.
You can use RAW images in GIMP but through a separate plug-in. So this adds time and confusion to the mix.
Common Features Between GIMP and Photoshop
GIMP and Adobe Photoshop let you open, edit, and save Photoshop files (PSD Files).
This is perfect for photographers who want to revisit Photoshop files in GIMP. But you must first export and save the PSD images onto your desktop and reopen them in GIMP.
This is where editing the images and saving them can be a problem. That’s because the editing processes are destructive. (It does not keep the original file separate).
![]()
Conclusion: GIMP vs Photoshop
We collected the biggest advantages of both programs to compare them. And we hope it helps you choose the right software for online digital photography! Adobe Photoshop has stronger tools. And it offers much stronger pixel manipulation than GIMP.
But GIMP offers a streamlined workflow which is fantastic for beginners. The customizable UI (user interface) is also ideal, setting up an efficient workflow. And it might be more than enough if you aren’t heavily editing your images.
Whichever software you choose, check out our Magical Photography Spellbook. It will help improve and challenge your still-life photography and editing skills.
