If you’re looking to take your cocktail photography skills up a notch, look no further. These ten techniques will help you style and shoot amazing drinks photos that will wow your audience. From lighting to composition to props, we’ve got you covered. So put down that drink and get ready to learn! and many classic photographs are in sepia tones. You can create this effect by adding sepia toning to your photos in post-processing, or by using filters when you take the photo. Here’s how to do it:
10. Cocktail Photography: Making Your Cocktails Look Realistic
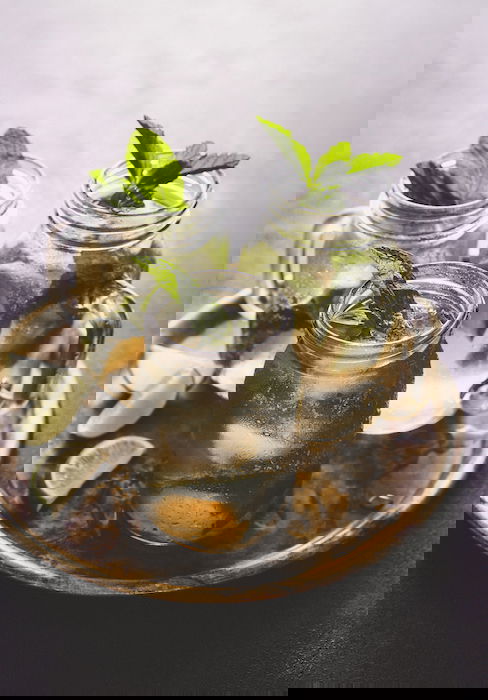
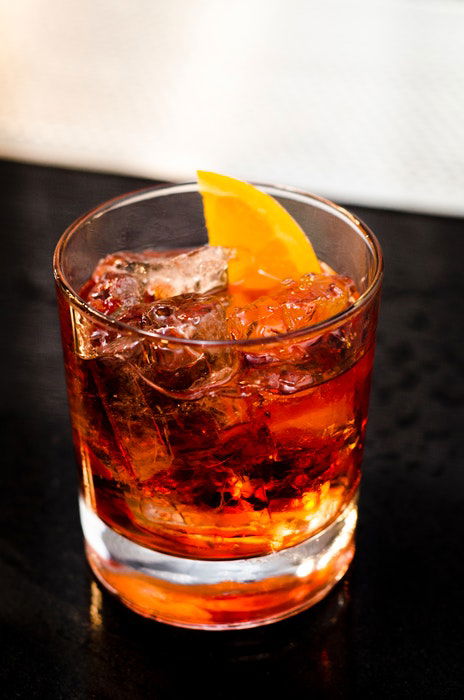
Styling cocktails is where you can get creative. There are dozens of drinks you might choose to shoot. You can make them much more attractive with garnishes, speciality ice cubes and ice shards. You can even use supplementary fresh ingredients such as lime and pomegranate seeds.
If using ice, don’t use cheap trays from the dollar store that will give you awkward, rectangular ice cubes.
Use some fun square pieces and place the cubes in the glass before filling it. Don’t overfill the glass! Leave a little breathing room.
Garnish your cocktails with whatever you see fit for your particular drink. This can be mint, maraschino cherries, berries, or orange peel. Be careful in placing them, or they can look messy.
You don’t have to splash out for real alcohol much of the time when you’re shooting drink photography. Sometimes substitutes work better for the cocktail picture.
For example, red wine usually shoots too dark. Professional food stylists often opt for red food colouring mixed into water as a stand-in.
The same goes for a few drops of soy sauce or liquid seasoning mixed with water. It makes a very believable substitute for white wine.
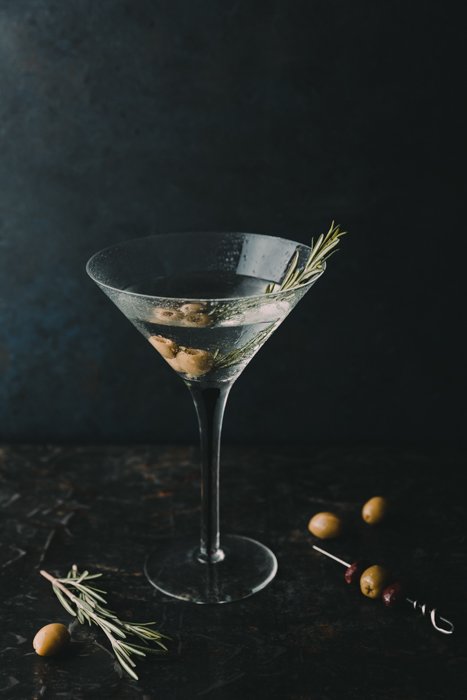
In the shot above, I used water instead of vodka for my martini. It’s one of my best selling photos, and no one is the wiser.
In styling food and drink photography, sometimes you need to make concessions to get the best shot, keep costs down. Why pay for vodka when it doesn’t look any different than good old H2O?
A great tip for styling cocktails is to make fake condensation on the glass. You can do this with a 50-50 solution of glycerin and water.
Glycerin is cheap, and you can buy it in the cosmetics section of the drug store. Use a spray bottle with a fine mister and apply it to the glass.
It will give you that cool, beaded look on the glass. And it will last much longer than if you were to spray it with water.
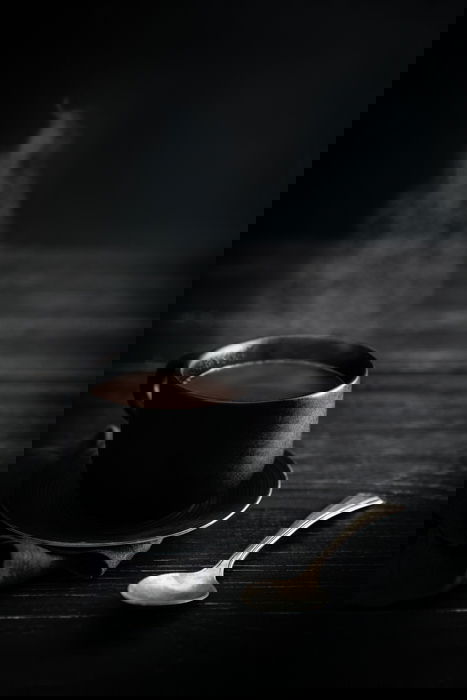
9. Shoot Coffee and Hot Drinks in a Natural Setting
Coffee and other hot drinks are very popular subjects in drink photography. There are lots of coffeehouses uploading photos of their drink menu.
The best approach to shooting coffee and tea is to photograph them in a natural way. You can add steam later in Photoshop.
If you want to try to your hand at creating steam while you shoot, check out these tips.
If you’re using milk in your coffee shots, the froth will be best produced by skim or 1 per cent milk. They are also a little whiter in color than 2% milk.
If you don’t have a good steam machine, you can use a frothing wand or a milk frothing machine. Heat milk to just above room temperature. Use one of these tools to create the froth before spooning it onto the beverage.
Old froth milk will not thicken again. Ensure you have some extra to froth if you don’t get the shot before the milk starts to look less than fresh.
Hot chocolate tends to separate, so it’s best stirred and poured right before shooting. Marshmallows look good when added to the beverage while it’s hot. The edges will melt and look attractive.
Whipped cream will immediately melt and look messy. Try scooping it on the hot chocolate when it has cooled.
A great substitute for tea is a product called Kitchen Bouquet. This is a liquid seasoning product that is in every food stylist’s kit.
It can stand in for coffee or tea, or even white wine or whiskey, depending on how much you use.
8. Use the Rule of Odds for a Pleasing Composition
You can take a couple of different approaches when photographing cocktails and drinks. You can focus on the details of one drink. Or you can shoot multiples for a stronger storytelling aspect. There is no right or wrong. Each has its own appeal.
When shooting a single drink, get close to the beverage. You’ll want to use a macro lens so that you don’t have much negative space around it.
A tighter crop looks better when shooting a single object.
Try shooting the drink a fair distance away from the background if you can. This will blur out a distracting horizon line and will give depth to the look.
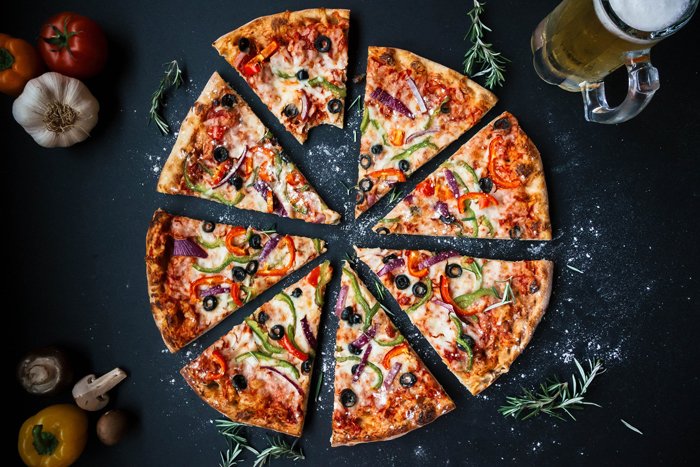
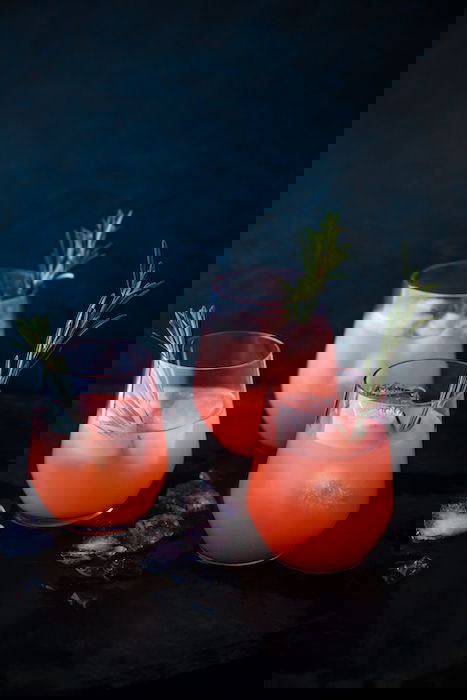
When shooting several drinks together, aim to use the “rule-of-odds“. This composition principle states that odd numbers of objects in photos are more pleasing to the eye than an even number of objects.
Odd numbers create a sense of balance and harmony. They also provide a resting point for the eyes. Even numbers of objects can divide our attention and compete with one other.
Quick tip: Position three glasses to form a triangle. It will give the image symmetry and balance. This is also a lot more pleasing to the eye than two or four glasses might be.
7. Backlight Your Subject to Make It Stand Out
Backlighting is the go-to lighting direction for beverage photography. It’s great for bringing out the beauty of liquids.
This is when you place your main light (key light) behind your subject-set. If you imagine the face of a clock with your camera placed at 6:00, this would be at 12:00. Use this lighting style with artificial or natural light.
The problem with backlighting is that it can sometimes be hard to get your exposure right. The back tends to be too bright, without enough light hitting the front.
If you find this to be a problem play with the distance of your light to the set. Make sure that you’re bouncing the light back onto the scene from the front with a reflector or piece of white foam core. Keep it opposite of your light source.
You can also place your light source at around 10:00 or 11:00. This is side-backlighting and is a go-to lighting style for many food and drink photographers. It gives you the best qualities of both back and side lighting without the exposure problems.
Quick Tip: Using two lights will give you directional light. Make sure that your second light is not as strong as your key light or you’ll get double shadows.
6. Use Double Diffusion To Manage Reflections
Cocktail photography is one of the most difficult ones to create. The reason is that they are often shot in glassware. The reflections can be tough to manage, and this kind of shoot can take much longer than a food shoot.
When you’re shooting glasses or glass bottles, everything in the room can end up reflected in the glass. This can make your beverage photography ugly.
You do need a bit of reflection, or they can look fake. It’s up to you to use your judgement of what looks good.
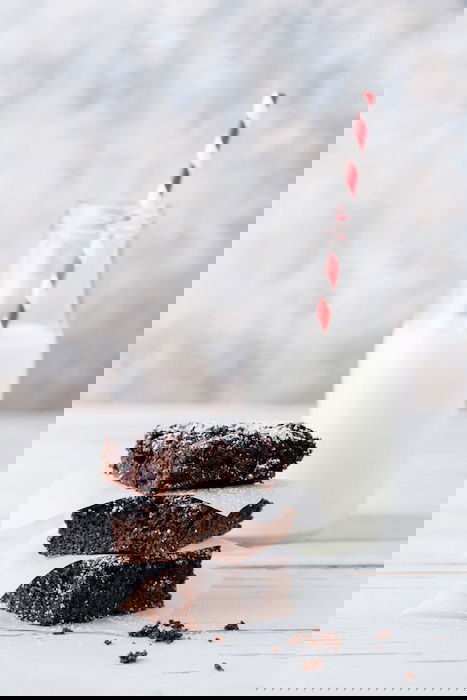
An important trick is to use double diffusion to make sure your shadows are super soft and to manage the reflections.
I shot this image of milk and brownies in a very small space. I was having difficulty getting the bottle of milk to look soft until I placed two diffusers parallel to each other on the edge of my set.
Quick tip: You can bounce light from the front of your scene. Cut a hole in the middle of a piece of white foam core and putting your lens through it. This will allow you to bounce light from the front onto your scene without your camera in the way.
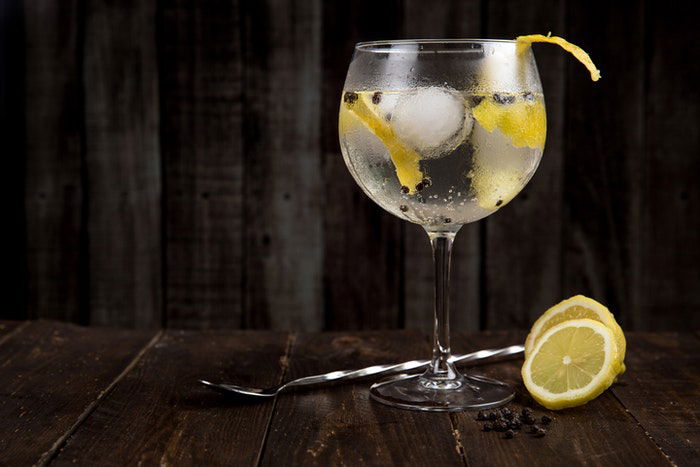
5. Try Hard Light for Eye-Catching Reflections
Hard light is very popular right now. This is direct lighting with very hard and sharp shadows.
It’s not the best for food photography, but it can be great for drink photos. The reflection created by the highlighting can look interesting and attractive. It works very well for strong drinks such as whiskey or rum.
You can achieve hard, direct light with either natural or artificial lighting. Using natural light is the easiest approach. Make sure it’s very bright out, and the sun is not playing peek-a-boo behind the clouds.
You need to shoot out in the sun or next to a window with direct sunlight. You can use pieces of black foam core to block sections of light if you wish.
For artificial light, you’ll need to light your set with an unmodified light like a bare bulb strobe.
A softbox will not give you the desired results as the shadows will be too soft.

4. Use Fake Ice to Avoid Messy Melting Scenarios
Nothing elevates beverage photos like great-looking ice. It can be difficult to work with as it melts so quickly.
You might only have seconds to get the shot. This is not ideal when you’re also trying to manage your reflections.
If you are doing professional drink photography, you will need to get some fake ice. Use both cubes and shards.
Trengrove Studios in the U.S. is a great source for high-quality fake ice.
These realistic ice cubes are very expensive, but once you invest in some, you’ll have them forever.
Commercial drink photographers spend a lot of money on their fake ice cubes.
If you shoot for your blog or do social media photography, there are some good looking fake ice cubes on Amazon that will do. Be sure to read the reviews so you can find the best ones.
3. Add Human Elements
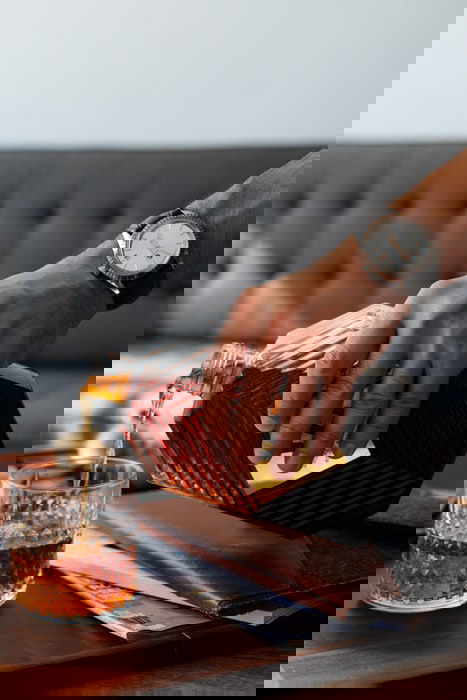
You can create more authentic drink photography by adding human elements to your photos. People relate better to pictures that involve humans.
You can do this by using a model or only body parts of a person. For example, a person reaching out for a cocktail.
If you photograph drinks for a specific brand, they might look for the model. If not, be sure to use a model who fits the brand image of the company.
It is also a good idea to find a model who matches the personality of the drink. A picture of a cocktail in a fancy glass would be a good fit for a model who has a playful charisma. While whiskey suits someone who shows seriousness and determination.
2. Use Props to Tell a Story
Like in food styling, you should be using suitable props when shooting drinks. First, ensure to find a background that fits your subject.
In cocktail photography, you often have to work with complicated drinks that have lots of decorations. Choose a simple backdrop so your drink photography won’t look chaotic.
Use simple yet relevant props when you are shooting drinks. A spoon to stir the cappuccino or some fresh fruit and spices for cocktail photography.
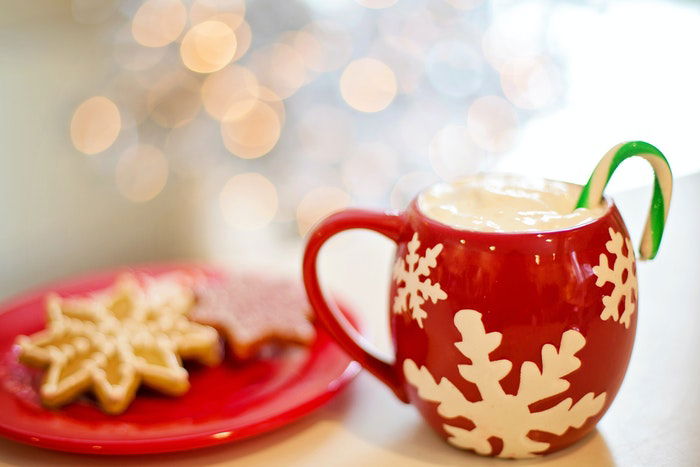
Props are also perfect for creating an atmosphere when shooting holiday drinks. A cup of steamy hot chocolate with a melted marshmallow on top looks a lot better if you add a cosy blanket, a book and some Christmas lights in the background.
Always consider the drinks’ personality and the concept when choosing props. A cup of tea would look weird with bartending tools around it.
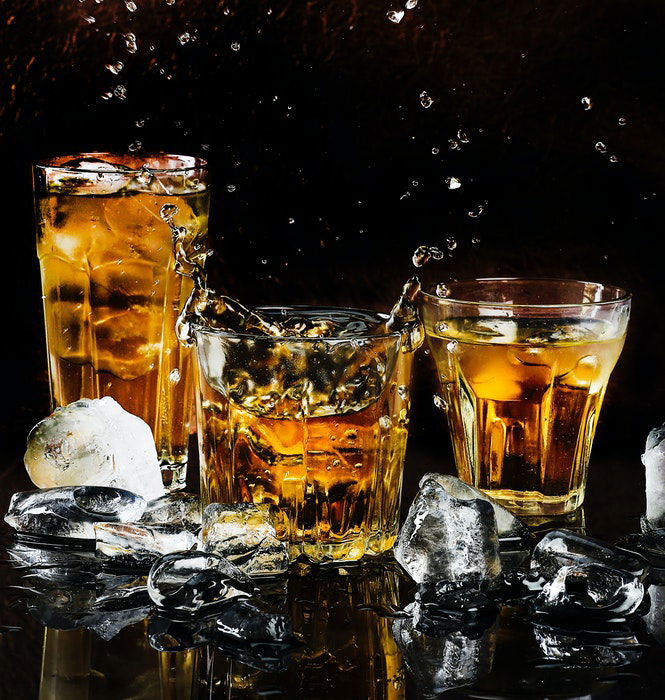
1. Capture Splashing Drinks
Splashes add dynamics to your drink photos. It doesn’t matter if you photograph milk or beer. Splashes always enhance your pictures.
You can create splashes with the beverages or some extra objects. Sugar cubes, olives or ice cubes can look great when being dropped into a drink.
To be able to freeze the motion, you need to use fast shutter speed. Set your camera in continuous shooting mode so that you won’t miss any action.
Splashes might create a mess. Ensure to have some towels close to you and protect your gear as well.
Conclusion
Drink photography can be a bit frustrating. But it’s also fun and creative.
The great thing is that you don’t need a lot to get started. Some juices, water, a cup of coffee or tea can give you endless inspiration.
So grab a drink and start playing!
Want to learn the best food photography tips? Read our eBook – Edible Images!