shutter speed for birds in flight can be one of the most important settings when photographing these creatures. Here are nine tips to help you choose the right shutter speed to capture amazing photos of birds in flight.
1. Researching Bird Behaviour Using Shutter Speed For Birds In Flight
According to new research, there could be about 18,000 species of birds in the world. Unique in appearance and behaviour, each species is a new photographic challenge.
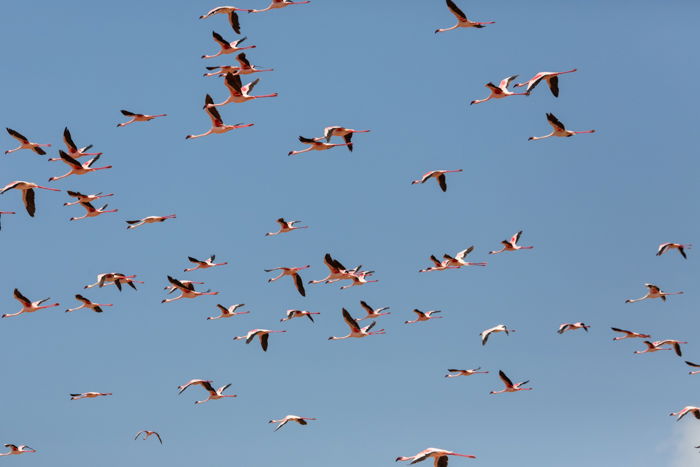
Researching bird behaviour is crucial to good bird photography. Some birds exist in flocks. Others pair only to mate. Some birds exist in the wilderness, others in urban environments. Some birds are active during the day, while others are awake at night. Some birds glide in flight, and others flap frantically.
Finding the right spot for bird photography need some research too. Depending on where you are based, bird maps like birdata can be a useful resource. They will help you plan the location of your shoot.
Plenty of information can also be found online or through local organisations and clubs. Getting in touch with local bird-watching communities is a great way to get inside info on bird-photography hot spots.
2. Be Ready With the Right Camera Settings
To get sharp photographs of birds in flight, there are a few general camera settings to start with.
First, set your camera to autofocus mode and activate continuous autofocus (AI Servo for Canon, AF-C for Nikon). Designed for moving subjects, continuous autofocus means that the camera will not lock the focus points when you half-press the shutter button. Instead, it tracks a subject, refocusing continuously.
The AF points come down to personal preference. Single AF points are better for stationary birds. The use of all AF points simultaneously is better for capturing birds in flight.
To take complete control of the camera settings, switch your camera to manual mode. For a sharp rendering of a bird in flight, you will want to choose at a shutter speed of at least 1/1000 of a second. Use much slower shutter speeds to create a panning effect. Then, set your shutter speed mode to continuous. That way, when you depress the shutter button, the camera will record images in quick succession. One after the other until you rerelease the button.
Next, select an aperture of around f/8. By increasing the depth of field with the aperture, you maximise your window for a sharp photograph.
To balance your exposure or for creative effects, your aperture can be adjusted along with your ISO.

3. Use a Telephoto Lens For Close-Ups
Having a good telephoto or super-telephoto is more than ideal in wildlife photography.
It is possible to use a lens with less of a reach but your photography will need a lot more legwork. You can also photograph birds that are more accustomed to humans (i.e. seagulls and pigeons). Generally, a long lens allows you to get closer to more birds.
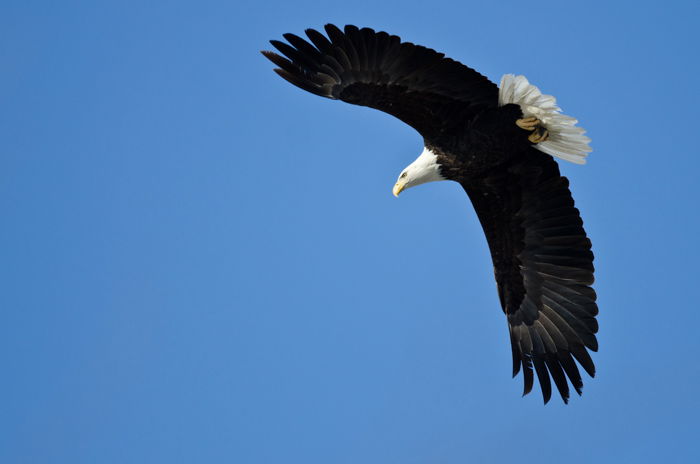
As you will probably be far from your subject, we suggest using a lens with a focal length of at least 200mm. But a lot depends on the animals’ habits and sizes. From the same distance, you will need a longer focal length to capture a hummingbird than to capture an eagle.
You will also want a lens with a fast focusing capability. Birds sometimes fly erratically, and you will want a lens that can keep up.
The use of a teleconverter is another way to extend the reach of a lens. They are cheaper than a dedicated telephoto but there are some significant drawbacks. Reduced maximum aperture, enhanced camera shake, slower focus speed, and increased image degradation are possible. Also, telephoto lenses with fix focal lengths usually provide better image quality.
4. Avoid Blur
A tripod or monopod with a ball head or gimble is useful for heavier lens configurations. The equipment can help avoid camera shake and eases the strain on your back and neck.
Also, camera shake is an issue with telephoto lenses. Due to the long focal length and narrow field of view, they are more sensitive to movement. This is why wildlife photography often needs the usage of a tripod. You can easily have blurred images if you hold your camera in your hands.
Following this logic, tripods let you use a slightly longer shutter speed. Sometimes tripods, however, make you too slow. In this case, monopods are a bit more mobile. The problem is that you have to hold them constantly. This also makes them less stable than a tripod.
5. Track Flying Birds
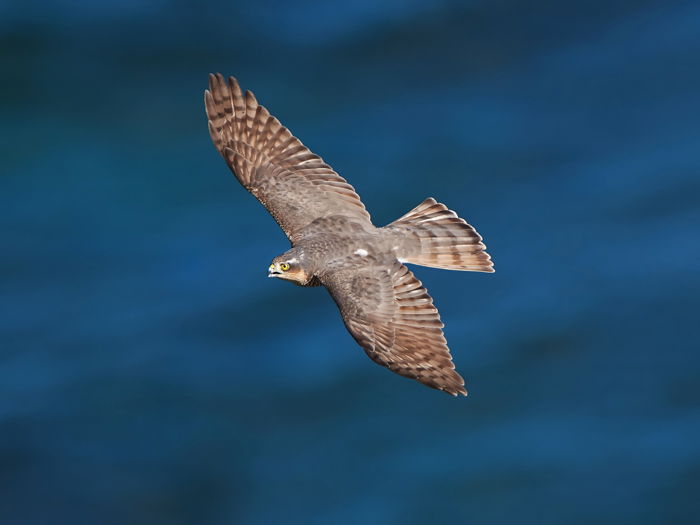
When capturing birds in flight, your ability to track or move the camera with the subject can make or break a photograph. You can nicely express motion with this technique. You focus on the subject and move with it a bit. This will make your background well blurred due to the movements while keeping the bird in focus.
Turn off the image stabilization because it makes the autofocus performance slower. Try to seek out your subject well before it flies close. This gives you time to orientate, find the subject in the viewfinder and plan your shot.
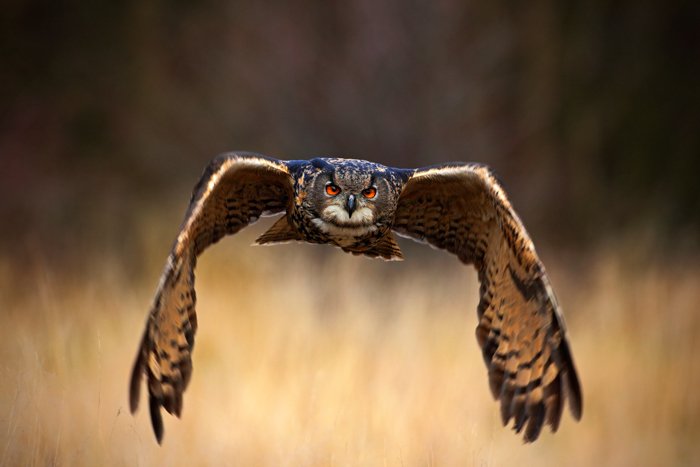
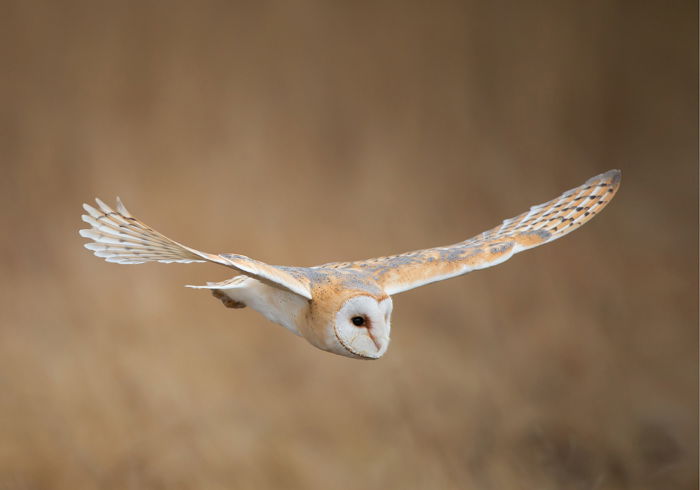
As the bird approaches, press the shutter button halfway down to focus. A sharp bird’s eye is understood to be the convention of bird photography. Aim your focus on the facial area of the bird.
Once focused, fully depress the shutter button. Keep the lens pointed at the subject (by twisting your hip if you are hand-holding). A smooth motion will help keep your images sharp, but it does take practice.
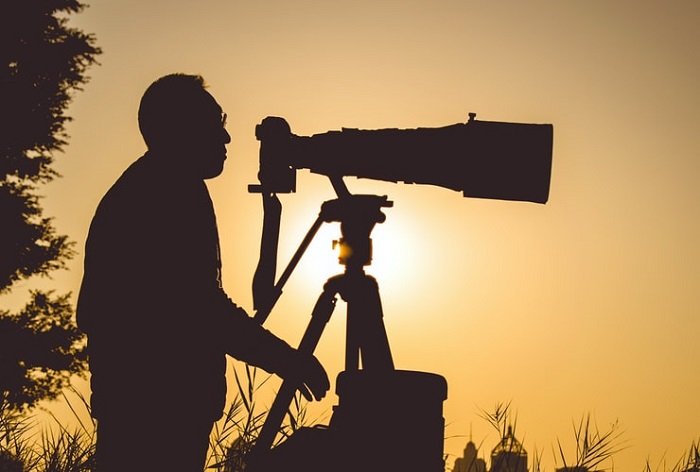
6. Get Soft Light at Golden Hour
All photography is about light. But to make a good photograph great, planning for the best lighting conditions helps. The golden hours are considered the best times for photographing birds in flight. Birds are most active during these transitional parts of the day, which increases the chance of a successful shot.
The ideal lighting position for bird flight photography is front lighting. This means the sun is at your back with birds flying towards you or passing in front of you. After you have chosen a general location for your shoot, have a look at the orientation of the sun. Think about where the ideal spot might be.
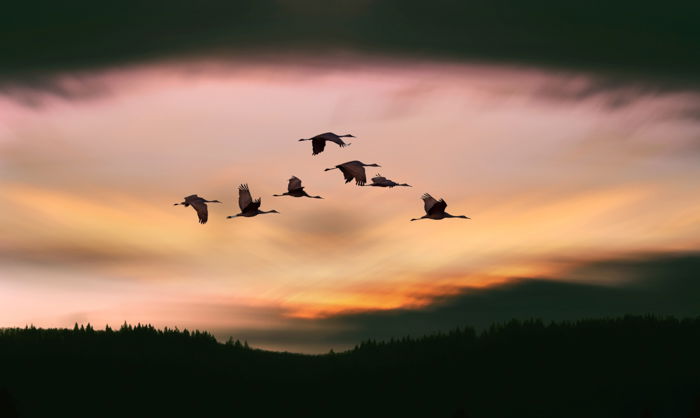
Another interesting lighting opportunity is photographing the silhouette of a flying bird. Wait until the sun is rising or setting. Position yourself so that the sun will be behind the bird and meter for the brightest part of the scene. Then wait for a bird to fly between you and the sun.
7. Make The Most Out of Your Composition
Adhering to the rule of thirds is a great way to enhance motion without blur. Framing birds flying in the dead-center seems logical but off-center creates a more dynamic image. You are not limited to photographing birds surrounded by blue sky either. Incorporating the habitat adds narrative and context. It also helps move the viewer’s eye around the composition.
Don’t feel you have to fill the frame with your feathered subject. Birds in flight are often crammed into the dimensions of a rectangle. Allowing your birds to have breathing space enhances the viewer’s sensation of flying with a bird.
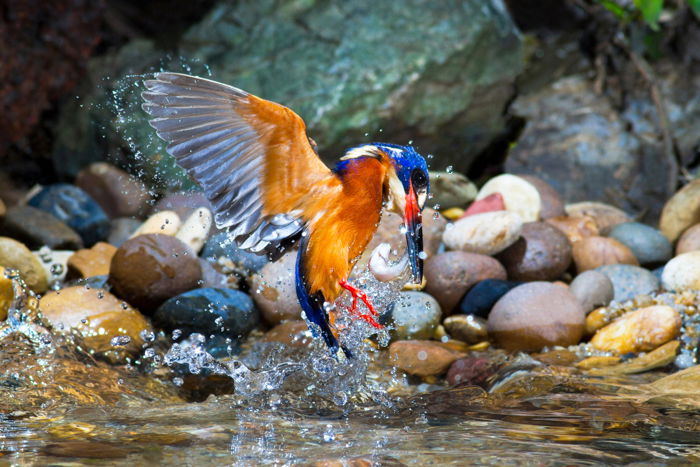
Color is also a strong theme in bird photography. The plumage of a bird can be a spectacular thing to capture, especially in flight. You can also add the color of the sky or the surrounding environment.
That being said, a black and white scheme is another viable option for flying bird photography. A black and white scheme emphasises shape and form and texture and line while photographing birds in flight. It also adds mystery to the scene.
8. Shoot Different Birds at a Variety of Locations
As with anything, practice makes perfect. Tracking with a bird in the wild is a skill to be developed. Start your flight photography off by taking photographs of birds as they flit around your backyard. This will help you adjust to bird behaviour and the process of bird photography in the comfort of familiar settings.
Try shooting different birds at a variety of other locations. Don’t be afraid to experiment with camera settings as well as tracking and panning. You can go searching for particular birds. Or you can stay in one spot and let them come to you.
9. Do Not Disturb the Environment
Birds are living beings, and habitat disruption has already affected their livelihood. It’s important to make as little of an impact as possible during and after bird photography.
Keep away from nests, stay on designated paths, and do not feed birds (especially bread). Take any trash you have with you and avoid disturbing the landscape.
Bird photography can also contribute to the understanding of bird ecology. Citizen science websites like birdlife and bandedbirds welcome the submissions of bird data. This then goes towards the protection of species and habitats.

Conclusion
Photographing birds in flight are both challenging and rewarding. With the proper planning, equipment, and technique, you can make beautiful shots of birds in flight. The correct shutter speed, the found focus points, and a stable camera will help you master your flight photography.
As it is with every field of wildlife photography, you have to be patient. Experiment with new techniques, try new places, and you are going to see the results. And a huge improvement in your photography.
Capture breathtaking photos of wild animals in their natural habitats with our Wonderful Wildlife course!