iPhone macro photography can be very difficult without the right knowledge. But with the right tips and a few simple modifications, you can turn your iPhone into the ultimate macro photography machine. If you do it right, you can produce beautiful pictures that rival those taken with a professional camera.
Now’s the perfect time to get into macro smartphone photography. Continue reading for everything you need to know for incredible iPhone macro photography.
Our Top 10 Tips For iPhone Macro Photography
1. Choose the Right Lens
Today’s smartphone cameras have improved significantly. Almost every phone now includes optical zoom and wide-angle lenses. Despite all the advances in mobile photography, most of these devices still can’t take macro images.
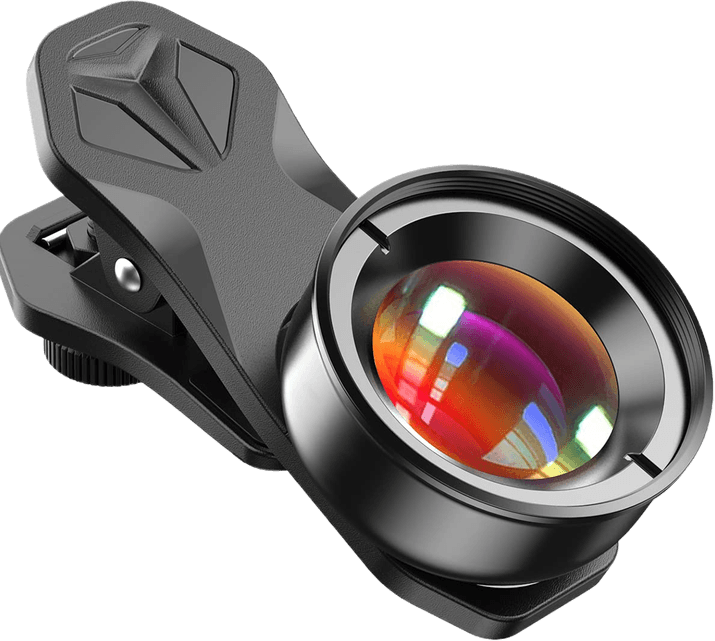
That means your phone can’t take extreme close-ups of subjects. That’s because it can’t focus on a subject that’s too close. To solve this problem, you have to buy a clip-on macro lens.
Most macro lens attachments are compatible with most brands today. But manufacturers often include a list of compatible phones in their product descriptions. Always check that the lens is compatible with your phone.
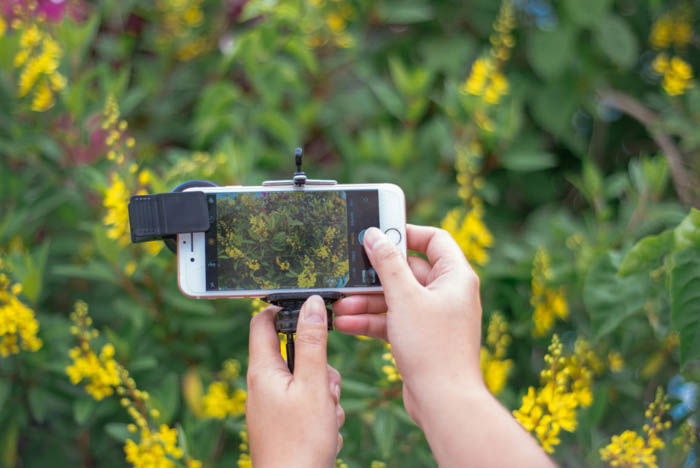
2. Attach the Lens Properly to Avoid Vignetting
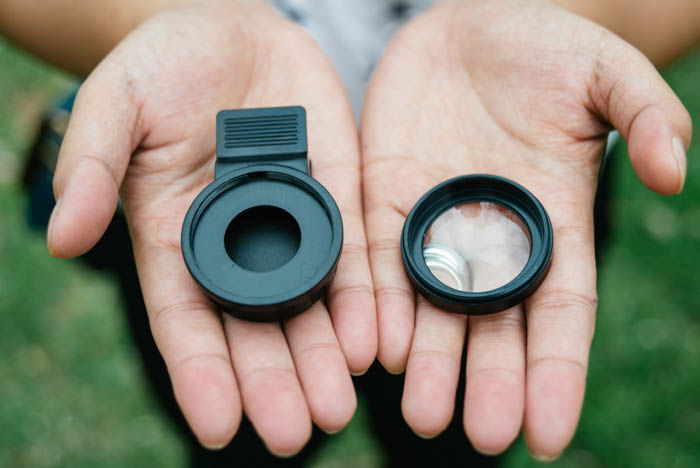
When you buy your lens kit, you’ll probably notice that it doesn’t just come with a macro lens. Often, you’ll also find a fisheye and a wide-angle lens with the package. Make sure to choose the macro lens.
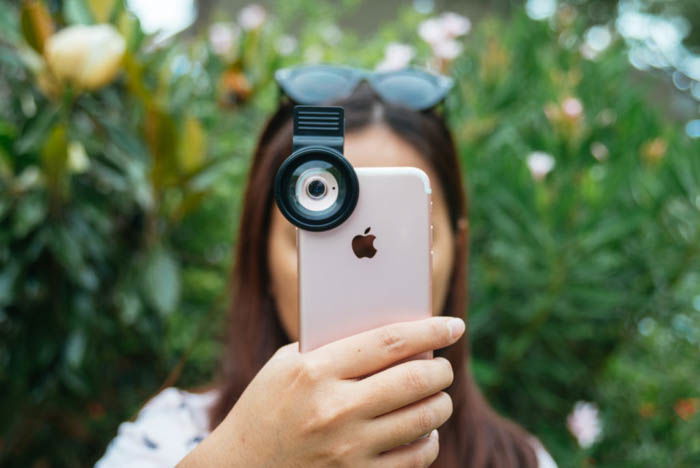
When you attach your clip-on macro lens, make sure the lens of the camera is right in the middle of the clip-on lens. Otherwise, it might obstruct the view and you’ll see ugly vignetting.
3. Get Up-Close for Sharp Focus
When you’re shooting iPhone macro photography, you’ll notice that the depth of field is extremely shallow. That means only a small part of the image remains in focus.
When you’re using a macro lens, don’t be surprised if everything looks blurry the moment you attach it to your phone. You’ll only start seeing a sharp image if you’re about a few inches away from your subject.
That’s why it’s essential to get close to whatever you’re photographing. Take some test shots and measure how far you have to be from your subject. This is called the minimum focusing distance, and it can be about two inches for some or less than an inch for others.
Keep a consistent distance from your subject because even a minor change could affect your focus.

4. Minimize Movement
Due to the limited depth of field, small movements can easily throw your subject out of focus. To avoid this, you need to keep your phone as stable as possible. A mini tripod is perfect for this.
To make shooting easier, you can use a remote shutter. Simply connect it to your phone and you can take photos without touching your phone. That way, you don’t create unnecessary movement by touching the shutter button on the screen.
Try your best to avoid shooting on a windy day as well. When you’re photographing plants, you’ll find it very difficult to achieve focus when they’re moving in the breeze. Wait for a calm day so you don’t have to worry about keeping your subjects still.
5. Use the Grid Lines for Perfect Composition
The rule of thirds is one of the easiest ways to achieve proper composition. It requires dividing an image into nine equal squares. To create a well-composed picture, put your main subject exactly where the lines intersect.
Some people have trouble imagining the squares. To solve this, you can turn on your phone’s grid line feature, which will divide the frame for you.
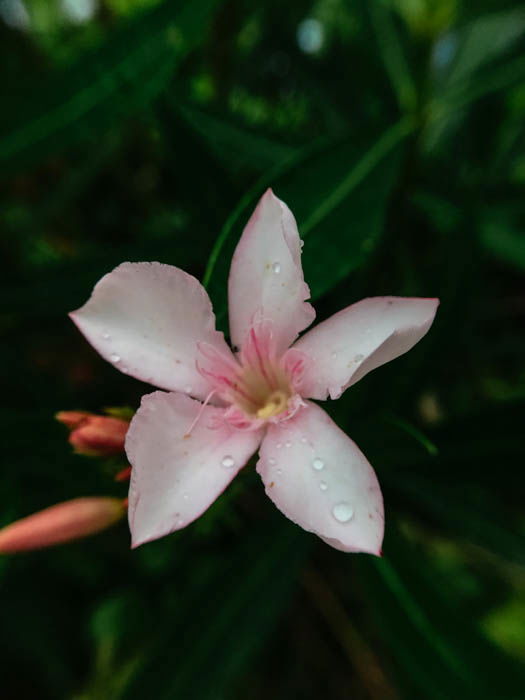
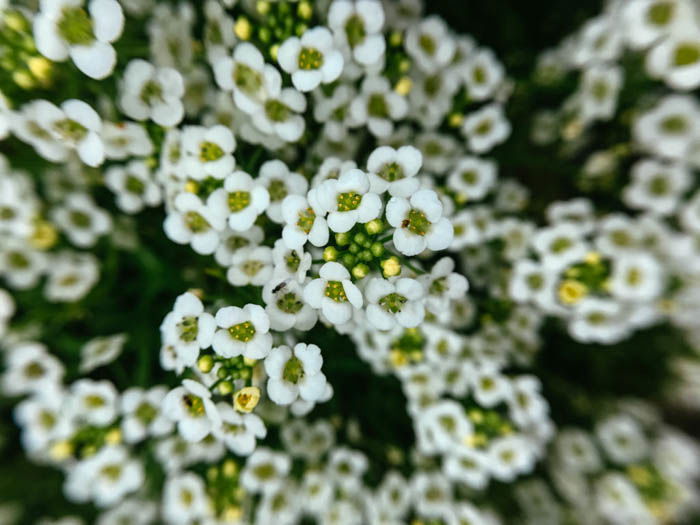
The grid lines are useful for composing your macro shots, especially when you’re photographing plants and flowers. These can be difficult to shoot because they often appear in clusters that you can’t rearrange. To create a balanced image, place your subject directly on one of the intersecting points on the grid.
6. Shoot Several Photos to Capture the Right Moment
As we mentioned, keeping your subject sharp can be an issue when you’re taking macro photos. Since your macro lens blurs everything beyond its working distance, even the best phone camera will have a hard time focusing.
Even when the distance between you and the subject is correct, a small breeze could still throw it out of focus. To increase your chances of getting the sharpest shot, take a sequence of photos using Burst mode.
Next, check your gallery to see if you got the shot you wanted. Make sure at least one of your images is in focus before moving on to the next shot. In fact, you should even zoom in to check if your focus is indeed where you want it to be. If you see that some areas of your subject look blurry, take another photo.
7. Experiment With Different Angles
Lots of people take macro photographs from above. It’s the most natural angle for many since the objects they shoot are small and below eye level.
However, that doesn’t mean that’s the only perspective you should try. You can always take photos from the side, from a 45-degree angle, or even from below. Change your perspective to get a lot of shot variety.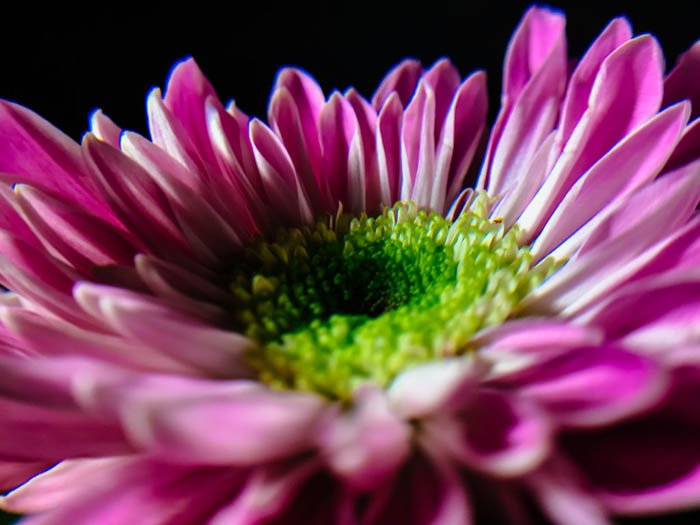
8. Edit Your Shots
Your phone is great because you don’t have to export your images to edit them. All you have to do is open your photo editor and process your pictures on your device.
You can always use your phone’s native photo editing app to retouch your images. However, if you want more creative and technical control, there are plenty of apps for you to choose from. Here’s our list of the best photo editing apps for smartphones to help you choose which is best for you.
Apart from providing you with essential editing tools, these apps allow you to do anything from removing blemishes to creating collages.
9. Try Shooting Indoors
One of the best benefits of iPhone macro photography is that you can do it anywhere. When you can’t go outdoors, you can always shoot macro from the comfort of your own living room. However, since shooting indoors has its own set of challenges, you have to approach it differently.
In most situations, natural light looks better than artificial light. Use the ambient light coming from outside if you have the option. When you’re taking photos inside, try to stay close to the windows and let the sunlight illuminate your subject.
If you have to work with artificial light, use a small lamp instead of overhead lighting. You can easily direct it toward your subject since it has a more focused beam. To diffuse the brightness, you can use a diffuser or even make one yourself. As a result, the light on the object you’re shooting will look softer and more even.
You can use makeshift backdrops to set up a small home studio. Since you’re photographing small objects, you don’t need a big background. A small piece of white or black cardboard often works perfectly. It’s a simple solution that can enhance the production value of your photos.

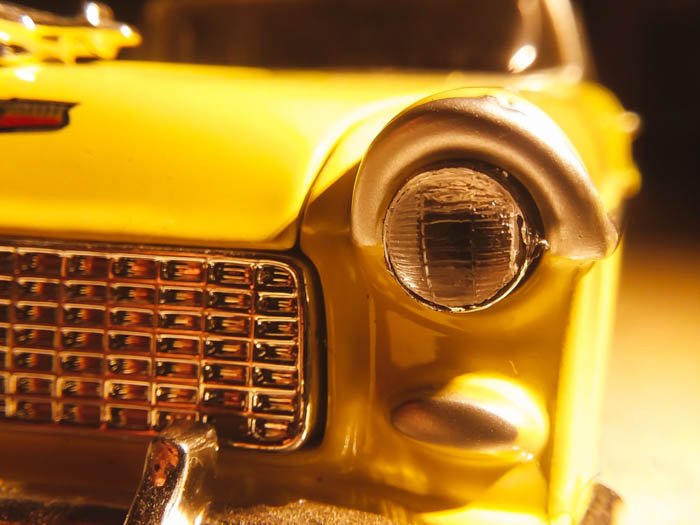
10. Take Photos of Everything
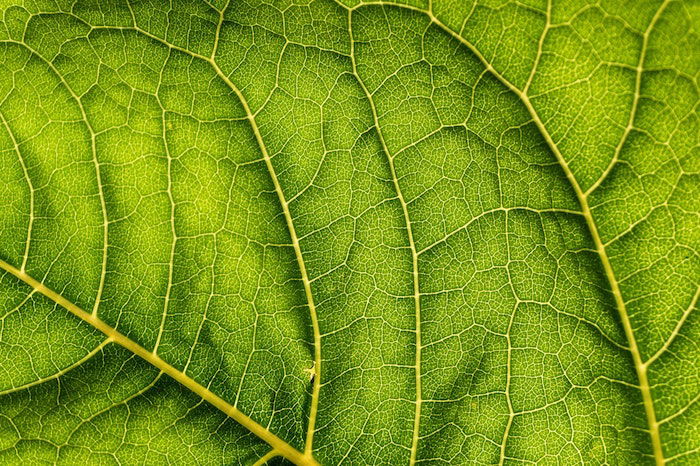
Just because you often see macro photos of flowers doesn’t mean that’s all you can photograph. Macro photography is ultimately about experimentation.
You’re free to take pictures of absolutely anything you want and just have fun with it. If you don’t know what other subjects to photograph, here are a few suggestions for you.
Small Insects
Apart from flowers, insects are very popular subjects as well. If you happen upon an insect on a flower, that’s even better!
Eyes
You can also take extreme close-up photos of people’s eyes. With a macro lens, you’ll see the beautiful patterns in their iris. When you photograph eyes, remember to be in a well-lit area so you can properly photograph the details.
Jewels
Gems have beautiful patterns when you look through them. When you take photos of them with a macro lens, you’ll start to understand why they can be mesmerizing. Every angle looks different, so you’ll never get bored shooting them.
Food
Believe it or not, shooting food photography with a macro lens can be incredible. Macro photography is a great way to present dishes uniquely. When people see the ingredients up close, it creates intrigue. And you’ll make their mouth water!
Everyday Objects
Any object you see around your house can be a good subject for macro shots. Most people like taking photos of coins and even toys. Just about anything that features patterns and beautiful colors will make pretty pictures.

Conclusion
iPhone photography has become a respectable creative platform. Now that their camera resolution is higher than ever, the quality of the images has gone up significantly as well. It goes to show that you don’t need professional equipment to produce beautiful images.
It’s nice to know that you don’t need to bring a bag full of gadgets to take photos. With your phone and a clip-on lens, shooting iPhone macro photography is easier than ever.

- Learn to take stunning photos without stepping outside.
- Discover affordable ways to convert any lens for macro shots.
- Explore unique techniques for lighting and composing your subjects.