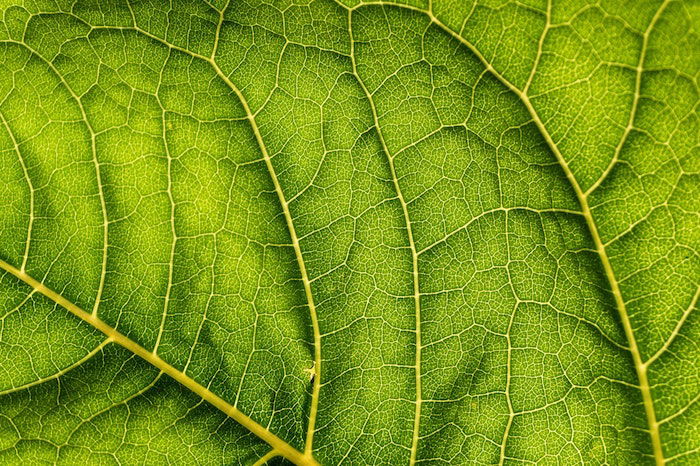
Macro photography is one of the most fascinating genres of photography. It allows you to explore the small things in the world that you can’t usually see with the naked eye.
Macro photography lets you see the details in all of the tiny, otherwise unspectacular everyday items. But in macro photography, turning the mundane into something magical requires the right camera settings. Continue reading to learn everything you need to know about macro photography settings.
- Learn to take stunning photos without stepping outside.
- Discover affordable ways to convert any lens for macro shots.
- Explore unique techniques for lighting and composing your subjects.
Exploring Settings for Macro Photography
Getting sharp and beautiful images at a macro scale requires you to have the right settings before taking the shot.
Because of its minuscule subjects and scenes, macro photography is a niche that can challenge your skills as a photographer. Low-light conditions, shallow depth of field, and the movement of subjects such as insects or wind-blown flowers all present difficulties.
Continue reading for the best macro photography camera settings, as well as advice on how to make your macro shots stand out more.
Use Manual Mode to Get the Correct Exposure for Macro Photos
Anyone with a good camera and a macro lens can take outstanding macro images. It’s just a matter of how you use your gear and if your image is exposed correctly.
The exposure of a photograph is influenced by the camera’s aperture, shutter speed, and ISO setting. This is called the exposure triangle.
Modern cameras have an Automatic mode setting. But that doesn’t mean that your camera will automatically expose your image correctly. You often can’t rely on your camera’s automatic exposure system.
I strongly recommend using Manual mode. It gives you more control over your exposure, which is necessary for close-up scenes. A great way to check if your image is exposed correctly is to turn on Live View. You can preview the image brightness and also find and set the right point of focus.
There is no particular “correct” combination of settings for macro. It’s always up to you which ones you choose for the effects that you want to show in your shot. You may want a large depth of field or a shallow one, or you may want your object to have motion blur.
Below are some tips on camera settings that will help you get the perfect macro image.
Best Settings for Macro Photography
Many beginner photographers think macro photography is all about the right gear. And while the right gear is important, you still need to master your settings for macro photography to get the most out of it.
Aperture
Remember that aperture is one of the three camera settings that give you control over the exposure.
The aperture allows you to control the depth of field, which is very important in macro photography.
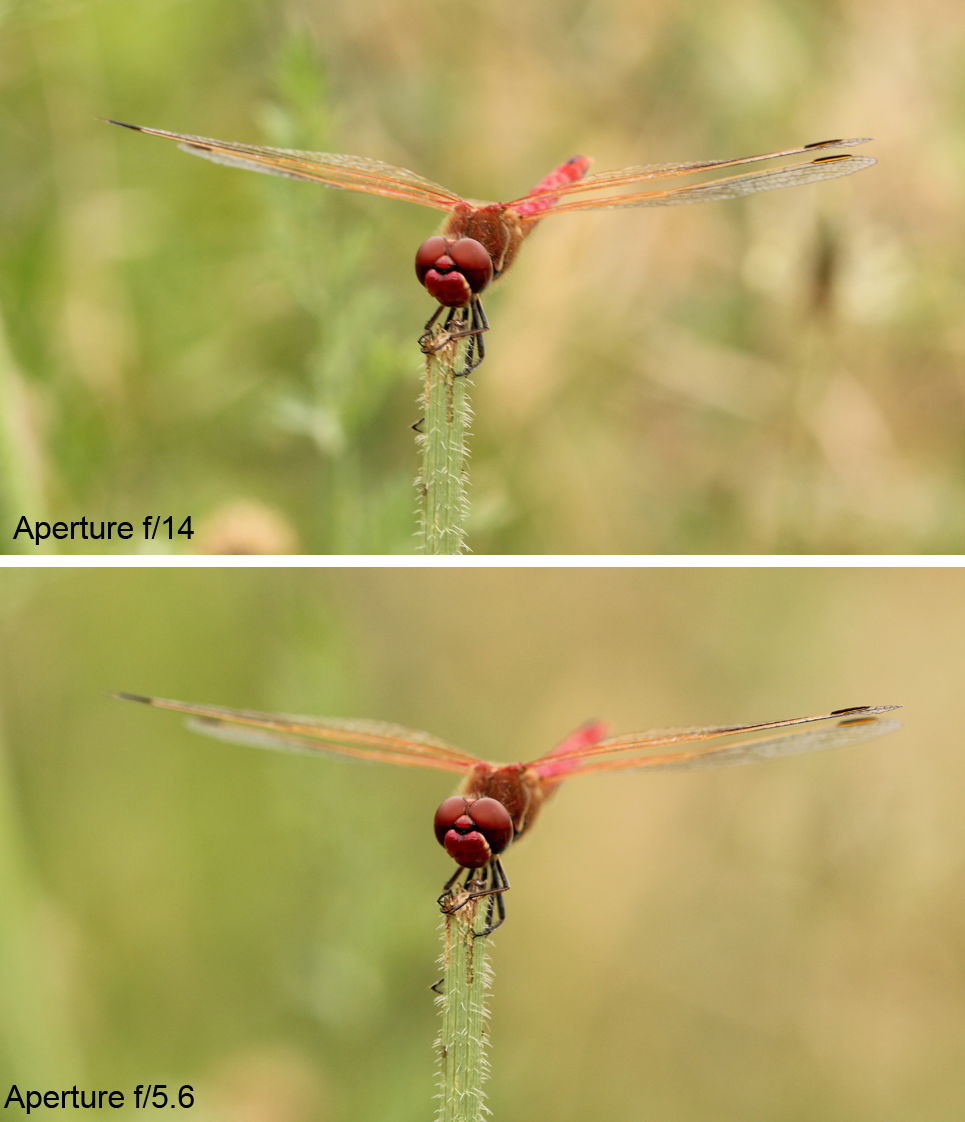
When taking macro images or close-ups, shooting with a deep depth of field is usually ideal. Therefore, the typical aperture number for macro photography is between f/5.6 and f/11.
Those small aperture values are necessary to ensure that all the details of your subject are sharp and in focus. Just because you own a macro lens with an aperture of f/2.8 doesn’t mean that you should always use it.
Setting a small aperture like f/19 will allow you to have a deeper depth of field. This means that more of your subject will be in focus from front to back. A higher aperture value will give you a detailed background. The lower your aperture value, the less depth of field you will have and the blurrier the background will be.
Always try to balance your aperture with a shutter speed that’s fast enough to capture a subject without motion blur.
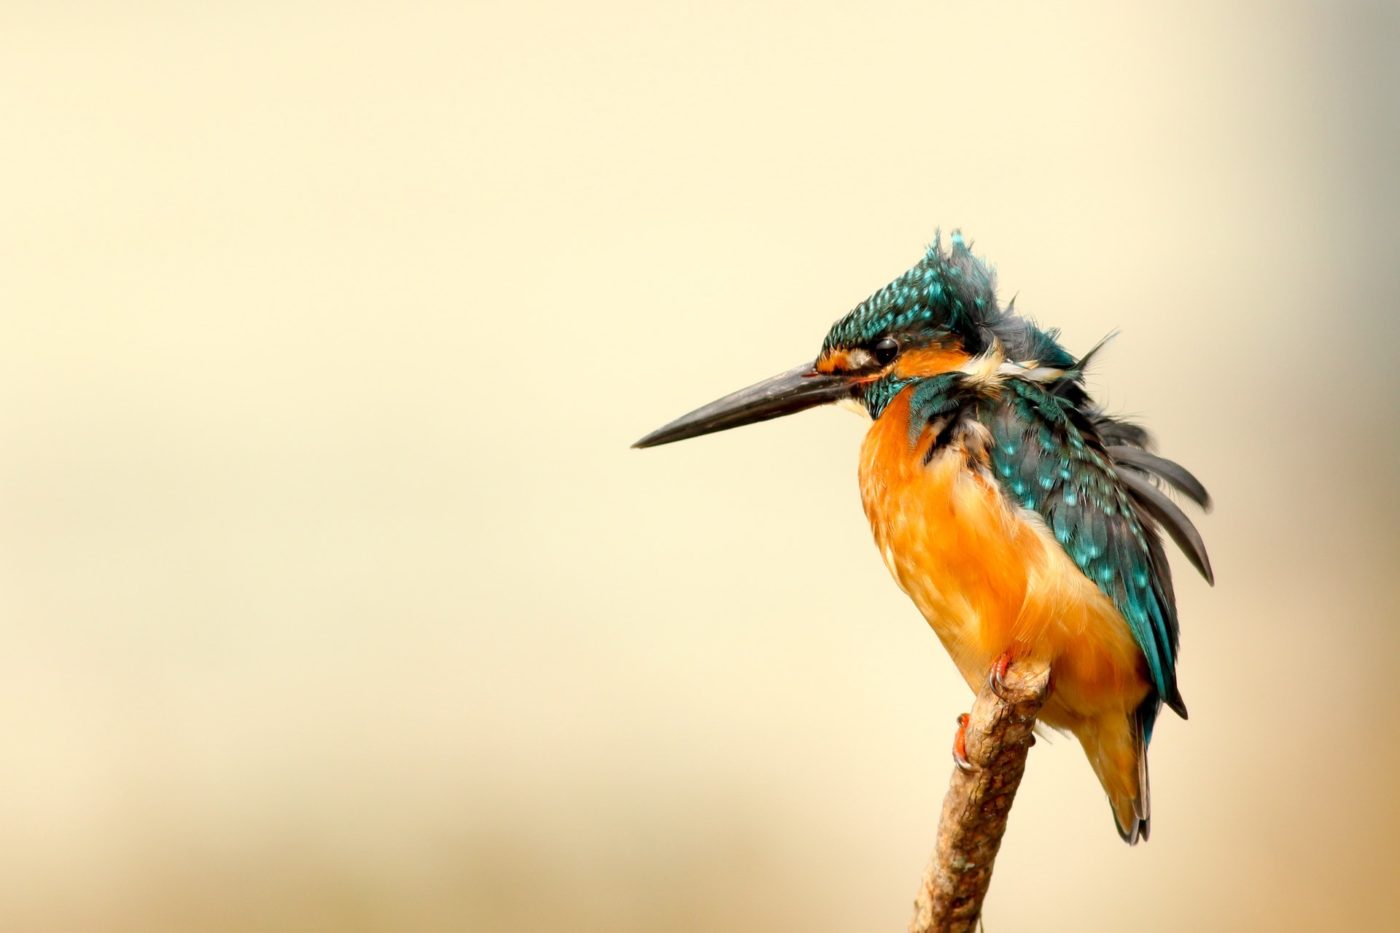
Some macro images tend to look better when the background elements are blurred. That’s because the shallow depth of field keeps the subject in focus while eliminating background distractions.
Shutter Speed
The shutter speed depends on the available light, the aperture, and the ISO number you have set. The more light you have available, the faster the shutter speed can be.
Always try to set a fast shutter speed to eliminate blurriness. The faster the shutter speed, the sharper your image will be. If you want to make sharp macro images, aim for a shutter speed of 1/100th of a second or faster.
Even if you’re using a tripod, try using the fastest shutter speeds you can while keeping the correct exposure. This is helpful when your subjects are moving, even if it’s very slowly.
Some photographers use a Speedlight or an off-camera flash setup to balance out the ambient light. If you do, set your shutter speed to match the flash sync speed for your flash.
If you choose a shutter speed faster than the flash sync speed, part of your scene will not be lit. The more you exceed the sync speed, the less of the scene will be lit.
ISO
As a general rule, always try to keep your ISO value as low as possible to avoid grain and noise. This goes for all types of photography, not just macro photography.
In some situations, you have to use a higher ISO value, especially in low-light conditions. Setting a higher ISO will also allow you to use a faster shutter speed. As a result, you will be able to freeze motion and create sharper images.
Every camera handles ISO differently. I would recommend finding out what maximum ISO your camera can tolerate before the images become too grainy. Most modern cameras allow us to use up to ISO 1600 without loss of quality.
Metering
Evaluative metering mode (also sometimes called matrix metering mode) is a good choice for shooting macro images. However, there are situations that could throw off your camera’s evaluative mode.
This could happen when you are trying to capture a small subject against a contrasting background. The result would be an over- or under-exposed image. In such cases, spot metering or even center-weighted metering will help you get the correct exposure.
Should I Use Autofocus or Shoot Manual?
Autofocus sometimes has problems finding your preferred focus point when shooting with a shallow depth of field. Therefore I would strongly recommend switching from autofocus to manual focus.
With manual focus, you can set the focus exactly where you want it. This is especially true of close-up photos.
If you have a number of attachments and accessories on your camera, you may want to pre-set your focus before taking your shot. Like that, you only have to move the camera back and forth until you have your desired focus.
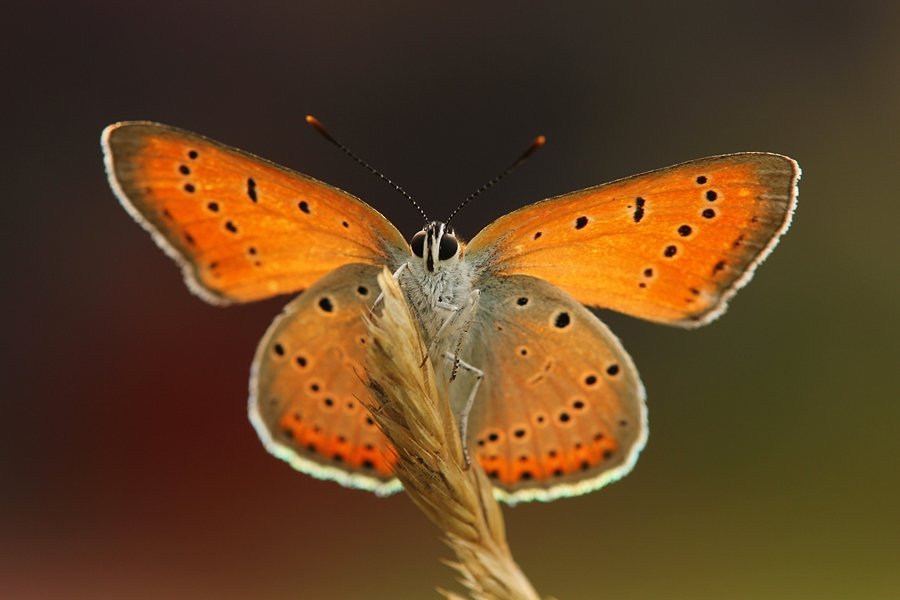
Bonus Tip for Insect Photography and Shooting Outdoors
If you are trying to photograph an insect, always be sure to set the focus point on the eyes. A sharp body but out-of-focus eyes make for a bad picture.
Wind can become your worst enemy when photographing insects, flowers, or other subjects in the field.
This is especially true when working with a shallow depth of field and long shutter speeds. Any movement will be a problem, so do your best to shoot in conditions that minimize camera shake.
Conclusion—Macro Photography Settings
Knowing the right camera settings is key to mastering macro photography. When you understand the exposure triangle, you can adjust each setting to have total control over your macro images.
- Learn to take stunning photos without stepping outside.
- Discover affordable ways to convert any lens for macro shots.
- Explore unique techniques for lighting and composing your subjects.