Night photography is always fun and exciting. But it can also be quite challenging, especially since different situations require techniques and settings.
So how do you photograph night scenes? In this article, we’ll teach you the ideal night photography settings for street photography, portraiture, and astrophotography. So let’s get started!
Night Photography Settings for Shooting Street Photography
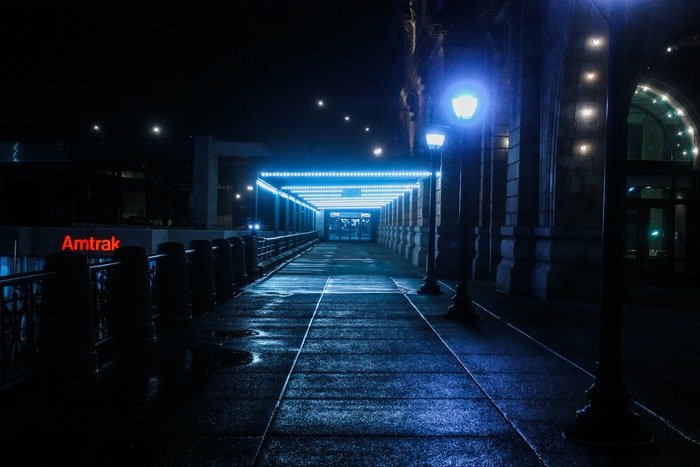
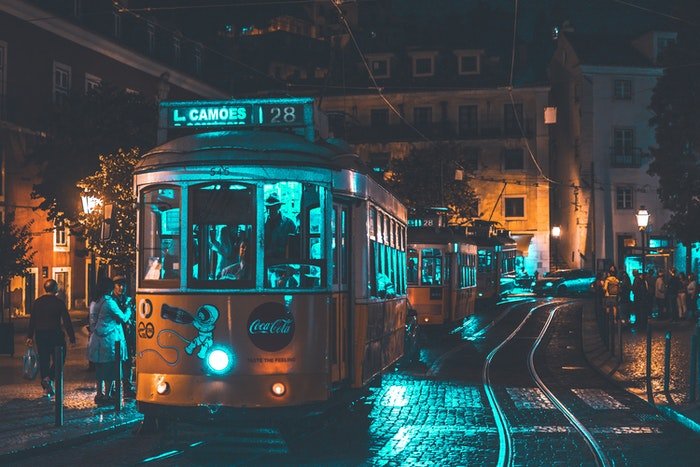
When shooting street photography at night, you’ll need to use available light sources smartly. If you want to learn more about the ins and outs of nighttime street photography, check out this article.
Essential Equipment
It’s always best to keep your equipment minimal for night street photography. In most situations, a camera and a lens are all you need. Having too many things to carry will just slow you down when you’re chasing people to photograph.
For night photography, stick to fast prime lenses since they let in more light than kit lenses. They also do a great job transforming the background into colorful bokeh.
Since you can’t zoom in with prime lenses, choose two lenses that would let you shoot in different situations. For me, these are 24mm and 85mm. But if you only have enough money for a single lens, a 50mm f/1.8 lens is the best option.
So how do you set up your camera for night photography? Below, we’ll show you the range of settings you’ll need for the perfect street shots at night.
Camera Settings
ISO
Ideally, you’d want to stick to ISO 100 to minimize image noise. But using this value in night photography is impossible because it’s not sensitive enough in the dark. So use a high ISO between 400-3200 depending on how much light is available. Those values I mentioned should be high enough to let you shoot in the dark. But at the same time low enough that that they don’t produce unusable grainy pictures.
Aperture
Set your aperture close to its widest setting to let in plenty of light. I advise you to stick between f/2 and f/2.8. Of course, you can also choose f/1.4 or f/1.8 if it’s so dark. On the other hand, never go above f/2.8 or you wouldn’t have enough light for night photography at all.
Shutter Speed
For night photography, feel free to use Aperture Priority and let your camera choose the best shutter speed for you. Just remember never go below 1/60th, or you’ll end up with motion blur.
So what happens if your camera selects a shutter speed slower than 1/60th? Then consider changing your aperture or ISO until you get back up to 1/60th.
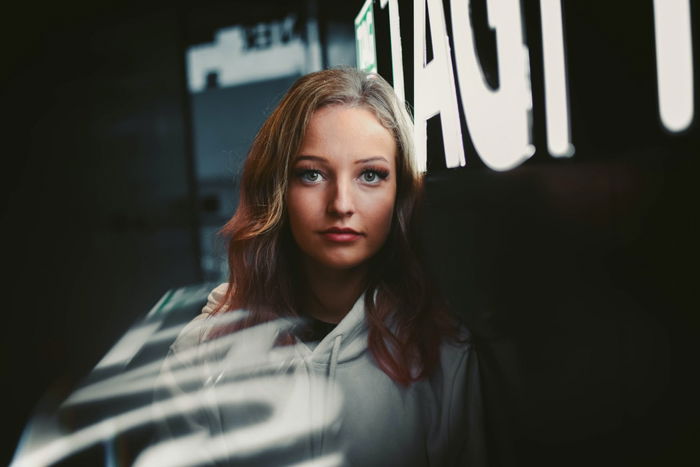
Get the Best Night Time Portraiture Shots
If you’ve done a lot of street photography at night, then taking nighttime portraits shouldn’t be too hard. The settings you’ll need to use is mostly going to be the same. The only difference is you now have more control over your subjects and how you want to photograph them.
Essential Equipment
Using the proper lenses would help you a lot when it comes to night portrait photography.
The best choices you have are portrait lenses with focal lengths that range between 80-135mm. These specialized options have minimal distortion and produce flattering pictures of people.
If you don’t have a portrait lens, don’t worry. A regular 50mm will do just fine. Since it’s not a wide-angle lens, it doesn’t create distracting distortions. Furthermore, its maximum aperture between f/1.2, and f/1.8 is perfect for night time photography.
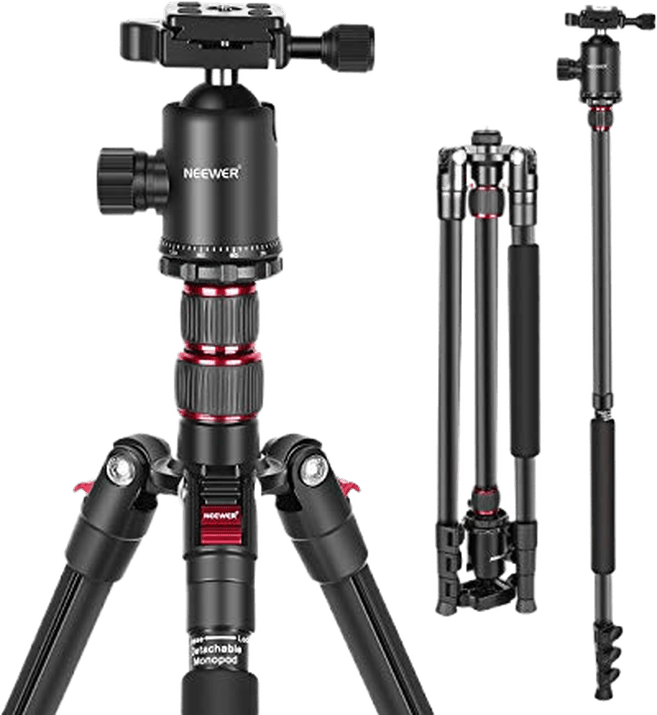
Although not always necessary for portrait photography, it would also help if you have a tripod with you. It’s great for stabilizing your camera to prevent motion blur when using slow shutter speed.
Camera Settings
ISO
Like in street photography, you can choose a high ISO between 400-1600 depending on how much light you have. It is also important to know your camera’s low light performance and limitation. If you have a tripod, using a lower value should be fine. Because when your camera is stable, you can work with longer exposures without worrying about motion blur.
Please note that if you choose to shoot longer exposures, make sure that your model also stands still.
Aperture
For night photography, it’s best to use an aperture size between f/2 to f/2.8. The shallow depth of field these settings produce help separate your subject from the background. Not to mention that the bokeh they create makes portraits look more magical.
Shutter Speed
Use Aperture Priority and let your camera adjust the shutter speed for you. Just don’t let it go below 1/60th to prevent blurry results from camera shake. However, feel free to go slower if you have a tripod. Since your device is stable, then motion blur from your camera won’t be an issue. Just make sure your subject doesn’t move as well even though the camera is still. Otherwise, they’ll still end up fuzzy if they don’t stay put.
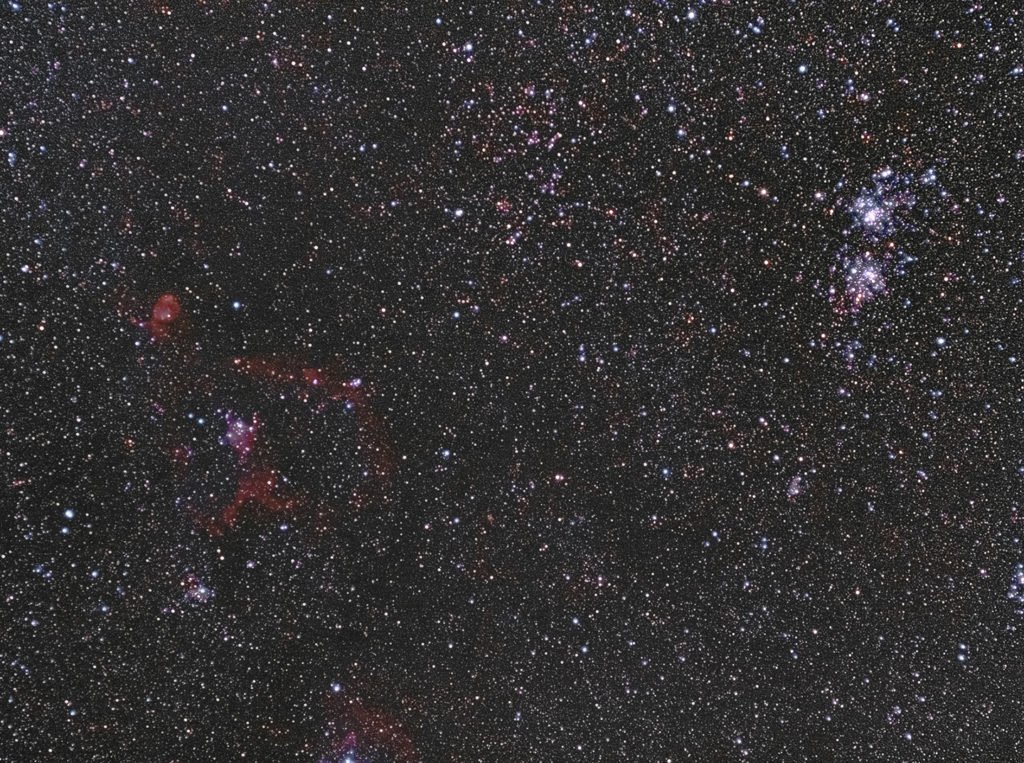
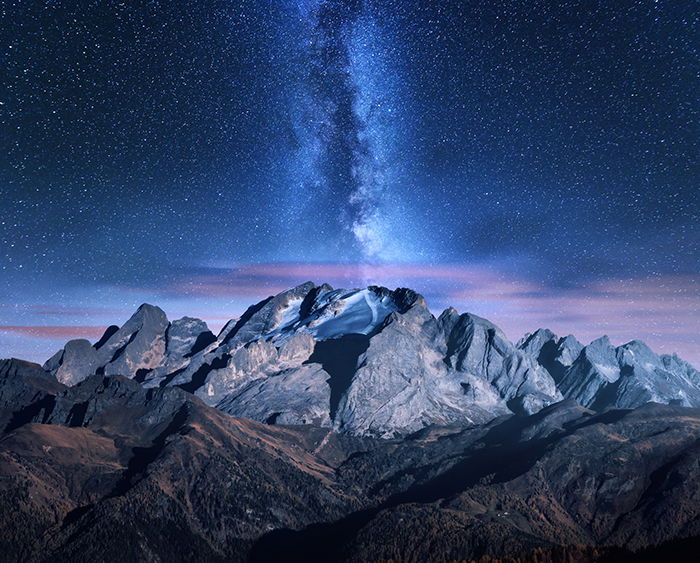
Photographing Stars
One of the most popular activities in night photography is taking pictures of the night sky. Also known as astrophotography, this speciality genre involves taking pictures of the moon, stars, and other heavenly bodies.
But astrophotography is also one of the most technical genres in photography. Even taking pictures of the moon requires different methods from taking pictures of the stars.
Since we could easily fill a book regarding this topic, we will focus on photographing stars for this article.
Essential Equipment
You can use just about any lens for this type of night photography. You can even start with a kit lens if you want. But most night photographers prefer wide-angle or even fisheye lenses so they can cover a large area of the sky. The most common options vary from 14mm to 35mm.
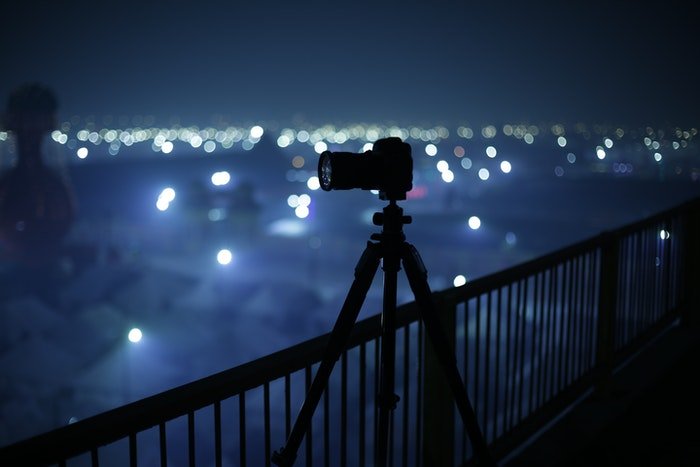
Since you’ll need to shoot the night sky for long periods, a tripod would be necessary. It will help a lot if you use a heavy-duty version instead of a plastic one. Since you’ll be shooting outdoors, then you need your equipment to withstand the elements.
Another piece of equipment you need to add is a remote control. Since you’ll be using slow shutter speeds, even a minor movement from pressing the shutter can cause blurry pictures. So to ensure your equipment remains stable when taking pictures at night, your best option is to trigger it from remotely. In this way, you can also experiment with Bulb mode.
Camera Settings
ISO
For this type of night photography, you’ll need to use a high ISO to let you capture the stars. If possible, choose the highest one you can go before distracting image noise becomes too much. For most cameras, it would be about 1000 to 3200.
Aperture
Since the stars tend to be dim, open up your aperture between f/2 to f/4 to let in as much light as possible. To take pictures of light streaks in the night sky, use narrower aperture settings between f/8 and f/18. The value you end up choosing depends on the available light in the environment.
Shutter Speed
The settings for taking start pictures vary a lot, depending on what you want to achieve. For regular images of the night sky, then a shutter speed between 4 to 10 seconds is enough. But if you want to capture light trails, then you may need anything between 15 seconds to several minutes.
There are two ways to photograph stars at night. You can either record them as static elements or as light trails. Both methods require long exposures. But the visual effects will vary depending on the settings you use.
- Static Stars – The perfect shutter speed settings to get a static shot of the night sky is between 1 to 10 seconds. If you go beyond that, you’ll start seeing star trails which you is bad news if you want sharp stars.
- Star Trails – You’ll need to set your shutter speed to 20-30 minutes if you wish to do this in one shot. You will need to use a small aperture to achieve such a long exposure. The worst aspect of this approach is that you may end up with too much light in the foreground. Furthermore, it can also stress your sensor quite a bit since you’re exposing it for a long time.
Technical Tips for Night Photography
Use the 500 Rule for Night Photography
The 500 Rule a simple guideline on how long you should set your shutter speed for night photography. It suggests that if you divide 500 by your effective focal length, you get the longest advised speed.
So let’s say you have a 16mm lens on a full frame camera (no crop happens). All you have to do is divide 500 by 16 and get 31. That means that you can safely do exposures under 30 seconds with the lens that you have. If you have 50mm, divide it by 500 and you get 10 seconds worth of exposure.
For your camera has a crop sensor, replace 500 with 300, instead. Since you have a smaller sensor, it only makes sense that you should shave off 200 from the 500 Rule. Although, the principle still remains the same and you can apply it on any lens you use.
Set Your ISO Invariance to Reduce Noice
Nailing your exposure is paramount when it comes to night photography. So understanding ISO invariance is going to be crucial.
So what is ISO invariance, exactly?
When learning photography, we’ve all been taught to raise the ISO until we get a well-exposed image. But cameras these days are so good that the result is going to be the same no matter what ISO value you set.
In other words, setting your camera at ISO 100 is essentially the same as setting it to ISO 800. Of course, the image you see on your screen is going to be dark if you use ISO 100. But once you brighten it in post, the result is not going to be different as compared to an image shot with ISO 800.
This is what happens with my Sony A7RII. I get much less noise at ISO 3200 than if I were to shoot the image at ISO 800 and brighten it up by two stops during editing (other parameters fixed).
So why is ISO invariance essential in night photography? You can now underexpose your shots and still get beautiful results that don’t suffer from too much image noise. Apart from that, you now have the ability to adjust your exposure in post without reducing the quality.
Also keep in mind that although it’s okay to underexpose, we don’t recommend overexposing your image. Even if your camera is ISO invariant, you won’t be able to retain the details in post if your picture straight from the camera is too bright.
Just remember that not every camera is ISO invariant. Some newer models yield the same noise levels in both cases, but with more highlight detail in the ISO 800 shot. Make sure to double-check whether your camera features an ISO invariant sensor.
Which Camera is Best for Night Photography?
In most cases, any full frame camera is perfect for such use because its big sensor can gather more light. Not to mention that it also has professional features that regular cameras may not have.
But a crop sensor camera is as capable as a professional one when it comes to night photography. It can do anything you need from autofocus to doing long exposures. But since has a small sensor, it needs more time to gather light. And in some cases, they also produce more noise than their full-sensor counterparts. Thankfully, this is a small issue you can easily fix in post.
Conclusion
So now you know your night photography settings, it’s time to become a night owl and get those night time photos! Just remember that what we listed are merely guidelines and not hard rules. As you gain more experience, you’ll see that all your camera adjustments will vary a lot depending on the situation.
What’s your favourite type of night photography? Do you enjoy photographing the night sky, as this article details? Perhaps you enjoy cityscapes, or street photography more?
As always, we’d love for you to share your work with others in the comments section, together with any techniques you use for your work.