Mastering the 500 rule for astrophotography is crucial for achieving perfect exposure. This lets photographers capture mesmerizing night sky images with clarity and precision. You can use the 500 rule to guesstimate the slowest possible shutter speed to avoid star trails.
Explaining the 500 Rule for Astrophotography
The idea behind the 500 rule is to provide you with an easy-to-remember formula to freeze the movement of the stars. This way, you will get images without any star trails.
Of course, if your goal is to make star trails, you should ignore this rule. Otherwise, you need to use it so that you can capture clear pictures of the Milky Way and the starry sky in general.
But why are you getting trailing stars in the first place? That’s because the Earth is rotating on itself once every day. This rotation creates the rather fast 15º/hour apparent motion of stars.
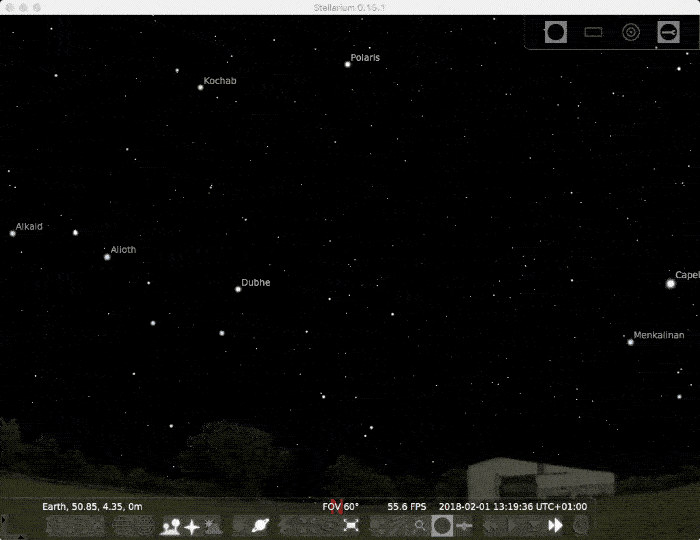
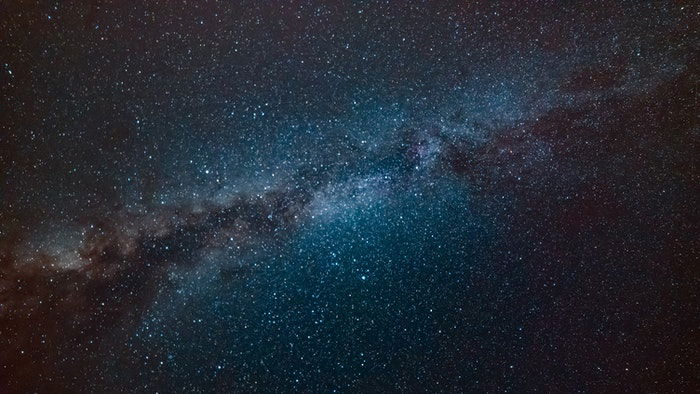
The gif below shows how stars move around the North celestial pole, roughly indicated by Polaris, the North Star.
In astrophotography, we make a big deal out of freezing the stars. To be rigorous, the length (in mm) of a star trail on your image will depend on the field of view, sensor size, image resolution, exposure time and the star angular speed and declination.
While this is not rocket science, the formula that links all those variables together is not the simplest one to remember and use in the field.
If you are an occasional star shooter, knowing how to use the much simpler 500 rule will let you capture trail-free starry skies.
The rule reads like this: SS = 500 / (FL * CF)
SS is the shutter speed in seconds. FL is the focal length expressed in mm and CF is your sensor’s crop factor, i.e., the ratio between the size of a full frame sensor and yours.
Here you can find the crop factor for different types of cameras:
- 1 for full frame cameras;
- 1.6 (1.5) for Canon (Nikon) APS-C cameras;
- 2 for micro four-thirds cameras;
- 2.7 or higher for compact cameras with a 1″-type sensor or smaller.
As far as I know, while it can be related to image resolution and field of view at a specified focal length, the number “500” doesn’t have an actual meaning. It is an arbitrary constant chosen so that the guideline will work in most cases.
Example of the 500 Rule in Action
Let’s consider my Olympus OM-D EM-5 Mk II micro four-thirds camera. It has a crop factor equal to 2. Now let’s see how this rule works.
With a 50mm lens, for example, the guideline will tell me the exposure time for which the stars will not trail.
See the calculation below:
SS= 500/(50*2)= 5 seconds.
With a full frame camera with the same lens, the result will be:
SS=500/(50*1)= 10 seconds.
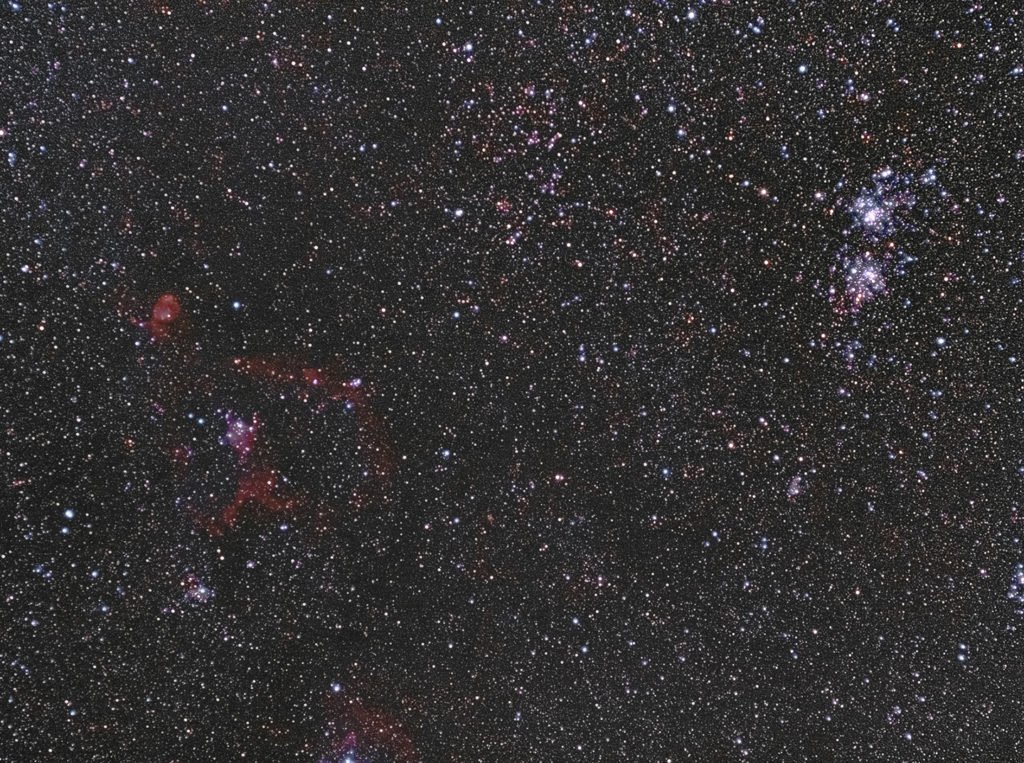
The image below shows how many stars are trailing when I use a shutter speed of 3 minutes with my 50mm lens on my Olympus. This exposure time is much longer than the rule suggests.

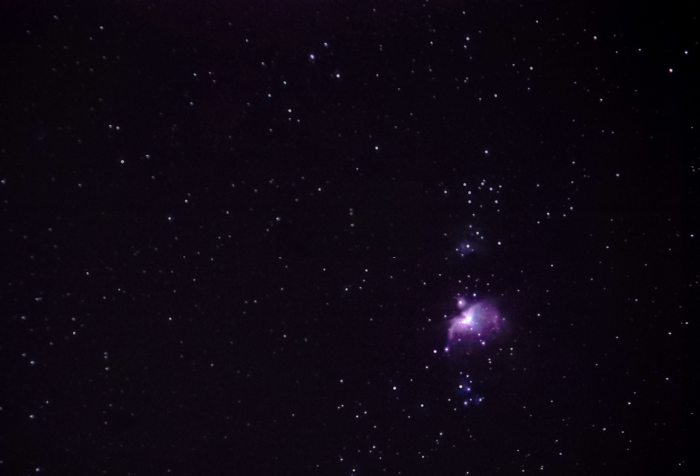
With this guideline, you can even get decent results when photographing bright deep sky objects such as M42 (The Great Orion Nebula) using a telephoto lens.
While the level of details will not be impressive, it will be a very satisfying experience. I would recommend you give it a try.
The 400-, 600- and NPF Rules
There are two common variants of the 500 rule; the 400- and 600-Rule.
In the 400-Rule, the number 500 in the formula above is replaced by 400. This results in an even shorter exposure time. With the 600-rule, the number 600 is used instead, resulting in slightly slower shutter speeds, i.e., longer exposure times.
If you want better results, you should switch to other rules, such as the NPF rule. These are more accurate and rigorous than the 500 rule.
You can find many star trail calculators online, as well as smartphone apps such as PhotoPills. You can also calculate the values online.
For Android, there is also PinPoint Starts available. These can help you choose the best exposure time for your camera-lens combination.
Image Stacking and 500 Rule Combined
The first thing to do to improve your night star pictures is to shoot in RAW instead of JPEG. This will ensure you have the maximum flexibility when you need to edit your images.
If you are not tracking the sky movement with a tracking head, the stars will always move across the sensor. The light you can collect for each pixel depends only on how long the star will stay over the same pixel.
You may be tempted to bump up your ISO. But this will only increase image noise, with no extra benefits.
Allowing stars to trail a bit more by using longer exposures will not help either. The time a star will excite the same pixel will not change. You will only record a trail.
The solution is called image stacking. So how do you do that?
You take many photos at a quite low ISO. You expose each according to the 500 rule. Then you can combine (stack) them later on in Adobe Photoshop. This technique will improve the number of details in the final image a lot.
The process involves masking and aligning the sky among all the exposures. But software like Deep Sky Stacker, Sequator (windows, free) and Starry Landscape Stacker (Mac OS X, commercial) will make the whole procedure faster.
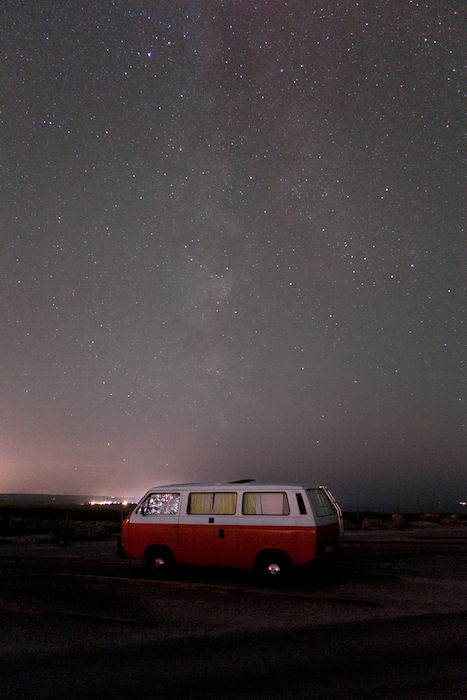
Below you can see the comparison between a single raw from my Sony RX100 Mk II pocketable compact camera (1″ sensor type) …
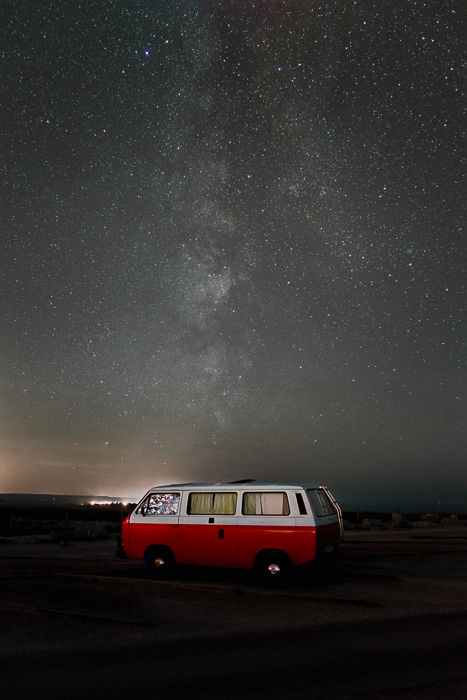
… and the final image, obtained by staking 8 different exposures. You can see how stacking has boosted details and enriched the sky.
You can read more about image stacking in this article about editing techniques for astrophotography.
The Science Behind the 500 Rule
The idea behind the 500 rule is to provide an easy way to guesstimate the longest exposure time for which the stars’ movement is not noticeable.
The sky rotates 360 degrees in 24 hours or 0.0042 arc degrees per second. A full frame camera with a 24mm lens will have a horizontal view of about a 73.7 degree.
Let’s assume we have a 24 Mpx sensor (6000px X 4000px). Those 73.7 degrees are projected onto 6000 horizontal pixels, giving 81.4 pixels per degree.
Assuming a 24mm lens, the “rule of 500” gives you an exposure time of about 21 seconds (500/24).
In 21 seconds the sky will move about 0.09 degrees (0.0042*21).
For our 24 Mpx full frame camera with a 24mm lens, 0.1 degrees translates to 7.3 pixels (81.4*0.1).
Those 7.3 pixels represent the maximum acceptable movement blur before point-like stars will turn into trailing stars. But is this movement really acceptable?
We are used to looking at our images on a computer screen. If you blow up your full resolution image to 100%, you will see that the star is not a dot.
But what about prints?
It turns out that if you print your image in 30x45cm format, those 7 pixels will make up a trail on your print only 0.5mm long!
Experimenting With Camera Settings
You might already understand that the shutter speed is only dependent on your camera’s crop sensor and the lens’ focal length.
But what about the other camera settings, you might ask. How should I set my ISO and my aperture? Not all combinations of ISO and aperture will result in successful Milky Way photos.
As I said before, cranking up your ISO may result in digital noise. But you still need to have a high ISO to get enough light.
Your aperture should be wide open. So try to work with the lowest possible F-stop. Remember, your shutter speed is fixed. You can only play around with the two other elements to get enough light.

Conclusion
If you find yourself struggling to capture that starry night sky photography, using the 500 rule will improve your results a lot. If you combine it with image stacking, the difference will be dramatic.
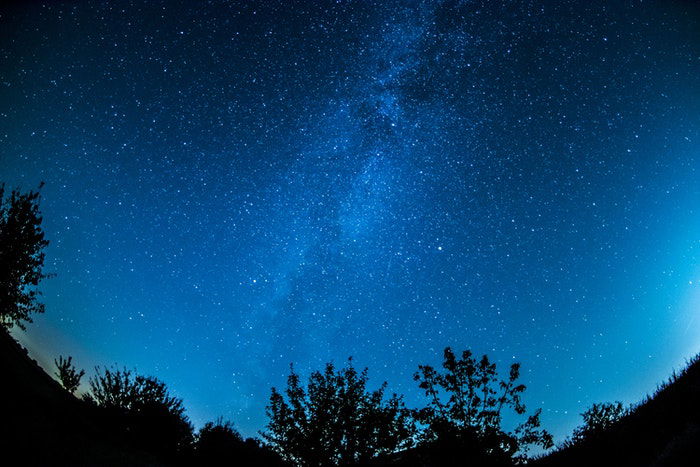
This rule is something you should remember when you find yourself under the Milky Way Galaxy shining through the night.
For more low light photography tips, check out our twilight portrait or night street photography posts! Enthusiastic astrophotographers should check out our SkyWatcher Star Adventurer Review.
For stunning starry shots, don’t miss out on our Milky Way Mastery course!