
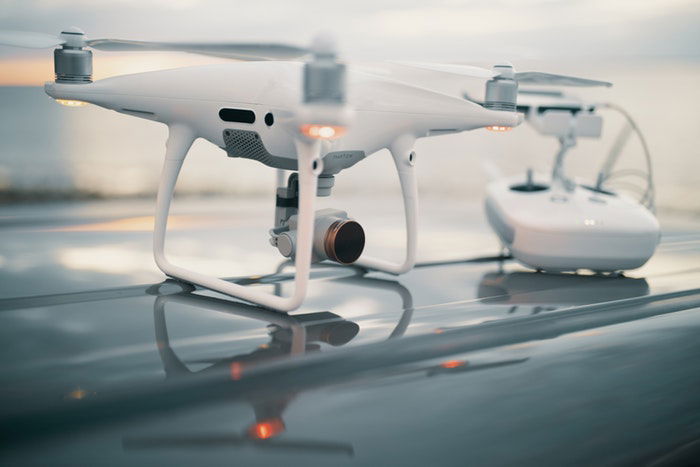
If you’re a drone photographer, then you know that shooting in bright sunlight can be a challenge. The bright light can cause your images to be overexposed, and the resulting photos may not look very good. One way to help solve this problem is to use a drone ND filter. In this article, we’ll explain what an ND filter is and how to use it for drone photography.
The Difference Between Drone ND Filters and Polarising Filters
There’s a significant difference between neutral density filters and polarising filters. They’re not interchangeable, but you can use them together.
Both can improve the quality of your drone photos. They have unique features that exist for specific drone photo and videographers.
- ND filters can help you achieve more motion blur in drone videos. They can neutralise everything in your drone photos. They’re not made to enhance colors or make skies look more dramatic. Generally, they help videographers create smoother movements in their videos.
- Polarising filters darken skies, reduces glare, and make colors look more vibrant. They’re perfect for both drone photographers and videographers.
ND filters usually come in packs. Each ND filter has a different intensity. You can have more control over the lighting in your drone photos because of this.
You can stack ND filters and polarising filters. Stacking will make your drone a little heavier, though.
A better solution is to buy ND-PL filters. This lightweight filter will give you every polarising and neutral destiny filter quality.
Invest in a Good Pack of ND Filters
Basic ND filters usually come in packs of four. They tend to cost less than $100.
The packs include a variety of neutral density filters. While they all do the same job, they have different intensity levels. The one you pick for your photoshoot will determine how bright or dark your drone photos look.
The ND filters are usually ND4, ND8, ND16, and ND32. The higher the number, the less light the filter lets in. This means that ND32 filters let in the least amount of light. They are for use in very bright locations.
Make sure that the filters you buy aren’t too cheap. Some companies seem to sell affordable and high-quality neutral density filters. These might ruin the quality of your drone photos.
Based on many drone photographers’ reviews, a few of the best websites for buying drone ND filters are Freewell, DJI, and Fstop Labs.
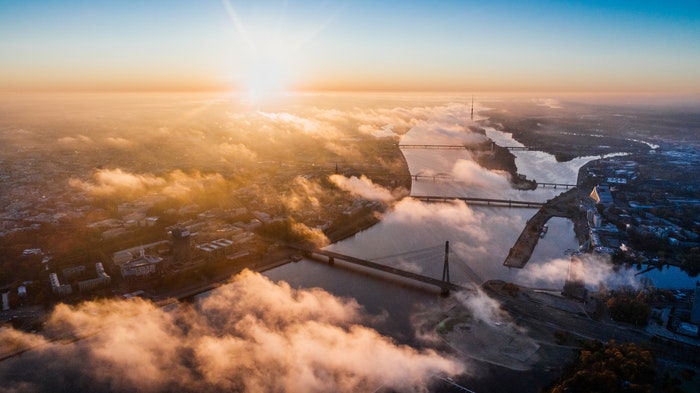
Choose the Right Weather Conditions for the Best Aerial Photos
ND filters can also help you take great aerial photos in intense .
The best light for using ND filters is very bright sunlight. If it’s very sunny outside, you might need an ND64 filter.
Make sure you always have your pack of ND filters with you. Depending on where you live and what time of year it is, the weather will likely change during your photoshoot.
You might have to shoot using at least two different ND filters. This consistency will keep your photos looking professional and fresh.
If you’re shooting nighttime aerial photos, you won’t need an ND filter at all.
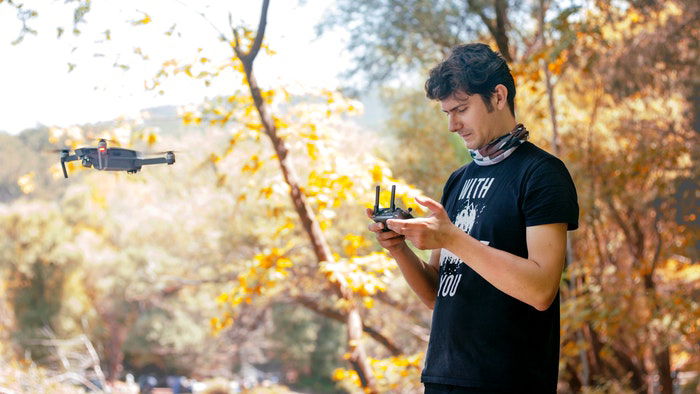
Use Manual Mode to Control Every Setting in Your Drone
Manual mode is important in every kind of photography. If you shoot in automatic, the drone might choose camera settings that won’t make the most of your ND filter.
You’ll see a difference as soon as you put the ND filter on your drone lens. You can experiment with different shutter speed and ISO settings to find the best light. While there are a few shortcuts you can use, try to figure everything out on your own first.
Manual mode is a great way to introduce yourself to basic camera settings. Everything you learn will come in handy in DSLR photography. Consider this a general photography exercise.
Use ND Filters to Create Beautiful Motion Blur in Your Drone Videos
Drone videographers use ND filters to create smooth movements in their videos. Without motion blur, videos look sharp and fixed. This is generally very unappealing to the eye. With motion blur, videos tend to look more professional.
Aim to use slow shutter speed. In bright conditions, slow shutter speed can make your footage look overexposed. You have to compensate for that by changing another camera setting. For example, you can lower your ISO.
But what if all your camera settings look decent? This situation is when ND filters come in. With an ND filter, you can compensate for slow shutter speed. You can get rid of overexposure and capture very smooth movements at the same time.
If you shoot aerial photography, you can try this method for shooting awesome long exposure photos.
https://www.instagram.com/p/B6UKfJEHtmw/
Common ND Filter Questions
What Is an ND4 Filter Used For?
An ND4 filter specifies the amount of light that your filter blocks. This value is usually the lowest number and is the best for mild weather conditions. The end number means that the filter will be letting 1/4 of the light to come in, which should result in appealing drone photos.
Do You Need Neutral Density Filters?
No, but it would help a lot to have an ND filter. An ND filter can improve your aerial photography, let you use prolonged shutter speed, and help you create motion blur. ND filters are for professional videographers, but photographers can use them too.
How Do You Use Mavic Air ND Filters?
First, pick a suitable ND filter for your style. Turn your Mavic Air upside down and unscrew the standard filter on your camera. search the standard filter with an ND filter. Shoot in Manual mode. Adjust your shutter speed and ISO so that everything on your screen looks neutral.
What Filters Can I Use for Mavic Pro?
There are a variety of affordable filters to choose from for the Mavic Pro. You can buy them on Polar Pro or in the DJI store. You can find filters that add a cinematic look, control image exposure or serve as regular ND filters.

Conclusion
Even though ND filters aren’t made exclusively for drone photography, you can still use them to create more harmony in your pictures.
You will enjoy using ND filters if you shoot in the right weather conditions with the right kind of camera filters.


