
Understanding how light affects your pictures is one of the first things that new photographers learn. But not everyone is aware of the different types of lighting.
In this article, we will cover the topic of side lighting. We will look at what side lighting is and how you should use it in your photography.
What Is Side Lighting?
Side lighting is light that hits the subject from one side. The angle of this light depends on where you place the subject or, in the case of artificial lighting, the light source.
Side light results in one side of the subject being lit, while the other is a lot darker. It can be a form of hard light, where the shadows become clearly defined.
Certain painting styles inspired this lightning technique in photography. Painters such as and Jan Vermeer or Rembrandt used this method to give a unique atmosphere to their pictures.
When there is a strong side light on a photo, it makes us see it as a more artistic style.

How Does Side Lighting Affect an Image?
Side lighting not only helps to highlight the subject’s shape. It also brings out textures. This type of lighting is especially good for creating a unique mood. Lighting the subject from the side emphasises shadows. It adds contrast, while exaggerating depth as well.
The atmosphere of side-lit photos is dramatic, with forms and dimensions playing a crucial part in the picture.
When Should You Use Side Lighting?
You should use side lighting for photography when you are trying to convey emotions.
It is perfect for adding drama to an image. Due to its contrast, it also suits photos that you are planning to turn black and white.
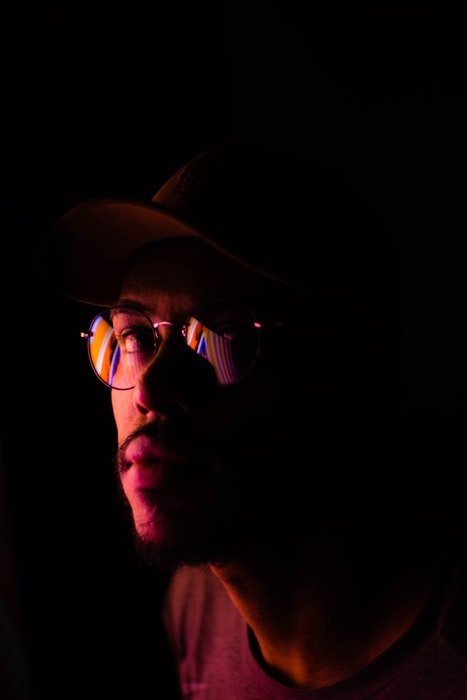
Side light is mainly used for low-key portraits, especially for ones that are taken in a studio.
You will sometimes see it in landscape and nature photos as well.
During sunrise and sunset, the direct sunlight hits the subject from its side. This creates a perfect example of side lighting. If this light is used well, it can enhance your landscape images. It does so by adding depth and emphasising textures.
Take a look at the two photos below. They were shot from the same location and have the exact same processing applied.

This photo was captured at 9:15 am, but we were too late… the ideal conditions had passed.
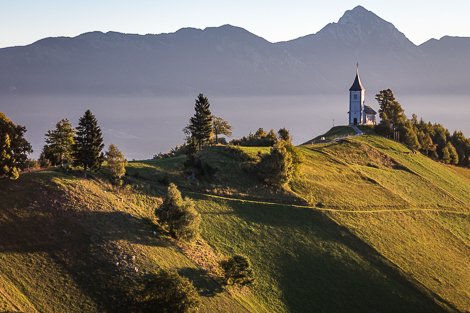
This was captured at 7:30 am, as the sun was creeping over the mountains and casting a side light.
This image is from our Simply Stunning Landscapes course. Check it out to learn how to take amazing landscape images!
Sometimes even product photography uses this technique. A lot of packshots use side lighting to emphasise the shape of a product.

When Not to Use Side Lighting
There are some instances when you shouldn’t use side lighting.
Your goal might be to create a soft look or light your subject evenly. A hard side light will not create this look for you. When working in hard light, the best way to create even lighting is to backlight your subject.
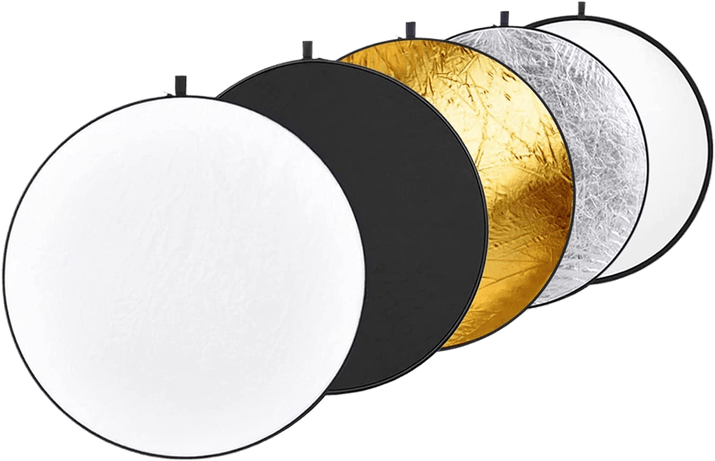
You might be working with natural light where you can’t control how the light falls on your subject. In this case, you can use a reflector or additional lighting to illuminate the other side.
Tips for Using Side Lighting for Portraits
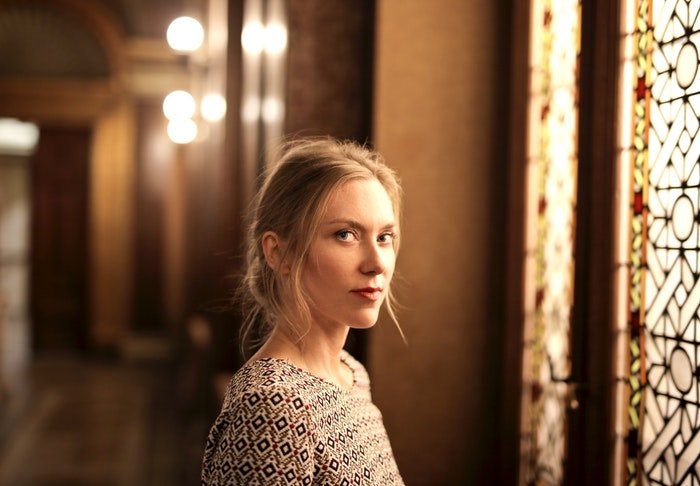
You may want to light your subject from the side during portraiture photography.
This light creates depth. It also emphasises the character and facial features of the person.
Use a 45 Degree Angle for the Best Side Light
Place the light around 45 degrees from the subject. After this, ask the person to turn their face slightly or completely towards one side. This will leave one side of their face completely in shadow, while the other side is lit and very contrasty.
It is important to remember that photographing your subject’s face from the shadow or the light side can distort their looks. Parts of their face can cast a shadow on others. It can also make their face look larger.
The person might have a particular feature you would like to highlight. These can be wrinkles, a strong jaw, or defined cheekbones.
In this case, side light will be just the perfect way of lighting for you. If you want to add as much contrast as possible, you should not use diffusers. With small and distant lighting, you can create a hard sidelight.

Illuminate the Face for a Softer Side Light
There might be an instance where you don’t want to have too much contrast between the two sides of the face.
If you would still prefer to use side lighting, try to illuminate the other side of the face with an extra light source.
A soft look can also be achieved by using different diffusing techniques, for example a softbox or reflectors.
If you are working with natural light, you can also try to move the person. This way he doesn’t get the light hitting him from completely sideways. The closer the light is to the axis of the camera, the flatter the light will be.
Don’t be afraid to experiment with the depth that different amount of side lighting can create!
How to Use Side Light for Landscapes
You will mostly find that landscapes are shot with back or front lighting. You can stand out with the dramatic looks of side lighting.
Get the Timing Right for Natural Side Light
With landscape photos, your lighting is entirely dependant on external factors. You cannot control the weather, the light conditions, or the sun’s position on the sky. What you can control is how you make the most out of the current lighting.
If you want your scenery to be illuminated from the side, you will have to wait until sunrise or sunset. These are the times of the day when the sun is just above the horizon.
This will not only add depth to your images. It will also create a natural contrast that can come in handy in many landscape situations. Imagine how beautiful a forest or a mountain will look once you emphasise its dark side!
With the sunlight coming from the side, you can also notice rays of sun coming through the leaves of trees. It will add to the uniqueness of your landscape pictures and create a darker, yet dreamy look.
Use HDR to Correct Extreme Contrast
Side lighting in hard light conditions can cause a low dynamic range. This is due to the extreme contrast that appears on the photo. Fortunately, you can use HDR to correct it. To learn more about when and how to use HDR, read our article here.
Don’t Overuse Side Lighting!
If you are aiming for mysterious landscape looks, side lighting is just for you. But as with every type of lighting, make sure not to overuse it.
You should keep experimenting with different kinds of lighting to see which one fits the specific photos the best.

Conclusion
Side lighting can be a powerful tool for your photography if you are aiming for a dramatic look. It also helps you create depth and emphasise textures.
There are several situations where side light can come in handy. We hope that our article has helped you discover this lighting method so that you can use it in the future!
If you liked this post, you should check out our Complete Guide to Photography Lighting!


