
Because the sunlight tends to be harsh, summer isn’t the best time of year for taking photographs. And summer landscape photography can be even more challenging.
Many photographers even consider summer as a great time to leave their cameras at home. But I find that keeping your camera handy in the summer can lead to some amazing photos. All you have to do is be aware of the season’s shortcomings and how to overcome them.
This article will give you tips and ideas on how to improve your summer landscape images.
Tips for Summer Landscape Photography in Harsh Sunlight
The sun is the element that influences everything in the summer season. Its presence or absence can completely change your summer landscape photography.
That’s why it’s important to know how to work with the summer sunlight. In the summer, the sun shines stronger during the day. And the days are very long.
This means that sunrise is very early in the morning. And golden hour is very late in the evening.
The hours of light are even longer if you are in the Northern Hemisphere. Here, the sun dips below the horizon for only a few hours.
This continuous radiation from the sun causes a series of climatic conditions. And they’re not ideal for landscape photography. And they cause many photographers to rethink shooting summer photography.
The light may be strong during the summer, but it’s also unpleasant. There’s often haze, and there’s not much color contrast. The shadows are also very sharp and sometimes unmanageable.
Even the vegetation often appears as an intense green color. While this might look beautiful in person, it doesn’t always translate well to photographs.
And when the vegetation isn’t lush and green, it’s usually burnt by powerful solar rays. This will make it take on a yellow color that’s closer to straw than lush landscapes.
But you can use a polarizing filter to combat some of these issues.
The filter will counteract the haze and the effect of the sun’s rays on Earth’s atmosphere. It will also remove reflections on non-metallic surfaces. And it will saturate the colors (the green foliage, in particular).
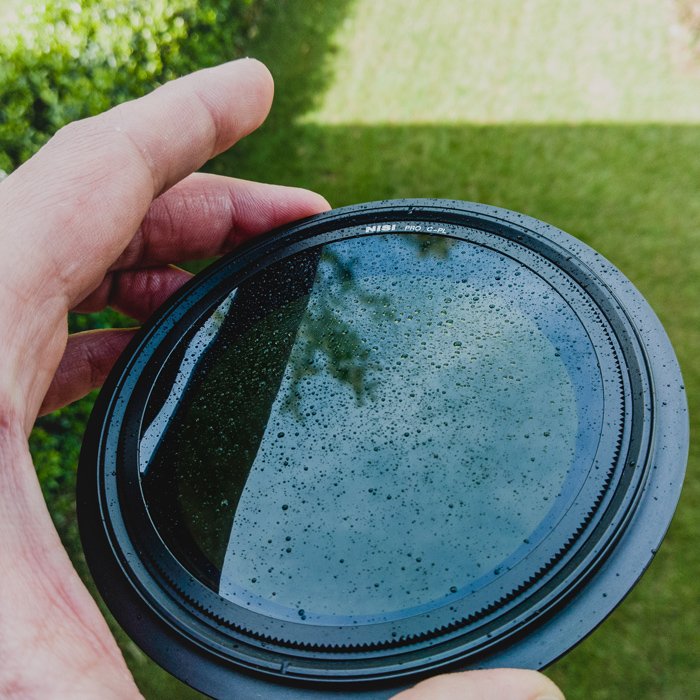
But a polarizing filter doesn’t work miracles. It’s better to shoot in the best possible conditions.
The middle of a hot summer day is not an ideal time for landscape photography. In general, midday is not the best time for landscapes.
It’s much better to focus your energy on shooting during sunrise or sunset, even if this means getting up early or coming back late in the evening.
During lunch hours, you’re better off having a siesta. If the Southern European midday nap is not for you, you could spend this time planning your shoots or scouting locations for your summer landscapes.
Planning Your Summer Landscape Photography
You find yourself in a beautiful location. And then you realize you’ve completely missed the best light in that particular area. There is nothing more frustrating for a landscape photographer.
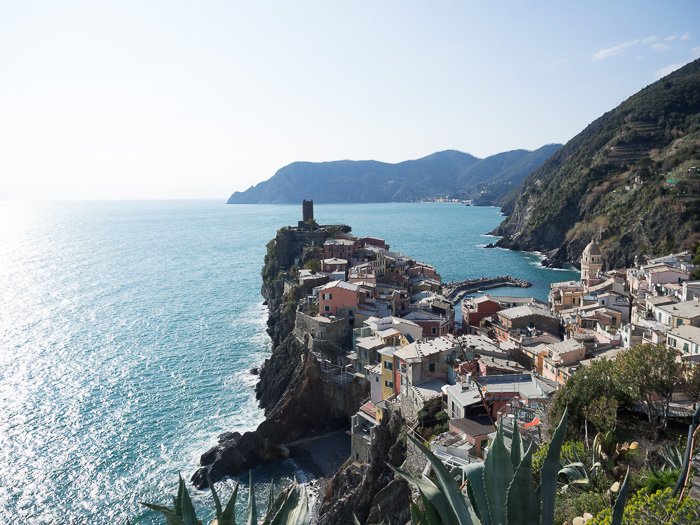
But it happens sometimes. You go to shoot a sunrise on a cliff overlooking the sea well before dawn. And then realize that the same composition would have looked better during sunset.
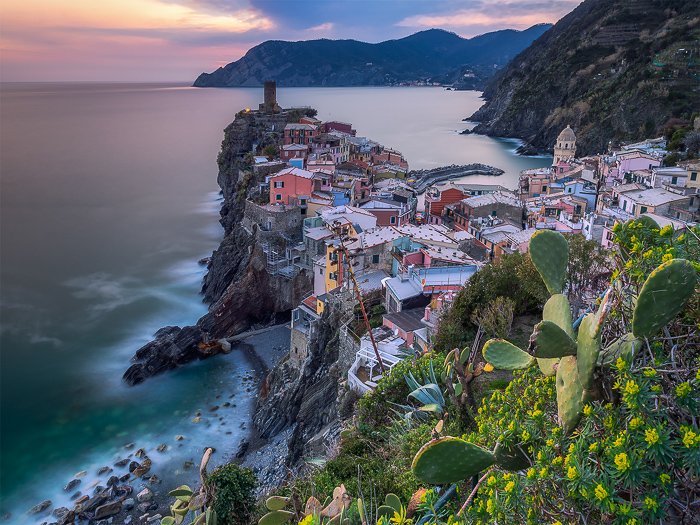
A classic example of this error is the Cinque Terre on the Ligurian Coast in Italy. Take Vernazza or Riomaggiore, for example. These are two excellent and classic landscape locations. They come alive during the golden hour of sunset. But during sunrise, they’re far less interesting and majestic.
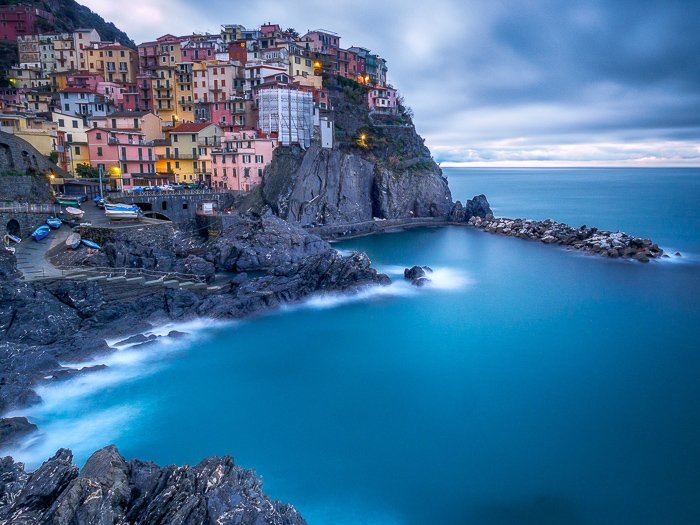
The opposite is true for Manarola.
The spots you shoot from have excellent views early in the morning. But during the evening, they’re less interesting.
And these spots are only a few miles away from each other!
It’s easy to ruin your photo session by missing the right moment. You might still come away with nice pictures, but not .
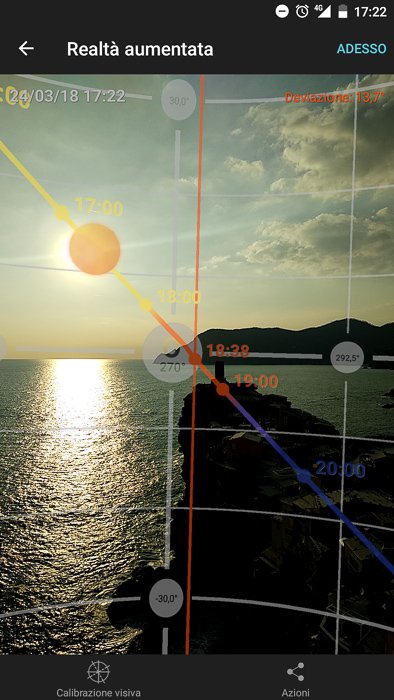
To avoid these strategic errors, I always have a couple of apps on my smartphone (PlanIt Pro! And PhotoPills). These apps help me understand the direction of the sun and the lighting in a certain location.
But this only happens after I have already decided which location to visit during my shooting session.
Location Scouting in the Summer
In the summer, you have a lot of hours of light during the day. This increases your chances of taking an amazing shot.
Once you’ve come up with a list of potential locations, take advantage of that summer light and go visit them. This a good way to learn where and how to shoot.
It’s frustrating to have to decide at the last minute whether to take a sunrise or sunset photo. If you visit the locations beforehand, you can judge which of these times is best.
Advance location scouting will also allow you to plan your composition.
The scouting session should come before you plan your photo. So first decide on the location, then plan what you’ll do there. You can even create a shot list to make everything even easier.
Why You Should Still Check the Weather
When it comes to landscape photography planning, the weather is the most unpredictable component.
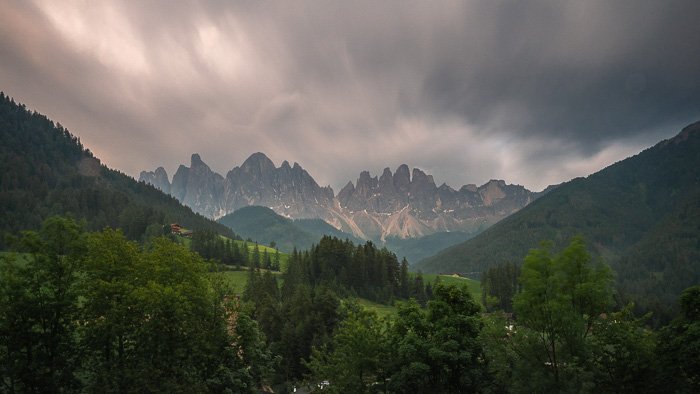
This is especially true in the summer when weather conditions can change very quickly. It can go from sunny to a downpour in an instant. But these sudden storms provide great photography opportunities.
These are the summer landscape conditions that I love most. I purposely search for them for my landscape photography.
Clear blue skies (or colored by the last lights of the sunset) can be boring. Everyone has a sunset photo. But not everyone has a dramatic weather image.
I use the MeteoRadar and Windy apps to check the weather. I’ll do this all day long, not just once in the morning. This way, I can be somewhat sure if storms and dark clouds will be present.
I also check the direction and intensity of the wind. Also, look at expected temperatures and the trend of the tides.
Summer Photography Ideas
Now you know that summer landscape photography is doable. You need to plan a little and might want to stick to the mornings and evenings. But you can take great summer photos.
But what exactly can you photograph during the summer? Some of the most photographed subjects are flowers. Lavender fields in the south of France are popular, for example. As are sunflower fields in the middle of the season. Wheat fields reach maturity towards the end of the summer. These are very popular as a photographic subject.
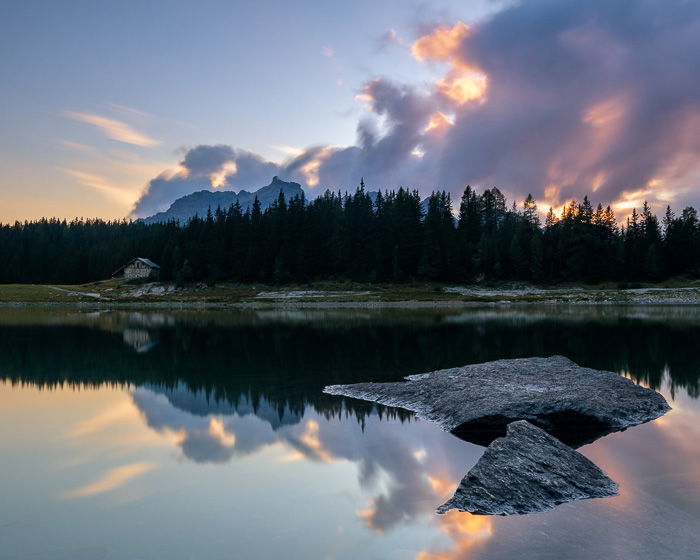
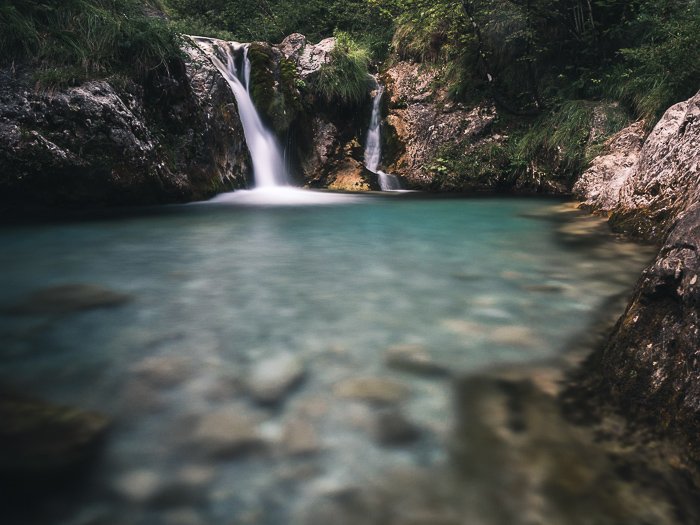
Any body of water can be an interesting subject, whether in the high mountains or in a deep gorge. This is also where you can use long exposures. So let’s talk about photographing waterfalls, streams, rivers, and lakes in the summer.
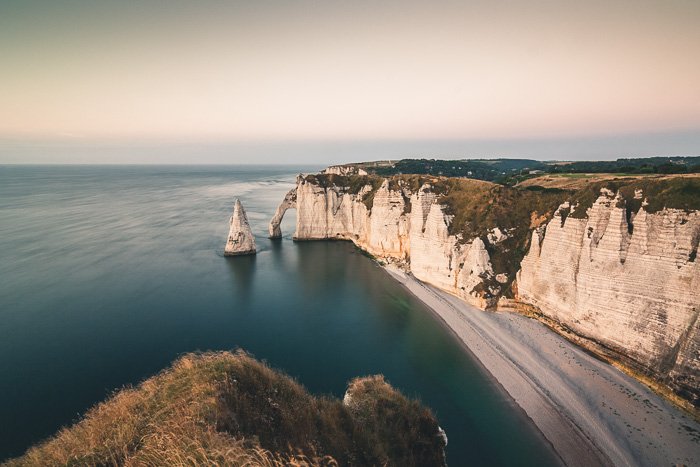
A great subject for summer photography is sea and coastline photography. I prefer to practice these landscapes in all seasons. But even in the summer, you can experience good lighting and weather conditions.
Nighttime Summer Photography
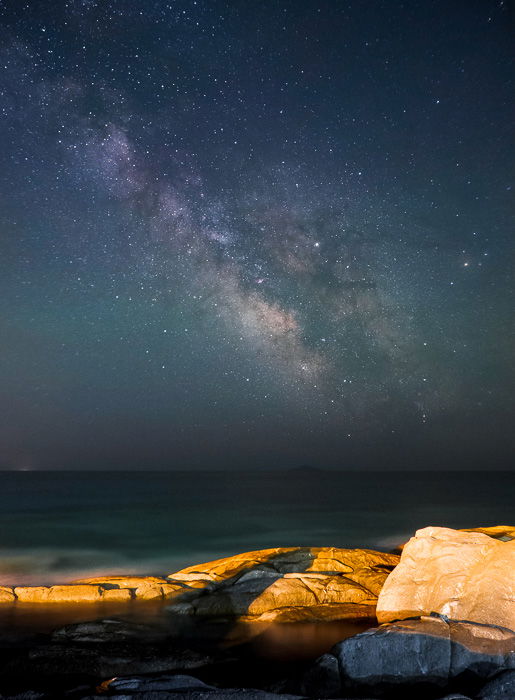
The Milky Way reaches maximum visibility from April to September. And most importantly, the nucleus of the Milky Way is visible for longer.
The nucleus is the interesting part of the whole galaxy. You can see gaseous masses and nebulae of all colors above the horizon. During the summer, the Milky Way also takes on a more vertical position.
Make sure you check the composition and location beforehand. It won’t be easy to find a good composition in pitch-black darkness.
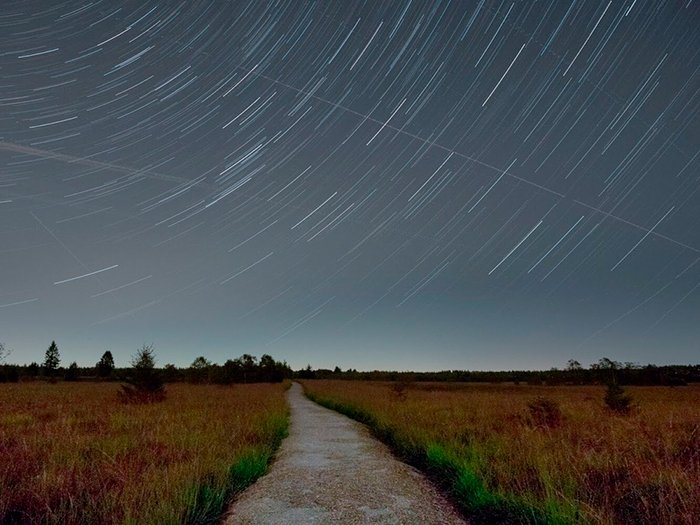
You can also try star trails during the summer. But these are easy to photograph throughout the year. All you need is a dark sky with no moon.
The presence of the Milky Way does add an extra oomph to summer star trails. The trajectories left in the frame by the stars will get new and interesting colors.
For both these subjects, I used the same apps I mentioned above—PlanIt Pro! and PhotoPills. These apps are very useful for night landscape photography. They allow me to understand exactly where the Milky Way will be in my landscape.
Also, PhotoPills allows me to see an augmented reality view of the position of the nucleus. And they have an updated database of the phases of the moon and the brightness of the sky.
This helps me choose the time when the moon will disturb my composition the least. And it allows me to figure out locations where the sky is less prone to light pollution.
Conclusion
There’s no reason not to be out there shooting in the summer. Every single season is full of nice compositions and subjects.
The tips in this article will help you take landscape photography during the summer.
So get out there and photograph. The more time you spend in the outdoors taking landscape images, the better. Your skills will improve, and so will your photos.


