
Learn to shoot epic images all year round with seasonal landscape photography. The seasons play a massive role in landscape photography, completely transforming environments from one season to the next.
Some might only shoot landscape in the fairer months, but it’s worth shooting in the extreme months too. Summer and winter can prove fruitful to landscape photographers who know what they’re doing. And when you’re done with this article, you’ll know what to do no matter what time of year it is.

Seasonal Landscape Photography
Mastering seasonal landscape photography give you the power to capture stunning images at any time of year. Not only will you have the confidence to shoot at any time, you’ll know how to use the conditions to your advantage.
This article looks at spring, summer, autumn, and winter in detail. Looking at the seasons from a photographer’s perspective, we give you all the knowledge you need to master seasonal landscape photography.
Follow the links in the text to learn more about each topic we cover here.
Spring
Spring is synonymous with rebirth. Nature, flowers, plants, colors, and streams come alive. At higher altitudes, the snow starts to melt. Rivers and waterfalls are once again full of water.
Spring is a special time of year with leaves, green grass, and flowers returning. It’s the perfect time to experiment with creative photography ideas.
Explore the tiny world of flowers by arranging traditional still lifes with a twist, such as small swings hanging from cherry blossom branches or a tea party amidst falling petals.
Spring photography is rich in themes and metaphors. Tell a story by combining spring objects with a second theme that interests you, such as music or jewelry.
Walking in the mountains can offer fantastic observation points. Place beautiful spring flowers in the foreground and towering snow-capped mountains in the background. It is a simple but powerful juxtaposition of colors and sensations.
Spring blooms are also a great subject, especially for landscape and nature photographers. They’re also great for macro and flower photography aficionados.
If you’d like to learn more about spring photography, there are many helpful resources available.

Summer
Summer landscape photography can be challenging due to harsh sunlight and long days.
To overcome these issues, shoot during sunrise or sunset when the light is more pleasant. Use a polarizing filter to reduce haze and saturate colors.
Planning is key to capturing the best summer landscapes. Scout locations in advance to determine the optimal shooting times and compositions.
Capturing the beauty of summer landscapes is possible with careful planning and timing. Keep an eye on the weather using apps, as summer conditions can change quickly.
Popular summer photography subjects include flowers, bodies of water, and coastlines. The Milky Way is also highly visible during summer nights, making it a great time for astrophotography.
Summer landscape photography can yield stunning results when you work with the season’s unique conditions.
Autumn/Fall
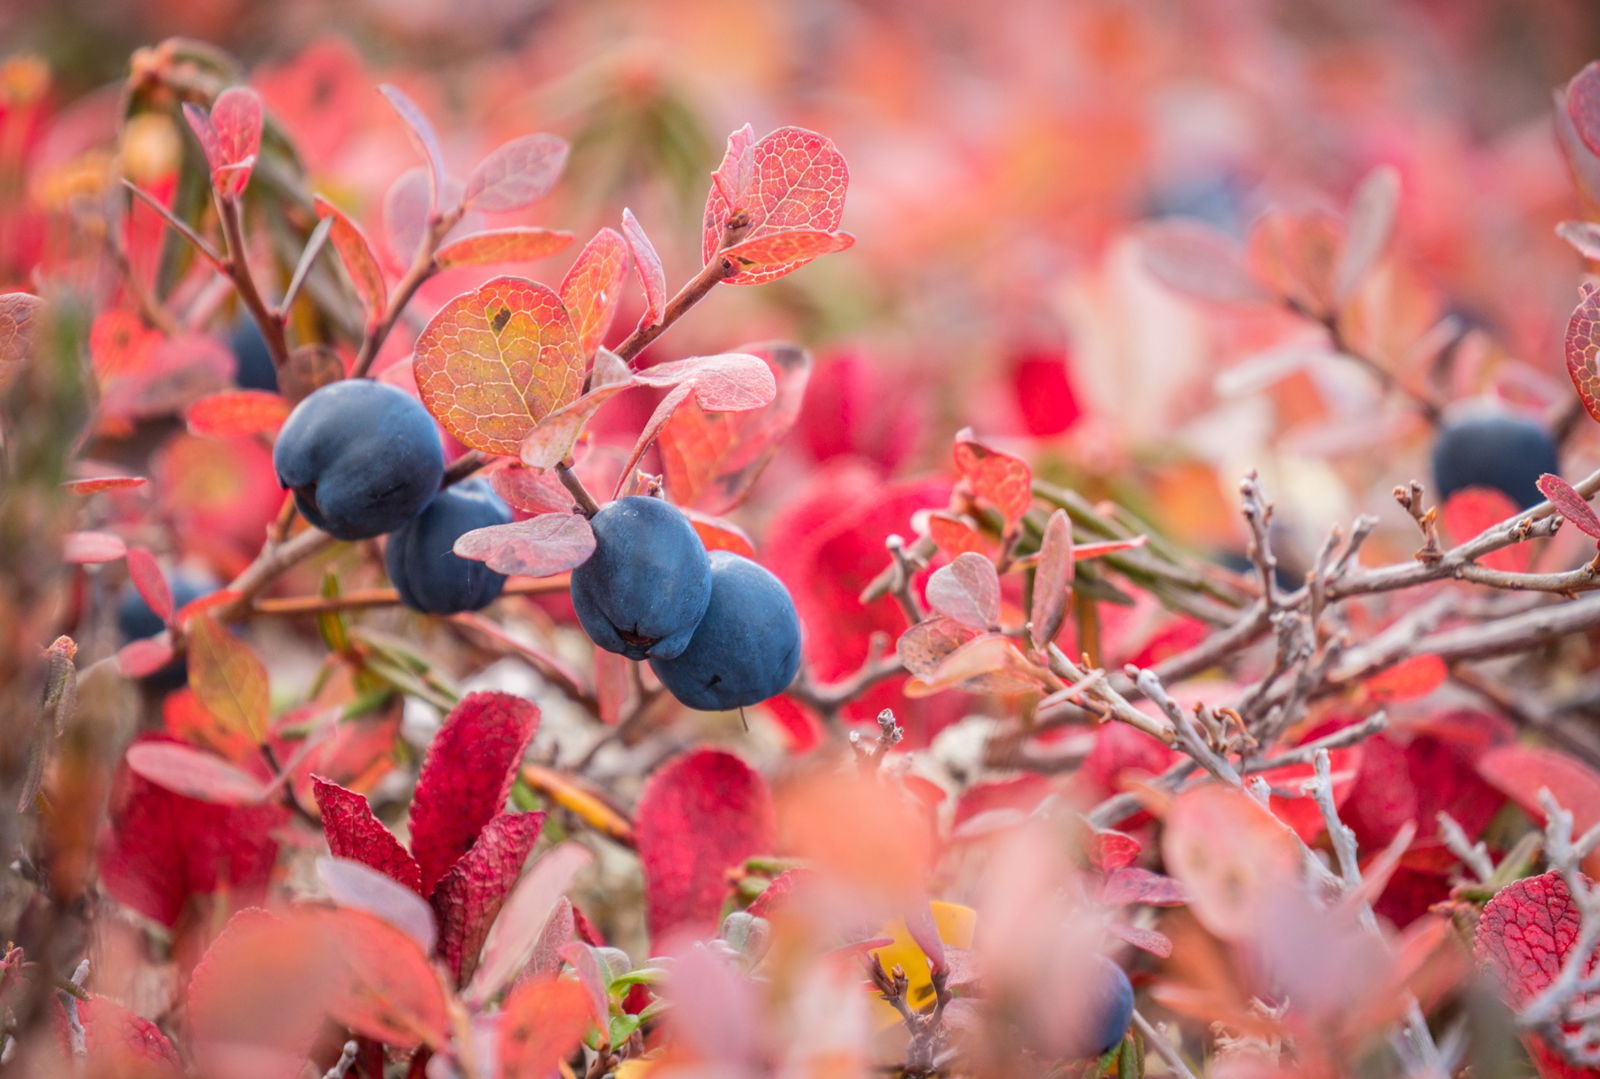
Fall photography is a unique challenge due to the vibrant and warm colors that dominate the landscape.
To capture stunning autumn scenes, focus on three key areas: details, local landscapes, and open landscapes. Start by photographing the small details like colorful foliage patterns using a telephoto lens with close focusing capabilities.
Next, step back and capture the local landscape surrounding your focal point. Use a medium to long telephoto lens to isolate patches of dramatic fall colors.
Finally, when the conditions are right, go wide to showcase the entire landscape, using foreground elements to add depth and interest.
By combining these three types of images, you can tell a complete story of your fall photography experience.
If you’d like to dive deeper into fall photography, our full article is the perfect place to start.
Autumn/Fall Tips
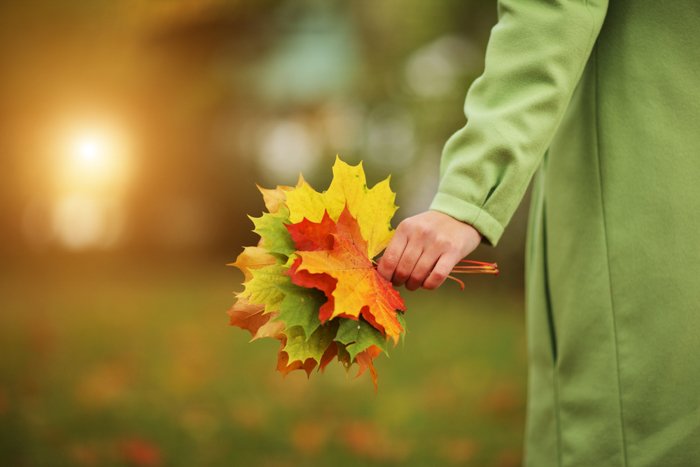
Autumn is the perfect time to take stunning photos of colorful scenery and cozy moments.
To make your autumn photography stand out, experiment with different focal points when capturing thrown leaves. Paint leaves with eco-friendly colors to add intensity or a surreal effect to your images.
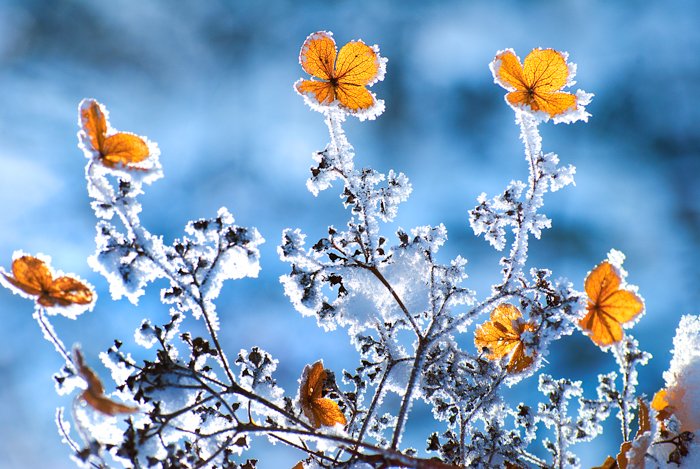
Capture the transitions between summer, autumn, and winter by showcasing reminders of the changing seasons, like flowers among changing leaves or frost on orange foliage.
Use monochromatic color palettes for eye-catching results, and shoot during golden hour to emphasize autumn’s warm tones.
Low-angle shots help capture more layers of depth in your autumn photos. Combine the season with holiday themes like Halloween pumpkins and Thanksgiving abundance.
Capture the essence of autumn through autumn photography that showcases seasonal food and décor.
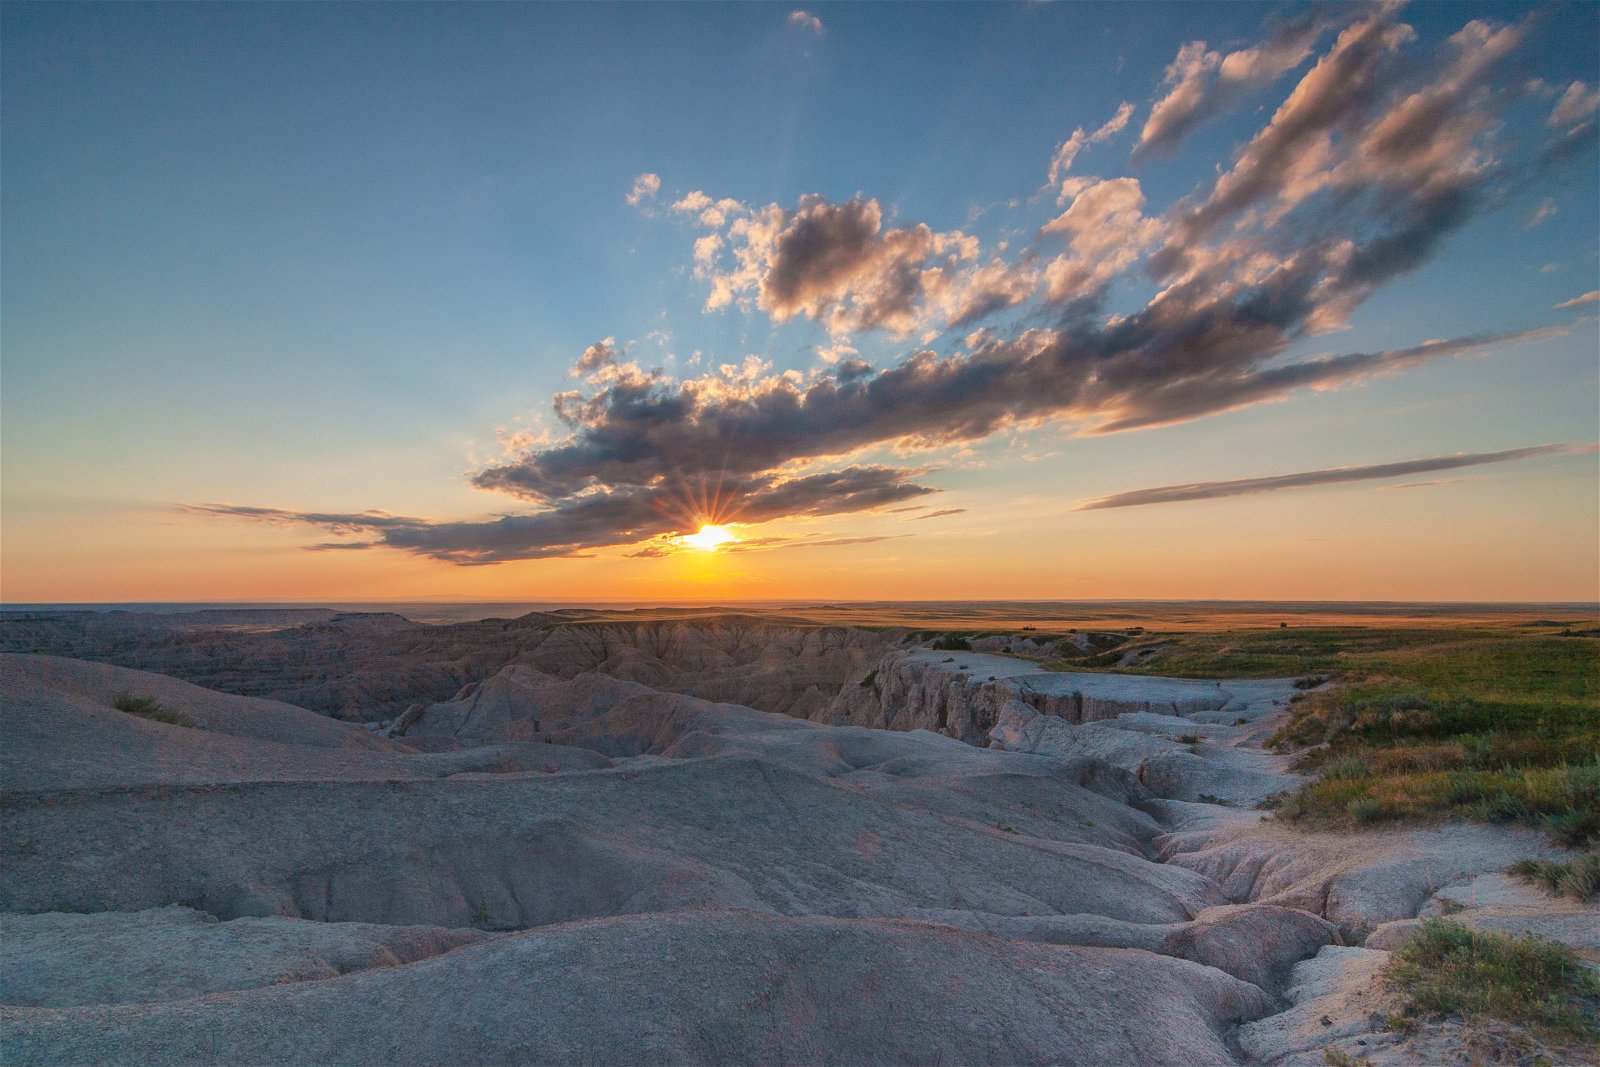
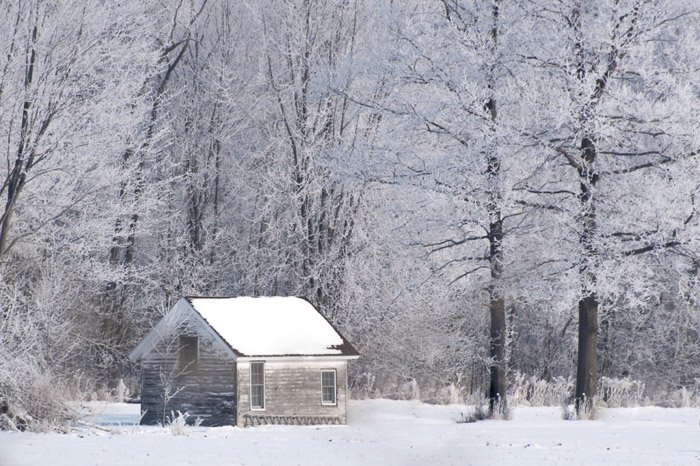
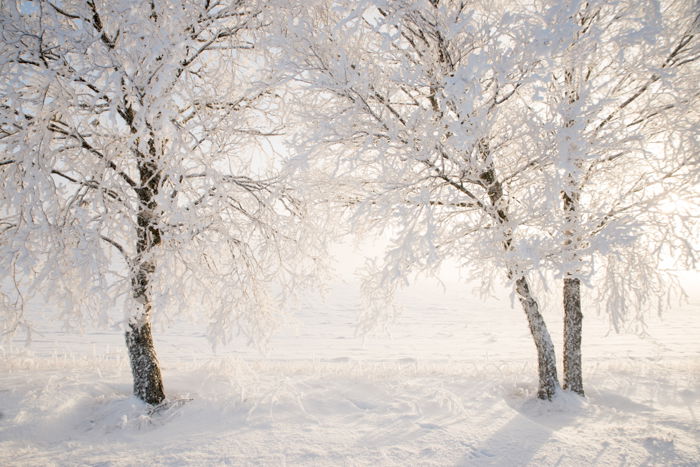
Winter Landscapes
Winter landscape photography captures the beauty of snow-covered scenes. To get the best shots, plan ahead and watch the weather for a fresh snowfall.
Dress warmly in layers and bring extra batteries, as cold weather drains them quickly.
When shooting, be careful not to disturb the snow with footprints. Your camera’s meter may underexpose the scene due to the brightness of the snow, so use manual mode or exposure compensation to adjust.
Look for light and contrast in the scene, such as sunlight making snowflakes sparkle or a pop of color against the white snow.
After shooting, dry off your camera and warm up with a hot drink while editing your photos. Adjust exposure, white balance, and contrast as needed to perfect your winter wonderland images.
For more tips on capturing stunning winter landscape photography, check out our in-depth guide.
Winter Ideas
Winter photography offers exciting opportunities to capture stunning and surreal images.
Overexposing photos can create a soft, gentle effect that works well in snowy landscapes. Adjust your camera’s white balance to transform winter scenes into magical ones.
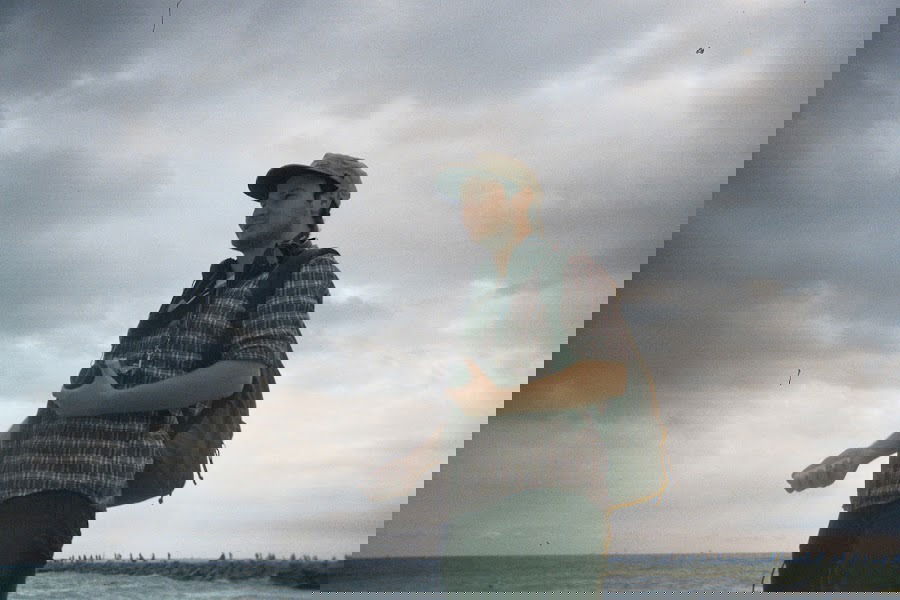
Winter is also a great time for portrait photography. Cozy outfits, scarves, hats, and gloves can add style to your images.
Couples photos in the snow are especially popular for engagement shoots. The contrast between cold temperatures and smiling faces results in heartwarming photos.
Winter photography isn’t just about sparkly snow. Fog can provide an eerie background for moody portraits. Wildlife photos in snow-covered environments also make for striking images.
If you want to learn more about winter photography, there are many helpful tips and ideas to try.
Snow Photography
A fresh fall of soft snow gives a landscape a pristine, tranquil quality that looks great in landscape images. But capturing snowy landscapes can be tricky, so you need to know what you’re doing before you head out into the cold.
Getting the right settings is crucial. Because snow is white, it reflects lights. That means it’s easy to overexpose image in snow-laden landscapes. You also need to find the perfect white balance, but this can be tricky because snow often has a blueish tint when photographed.
A polarizing filter is a great accessory for snowy landscapes. It reduces light reflections, giving you better detail and quality. It also reduces the risk of overexposing the images in bright daylight.
Learn more about snow photography in our full article on the subject.
Conclusion: Seasonal Landscape Photography
There are no perfect seasons for photography. Every season has its own peculiarities, and each one is awesome. From a photography point of view, of course.
This article has provided you with some interesting ideas for each season, from the strengths of each season to their pitfalls.
But even if a season seems more challenging, don’t leave your camera at home. Take it with you and go out there. Have fun, make mistakes, and learn from them. Each season can offer you amazing compositions and breathtaking perspectives.


