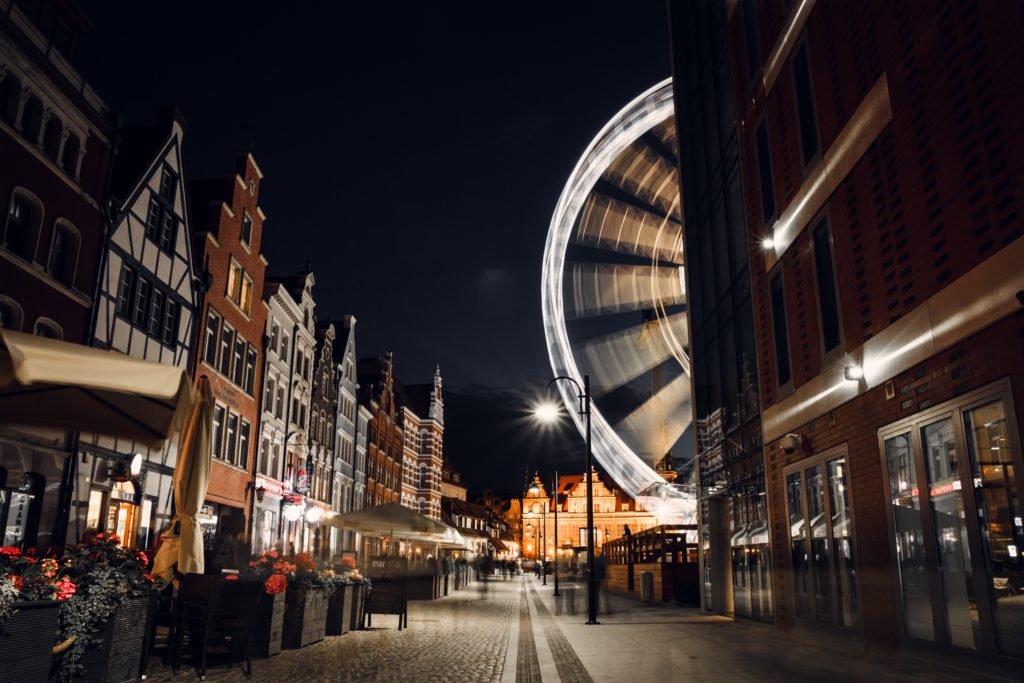
When it comes to shooting a time-lapse of the sunset, there are a few things you need to keep in mind. Here are the best sunset time-lapse settings.

Essential Sunset Time-Lapse Settings for Capturing the Perfect Sunset Photo
- Any camera
- A sturdy tripod
- Timelapse software
- An intervalometer (if your camera doesn’t have one)
Make a Timelapse at Home to Get Comfortable With Basic Techniques
Before you go out and capture a timelapse sunset, practise at home. Practising will allow you to experiment and get creative. You might discover new techniques that will help you during the timelapse photoshoot.
Your results don’t need to look extravagant. You can make a sunset or sunrise timelapse straight out of your window.
When it comes to time intervals, keep these tips in mind:
- Slow subjects, like the sun and clouds, need longer intervals. This means that your camera will be taking photos less often. Intervals that last from 5-10 seconds are ideal for this.
- Fast subjects, like people and cars, need shorter intervals. Longer intervals will make your footage look choppy. For the smoothest movements possible, make sure your intervals are as short as 1 second.
Choose the Right Equipment to Capture as Much of the Sunset as Possible
You can make a timelapse with any equipment you like. If you want something creative, feel free to use unusual lenses.
If you want to create a standard timelapse, a wide-angle lens may be perfect for you. It will capture the sunset and everything around it. You’ll get a broad cinematic view, which can be great for landscape time-lapses.
Make sure you use the sturdiest tripod possible. If your camera moves even a little, your timelapse won’t look natural.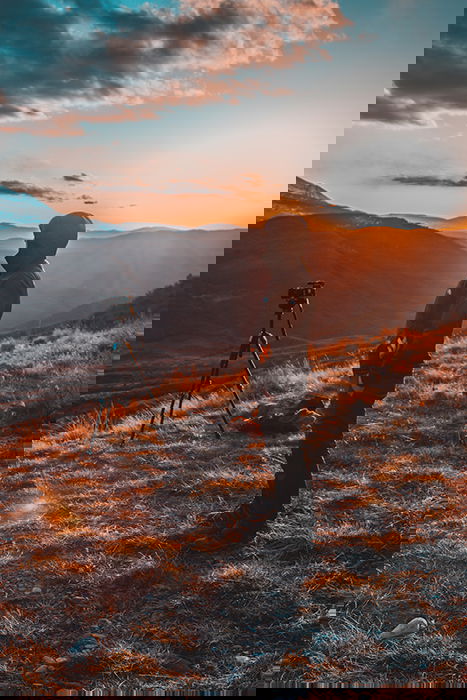
Find a Location With a Great View and Check the Weather Beforehand
When making a sunset or sunrise timelapse, it’s important to shoot from a unique perspective. Find a location that gives you the best view possible.
Watch out for foregrounds that could get in the way. This includes branches, benches, and rocks.
Also, make sure the location isn’t filled with tourists so that you can have a peaceful photoshoot.
Besides having the proper equipment, you need to work in ideal . A little breeze is okay, but anything stronger could shake your camera. This could lead to crooked compositions and motion blur.
Go to Your Desired Location at Least an Hour Before the Sun Sets
You’ll need some time to reach your location, set everything up, and find a great composition.
Give yourself at least an hour to do these things. This way, you’ll have enough time to get creative with your time-lapse.
You can use a sunset/sunrise timing app to figure out when the sun will start to set.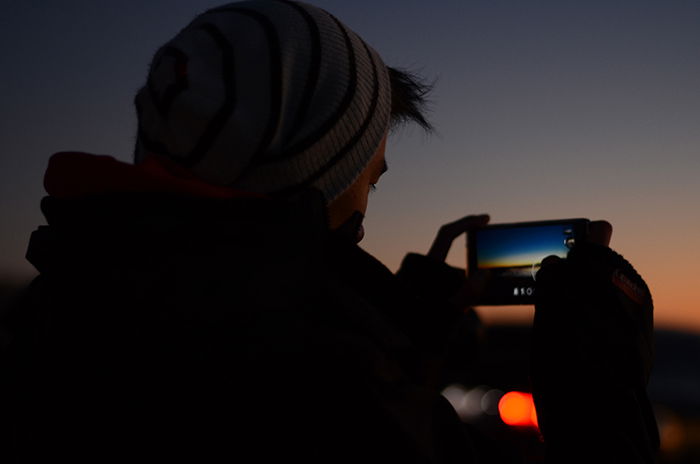
Bring Entertainment With You to Avoid a Boring Time-Lapse Shoot
The sun doesn’t take hours to set, so you won’t need to spend the whole day in the same location. But it’s still important to bring a few essentials with you.
Don’t forget to bring a snack and a bottle of water for your shoot.
You can also bring something entertaining, like a book, to pass the time.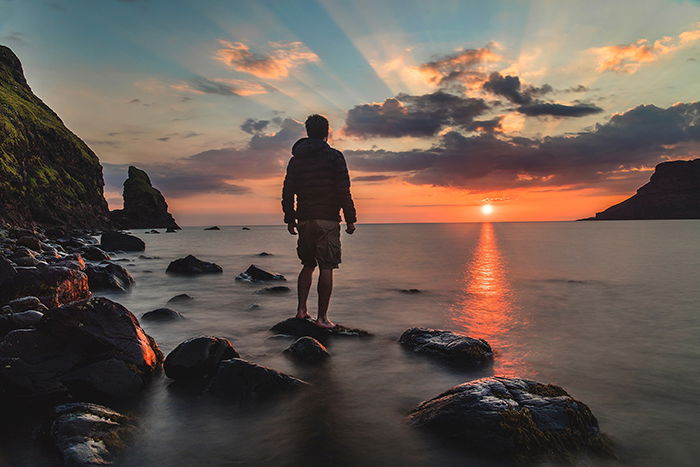
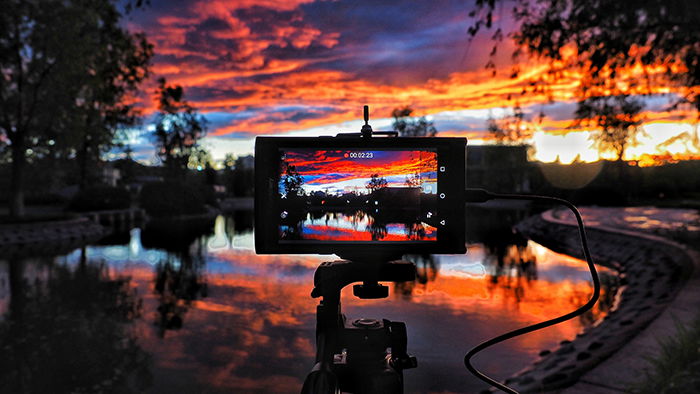
Use a Tripod and Manual Mode for Professional Results
Once you get to your location, it’s time to focus on the technical parts of your photoshoot. Place your camera on a tripod. You don’t need to worry about angles or compositions yet.
Next, switch to Manual mode. If you rely on your camera’s automatic features to do the work for you, you’ll end up with inconsistent photos.
If possible, shoot in Live Mode so that you can always see what your shots look like.
The disadvantage of using Manual mode is that you always have to be alert. The more the sun sets, the darker it will be.
There are no specific camera settings for sunsets. You’ll have to adjust your exposure every few minutes so that your final photos look consistent.
Last but not least, make sure you shoot RAW. This will make it easier to fix lighting or composition mistakes later on.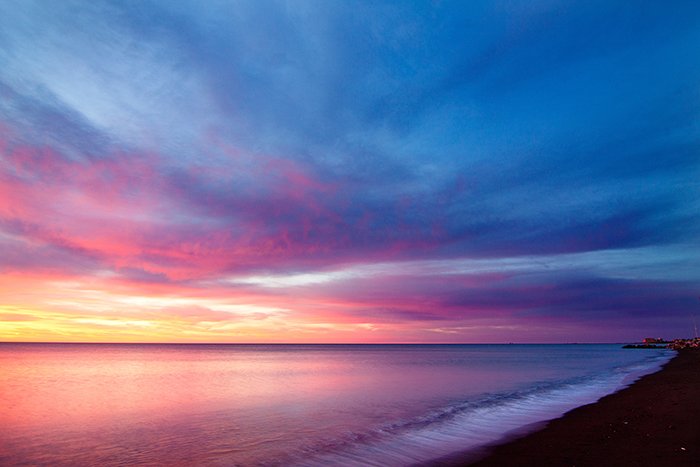
Set Your Interval to 5-10 Seconds to Get a Smooth Time-Lapse
The exact number you choose depends on the time of year. Many time-lapse photographers agree that 5-10 seconds is a good range for sunsets.
The faster the sun sets, the shorter your interval needs to be.
You can set the interval using an internal or external intervalometer. Some cameras come with built-in intervalometers.
An external intervalometer works the same way an internal one does. You can use it to set intervals and determine how many shots you want the camera to take.
You can also set the amount of time you’d like the camera to shoot for.
Find a Beautiful Focal Point That Tells a Story
Don’t be afraid to get creative with your time lapse sunset. Don’t just photograph the sun surrounded by clouds. Find an angle that tells a story.
This will make your time-lapse more interesting and improve the way you work with compositions. You can include foregrounds, like branches, as long as they don’t look too distracting.
You can shoot from very low or very high angles to make your time-lapse look unique.
If you want to, you can even include yourself in the shots!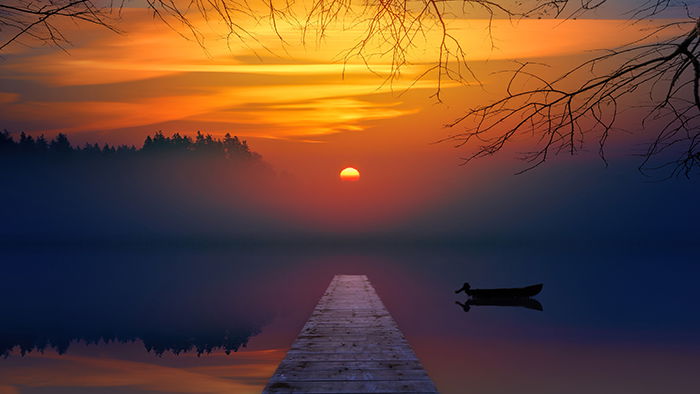
Use a Timelapse Software to Turn Your Photos Into a Professional Video
There are a few time-lapse programs you can use to make your editing process easy.
If you use Lightroom, you might enjoy using LRTimelapse. This is a high-quality plugin that will do the work for you.
One of the best free time-lapse softwares is Time Lapse Tool. It has its limits because it’s a free version of a more advanced program. Regardless, it can be a great place to start for beginners or photographers on a budget.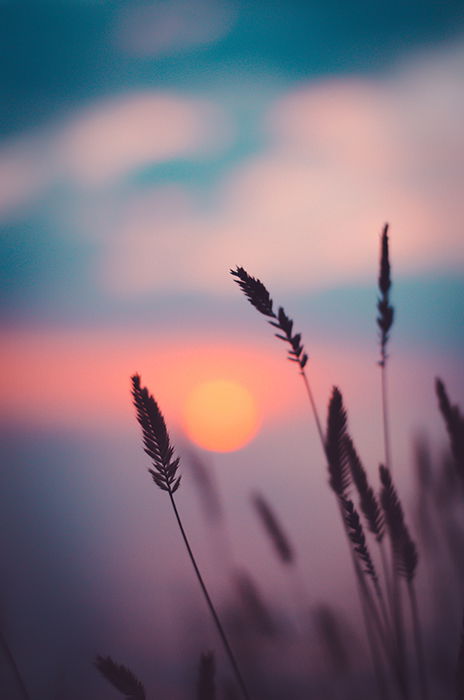
Common Time-Lapse Photography Questions
What Is the Best Interval for Time-Lapse?
This depends on what you’re shooting. If your subjects are fast, then intervals need to 1-3 seconds long.
If your subjects are slower, like the sun or clouds, then you can use longer intervals. Intervals that range from 5-10 seconds are appropriate for this.
How Do You Calculate Time-Lapse Intervals?
You can calculate a time-lapse interval by choosing a subject. If you plan to take photos of something slow, like clouds, then your intervals can be up to 10 seconds long.
If your subjects are fast (e.g. cars), your intervals should be as short as 1 second. You can also calculate your shooting interval, clip length, and event duration online using Photo Pills.
How Do You Shoot Night to Day Time-Lapse?
Find a safe location from which you can shoot. Set your interval anywhere from 1-10 seconds, depending on your subject.
Place your camera on a tripod, making sure you’re in manual mode. Change your exposure when necessary. Stay close to your camera to make sure that it’s always steady.
Conclusion
Time-lapse photography is a fun way to improve your photography and videography skills. Even a 30-minute photoshoot can teach you a lot about compositions, focal points, and angles.
To make your experience as successful as possible, remember to shoot in manual mode. Be fearless when it comes to creative angles, and stay close to your camera at all times.
Finally, remember to use a reliable time-lapse program. This will ensure that your final results look as professional as possible.
Now you’ve learned how to take a great time lapse of sunset and sunrises, check out our tips on choosing the best timelapse interval or shooting drone photo time lapse next!