The Lightroom spot removal tool is a powerful tool for removing unwanted spots or blemishes from your photos. It’s easy to use and can help you quickly improve the appearance of your images. In this article, we’ll show you how to use the spot removal tool in Lightroom and provide some tips for getting the best results.
Lightroom Spot Removal: What is It?
There are easy touchups that you can make with the spot removal tool. No matter the type of photography work that you do!
You can use it to fix skin blemishes, dust spots, or imperfections in portraits. Or to remove distracting elements like tree branches or people in landscapes, spots from trash, lint, or stains on any setting. You can even remove spots from dust on a camera sensor.
Lightroom’s spot removal tool is very similar to the clone stamp and healing brush tools in Photoshop. The spot removal tool has two options: clone or heal.
When set to clone, the brush stamps an exact replica of the reference spot. When set to heal, the brush takes the sample area and matches the lighting and texture so that it’s blended more.

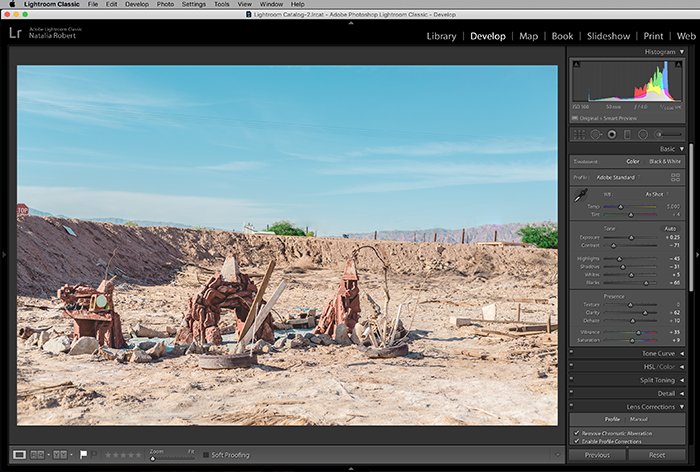
Step 1. Find the Spot Removal Tool
You can find the spot removal tool within the Develop module of Lightroom. It’s the second tool from the left under the Histogram.
Once that set of sliders opens, you’ll see the option for Clone or Heal on the top right.

Step 2. Create a Spot to Correct
When you click on the spot to be touched up, a white outline appears. This is the area that will be corrected.
At the same time, another white outlined area appears that has an arrow to it from the original spot. This second area is the sampled spot.
When you select a spot to correct, you can either click to select one spot or click and drag to select a larger area. Either way, you’ll see the selected area and the sample area appear.
Step 3. Adjust Your Spot Selection
Once you have your spot selected to correct, you can then adjust the sliders! The sliders will adjust the brush size, feathering, and opacity.
You can also move either the selected spot to correct or the sample area. Lightroom will automatically select a sample area that it thinks is a good fit to match the area to correct. This is not always the ideal sample area.
To move either area, click and drag until it’s in the right spot!
If you want to do additional cloning or healing, you just click again on another area of the photo and Lightroom will create a new spot removal brush there.
Tips and Shortcuts for the Spot Removal Tool
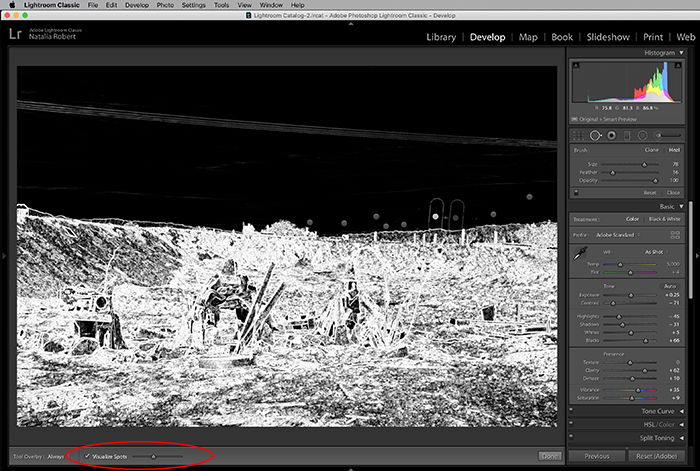
If you want to be extra sure to get all the spots corrected on a photo, one way to check your work is by enabling the Visualize Spots option.
Once you have the spot removal tool open, you can find the Visualize Spots setting in the lower-left corner of the Develop module.
If you check that, you’ll see the photo go to black and white. The slider next to the checkbox allows you to set its sensitivity. This is the perfect way to find if any more small or subtle spots may need to still be corrected!
For those of you who like to use keyboard shortcuts to speed up your workflow, here’s a list that applies to the spot removal tool:
- Q = Access the spot removal tool;
- Shift + Q = Switch between clone and heal setting;
- Command + Option + drag to set size = Create circular spot from center out (Mac);
- Control + Alt + drag to set size = Create circular spot from center out (PC);
- Backslash (/) = Select a new sample;
- A = Enable/disable Visualize Spots option;
- Control + click a spot = To delete a spot (PC);
- Command + click a spot = To delete a spot (Mac);
- Left bracket ( [ ) = Reduce the size of a spot selection;
- Right bracket ( ] ) = Increase the size of a spot selection;
- Scroll up or down = Increase and decrease the size of a spot selection.
Conclusion
While we aim for perfection in-camera, touchups are a necessity for most final photos. Lightroom offers the spot removal tool to make retouching simple and quick!
Why not check out how to use the clarity tool, whiten teeth, or how to get the Teal and Orange Effect in Lightroom next!