The best light pollution filters help you achieve the best results when shooting astrophotography. But which light pollution filter do you need? You need one that fits your camera. The filter has to meet your experience level, whether you’re a beginner, intermediate, or pro. And finding a good filter within your budget is always important.
We’ve got a wide range of light pollution filters in our article. But the K&F Concept Clear Natural Light Filter is the best of the bunch. The optical quality is fantastic, improving image quality in several ways. It’s a well-made lens accessory. And it’s available in different sizes. It’s a brilliant filter for astrophotography.
What Is the Best Light Pollution Filter?
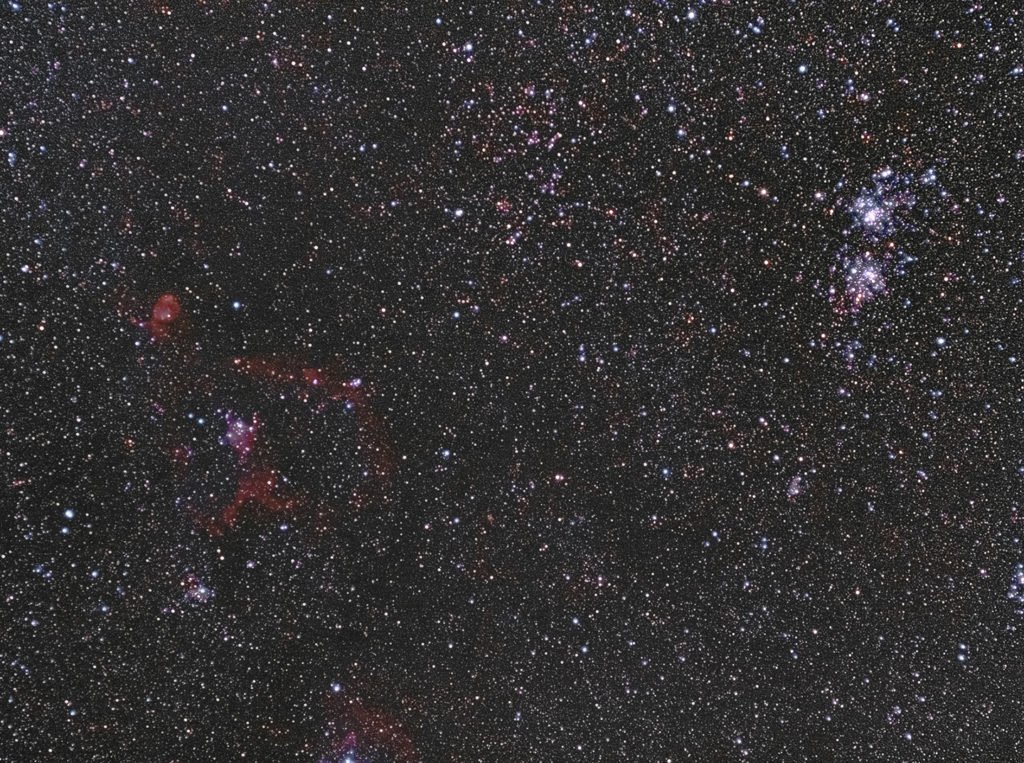
The best light pollution filter gives you clearer and sharper results for astrophotography and Milky Way photography, especially when shooting from urban areas. They block out artificial light, letting stars and galaxies shine brighter in the night sky.
Light pollution filters are also known as natural light or neutral light filters. Some manufacturers also label them night light light filters. And there are several different types of light pollution filters.
First, you have circular filters that screw directly onto the front of your camera lens. The key here is finding a filter that fits your astrophotography camera lens. You need the specific filter that fits your lens. But thankfully, most of the circular filters on our list have different size options.
You also get square and rectangular filters. These come in generic sizes. And you mount them in front of your camera lens. You need a special filter holder to mount the filter. Veteran filter users might have a mount system already. But some filters come with mounts and holders included.
For certain camera brands, you can also get clip-in light pollution filters. Two are featured on our list. And they clip into your camera, sitting in front of the sensor.
You don’t attach them to the lens as with circular filters. They are only compatible with specific types of cameras. But the positive is you don’t need a different size filter for each lens.
Here’s a quick overview of all the best light pollution filters we’ve rounded up. We look at each filter in more detail in the section after. And we have a FAQ section at the end if you need more information on light pollution filters.
- Quality Japanese AGC optical glass
- 28-layer nano coating reduces flare and vignetting
- Coatings are also water- and oil-repellent
- Available in sizes from 52mm to 82mm
- Quality Japanese AGC optical glass
- 36-layer nano coating for better quality and protection
- 100 x 100 mm square filter can be used with any lens
- Comes with protective case and frame
- HD Neodymium glass without color defects
- Anti-reflective lens coating for better clarity
- Glass is oil- and water-repellent
- Hardened outer coating protects against scratches
- Made with crystal-clear Neodymium glass
- 20-layer nano coating
- Available in any size from 37mm to 95mm
- Climate-friendly business practices
- Made with crystal-clear Neodymium glass
- Available in 100 x 100 mm or 75 x 75 mm
- Comes with protective case
- Climate-friendly business practices
- Made of excellent optical Japanese glass
- Retains true-to-life colors
- Multi-layer coating protects glass, maintains quality
- Anti-reflection coating improves light transmission
- Clip-in filter compatible with Sony Alpha cameras
- Made with clear B270 optical glass
- Filter has water- and oil-repellent coating
- Shock absorbent and protects the camera sensor
- High-quality optical glass, durable aluminum alloy frame
- Multi-layer nano coating reduces light reflection
- Coating also protects optical glass
- Available in a variety of sizes between 52mm and 82mm
- Clips in to your Canon DSLR camera
- Durable aluminum frame
- Anti-reflective coating for better light transmission
- Super compact and lightweight with a handy case
9 Best Light Pollution Filters
Now, we look at all the light pollution filters in more detail. We have circular filters that attach directly to your lens. And we have square glass filters if you want to mount the filter independently. We have also included a telescope filter if you want a clearer view when viewing the night sky.
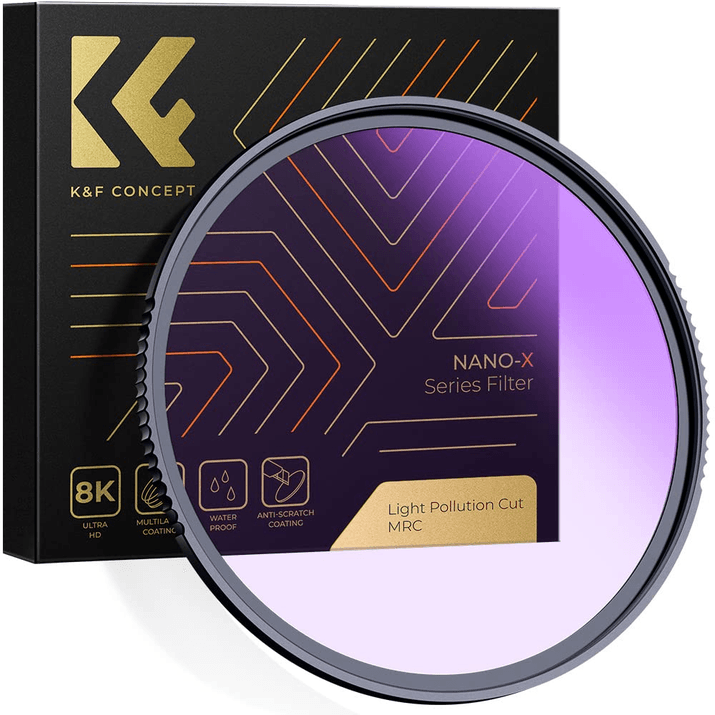
1. K&F Concept Clear Natural Light Filter
| Brand |
Brand
K&F Concept
|
| Filter Size |
Filter Size
77mm
|
| Other Available Sizes |
Other Available Sizes
52mm, 58mm, 67mm, 72mm, 82mm
|
| Other Key Features |
Other Key Features
Quality AGC glass, Nano coating, oil- and water-repellent
|
| Best For |
Best For
All night sky photographers
|
The K&F Concept Clear is the best natural light filter on the market. K&F Concept makes fantastic photography accessories. And this high-quality lens filter is a prime example.
The glass quality is sensational. It’s available in different sizes. And whether you’re shooting Milky Way photography or night landscapes, it improves your nighttime photography.
It’s made with premium quality Japanese AGC glass for crystal-clear optical quality. The glass has a 28-layer nanometer coating on both sides, further enhancing image quality. It adds definition while reducing distortion, light reflection, flare, and vignetting.
The lens coatings also help protect the filter. They make it oil- and water-repellent. They prevent smudges and finger marks. And they protect against scratches, helping the filter last longer.
The K&F Concept Clear Natural Light Filter listed above has a 77 mm filter thread size. If that doesn’t match your lens, you have options from 52 mm to 82 mm. It’s also a lightweight (3.3 oz / 94 g) and ultra-slim piece of equipment. It adds practically no weight to your camera bag.
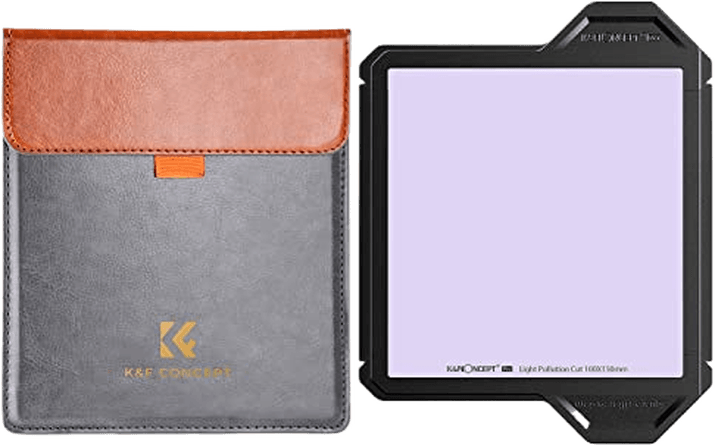
2. K&F Concept X-PRO Square Natural Light Filter
| Brand |
Brand
K&F Concept
|
| Filter Size |
Filter Size
100 x 100 mm
|
| Other Available Sizes |
Other Available Sizes
None
|
| Other Key Features |
Other Key Features
Quality AGC glass, Nanometer coating, oil- and water-repellent, case and holder included
|
| Best For |
Best For
Night photographers looking for a high-quality, square-glass light pollution filter
|
The K&F Concept X-PRO Square Natural Light Filter is exactly the same as the circular filter above, only in square form. It uses the same high-quality Japanese optical AGC glass. And the glass has the same multi-layer nanometer coating for improved optics and protection. Only this time, you get 36 layers of coating.
It measures 100 x 100 mm with a thickness of only 2 mm. That means it is lightweight but also a bit fragile. Thankfully, a protective case is included when you buy the filter. You also get the protective frame for more durability and easy mounting.
As a square filter, you don’t need to worry about the thread size of your lens. You mount the K&F Concept Square X-PRO filter at the front of the lens rather than screw it on directly. This gives you more versatility if you like to experiment with different lenses.
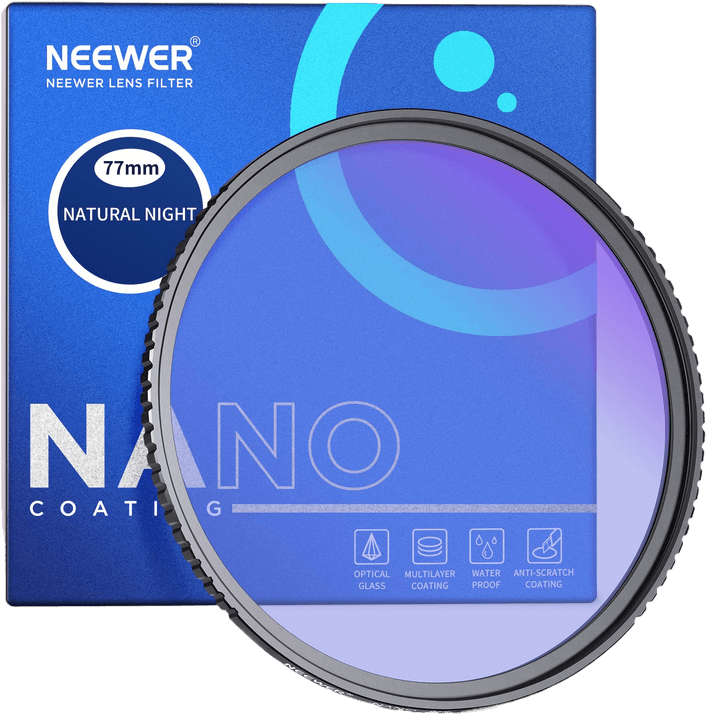
3. NEEWER Natural Light Filter
| Brand |
Brand
NEEWER
|
| Filter Size |
Filter Size
77mm
|
| Other Available Sizes |
Other Available Sizes
58mm, 62mm, 67mm, 72mm, 82mm
|
| Other Key Features |
Other Key Features
HD glass, anti-reflective coating
|
| Best For |
Best For
Nighttime sky or landscape photographers
|
The NEEWER Natural Light Filter is perfect for sky and landscape photography at night. The filter improves picture quality. It’s available in several different sizes. And it has a reasonable price tag for such a fantastic light pollution filter.
Made with HD neodymium glass, you get pristine optical quality. The glass is of such a high standard you get no color aberrations. Your images will be true-to-life with enhanced clarity.
The glass has been treated with several coatings on both sides. There’s an anti-reflection coating that ensures no light or color transmission is lost. You also have a water- and oil-repellent coating that prevents water marks and smudges.
The outermost layer is a hardened coating that maintains optical quality over time. You don’t need to worry about small scratches building up.
You can get this NEEWER Natural Light Filter with a thread size between 58mm and 82mm. It’s a top light pollution filter for nighttime photographers.
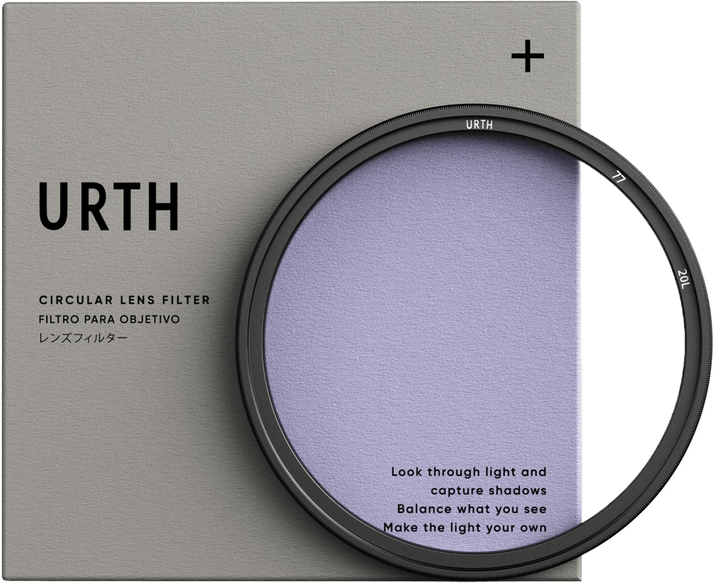
4. Urth Neutral Light Filter
| Brand |
Brand
Urth
|
| Filter Size |
Filter Size
77mm
|
| Other Available Sizes |
Other Available Sizes
37mm, 39mm, 40.5mm, 43mm, 46mm, 49mm, 52mm, 55mm, 58mm, 62mm, 67mm, 72mm, 82mm, 86mm, 95mm
|
| Other Key Features |
Other Key Features
Quality neodymium glass, 20-layer coating, eco-friendly packaging
|
| Best For |
Best For
Climate-conscious consumers looking for a high-quality filter
|
The Urth Neutral Light Filter is a stunning light pollution filter. It is one of the more expensive options on this list. But you’re getting a beautiful and effective filter from a company that puts climate change at the front of its thinking.
The filter is made with crystal-clear neodymium glass. It has no visual tells, so it’s not obvious you’ve used a filter in your images.
Urth has treated the glass with a 20-layer nano coating on both sides. The coating improves image quality by preventing reflections, flare, and vignetting. And it helps protect against finger marks, smudges, and dirt.
You can buy the Urth Neutral Light Filter with any thread size, ranging from 37mm to 95mm. That means there’s a compatible filter no matter what lens you’re using. All filters also have a protective carry case and a special lens-cleaning cloth for maintenance.
When it comes to the climate crisis, Urth is fighting the good fight. All the packing is recycled, and for every filter purchased, they fund planting five trees in areas affected by deforestation.
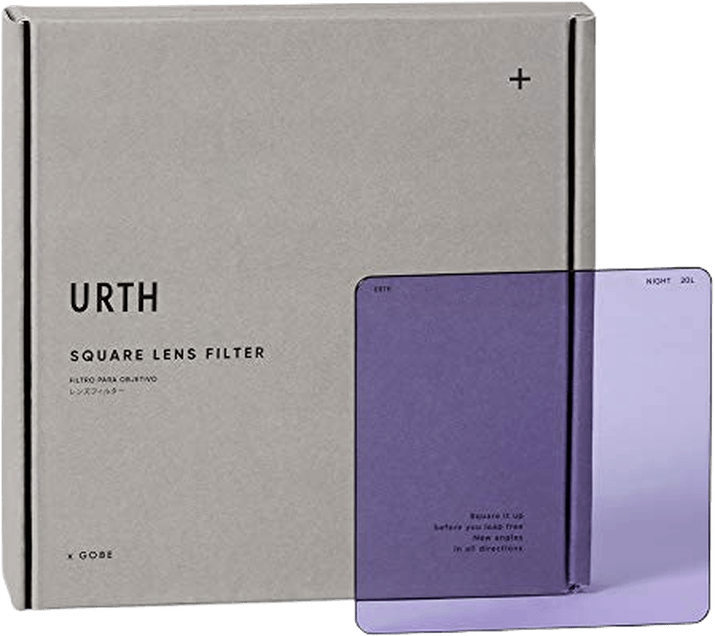
5. Urth Square Neutral Light Filter
| Brand |
Brand
Urth
|
| Filter Size |
Filter Size
100 x 100 mm
|
| Other Available Sizes |
Other Available Sizes
75 x 75 mm
|
| Other Key Features |
Other Key Features
Quality neodymium glass, 20-layer coating, water-repellent
|
| Best For |
Best For
Climate-conscious consumers who want a superb square filter
|
The Urth Square Neutral Light Filter is the same as the filter above, only square rather than circular. Like the previous Urth filter, it’s made with the finest Neodymium glass. The optical quality is superb. And you’re guaranteed sharper details when using this filter.
Like the Urth circular filter, it has a 20-layer nano coating for improved quality and protection. And, of course, Urth’s charitable donations also apply to this product. It’s nice to know your money is going towards building back green spaces.
The Urth Square Filter is a fragile piece of glass. But it comes with a handy protective case for easy storage and transportation. And you can choose the 100 x 100 mm or 75 x 75 mm filter.
Unfortunately, no holder or mount is included, so you must purchase them separately. Urth sells quality 100mm or 75mm square filter holders.
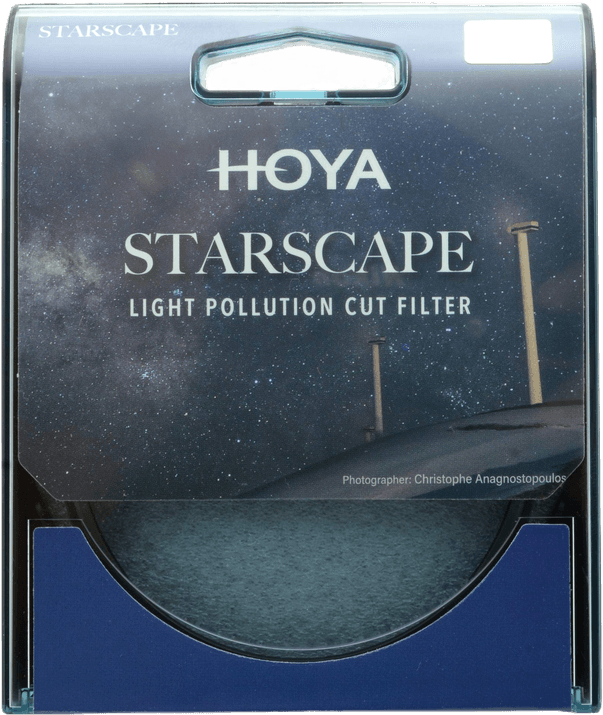
6. Hoya Starscape Light Pollution Filter
| Brand |
Brand
Hoya
|
| Filter Size |
Filter Size
77mm
|
| Other Available Sizes |
Other Available Sizes
49mm, 52mm 67mm, 72mm, 82mm
|
| Other Key Features |
Other Key Features
Multi-layer coating
|
| Best For |
Best For
Night sky photography
|
The Hoya Starscape Light Pollution Filter is a specialist filter for night sky photography. Whether you’re shooting the stars, the moon, or other astral objects, it gives you more clarity and sharper details.
Hoya has used the finest Japanese glass, so the optical quality is excellent. It blocks out yellow and green light, reducing the effect of street lights in your night sky images. And despite this blocking, you still get images with true-to-life color rendition.
The multi-layer coating also contributes to the sharp image quality. They’ve used several nano coatings, which reduce reflections and vignetting. And they protect the glass against smudging and scratching. The Hoya Starscape is an excellent light pollution filter for astrophotographers.
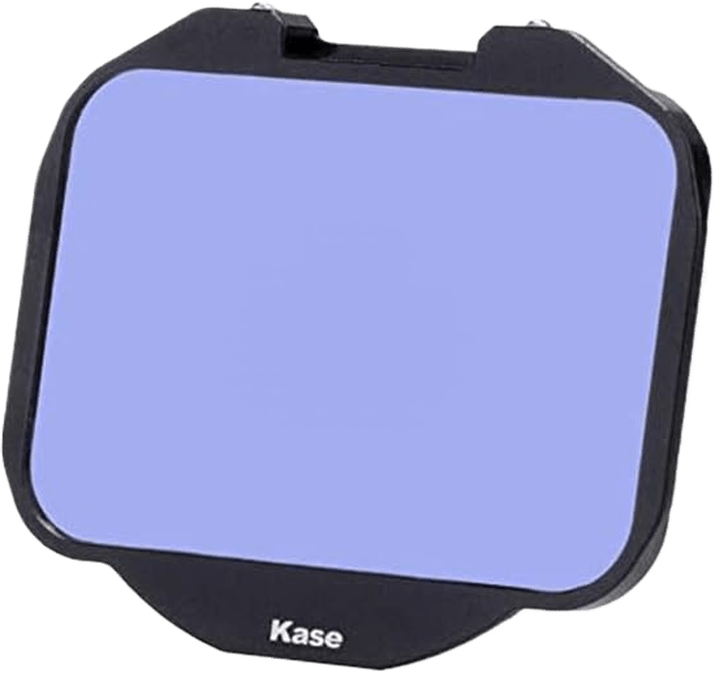
7. Kase Clip-In Neutral Night Filter
| Brand |
Brand
Kase
|
| Filter Size |
Filter Size
5 x 3 cm
|
| Other Available Sizes |
Other Available Sizes
None
|
| Other Key Features |
Other Key Features
Quality HD glass, water and oil-repellent coating, shock-resistant
|
| Best For |
Best For
Night shooters with a Sony camera
|
This Kase Neutral Night Filter has a unique clip-in design for Sony cameras. Rather than screw it on or sit it in front of the lens, this filter clips into the camera. It sits in front of the camera sensor, and you attach the lens on top as usual.
It’s compatible with Sony Alpha cameras, like the Sony a7R V. It fits perfectly in front of the sensor without rattling around or coming loose. And you can use it with any lens compatible with your camera. So, you can use it with any of Sony’s best FE lenses.
Made from pristine B270 optical glass, there’s no dip in image quality. Sonys have high-resolution camera sensors that pick up the slightest imperfection. But that’s not a worry with this filter. You get more clarity and sharper detail in your night sky images.
The glass also has a protective coating that’s oil- and water-repellent. It keeps the filter glass safe against external dangers. But it also helps to keep the sensor safe as well. The Kase Clip-In Filter is the best light pollution filter for Sony Alpha Series cameras.
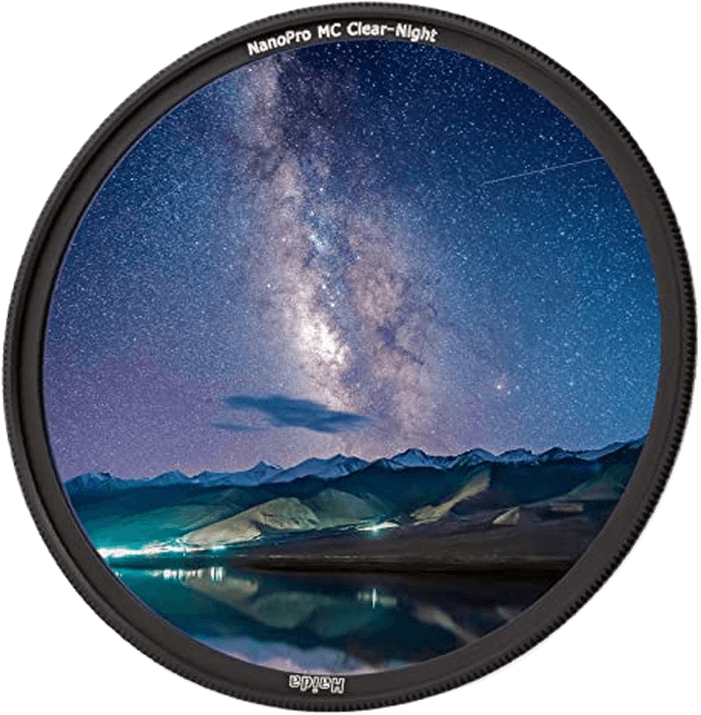
8. Haida Nano Pro Light Pollution Filter
| Brand |
Brand
Haida
|
| Filter Size |
Filter Size
67mm
|
| Other Available Sizes |
Other Available Sizes
52mm, 55mm, 58mm, 62mm, 72mm, 77mm, 82mm
|
| Other Key Features |
Other Key Features
Multi-layer nano coating, aluminum alloy frame
|
| Best For |
Best For
Night sky photographers looking for a simple and reliable filter
|
The Haida Nano Pro Light Pollution Filter is another fabulous option for nocturnal photographers. The outer frame is made of aluminum alloy, which is strong and durable. And the glass in the middle is of the highest optical quality.
The multi-layer nano coating is there for two reasons. First, it improves quality by reducing light reflections and other imperfections like lens flare. It also protects the glass, repelling water, and other damaging liquids.
It’s ultra-slim and lightweight, adding no bulk to your camera setup. And it comes with a hard plastic case for secure storage and transportation. You can also get the Haida Nano Pro filter in a range of sizes from 52 mm to 82 mm.
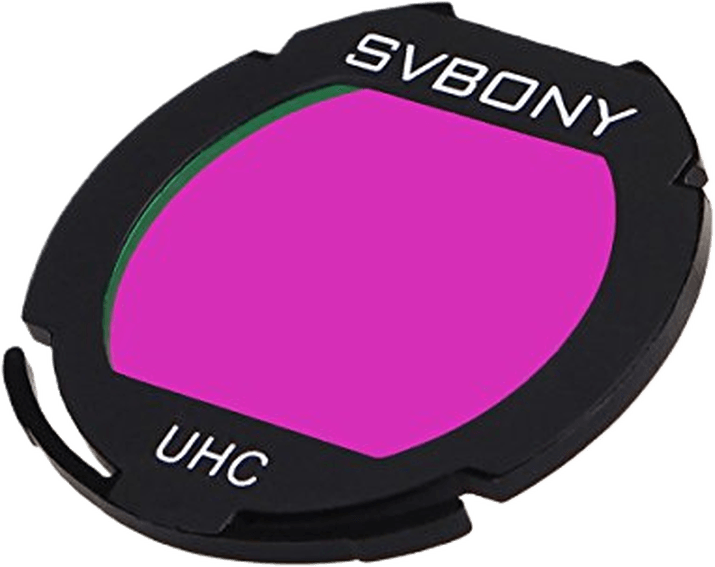
9. SVBONY EOS-C Light Pollution Clip-On Filter
| Brand |
Brand
SVBONY
|
| Filter Size |
Filter Size
1.25 inch / 32 mm
|
| Other Available Sizes |
Other Available Sizes
None
|
| Other Key Features |
Other Key Features
Multi-layer coating, aluminum frame, plastic case
|
| Best For |
Best For
Night sky photographers with a Canon DSLR camera
|
The SVBONY EOS-C Light Pollution Filter is like the Kase filter in that it clips into your camera. The difference is that this filter is compatible with Canon DSLR cameras with the EF lens mount (it is not compatible with EF-S cameras).
It sits in front of the camera’s sensor and improves image quality when shooting the night sky. It has an anti-reflection coating. And within the multi-layer coating, layers protect the glass against water, oil, and dirt. It’s handy because it also protects the camera’s delicate sensor.
The SVBONY EOS-C Filter is a tiny piece of equipment that adds nothing to your camera setup. Plus, it has a plastic carry case, making it easy to slip into your camera bag when traveling.
FAQs About the Best Light Pollution Filters
Light pollution filters can be tricky, especially if you don’t have much experience with camera filters. That’s why we’ve answered some of the most frequently asked questions. We hope this helps you find what you need.
What Do Light Pollution Filters Do?
Light pollution filters block certain light from passing through the filter into the camera. It mainly blocks artificial light and allows natural light to pass through. That means stars and other astrological objects show more clearly in your images.
Milky Way photography and astrophotography aren’t easy disciplines. And achieving optimal results is even more difficult if you’re shooting from a built-up urban area.
Streetlights and other artificial light sources create light pollution, obscuring your view of the stars. That’s why you don’t see many stars when you look up from a city. Even on a clear night, you’ll be lucky to glimpse just a handful of stars.
Light pollution filters block out the noise and allow you to see the night sky more clearly. They do this by blocking specific wavelengths of light.
Artificial light sources usually emit light from the yellow and orange areas of the visible light spectrum. Therefore, these filters block light waves from those areas of the spectrum while letting other light waves pass through.
These light pollution filters sit in the category of broadband light filters. That’s because they allow a broad section of the light spectrum through while only blocking a narrow portion. This means they reduce light pollution without dramatically reducing the color range in your night sky images.
Are Light Pollution Filters Only for Astrophotography?
Light pollution filters are most commonly used for astrophotography and Milky Way photography. But you can also use them for different types of photography. They are a great tool for nighttime cityscape photography.
Cityscapes often appear orange or yellow, and the glow can create a haze. A light pollution filter blocks the wavelengths from the yellow end of the light spectrum. This reduces the orange glow and sharpens light sources in the image. You get a clearer and sharper image.
You can also use neutral light filters for nighttime landscape photography. When you light a landscape artificially at night, the image is usually dominated by yellow and orange tones. The filter removes the yellow and orange tones, giving you a cleaner and whiter light. Your scene will look more naturally moonlit.
What Other Astrophotography Filters Are There?
There are many other types of filters astrophotographers use, and we list four below. To learn more, you can read our full article on the best astrophotography filters.
1. Narrowband Filters (UHC Filters)
We’ve seen that light pollution filters are a type of broadband filter. But astrophotographers also use narrowband or UHC filters. These work the opposite way, allowing only a narrow bandwidth of light. They transmit the main emission bands from nebulae while blocking all other light.
These are great for capturing deep-space images in pinpoint detail. And if that’s the type of filter you’re after, we recommend the Optolong EOS-C L-Enhance Dual Narrowband Filter. It’s a clip-in filter for Canon cameras.
2. Line Filters
Line filters are even more selective than narrowband filters. They are sensitive to only one emission line from the light spectrum. While UHC filters can be dual, tri, or quad-band, a line filter only transmits one band. We recommend the SVBONY H-Alpha Clip-in EOS-C filter.
3. Diffusion and UV Filters
Diffusion and UV filters are also useful for nighttime photography. They aren’t really used for deep-space photography. But they reduce noise and artificial light pollution when shooting at night. The Tiffen Diffusion Filter is a great option.
4. Solar Filters
Solar filters are also used to take pictures of the sun. You should never attempt to take a picture of the sun without a solar filter. Without one, you’ll break your camera sensor and blind yourself. The Thousand Oaks Polymer Solar Filter is your best option to capture the next solar eclipse.
What Camera Settings Do I Use With a Light Pollution Filter?
When taking pictures with a light pollution filter, there’s only one camera setting you need to worry about. And that setting is white balance. By reducing the bandwidth of light entering the camera, you must re-calibrate the white balance to ensure you still get true-to-life images.
Switch to manual if you’re using auto white balance (AWB). Every camera is different. That’s why different settings will work for different photographers. But somewhere between 700K and 1500K will give you the best results. Do a few test shots to find out what works. Make a note so you know for future shoots.
Always focus on infinity, especially if you’re using a clip-in filter. And you should also use a wide aperture on your lens. The max aperture isn’t always the best because you might get distortion at the edges. But you can drop one stop down for great results.
What Camera Equipment Do I Need With a Light Pollution Filter?
You always need a photography tripod when shooting the night sky. Light is limited, so you must work with slow shutter speeds or bulb mode. A shutter remote is also helpful in reducing camera movement completely.
Cameras with composite or high-resolution shot modes are great for astrophotography. The Olympus OM System OM-1 and the Fujifilm X-T5 have high-res modes that give you incredibly detailed images. If your camera doesn’t have this mode, you can create multi-exposure composites using photo editing software.
Conclusion: The Best Light Pollution Filter
If you’re in an urban area, street lights, and other light sources cause so much pollution it’s impossible to see the stars above. That’s why a light pollution filter is essential for anyone shooting the sky at night. It’s a must-have in your astrophotography tool kit. And you’ll definitely get better clarity and sharpness in your night sky images.
The K&F Concept Clear Natural Light Filter is the best light pollution filter. It’s available in many different sizes. The optical quality is exceptional. And the multi-layer coatings improve picture quality and protect the glass from wear and tear. It’s well worth the cost if you’re serious about nighttime photography.