
Finding the best lens for real estate photography has to be the top priority for any property photographer. Real estate photography poses a unique set of challenges. And finding the best lens goes a long way in overcoming those challenges.
Our top pick is the Canon EF-S 10-18mm USM lens. It’s a fantastic wide-angle zoom lens for Canon cameras. It delivers incredible results for interior and exterior shots for real estate photography.
Find the Perfect Lens For Real Estate Photography
This post has our recommendations for the best lens for real estate photography. We’ve included crop sensor and full frame lens options. And we have lenses for Canon, Nikon, and Sony users. We’ve also included some tilt-shift lenses for professionals.
Pick the right section below to find the lens you need:
Best Real Estate Lens for Crop Sensor Cameras
This section looks at the best real estate lenses for crop sensor cameras. These are also known as APS-C cameras. The sensors are smaller than those found in full frame cameras.
It’s important to use a lens designed for an APS-C camera. Some lenses are compatible with full frame and crop sensor cameras. But you get a 1.6x crop factor when you use a full frame lens on an APS-C camera. That means you can’t get the wide angle you need for real estate photography.
Wide-angle lenses are ideal for real estate photography. They allow you to capture wide shots in confined spaces. You can shoot entire rooms even when space is tight. A wide-angle zoom also gives you shot variety. You can capture different rooms of the house without having to change your lens every time.
- Fantastic 10mm focal length for wide-angle shots
- Built-in optical image stabilization for sharp images
- Excellent value for a wide-angle lens
- Compatible with Nikon F-mount DX cameras
- Lens contains Extra-Low Dispersion (ED) glass elements
- A good example of Nikon's dedication to lens quality
- 10mm focal length gives you fabulous wide-angle shots
- Optical image stabilization keeps images sharp
- Good compatibility with Fujifilm X-Series cameras
- Fabulous build quality from Tokina
- Wide focal length range for exteriors and interiors
- Near-silent and fast AF system
- Excellent value wide-angle lens
- The 10mm minimum focal length is perfect for interior real estate photography
- The 24cm minimum focus distance is great for close ups
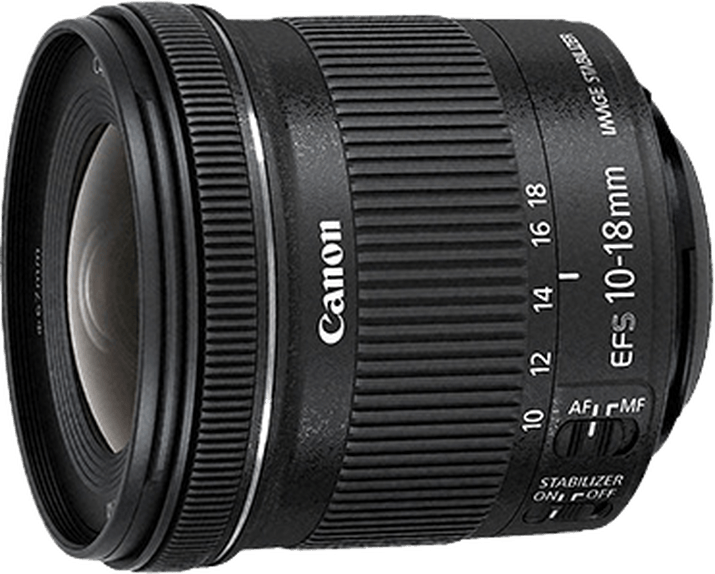
1. Canon EF-S 10-18mm f/4.5-5.6 IS STM
| Brand |
Brand
Canon
|
| Maximum Aperture |
Maximum Aperture
f/ 5.6
|
| Focal Length Range |
Focal Length Range
10-18 mm
|
| Image Stabilization |
Image Stabilization
|
| Minimum Focus Distance |
Minimum Focus Distance
22 cm
|
| Top Selling Points |
Top Selling Points
The 10mm wide-angle is perfect for tight interiors. The built-in stabilization gives you sharp images and it's an affordable real estate lens.
|
The EF-S 10-18mm is a good wide-angle lens for getting started with real estate photography. It is compatible with all of Canon’s APS-C DSLR cameras.
This lens has built-in optical image stabilization. It keeps your images sharp in low-light conditions. And the autofocus motor is fast and reliable for this type of photography.
The wide-angle image quality is superb. And the 22mm minimum focus distance means you can also get in close for detailed shots.
With pleasing results and a modest price tag, the Canon EF-S 10-18mm STM is an affordable way to get started with real estate photography.
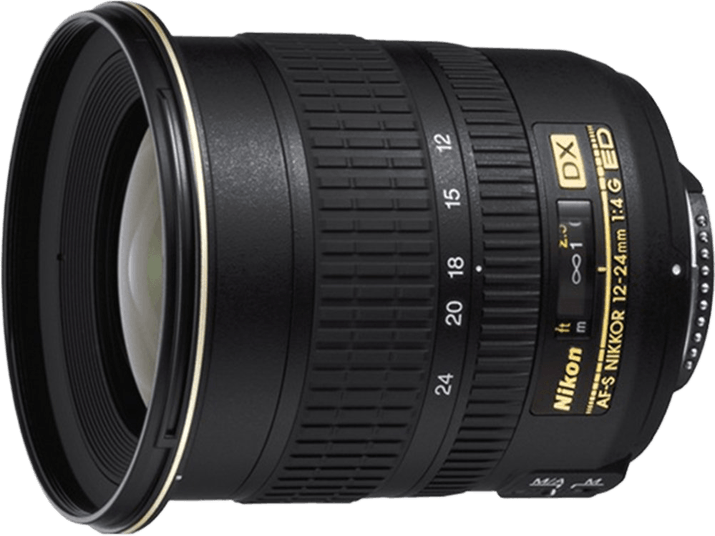
2. Nikon AF-S DX 12-24mm f/4.0 IF-ED
| Brand |
Brand
Nikon
|
| Maximum Aperture |
Maximum Aperture
f/ 4.0
|
| Focal Length Range |
Focal Length Range
12-24 mm
|
| Image Stabilization |
Image Stabilization
|
| Minimum Focus Distance |
Minimum Focus Distance
30 cm
|
| Top Selling Points |
Top Selling Points
Edge-to-edge clarity for distortion-free images. It's compatible with Nikon's APS-C DSLR cameras.
|
The Nikon AF-S DX 12-24mm f/4 is not the cheapest option on the list. But the build quality makes it the best lens for real estate photographers with a Nikon APS-C camera.
It’s compatible with all Nikon F-mount cameras with a DX sensor. These include everything from the Nikon D3500 to the Nikon D500.
Its focal range is ideal for real estate photography. It can handle broad exteriors or open-plan interiors. And the 11.8-inch (30 cm) minimum focus distance allows for creative composition in tighter spaces.
The chromatic aberration and distortion are kept at a minimum with two Extra-Low Dispersion (ED) glass elements. These special glass elements also improve the image quality further.
If you’re serious about real estate photography, then this Nikon wide-angle lens won’t disappoint. There’s no image stabilization, so you might need a tripod. But it’s a fantastic piece of equipment. And it’s one of the best lenses for real estate photography.
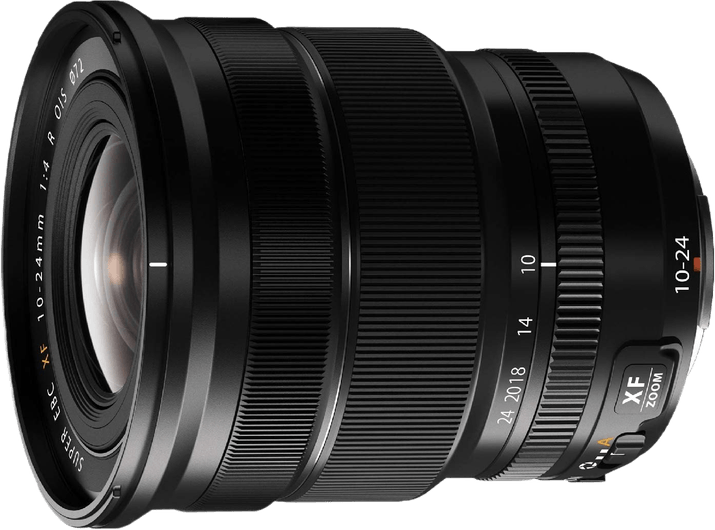
3. Fujifilm XF 10-24mm f/4
| Brand |
Brand
Fujifilm
|
| Maximum Aperture |
Maximum Aperture
f/ 4.0
|
| Focal Length Range |
Focal Length Range
10-24 mm
|
| Image Stabilization |
Image Stabilization
|
| Minimum Focus Distance |
Minimum Focus Distance
28 cm
|
| Top Selling Points |
Top Selling Points
Shoot broad shots in tight spaces with the lovely 10mm wide angle. The image stabilization and constant f/4 max aperture give you good low light performance.
|
Real estate photographers with a Fujifilm camera need this XF 10-24mm f/4 lens. It has a beautiful construction with excellent optical quality. And it has the perfect focal length range for interior and exterior real estate photography.
The 10mm minimum focal length helps you capture interior shots. You can add space and air to small, poky rooms. And you can adjust it up to 24mm for larger spaces and exterior shots.
Its optical image stabilization is fantastic for real estate photographers. It keeps your image sharp, allowing you more flexibility with settings. This is helped by the constant f/4 max aperture. And it means you can travel from property to property without a tripod.
This lens is compatible with all Fujifilm X-mount cameras. These include the Fujifilm X-T30 II and the X-T4.
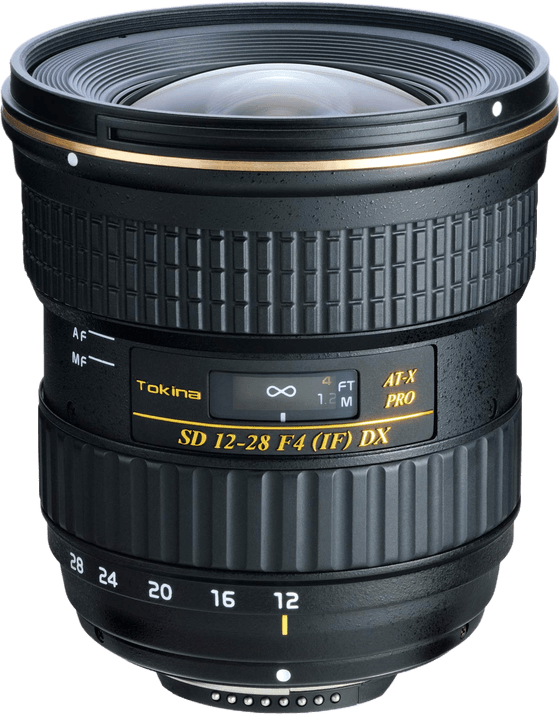
4. Tokina 12-28mm f/4.0 SD
| Brand |
Brand
Tokina
|
| Maximum Aperture |
Maximum Aperture
f/ 4.0
|
| Focal Length Range |
Focal Length Range
12-28 mm
|
| Image Stabilization |
Image Stabilization
|
| Minimum Focus Distance |
Minimum Focus Distance
25 cm
|
| Top Selling Points |
Top Selling Points
Excellent image quality for a third-party lens, but it's still an affordable option for Nikon and Canon users.
|
This Tokina 12-28mm f/4 SD lens is compatible with Nikon APS-C cameras with an F-mount. But you can also get a Tokina 12-28mm lens for Canon cameras. Whether for Nikon or Canon, it’s an excellent value real estate lens.
This is a fantastic real estate lens from Tokina. Third-party lenses have come a long way over the last few years. And companies like Tokina provide affordable and reliable alternatives.
The build quality is excellent. It has 14 glass elements in 12 groups for incredible image quality. And the SD filter helps to reduce signs of chromatic aberration.
The autofocus motor uses a silent drive model. It’s quick, responsive, and near-silent in operation. You also have a one-touch focus clutch, so you can revert to manual focus by turning the focus ring.
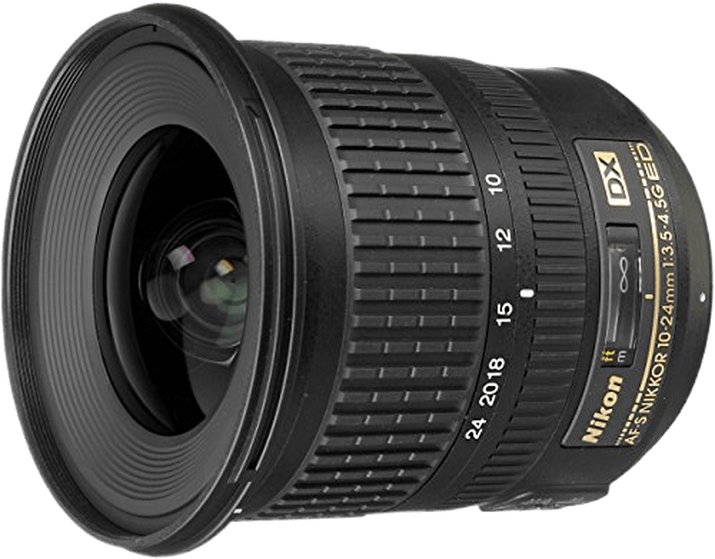
5. Nikon AF-S DX 10-24mm f/3.5-4.5G ED
| Brand |
Brand
Nikon
|
| Maximum Aperture |
Maximum Aperture
f/ 4.5
|
| Focal Length Range |
Focal Length Range
10-24 mm
|
| Minimum Focus Distance |
Minimum Focus Distance
24 cm
|
| Top Selling Points |
Top Selling Points
It's an ultra-wide angle option for Nikon users. The fast f/3.5 aperture is helpful in low light situations.
|
The AF-S DX 10-24mm f/3.5-4.5G is another ultra-wide-angle lens for Nikon APS-C cameras. It’s another fantastic option for real estate photography. And it’s a more affordable option than the previous Nikon lens.
The 10mm max minimum is perfect for interior shots, especially if you’re working in tight spaces. And the fast f/3.5 aperture gives you plenty of natural light to work with. You can turn those dingy dens into palatial lounges.
The autofocus is fast and reliable. And there’s a minimum focus distance of 9.4 inches (24 cm) for close-up shots around the property. The build quality is excellent, as you’d expect from Nikon. And you don’t need to worry about distortion. It’s a brilliant lens for property and real estate photography.
Best Real Estate Lenses for Full Frame Cameras
If you have a full frame camera, you’ll need a full frame lens. You can use adaptors if you want to use APS-C lenses with a full frame camera. But these can affect the quality of your images. And you need perfect quality for real estate photography.
Chromatic aberration and distortion can be a problem with wide-angle lenses. But good quality lenses keep these imperfections to a minimum. You can correct aberrations in Photoshop, but it’s a time-consuming process. Buying a good lens for real estate photography is the best solution.
- A brilliant partner for your full frame Nikon DSLR
- Superb optical quality from the 17 glass elements
- Nikon's vibration reduction image stabilizer
- Smooth optical image stabilization
- Beautiful 9-blade aperture diaphragm for smooth bokeh
- Excellent focal length range for interior and exterior shots
- Ultra-wide-angle for a full frame lens
- Precision engineering on the 17 glass elements
- Fast DDS AF motor
- Excellent value for a full frame lens
- Available for Nikon and Canon DSLR cameras
- Focus clutch mechanism gives you excellent focus control
- Sigma's best lens for real estate photography
- Incredible optical quality with no distortion
- Available for Nikon and Canon cameras
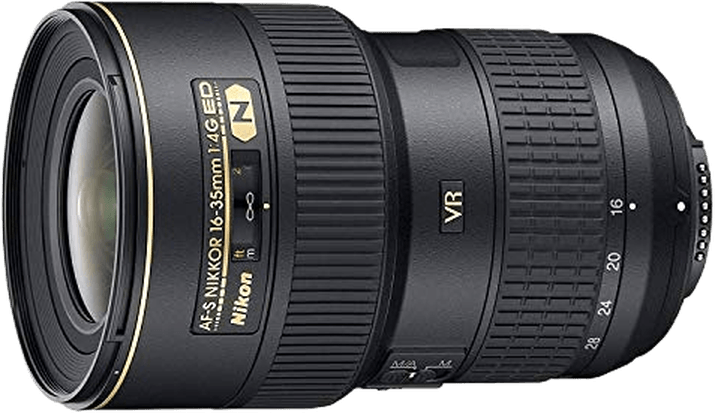
1. Nikon AF-S FX 16-35mm f/4 ED
| Brand |
Brand
Nikon
|
| Maximum Aperture |
Maximum Aperture
f/ 4.0
|
| Focal Length Range |
Focal Length Range
16-35 mm
|
| Image Stabilization |
Image Stabilization
|
| Minimum Focus Distance |
Minimum Focus Distance
29 cm
|
| Top Selling Points |
Top Selling Points
Nikon's vibration reduction system gives you sharper images. The glass quality reduces aberration to a minimum.
|
The AF-S FX 16-35mm f/4 is the best real estate photography lens for full frame Nikon cameras. It has a beautiful wide angle with a minimum 16mm focal length. That’s ideal for interiors. And the 35mm focal length is perfect for exterior property photography.
The lens is quite heavy at 1.5 lb (680 g). That’s because it houses 17 glass elements. These include two ED glass elements and three aspherical elements. And they have a nano-crystal coating to reduce flare and ghosting. The extra weight is worth the additional optical quality.
This lens has the Nikon vibration reduction image stabilization system. It counteracts camera shake, keeping your images sharp. That’s a handy feature if you’re working in low light. You can also leave your tripod at home.
The Nikon AF-S FX16-35mm f/4 gives you splendid results. It’ll take your real estate photography to the next level, increasing house viewing and sales. It’s an investment worth making for Nikon users.
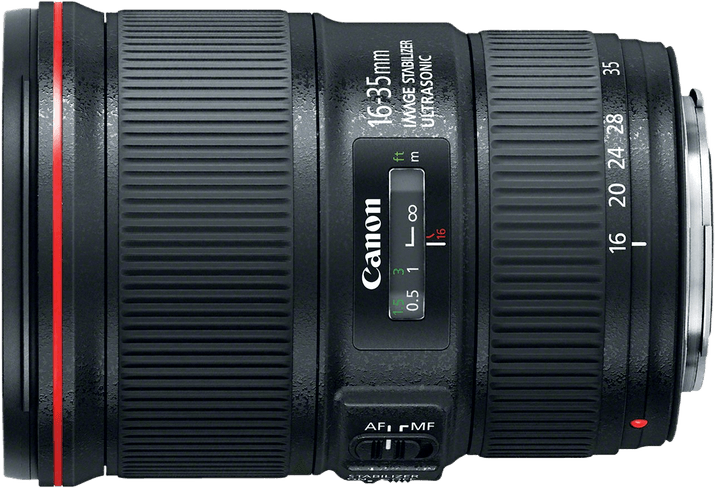
2. Canon EF 16-35mm f/4L IS USM Lens
| Brand |
Brand
Canon
|
| Maximum Aperture |
Maximum Aperture
f/ 4.0
|
| Focal Length Range |
Focal Length Range
16-35 mm
|
| Image Stabilization |
Image Stabilization
|
| Minimum Focus Distance |
Minimum Focus Distance
28 cm
|
| Top Selling Points |
Top Selling Points
You get three stops of shake compensation from the stabilizer. The 9-blade diaphragm gives you a lovely bokeh effect.
|
The EF 16-35mm f/4L is the best real estate lens for full frame Canon cameras. It’s from the Canon L series. And that means it’s one of their superior lenses. It also means a higher price. But it’s a price worth paying if you’re serious about real estate photography.
The 16-35mm range is ideal for real estate photography. It’s wide enough to capture even a small space in full. And the 35mm zoom is perfect for larger spaces when you want a tighter composition.
The built-in optical image stabilizer is a fantastic feature for property shooters. It gives you 3 stops of shake compensation. You won’t need a tripod and you’ll have more freedom with settings.
This Canon lens uses a 9-blade diaphragm rather than the usual 7. That gives you less flare and glare. And it helps create a smooth soft focus when using a shallow depth of field.
The EF 16-35mm f/4L is a beautiful lens from Canon. It’s the best option for real estate photographers using full frame Canon cameras.
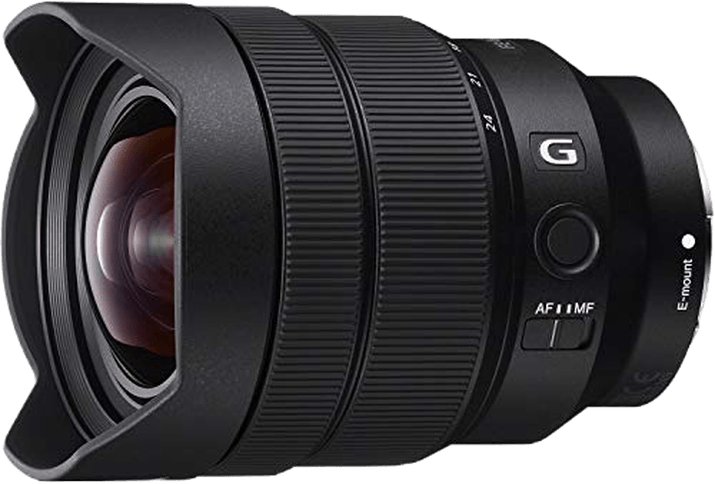
3. Sony FE 12-24mm f/4 G
| Brand |
Brand
Sony
|
| Maximum Aperture |
Maximum Aperture
f/ 4.0
|
| Focal Length Range |
Focal Length Range
12-24 mm
|
| Image Stabilization |
Image Stabilization
|
| Minimum Focus Distance |
Minimum Focus Distance
28 cm
|
| Top Selling Points |
Top Selling Points
Wide minimum focal length for a full frame lens. Superb optical quality and one of the best AF motors for fast focusing.
|
The Sony FE 12-24mm f/4 G is the ultimate real estate lens for Sony users. It’s the perfect partner for your full frame Sony camera. And it’ll be a huge step forward for your real estate photography career.
The 12-24mm focal length range is ideal for real estate. You’ll be able to capture interiors and exteriors without changing lenses. 12mm is the widest angle available in the Sony EF lens series. So it’s your best option for real estate photography.
The build quality is superb. And the 17 glass elements work together to give you an image free of imperfections. There’s no flare or ghosting at any focal length. You also get a constant f/4 aperture throughout the focal length.
There’s no image stabilization in the lens. But the direct drive supersonic motor drives a fast and silent autofocus system.
The Sony FE 12-24mm f/4 G is an example of precision engineering from Sony. With its widest focal length and supreme optical quality, it’s the best real estate lens for Sony photographers.
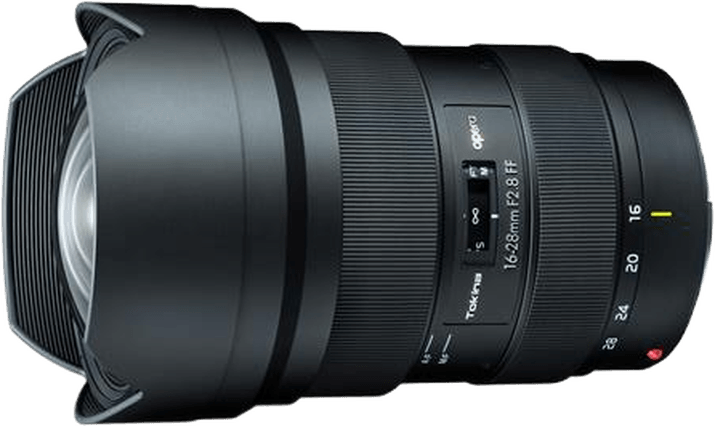
4. Tokina AT-X 16-28mm f/2.8
| Brand |
Brand
Tokina
|
| Maximum Aperture |
Maximum Aperture
f/ 2.8
|
| Focal Length Range |
Focal Length Range
16-28 mm
|
| Image Stabilization |
Image Stabilization
|
| Minimum Focus Distance |
Minimum Focus Distance
28 cm
|
| Top Selling Points |
Top Selling Points
The constant f/2.8 aperture gives you excellent low light performance. It's available for Nikon and Canon full frame DSLRs.
|
Don’t let the third-party name tag put you off. The Tokina AT-X 16-28mm f/2.8 is excellent for real estate photography. It gives you options for interior and exterior shots. It’s available for Nikon and Canon full frame cameras. And it’s an absolute bargain.
The image quality is sharp throughout the focal length. And you can’t complain about the glass quality. It is quite a heavy lens. But that’s due to the 17 glass elements housed within. They also have a special multi-coating to help reduce flare, glare, and ghosting.
The f/2.8 aperture is fast for a wide-angle zoom lens. It gives you plenty of natural light to work with, helping brighten dark and dim rooms.
The autofocus is very reliable. And there’s a focus clutch mechanism. This allows you to switch from auto to manual focus by turning the focus ring.
The focal length range is exactly what you need for real estate photography. The 16mm focal length gives you the wide angle you need for interior photography. And you have the range for shooting every room in the house without changing the lens.
The Tokina ATX 16-28mm f/2.8 is available for Nikon FX and Canon EF cameras. It’s an affordable option for a budding real estate photographer.
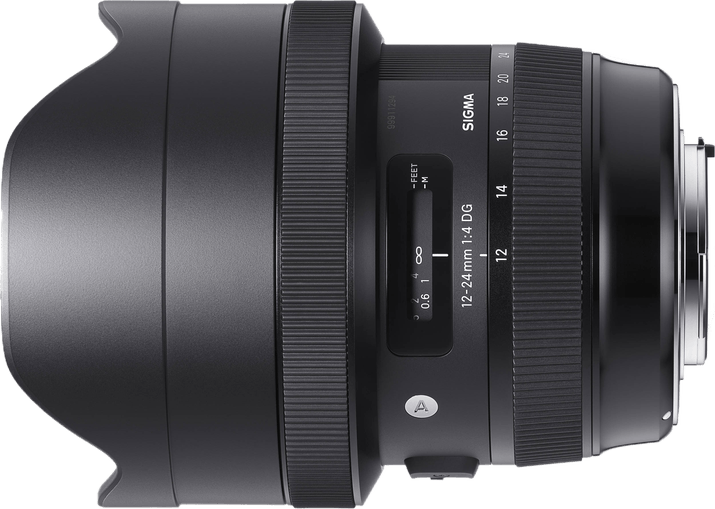
5. Sigma 12-24mm f/4 DG HSM Art Lens
| Brand |
Brand
Sigma
|
| Maximum Aperture |
Maximum Aperture
f/ 4.0
|
| Focal Length Range |
Focal Length Range
12-24 mm
|
| Image Stabilization |
Image Stabilization
|
| Minimum Focus Distance |
Minimum Focus Distance
24 cm
|
| Top Selling Points |
Top Selling Points
Excellent zoom range for interiors and lovely optical quality. It's available for Nikon and Canon cameras.
|
The Sigma Art lens series has changed the way people see third-party lenses. They aren’t there to make up the numbers. Now they’re true contenders. And the Sigma 12-24mm f/4 Art lens is a contender for the best lens for real estate photography.
The lens performs beautifully throughout its focal length. The image quality is a delight. And you’ll experience practically zero distortion or aberration.
It has 16 glass elements arranged in 11 groups. That makes it a heavy lens. But it includes low-dispersion glass that reduces imperfections even more.
The Art lens uses Sigma’s Hypersonic Motor (HSM) for it’s autofocus system. It’s one of the best AF systems around. And it gives you smooth, quick, and quiet focus.
The Sigma 12-24mm f/4 Art lens is available for Nikon and Canon full frame DSLR cameras. It’s a beautiful piece of equipment. And exactly what you need if you’re serious about real estate photography.
Best Tilt-Shift Lenses for Real Estate Photography
Tilt-shift lenses are specialty lenses. They’re made primarily for shooting building exteriors or anything with strong vertical lines.
With a tilt-shift lens, you can keep your camera perfectly level. And then you can adjust the upward and downward composition of your shot by raising or lowering the optics of the lens.
The real benefit is that the tilt-shift lens keeps all the vertical lines vertical. So it solves any aspect, perspective, or distortion problems in-camera. But is a tilt-shift the best lens for real estate photography?
Tilt-shift lenses are a bit on the pricey side. And they weren’t created specifically with real estate photography in mind. But more and more real estate photographers are turning to tilt-shift lenses. And more often than not, they aren’t turning back.
In the long term, a tilt-shift camera can save time and money because so little work is needed in post-production. The lens makes the corrections before the picture is even taken.
A tilt-shift lens is an investment for your real estate photography business. They’re overkill for amateurs. But they’re an incredible tool for professional real estate photographers.
- Excellent value for a tilt-shift lens
- Ideal for architectural photography
- Super-wide 93-degree viewing angle
- Glass elements have Nano Crystal and Fluorine coating
- Incredible perspective control with tilt and shift features
- Nikon's best lens for architectural photography
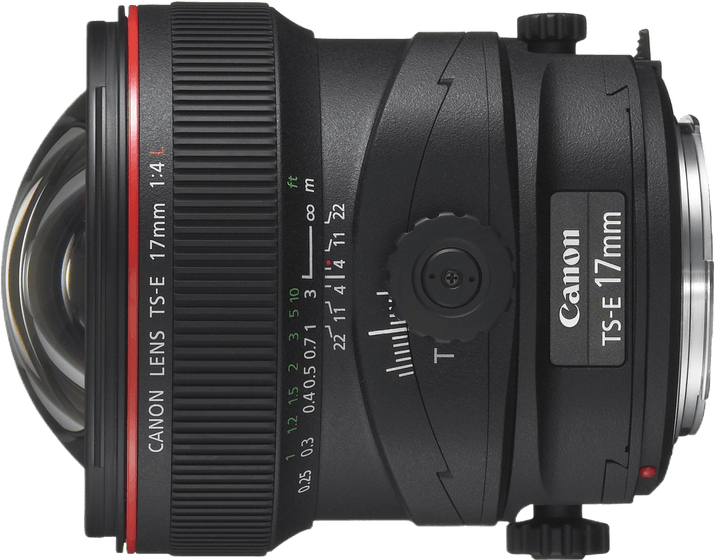
1. Canon TS-E 17mm f/4 L
| Brand |
Brand
Canon
|
| Maximum Aperture |
Maximum Aperture
f/ 4.0
|
| Focal Length Range |
Focal Length Range
17 mm
|
| Minimum Focus Distance |
Minimum Focus Distance
25 cm
|
| Top Selling Points |
Top Selling Points
Full perspective control with the tilt and shift options. You get a wide 93-degree angle of view.
|
Canon’s 17mm f/4 L lens is the widest-angle tilt-shift lens you can find. The build quality is fantastic. And the tilt and shift operations work like magic. It’ll transform the way you shoot real estate photography.
This lens offers an angle of view of 93 degrees, which is ideal for interiors and cramped exteriors. And the specially coated glass minimizes chromatic aberration. The result is crystal clear, glare-free images.
The lens isn’t cheap. But it’s the perfect piece of equipment for architectural photography. The optical results are incredible. And once you start using one, you won’t know how you lived without it.
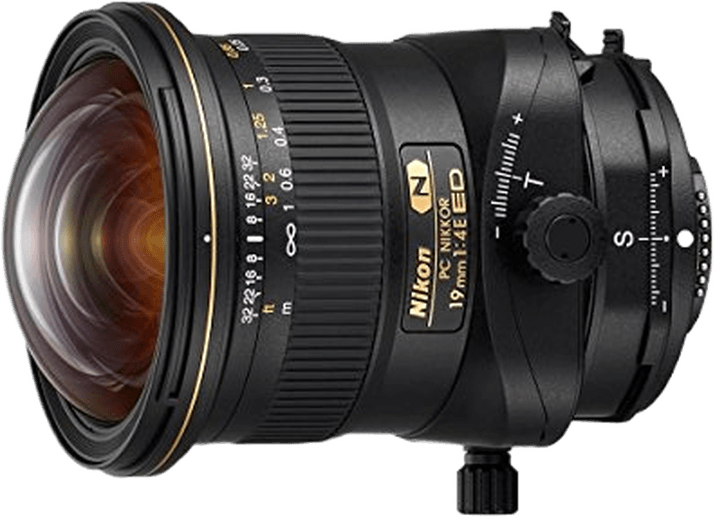
2. Nikon PC 19mm f/4 E ED
| Brand |
Brand
Nikon
|
| Maximum Aperture |
Maximum Aperture
f/ 4.0
|
| Focal Length Range |
Focal Length Range
19 mm
|
| Image Stabilization |
Image Stabilization
|
| Minimum Focus Distance |
Minimum Focus Distance
25 cm
|
| Top Selling Points |
Top Selling Points
Full perspective control with the tilt and shift options. Incredible optical quality with no distortion or ghosting.
|
The Nikon PC 19mm f/4 is a masterpiece in precision lens building. It doesn’t come cheap. But for build and image quality, not much comes close.
It uses 17 glass elements. These include three ED and two aspherical glass elements. And each has a Nano Crystal or fluorine coating. You’ll find no signs of distortion or ghosting, even at the very edges of the image.
The 19mm focal length gives you the wide angle that real estate and architectural photographers need. And the tilt and shift capabilities redefine the possibilities. You have maximum perspective control.
The Nikon PC 19mm f/4 is for professional real estate and architectural photographers. The price will be a turnoff for amateurs. But professionals will see it as an investment worth making.
Our Verdict
The best real estate photographers need the best lens for real estate photography. The Canon EF-S 10-18mm f/1.8 USM is our top pick for the best real estate lens. It’s compatible with APS-C cameras. And it’s an absolute bargain wide-angle zoom lens.
The Nikon AF-S FX 16-35mm f/4 is the best real estate lens if you’re using a full frame DSLR camera. And the Canon EF 16-35mm f/4 L is perfect for full frame Canon users. You can also go for a tilt-shift lens if you’re serious about architectural photography.
Finding the best lens for real estate photography is the first step on the road to professionalism. You’ll see improved results immediately. And you’ll know that the best lens for real estate photography is money well spent.