Street photography is all about capturing life as it happens. And to do that, you need the right gear. So what is the best lens for street photography?
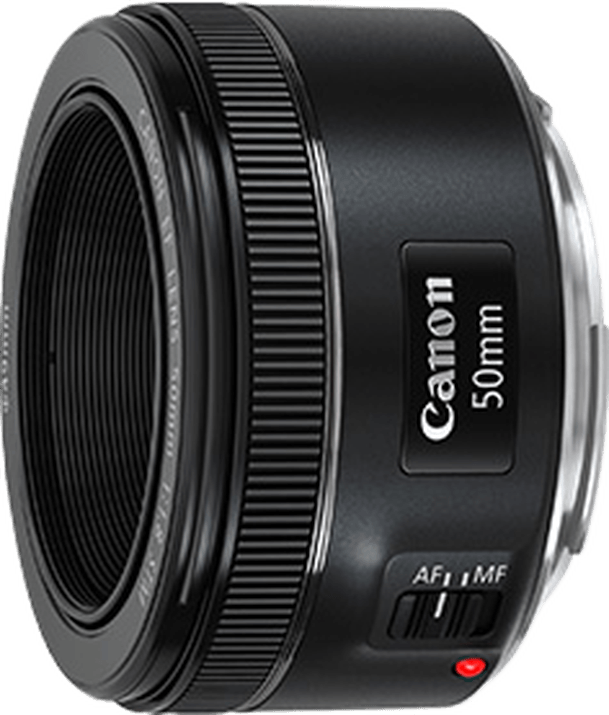
There are a lot of different factors to consider when choosing a lens for street photography. But the most important thing is to choose a lens that is fast and versatile. A lens like the Canon EF 50mm f/1.8 STM Lens is a great option because it is both fast and lightweight.
The Seven Best Lens for Street Photography
So what are the best lenses for street photography? There are many camera lenses out there worthy of comparison. Here you’ll see a selection of the best and some different focal length options you could try.
- Very cheap for high quality optics
- Fast f/1.8 maximum aperture
- Very quiet STM AF motor
- Very compact and light
- Inexpensive prime lens
- Fast and accurate AF
- Good bokeh
- Compact and lightweight
- Nice and fast f/2.8 maximum aperture
- Neat, unobtrusive general purpose lens
- Ultra-sharp corner-to-corner images
- Super bokeh
- Exceptionally sharp edge-to-edge
- Solid, all-metal construction
- Aperture ring
- Wonderful bokeh
- Good value lens
- Fast f/1.4 maximum aperture
- Impressive sharpness
- Available for Canon, Nikon and Sony
- Fast aperture at 24mm
- Sharp with good contrast
- 1:2 reproduction ratio from 35mm to 85mm
- Good everyday standard lens
- Constant f/2.8 maximum aperture
- Up to 5 stops IS
- Panning detection for IS
- Weather-sealed
The Best Lenses for Street Photography Ranked
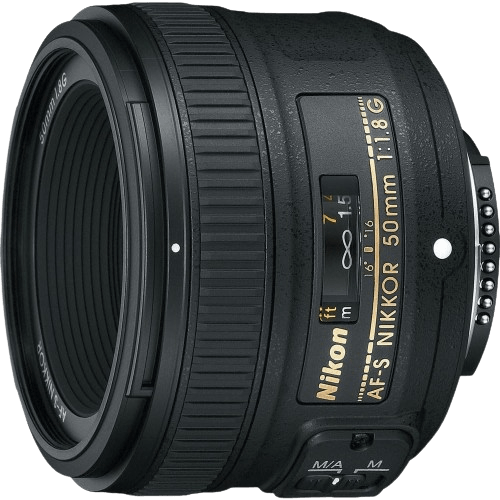
1. Canon EF 50mm f/1.8 STM
| Brand |
Brand
Canon
|
| Lens Mount |
Lens Mount
Canon EF
|
| Lens Type |
Lens Type
Prime Lens
|
| Focal Length Range |
Focal Length Range
50 mm
|
| Maximum Aperture |
Maximum Aperture
f/ 1.8
|
| Why it's great for street photography |
Why it's great for street photography
It's unobtrusive and works well in low light. Ideal for the street.
|
This camera lens is built on previous incarnations of the Canon 50mm f/1.8. It has a more robust build and is a move away from the more plastic design of the older lenses. Most notably, the mount is now metal. And this is the part that takes a beating whenever you put the lens on or take it off.
The look and feel of this lens are excellent and it delivers terrific photos as well. It’s a winning combination of ease of use, quality, and price.
Features to consider:
- Minimum focal distance of 0.35m
- Better bokeh produced by a rounded seven-blade diaphragm
- The best value for money of 50mm lens
- Compact and lightweight design
2. Nikon AF-S FX 50mm f/1.8
| Brand |
Brand
Nikon
|
| Lens Mount |
Lens Mount
Nikon F
|
| Lens Type |
Lens Type
Prime Lens
|
| Focal Length Range |
Focal Length Range
50 mm
|
| Maximum Aperture |
Maximum Aperture
f/ 1.8
|
| Why it's great for street photography |
Why it's great for street photography
It's small, super-sharp, and produces superb bokeh.
|
I’m a Canon user, so in the interest of those who use Nikon, here is a 50mm camera lens that they produce. The Nikon 50mm f/1.8G gives excellent results, works well in low light, and results in an attractive blurred background when you use a large aperture.
It’s not big and bulky. Although in the battle of the budget lenses, this one is a little more expensive than the Canon.
Features to consider:
- Great in low light
- Produces a beautiful blurred out background for artistic effect
- If you’re a Nikon user, this offers a great value
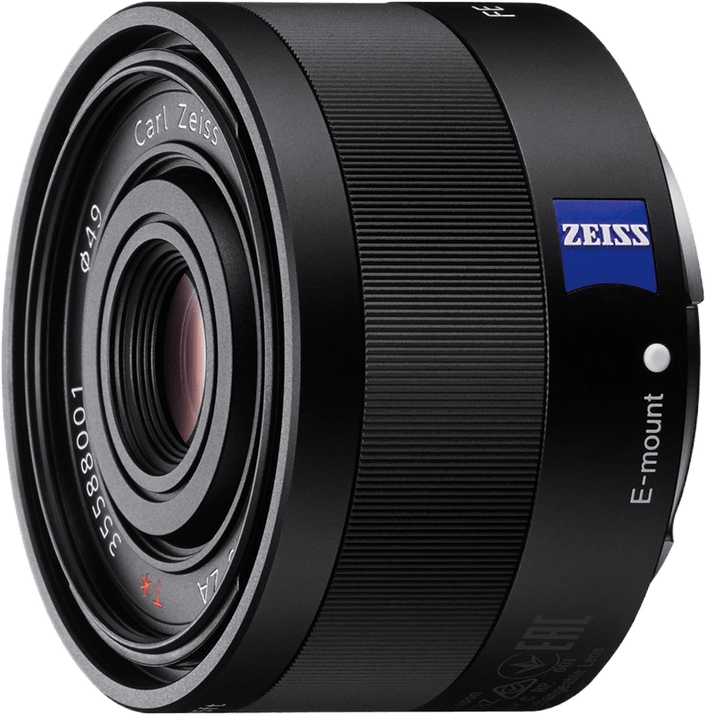
3. Sony FE 35mm f/2.8
| Brand |
Brand
Carl Zeiss
|
| Lens Mount |
Lens Mount
Sony E
|
| Lens Type |
Lens Type
Prime Lens
|
| Focal Length Range |
Focal Length Range
35 mm
|
| Maximum Aperture |
Maximum Aperture
f/ 2.8
|
| Why it's great for street photography |
Why it's great for street photography
Small and lightweight, this lens combines well with a mirrorless camera to help you remain unobtrusive.
|
The Sony FE 35mm f/2.8 is a small lens that packs a big punch for street photography. It features Carl Zeiss optics, which means it produces impeccably sharp images. Its maximum aperture is f/2.8. That’s still a bit small as opposed to the f/1.4-f/1.8 options. Nonetheless, it creates creamy bokeh and works well, even in low-light conditions.
Features to consider:
- Light and compact
- Quick and silent focusing
- Compatible with Sony APS-C and full frame cameras
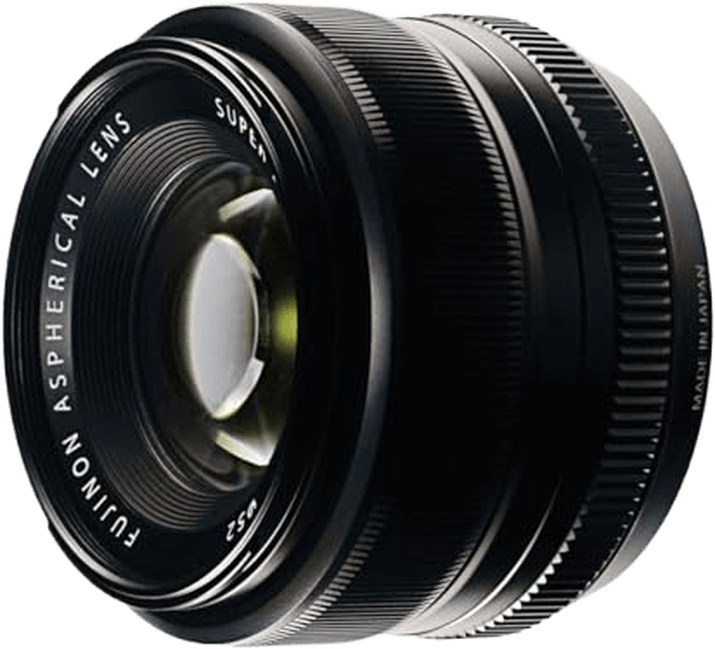
4. Fujifilm XF 35mm f/1.4 R
| Brand |
Brand
Fujifilm
|
| Lens Mount |
Lens Mount
Fujifilm X
|
| Lens Type |
Lens Type
Prime Lens
|
| Focal Length Range |
Focal Length Range
35 mm
|
| Maximum Aperture |
Maximum Aperture
f/ 1.4
|
| Why it's great for street photography |
Why it's great for street photography
Superb optics in a strong, metal body. Easy to carry all day and remain unnoticed.
|
Most regular 35mm lenses are prone to distortion. But the Fujifilm XF 35mm does a great job of minimizing spherical aberrations and distortion.
With a maximum aperture of f/1.4, this is one of the fastest lenses on this list. Apart from the beautiful bokeh it produces, it also performs well in low light. So it’s a no-brainer to use this for taking nighttime street photos!
Features to consider:
- The simple and compact design makes it easy to use and store
- Features a rounded 7-blade aperture for creating beautiful bokeh
- Super EBC coating on lens produces reduces flare
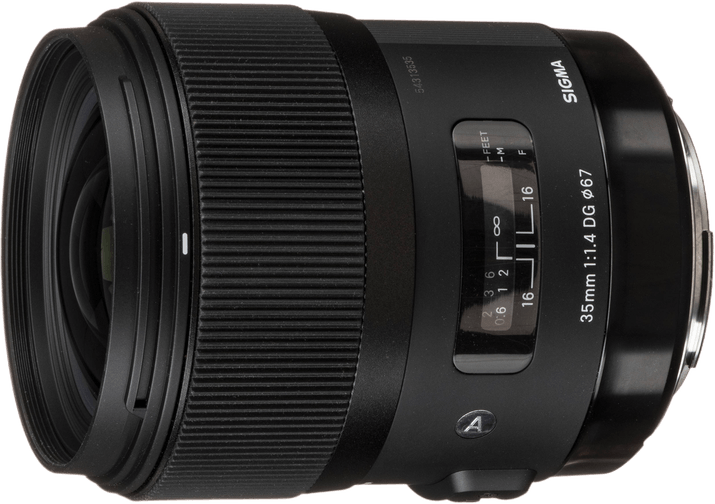
5. Sigma 35mm f/1.4 Art DG HSM
| Brand |
Brand
Sigma
|
| Lens Mount |
Lens Mount
Nikon F
|
| Lens Type |
Lens Type
Prime Lens
|
| Focal Length Range |
Focal Length Range
35 mm
|
| Maximum Aperture |
Maximum Aperture
f/ 1.4
|
| Why it's great for street photography |
Why it's great for street photography
For the money, you won't get a much sharper f/1.4 35mm lens for your camera.
|
The Sigma 35mm f/1.4 Art lens comes with a mid-range price tag compared to the other lenses discussed here. So how does this compare to the L-series lenses? Very well, in fact. It produces results that are sharper than its Canon counterparts.
This makes this an excellent lens for street photography. With an aperture of f/1.4, it’s going to perform very well in low light.
You’re unlikely to open the aperture up to its largest setting in most conditions. The depth of field will simply be too shallow.
Are you looking for a lens that gives excellent street photos and on multiple camera bodies? This could be the best lens for street photography for you.
Features to consider:
- Available in multiple mounts including Canon, Nikon, and Sony
- Produces beautiful bokeh without sacrificing sharpness
- Neat, modern design makes it easy to use
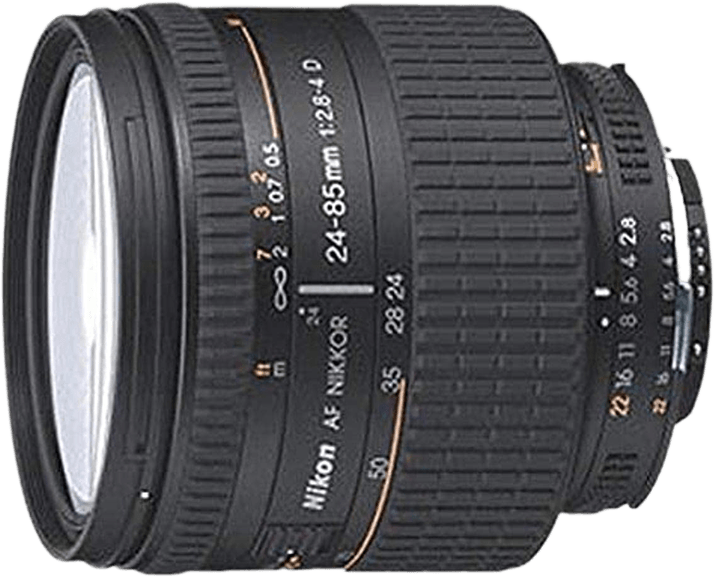
6. Nikon AF FX 24-85mm f/2.8-4D IF
| Brand |
Brand
Nikon
|
| Lens Mount |
Lens Mount
Nikon F
|
| Lens Type |
Lens Type
Zoom Lens
|
| Focal Length Range |
Focal Length Range
24-85 mm
|
| Maximum Aperture |
Maximum Aperture
f/ 4.0
|
| Why it's great for street photography |
Why it's great for street photography
This lens has a really useful range of focal lengths for capturing street scenes.
|
The Nikon AF FX 24-85mm f/2.8-4 is the Swiss Army knife for photographers. It has an excellent focal length range that allows you to shoot in any situation. And it has a maximum aperture of f/2.8 even though it’s a zoom lens. In contrast, most other zoom options have a maximum aperture of f/3.5.
One of its more remarkable features is that it has a macro function. It has a 2:1 ratio, which isn’t a true macro. But it works well if you need to take a quick close-up of objects.
Features to consider:
- It’s a professional lens with a robust build that can handle rough tumbles
- One of the most affordable zoom lenses in Nikon’s line
- Sharp, consistent quality from 24mm to 85mm
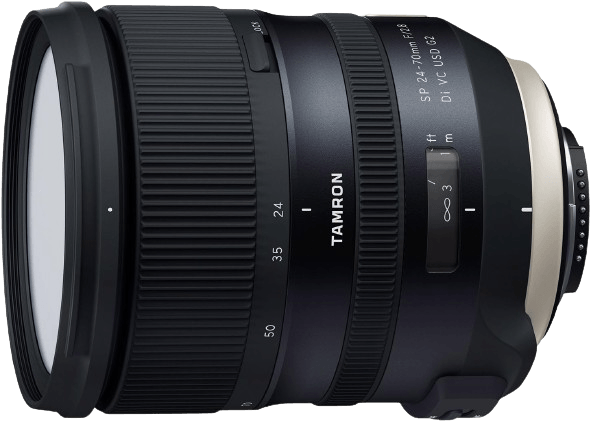
7. Tamron 24-70mm f/2.8 Di VC USD
| Brand |
Brand
Tamron
|
| Lens Mount |
Lens Mount
Nikon F
|
| Lens Type |
Lens Type
Zoom Lens
|
| Focal Length Range |
Focal Length Range
24-70 mm
|
| Maximum Aperture |
Maximum Aperture
f/ 2.8
|
| Why it's great for street photography |
Why it's great for street photography
The fast f/2.8 aperture and up to five stops of IS mean that low light is less of a problem.
|
For third party lenses, Tamron’s 24-70mm is the perfect option. It’s compatible with Canon, Nikon, and other major camera manufacturers. This model has one of the most effective vibration compensation. It lets you shoot up to 5 stops without motion blur.
We should also mention that it has a silent AF motor. Even if you’re shooting video, you won’t hear any noise coming from the barrel.
Features to consider:
- Aperture diaphragm has 9 rounded blades for smooth bokeh
- Maximum aperture is f/2.8, making it perfect for low-light situations
- The moisture-resistant body allows for shooting in demanding
What’s Best, Prime or Zoom Camera Lenses?
When it comes to choosing the best lens for street photography, there are two main types. You have zoom lenses that can change the focal length. Then there are prime lenses that have a fixed focal length.
There are arguments for using both these types of lenses in taking street photos. So let’s look at these lens types in more detail.
Zoom Camera Lens
A zoom lens is a general-use type of camera lens. The big selling point is the ability to change focal length without changing your lens.
There are various types of zoom lenses. The common ones are the 18-55mmMany entry-level DSLRs come with a kit lens, like this Canon EF-S 18-55mm. Another popular zoom is the 70-200mm or 70-300mm, and you’ll find this at both the consumer level and pro.
Many of you may even have come across the superzoom. This type of zoom lens allows you to go from 18-300mm.
Those new to photography are likely to start with the 18-55mm lens combination. It is possible to get beautiful street photos with them.
So does the zoom’s versatility make it the best street photography lens? Let’s find out in the next section below!
Pros and Cons of Using Zoom Lenses
Like any other piece of equipment, zoom lenses have advantages and disadvantages. Let’s go through the pros and cons to see if these are the perfect optics for you.
Pros
- Affordability – Most zooms (especially your kit lens) are cheaper than prime lenses. If you don’t have the budget to buy several street photography lenses, then this is the best choice for you.
- Ease of use – The concept of a zoom lens is easy to understand. It lets you capture wide shots to close-ups with a twist of the lens barrel.
- Versatility – You don’t have to change lenses all the time to capture the image you want. A standard zoom lens is equivalent to three or four prime lenses.
Cons
- Perspective – Focal length can dramatically change your perspective. Do you use your zoom lens to zoom in on a subject while shooting street photography? If you do, you’re compressing the scene. And it can’t include other outside elements besides your main point of interest.
- Lack of interaction – One of the best street photography tips is learning how to interact with your subject. Unfortunately, that can be difficult if you’re only zooming in to take photos.
- Loss of quality – Using a zoom lens allows you to change the focal length on a whim. However, they often come with compromises such as variable aperture or poor image quality and sharpness. Distortion, chromatic aberration, and vignetting can also easily be an issue with the zoom alternatives—especially compared to prime lenses.
Although zooms have a few disadvantages, they’re not as bad as some people think. They’re the best choice if you don’t want to fumble with lenses too much. It’s also a great option if you don’t have a collection of optics. If you’re willing to work around their limitations, they can produce great results.
Prime Lenses
These types of lenses only have one focal length. To make it simple to understand, think of them as non-zoom lenses.
There are plenty of options for primes out there. The most popular ones include 35mm and 50mm. These focal lengths closely match what you see with your eyes in real life.
But of course, the focal lengths don’t just stop at 50mm. You can go as wide as 10mm all the way to a telephoto of 800mm or more.
A lot of street photographers like to use prime lenses because of their size. Their optics are also better than average zooms.
So, do you think prime lenses are the best option for you? Let’s look at their pros and cons below to find out!
Pros and Cons of Using Prime Lenses
Pros
Aperture – The aperture advantage of a prime lens is enormous. The quality of the glass is also much better. You’ll be able to photograph at f/1.2 with some lenses if you wish.
Low light – That huge aperture is a great advantage when photographing in low light. Street photography after dark is moody and atmospheric, and the best lens to capture this is a prime lens.
Bokeh – The large aperture also comes with another benefit—bokeh. Using bokeh in street photography is undoubtedly an advantage.
Cons
- Fixed focal length – The most apparent issue with prime lenses is that they don’t let you zoom in. If you need to take close-ups, you need to get close to your subject.
- Not as user-friendly – Beginners are used to zooming in all the time. That’s why most of them need time to practice using a prime lens. Not to mention, they have to constantly dismount and change their lenses in the field if they want to capture a different perspective.
- Expensive – The 35mm and 50mm are relatively affordable. But most other prime lenses can cost a whole lot more than a standard zoom lens.
Do you think prime lenses are right for you? As you build your career as a photographer, you should consider buying a few primes. Although modern zoom lenses produce incredible results, there are some things that only a prime lens can do.
Feel free to start with the 50mm lens because it’s cheap. You can get one for less than two hundred dollars! After all, one of the tips on street photography involves using a 35mm or 50mm for optimal results. Once you try it, you’ll see the difference in quality right away!
The Best Focal Length for Street Photography
The majority of street photographers will tell you that 50mm is ideal. Why? Because it strikes a great balance between capturing the subject and their surroundings. And as we mentioned before, it closely replicates what we see with our eyes.
Is this true, and are there any alternatives you can try?
NB: Depending on the type of camera you have, you may need to apply a crop factor to these focal lengths
A full frame camera gives you 1:1 in terms of focal length, so 35mm is 35mm. A lens with a crop factor will mean adjusting the focal length. So if your crop factor is 1.6, your 35mm lens is behaving like a 60mm lens.
- 35mm – Those with crop sensors often use this lens. It then becomes closer to the ideal 50mm focal length. It’s also a favorite of full frame users as well. It’s an ample frame size that allows you to capture enough of the scene without needing to step back too much.
- 50mm – This focal length isn’t everyone’s favorite, primarily if you’re not used to using it. The more experience you gain, though, the more this lens will seem best suited to street photography. This lens also offers a perspective close to what the human eye sees.
- Wide-angle – Do you want to get more story into your photo? Then consider wide-angle lenses. You might not want to go as wide as a fisheye, but a wide-angle can be fun as long as you control the distortions.
- Long focal length – Do you prefer a tighter crop? Longer focal lengths will compress the scene. And they also allow you to stand further back so you’re less noticeable. Something like this Canon EF 135mm f/2L is a great camera lens if you want something slightly longer.
How about zoom lenses? Is there a perfect focal length range for them? There are plenty of options out there depending on what you need. Let’s take a look at a few of them.
- 18-55mm – This is the most common focal length range for kit lenses. It offers a good variation from wide to zoom. But in general, they also have the most inferior quality when it comes to optics. Nonetheless, they’re the right choice if you’re on a budget.
- 24-70mm – You can consider this the kit lens for professional photographers. They’re much more expensive than the 18-55mm option, but they also provide better quality.
- 12-24mm – Need a speciality zoom lens that takes ultra-wide-angle shots? Then this a great option to consider. It lets you take photos in small spaces without any issues.
- 24-105mm – If you genuinely want an all-in-one lens, then this is the option we recommend. It can take both wide-angle shots and telephoto images. The downside is that they’re bulky and the image quality it produces is often inconsistent.
- 70-200mm – This is a legitimate telephoto zoom lens that lets you take close-up shots. It’s also one of the cheapest you can buy that’s not a kit lens.
Looking for the best presets for street photography? Check out our Preset Collection!
Conclusion
There are several factors you’ll need to think about when choosing the best lens for street photography. You should consider the weight, features, price, and most importantly, quality.
For us, this nifty-fifty from Canon comes out on top. The focal length is versatile for street shooting. The optical quality is excellent. And you can’t complain about the price.