Wildlife photography is as demanding of gear as it is of skills. So choosing a camera for wildlife photography can be tough. If you’re determined to try your luck in it, you want to get the best wildlife camera possible.
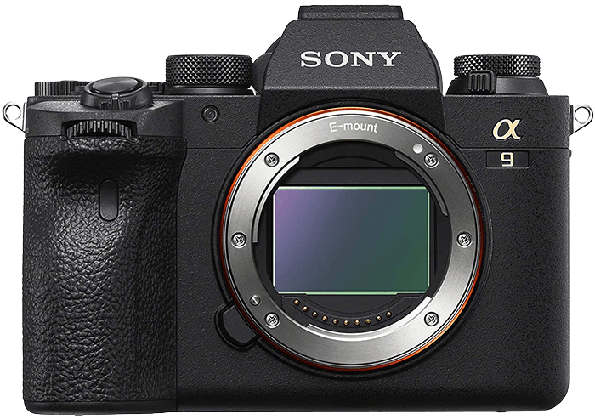
We’ve looked at a range of cameras, from cheap to expensive and from crop sensors to full frames. Picking an overall winner isn’t easy. But the combination of in-body image stabilization (IBIS) and great autofocus (AF) makes the Sony a9 II our top pick.
The Best Camera for Wildlife Photography
Before we look at the cameras we’ve selected in detail, here is a summary of all the picks in this review.
- Impressive 20 fps continuous shooting
- Lightning-fast autofocus
- Improved ergonomics
- Great file transferring speeds
- 5-axis in-body image stabilization to counter camera shake
- Brilliant low-light performance with a wide ISO range
- Excellent image quality and sensor
- Built-in image stabilizer reduces camera shake
- High-quality pentaprism viewfinder
- Durable body with full weather sealing

- High Resolution mode for detailed images of static subjects
- Lots of custom button options and touchscreen functionality
- An LCD screen on the top plate
- Easy Wi-Fi and Bluetooth connectivity
- Durable, weather-sealed body
- Excellent 4K / 60p Ultra HD video

- Excellent low-light performance
- 10 fps RAW burst with 200-image limit
- Weather-sealed body
- Long-lasting battery life
- 4K video with ports for external sound recording
- Good resolution and dynamic range
- Excellent subject tracking
- A great frame rate and deep buffer
- Pleasing JPEG colors
- Up to 7.5 stops of in-body image stablization with supported lenses
- Weather-sealed body
- Decent APS-C BSI-CMOS sensor
- A great frame rate of 15 fps
- 6.5 stops of image stabilization
- 4K video (DCI or Ultra HD) up to 60 fps
- A fully articulating rear touchscreen
- 12 Film Simulation modes

- 65-point cross-type autofocus system
- Integrated GPS
- Dual CF and SD card slots
- 10 fps continuous shooting
- Excellent low-light capabilities
- Dual Pixel AF and AI detection
- Fantastic buffer for continuous shots
- High frame rate for video recording
- Great battery life
- Advanced 105-point AF system
- Excellent ISO range and low-light performance
- Extra-capacity dual card slots
- Weather-sealed, durable body
- Long-lasting battery life

- Relatively affordable
- Excellent in-body image stabilization
- Compact and ergonomic design
- Fantastic expandable ISO range
- Rapid burst speeds

- Great optics for low-light situations
- Dual in-body image stabilization of up to 6.5 stops
- Excellent-quality 6K video
- Fantastic tools for recording video
- Cooling vent allows longer filming time
- Excellent low-light focusing
- Lightweight and portable
- Superb low-light dynamic range
- Dual memory card slots
And now, let’s dive in with some more detail, starting with our top pick overall.
1. Sony a9 II
| Brand |
Brand
Sony
|
| Sensor Format |
Sensor Format
 Full Frame Full Frame |
| Lens Mount |
Lens Mount
Sony FE
|
| Megapixels |
Megapixels
24.2 MP |
| In-body Stabilization |
In-body Stabilization
|
| Autofocus Points |
Autofocus Points
693 |
| Minimum ISO (Native) |
Minimum ISO (Native)
100 |
| Maximum ISO (Native) |
Maximum ISO (Native)
51,200 |
| Frame Rate |
Frame Rate
20 fps |
| Video |
Video
|
| Screen Size |
Screen Size
 3" 3" |
The Sony a9 II is a 24.2 MP full frame gadget. A perfect camera for wildlife photography.
It can capture 20 fps (frames per second). And it has 5-axis image stabilization. These make your job easier if you are trying to catch the greatest moments.
Also, it has advanced subject recognition. It is capable of real-time tracking and eye autofocus for humans and animals. This feature makes it one of the best wildlife photography cameras.
The a9 II has dual UHS-II SD card slots and a tiltable touchscreen. And it has an incredibly wide AF coverage with 693-point phase detection and 425-point contrast detection AF points.
This camera is not only fine for taking high-quality images. It’s also suitable for video recording.
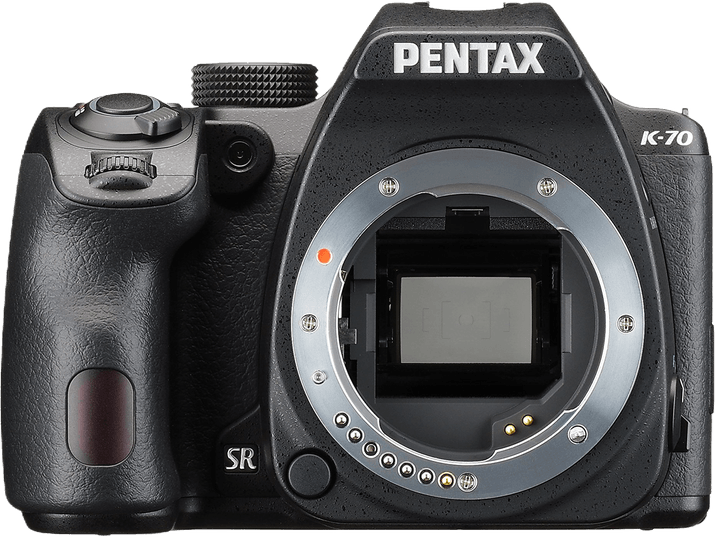
2. Pentax K-70
| Brand |
Brand
Pentax
|
| Sensor Format |
Sensor Format
APS-C
|
| Lens Mount |
Lens Mount
Pentax KAF2
|
| Megapixels |
Megapixels
24 MP
|
| In-body Stabilization |
In-body Stabilization
1
|
| Autofocus Points |
Autofocus Points
11
|
| Minimum ISO (Native) |
Minimum ISO (Native)
100
|
| Maximum ISO (Native) |
Maximum ISO (Native)
102400
|
| Frame Rate |
Frame Rate
6 fps
|
| Video |
Video
1
|
| Screen Size |
Screen Size
3
|
The Pentax K-70 offers great value for money, with weather sealing and in-camera IS at a very attractive price. Both can be invaluable for wildlife photography. And if your subject is small and stationary, the fine-tuning AF feature is a real bonus, especially at this price.
It gives you a great grip, weather resistance, and practical controls. It also has a lot of great features, including Wi-Fi and GPS. It’s also capable of sensor shifting.
You can choose from 27 autofocus points, 25 of which are more sensitive cross-type. Its ISO performance maxes out at an extraordinary 819,200.
The Pentax K-70‘s vertical tilt LCD monitor facilitates high- and low-angle shooting. So you can vary your angles easily. Overall, it is a great budget, entry-level camera.
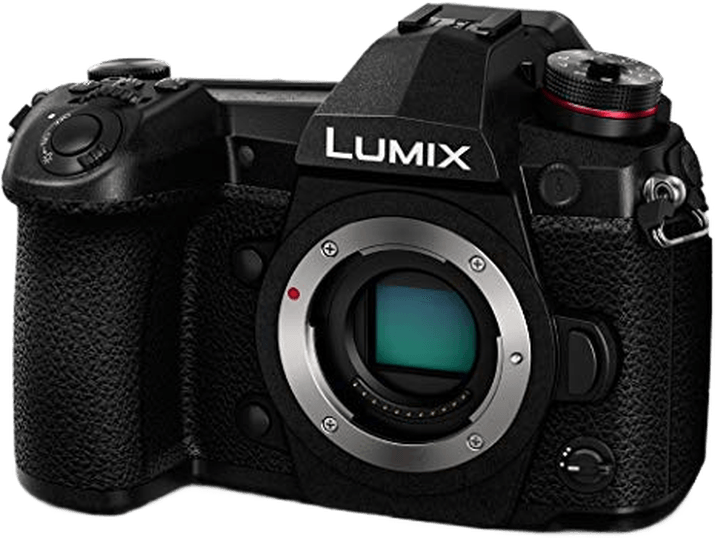
3. Panasonic Lumix G9
| Brand |
Brand
Panasonic
|
| Sensor Format |
Sensor Format
 Micro Four Thirds Micro Four Thirds |
| Lens Mount |
Lens Mount
Micro 4/3
|
| Megapixels |
Megapixels
20 MP |
| In-body Stabilization |
In-body Stabilization
|
| Autofocus Points |
Autofocus Points
225 |
| Minimum ISO (Native) |
Minimum ISO (Native)
200 |
| Maximum ISO (Native) |
Maximum ISO (Native)
25,600 |
| Frame Rate |
Frame Rate
20 fps |
| Video |
Video
|
| Screen Size |
Screen Size
3" |
The Panasonic Lumix G9 is an affordable Micro Four Thirds camera from Panasonic. And it’s among the best options in its category. It was introduced in 2018 and has remained a great camera option.
It’s also capable of creating fascinating videos, but it’s listed here because it’s a versatile camera for taking photos. Its features make it one of the best cameras for wildlife photography.
Because it comes with a Micro Four Thirds sensor, the crop factor is 2.0x. It provides a 20.3 MP image resolution. And it’s excellent in terms of dynamic range.
The Lumix G9 is a great action camera with 5-axis in-body image stabilization (IBIS). If you use it with a lens that has optical stabilization, you can get 6.5 stops of correction.
With continuous autofocus and the mechanical shutter, it can capture 9 fps. If you switch to the electronic shutter, it shoots at 20 fps.
You can read our full review of the Panasonic Lumix DC-G9 for more info.
4. Nikon D500
| Brand |
Brand
Nikon
|
| Sensor Format |
Sensor Format
 APS-C APS-C |
| Lens Mount |
Lens Mount
Nikon F DX
|
| Megapixels |
Megapixels
20.9 MP |
| In-body Stabilization |
In-body Stabilization
|
| Autofocus Points |
Autofocus Points
153 |
| Minimum ISO (Native) |
Minimum ISO (Native)
50 |
| Maximum ISO (Native) |
Maximum ISO (Native)
51,200 |
| Frame Rate |
Frame Rate
10 fps |
| Video |
Video
|
| Screen Size |
Screen Size
 3.2" 3.2" |
The Nikon D500 is one of the best crop sensor cameras on the market today. It was first introduced in 2016. But it’s still an exceptional choice.
It offers everything a wildlife photographer might need. It’s well-balanced, and its ergonomics are great. The grip is solid, and the materials are superb.
You get a lot of buttons, a joystick, and a touchscreen, which allow for quick and easy operation.
The autofocus system is highly effective. The Nikon D500‘s 99 cross-type points offer excellent tracking and snappy focusing throughout most of the frame.
ISO performance is the best among all APS-C cameras, reaching 1,638,400. That’s just one stop below the D5’s industry-leading sensitivity.
You also get dual card slots. This time there are ones for XQD and SD cards.
Burst shooting goes up to 10 fps. And unlike in similar cameras, it continues for at least 20 seconds without slowing, thanks to the enormous buffer.
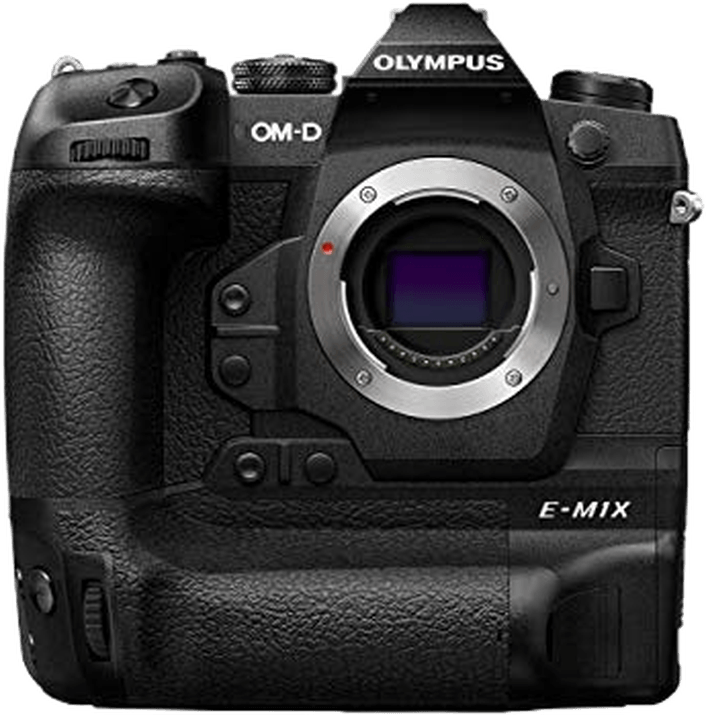
5. Olympus OM-D E-M1X
| Brand |
Brand
Olympus
|
| Sensor Format |
Sensor Format
Micro Four Thirds |
| Lens Mount |
Lens Mount
Micro 4/3
|
| Megapixels |
Megapixels
20 MP |
| In-body Stabilization |
In-body Stabilization
|
| Autofocus Points |
Autofocus Points
121 |
| Minimum ISO (Native) |
Minimum ISO (Native)
200 |
| Maximum ISO (Native) |
Maximum ISO (Native)
25,600 |
| Frame Rate |
Frame Rate
60 fps |
| Video |
Video
|
| Screen Size |
Screen Size
3" |
This is a dual-grip 20 MP Micro Four Thirds mirrorless option from Olympus. It is a durable, weather-sealed, and sturdy option. So the Olympus OM-D E-M1X could be the best camera for wildlife photography for you.
It comes with two BLH-1 rechargeable batteries, which can simultaneously be charged in two hours. This gives you incredible freedom as you won’t have to worry too much about your batteries dying.
It has an amazing focus system with 121 AF points and deep-learning subject recognition. And it has phase detection and contrast detection as well.
Built-in image stabilization and 18 fps (with continuous AF tracking) up to 60 fps also make the OM-D E-M1X an outstanding action camera.
A little other extra is the Live ND option, which provides the effects of an ND filter without having to use one.
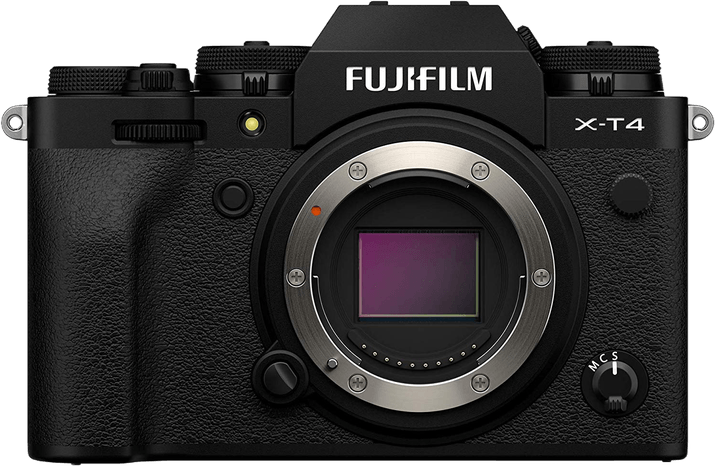
5. Fujifilm X-T4
| Brand |
Brand
Fujifilm
|
| Sensor Format |
Sensor Format
APS-C |
| Lens Mount |
Lens Mount
Fujifilm X
|
| Megapixels |
Megapixels
26 MP |
| In-body Stabilization |
In-body Stabilization
|
| Autofocus Points |
Autofocus Points
425 |
| Minimum ISO (Native) |
Minimum ISO (Native)
160 |
| Maximum ISO (Native) |
Maximum ISO (Native)
12,800 |
| Frame Rate |
Frame Rate
20 fps |
| Video |
Video
|
| Screen Size |
Screen Size
3" |
In-camera image stabilization, up to 15 fps continuous shooting, and long battery life make the XT-4 a great choice for wildlife photography. Plus, you don’t need to worry about the elements, as the camera body is weather sealed for inclement conditions.
The XT-4 has a 26 MP APS-C sensor and can shoot 4K video up to 60 fps. The fully-articulating screen is a real bonus in awkward shooting situations. And let’s not forget that this camera looks fantastic with its stylish retro vibe.
6. Canon EOS 7D MkII

| Brand |
Brand
Canon
|
| Sensor Format |
Sensor Format
APS-C
|
| Lens Mount |
Lens Mount
Canon EF-S
|
| Megapixels |
Megapixels
20.2 MP
|
| Autofocus Points |
Autofocus Points
65
|
| Minimum ISO (Native) |
Minimum ISO (Native)
100
|
| Maximum ISO (Native) |
Maximum ISO (Native)
16000
|
| Frame Rate |
Frame Rate
10 fps
|
| Video |
Video
1
|
| Screen Size |
Screen Size
3
|
A rugged weather-sealed body, fast continuous shooting speed, and a superb AF system make the Canon EOS 7D Mark II a great choice for wildlife photography.
The AF system is comprised of 65 cross-type focus points. It’s blazingly fast and accurate. You can track a subject throughout the whole frame without problems.
The ergonomics of the 7D Mark II are similar to the original Canon 7D. The materials are slightly better, but they were top-notch to begin with.
There are other top-level features. They include mic and earphone sockets, two card slots, and programmable user-defined buttons. And you have access to probably the best range of lenses available.
Remember, if you’re shooting distant wildlife, a big EF lens like 500mm is 750mm on the APS-C sensor.
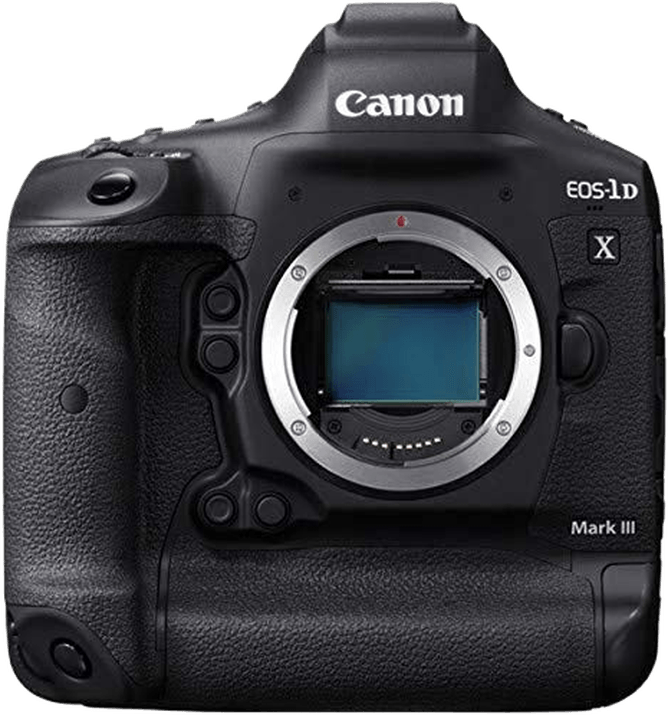
7. Canon EOS 1D X Mark III

| Brand |
Brand
Canon
|
| Sensor Format |
Sensor Format
Full Frame |
| Lens Mount |
Lens Mount
Canon EF
|
| Megapixels |
Megapixels
20.1 MP |
| In-body Stabilization |
In-body Stabilization
|
| Autofocus Points |
Autofocus Points
191 |
| Minimum ISO (Native) |
Minimum ISO (Native)
100 |
| Maximum ISO (Native) |
Maximum ISO (Native)
102,400 |
| Frame Rate |
Frame Rate
20 fps |
| Video |
Video
|
| Screen Size |
Screen Size
3.2" |
The Canon 1D X Mark III is more familiar at sports events and in the hands of news photographers. But it can also be the best camera for wildlife photography if you want a DSLR with a full frame sensor.
It offers high image quality with a 20.1 MP CMOS sensor and low pass filter.
The wide ISO range, with a maximum setting of 819,200, lets you photograph in bad lighting conditions.
Its superb low-light performance and outstanding 20 fps frame rate make it a great camera for action photography. You won’t miss any moment with it.
The 1D X Mark III also comes with an intelligent autofocus system consisting of 191 AF points. This provides stunning clarity and sharpness in your images. And its Deep Learning technology can track faces even when a helmet hides them.
This gadget is perfect for wildlife photographers who like making videos as well. It can capture full frame videos at up to 4K resolution.
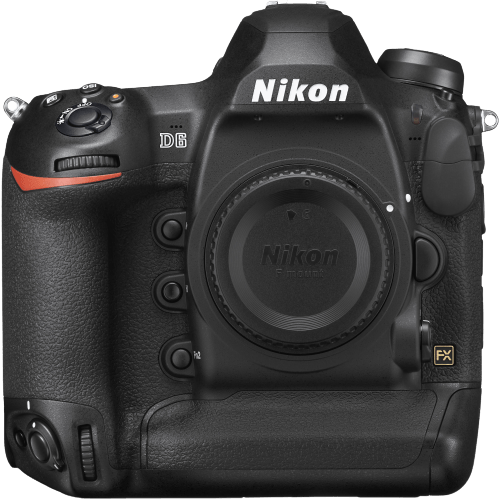
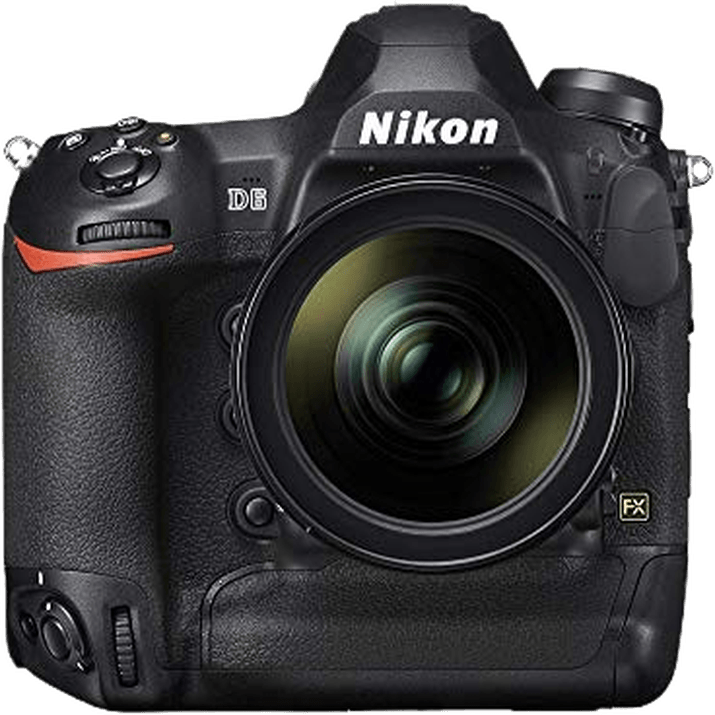
8. Nikon D6
| Brand |
Brand
Nikon
|
| Sensor Format |
Sensor Format
Full Frame |
| Lens Mount |
Lens Mount
Nikon F
|
| Megapixels |
Megapixels
20.8 MP |
| In-body Stabilization |
In-body Stabilization
|
| Autofocus Points |
Autofocus Points
105 |
| Minimum ISO (Native) |
Minimum ISO (Native)
100 |
| Maximum ISO (Native) |
Maximum ISO (Native)
102,400 |
| Frame Rate |
Frame Rate
14 fps |
| Video |
Video
|
| Screen Size |
Screen Size
3.2" |
The Nikon D6 is a top-level pro camera. Like the Canon, it is heavy. At 3.2 lbs (1.45 kg), you’ll notice if you carry it all day. But wildlife photography often involves a heavy kit. A big camera, big lenses, and a sturdy tripod are common and ideal.
Coming with a 20.6 MP full frame sensor and an iso range of ISO 100 to 102,400, it’s a powerful camera. It captures high-quality images even in low light. It can capture 14 fps, and it has 105 all-cross-type AF points.
The silent mode, the long battery life, the touchscreen, the built-in GPS, and the fast Wi-Fi connection also add to the attraction of the Nikon D6 for serious wildlife photographers.
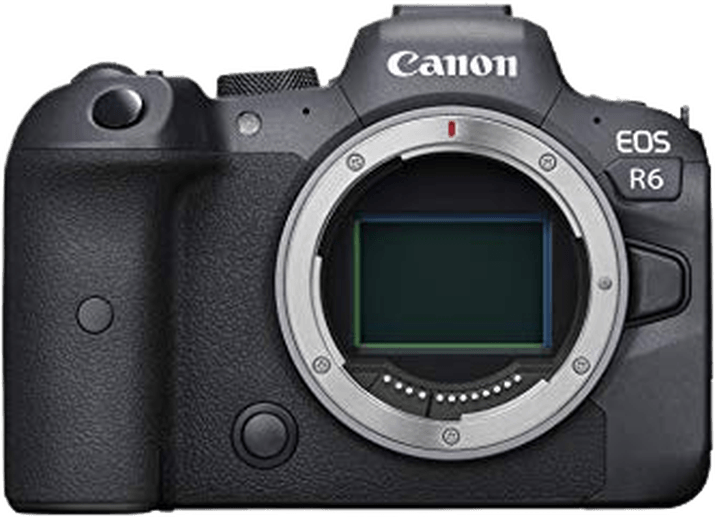
9. Canon EOS R6
| Brand |
Brand
Canon
|
| Sensor Format |
Sensor Format
Full Frame |
| Lens Mount |
Lens Mount
Canon RF
|
| Megapixels |
Megapixels
20.1 MP |
| In-body Stabilization |
In-body Stabilization
|
| Autofocus Points |
Autofocus Points
1,053 |
| Minimum ISO (Native) |
Minimum ISO (Native)
100 |
| Maximum ISO (Native) |
Maximum ISO (Native)
102,400 |
| Frame Rate |
Frame Rate
20 fps |
| Video |
Video
|
| Screen Size |
Screen Size
3" |
It seems like the march of the mirrorless camera is becoming unstoppable. And with the Canon EOS R6, it’s easy to see why. This is another great choice for wildlife photography with high-quality images from its 20 MP full frame CMOS sensor.
It has an ISO range of 100 to 102,400, which is expandable to 204,800. You probably won’t use the highest values for wildlife photography, but it’s a nice feature, just in case.
High-speed continuous shooting at up to 12 fps is impressive enough. But with the electronic shutter, this increases to 20 fps. That’s perfect for fast-moving wildlife.
The EOS R6 also has up to 8 stops of image stabilization which is great for long exposures. You can also take incredibly sharp images without using a tripod.
The 100% horizontal and 100% vertical AF system with face detection and auto selection modes adds to the image quality and sharpness.
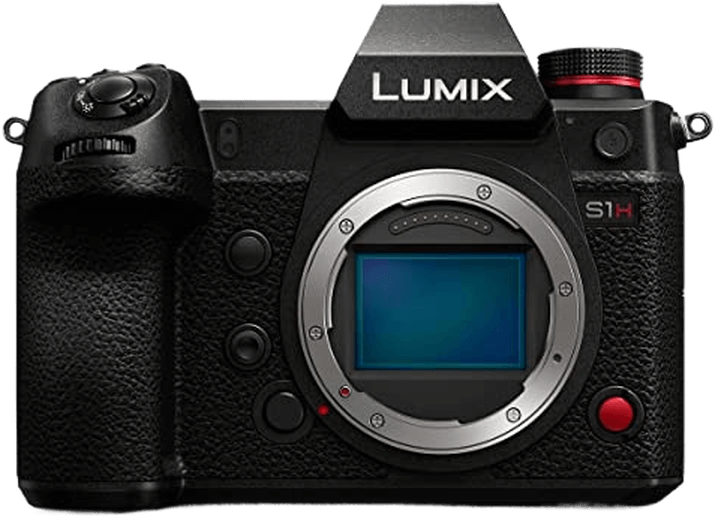
10. Panasonic S1H
| Brand |
Brand
Panasonic
|
| Sensor Format |
Sensor Format
Full Frame |
| Lens Mount |
Lens Mount
Leica L
|
| Megapixels |
Megapixels
24 MP |
| In-body Stabilization |
In-body Stabilization
|
| Autofocus Points |
Autofocus Points
225 |
| Minimum ISO (Native) |
Minimum ISO (Native)
100 |
| Maximum ISO (Native) |
Maximum ISO (Native)
51,200 |
| Frame Rate |
Frame Rate
9 fps |
| Video |
Video
|
| Screen Size |
Screen Size
3.2" |
The Panasonic Lumix S1H is a full frame mirrorless camera with a 24 MP CMOS sensor. And it could easily become your favorite camera for wildlife photography.
It was made specifically for video recording, so if you want to make wildlife videos, this is for you. It offers incredible 6K videos.
It has dual SD card slots, so you don’t have to worry about not having enough space on your memory card.
The IBIS and the OLPF (optical low pass filter) also contribute to beautiful wildlife photography.
It’s heavier than the usual mirrorless cameras. If compactness is important to you, go with a Sony instead.
But the Lumix S1H‘s rugged design makes it dust, water, and freeze resistant. It’s safe to shoot in almost all outdoor conditions.
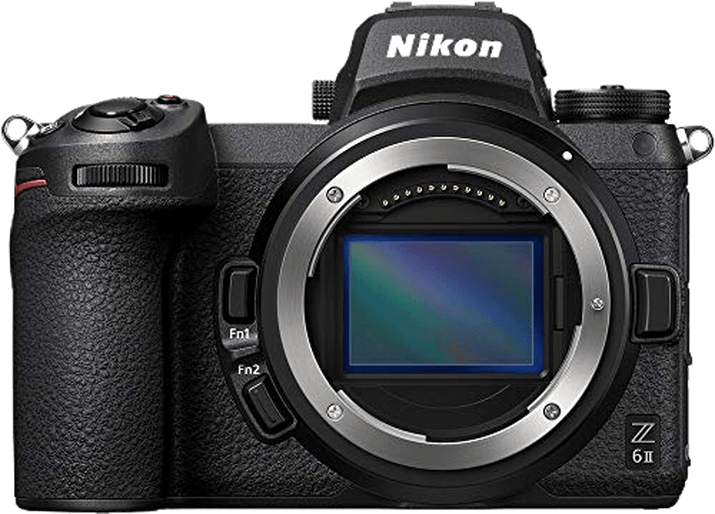
11. Nikon Z6 II

| Brand |
Brand
Nikon
|
| Sensor Format |
Sensor Format
Full Frame |
| Lens Mount |
Lens Mount
Nikon Z
|
| Megapixels |
Megapixels
24.5 MP |
| In-body Stabilization |
In-body Stabilization
|
| Autofocus Points |
Autofocus Points
273 |
| Minimum ISO (Native) |
Minimum ISO (Native)
100 |
| Maximum ISO (Native) |
Maximum ISO (Native)
51,200 |
| Frame Rate |
Frame Rate
14 fps |
| Video |
Video
|
| Screen Size |
Screen Size
3.2" |
Another mirrorless camera from a photography heavyweight, the Nikon Z6 II delivers beautifully sharp images from its 24.5 MP backside illuminated image sensor. The 273-point hybrid AF system covering 90% of the frame greatly benefits wildlife photography.
The camera is ideally suited to fast action with a maximum burst speed of 12 fps. The 5-axis in-body stabilization is another plus for shooting with long lenses or in poor light.
It has a touch screen and a tilting LCD, so it’s suitable for any shooting angle. If you need a camera to take videos too, you can use the Z6 II for it as well. It captures 4K UHD videos.
What to Look for When Photographing Wildlife
A lot of cameras are capable of shooting great wildlife images. If you want to get into wildlife photography, but have a camera that isn’t listed here, don’t get discouraged.
However, there are some features you should pay attention to if you are planning to invest in new gear. Whether you get a mirrorless or a DSLR, the best camera for wildlife photography should perform well in all these areas.
First, you are going to need a high frame rate. It means you’ll be able to shoot more frames per second (fps). This means there will be a higher chance of capturing the decisive moment.
Since you will shoot a lot, a long shutter life expectancy is necessary.
A fast shutter speed and a silent-shutter mode also help you to freeze the moments perfectly without bothering the animals. It’s important to stay invisible, and you must stay silent.
A weather-sealed camera body is essential, especially if you spend a lot of time outside. Also, great low-light performance, a wide ISO range, and image stabilization are needed.
You can find full frame and crop sensor camera options. Both can be perfect for the purpose and have their own advantage.
Our last but not least important tip is to buy an interchangeable lens camera. You will need a telephoto lens, and compact cameras usually don’t come with it. The best camera for wildlife photography depends on the lens you are using.
Conclusion
There’s no doubt that wildlife photography is a challenging genre. And it isn’t easy to do on a tight budget. It requires patience, technical knowledge, skill, and the right equipment.
To get yourself ahead of the curve, the Sony a9 II is the camera we recommend as our best buy. It has fantastic AF, image stabilization, and continuous shooting (20 fps) to get the perfect wildlife shot!