The best time-lapse creators have one thing in common. They don’t just set any interval for their time-lapse footage. They think carefully about what, when, and how they will shoot, and choose the appropriate interval.
In this guide, you will find out how to choose the best time-lapse interval. We have also collected example videos for each of our points.
What Is the Time-Lapse Interval?
The interval is the time that passes between two shots in a time-lapse sequence.
To avoid confusion, it’s not the time that passes from the end of one exposure to the start of the next. It’s from start to start. With longer exposures, this means a significant difference.
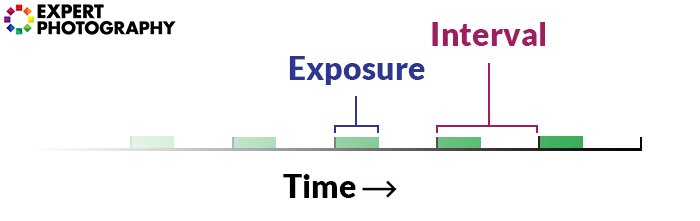 In consequence, your interval must always be longer than your shutter speed. You need to take the time it takes to process and write the image file into consideration, too.
Your choice of interval fundamentally influences how your timelapse will look. The longer your interval, the faster your footage will seem. Recording time-lapse photography with an interval of 2 seconds is the same as shooting at 0.5 fps.
What Is a Good Interval for Time-Lapse?
There are two approaches to setting the interval.
1. You have the final length in mind, and also the duration of the actual shoot.
If you’ve already figured these out, it’s easy to calculate the timelapse interval. Decide on the frame rate of the final video. It can be 24, 25, or 30 fps. You shouldn’t choose faster. Select the one that fits your audience and region best. You can also use a time-lapse calculator.
Then, convert the shoot duration to seconds. For example, two hours is 2 x 60 x 60 seconds, which is 7200 seconds. Now, calculate how many frames your intended timelapse needs. For example, you want 30 seconds of 25fps video in the end. 30 x 25 is 750, so you’ll need to shoot 750 frames in total.
To get the interval, divide the duration (7200s here) by the number of frames (750). The result is 9.6, which is very close to 10 seconds; you can round it up. So, you should set 10s as your interval in our example.
2. You have the speed and the final length of the time-lapse in mind.
Different intervals suit different types of movements best. Think about what vibe you want to communicate with the time-lapse.
Then, look at our guide below to decide on your interval. After a while, you’ll be able to determine your time-lapse interval correctly on your own, too.
To calculate the duration, divide the final length by the interval. Suppose you’d like to shoot a 20-second-long timelapse at a 5s interval. 20 seconds of footage at 25fps requires 500 frames.
Now, multiply the number of frames (500) with your interval (5s).500 x 5s is 2500 seconds. 2500 seconds is roughly 42 minutes. So, you’ll shoot your time-lapse for 42 minutes.
To learn even more about finding the best time-lapse interval check out or course Total Time-Lapse here!
How Do You Calculate Time-Lapse Interval for the Best Results
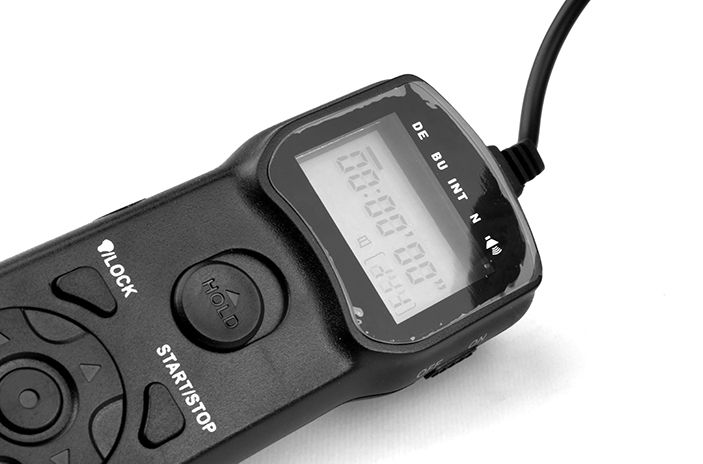
The most convenient option is a built-in intervalometer. Many cameras have it by default. Take a look at your menu to see if yours is among them.
If you couldn’t find it, but you’re a Canon shooter, don’t give up. Magic Lantern comes with an intervalometer. Check their website to find out if your Canon camera is supported.
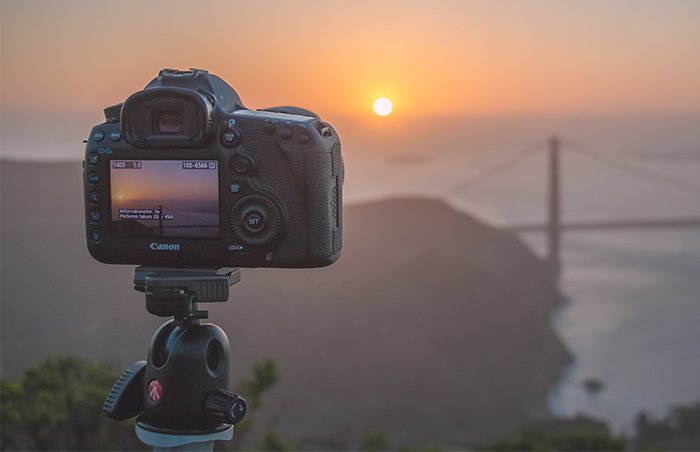
You can also use an external intervalometer.
Things to Consider When Choosing the Best Interval
You should choose your timelapse interval to best suit your subject. But, there are two notable limitations to this.
Is There Enough Light?
If the light is too low, you’ll need to use longer shutter speeds. And, as previously mentioned, your time-lapse interval must be longer than your shutter speed.
This means you can’t shoot a slow timelapse in low light.
Is It Even Possible?
If you’re setting a long time-lapse interval, there can be many obstacles. Consider your own time. If you’re shooting in a public space, you can’t leave your camera. And if you can’t leave your camera, shooting for more than a few hours is impractical.
Also, if you’re in a space that closes for the evening, keep the opening times in mind. Very long intervals require special gear, at least a connection that transfers the images regularly. Power can also be an issue, so you’ll need an AC adaptor for your camera.
Time-lapses ideally require cameras that don’t move at all. So, if you want to shoot for days or weeks, find a spot where this is possible. You’ll need a very stable tripod, too.
Our Guide to the Best Intervals for Time Lapse
Ideally, you should decide based on the subject that you’re trying to capture. We’ve researched and compiled our own experiences to come up with a reasonably comprehensive guide. You’ll find 6 different subject categories and their ideal intervals.
Weather Time Lapses
Storms in Action
When you’re capturing storms, you should have a short interval of around 1 second or less. To catch flashes of lightning, set your shutter speed to the longest possible. That way, lightning has more chances to appear on your time-lapse.
If you intend to record moving storm clouds, choose a slightly higher interval, around 2-3 seconds.
Approaching Storms
If you want to shoot the attack of weather from further away, also choose circa 2 seconds. That means a 50x speed-up with 25fps. It’s ideal for recording the movement of fast-moving clouds, not just storms.
Storms in Low-Light
If the level of light limits you, choose a slower interval around 3-5 seconds. Set a longer, 3-4s shutter speed in this case.
Calm Clouds
Calm clouds are slow, so you must adjust to that. Choose an interval of at least 3 seconds.
Time of Day Time-Lapsing
Sunsets and Sunrises
The best time lapse interval for sunset and sunrise is around 3 to 5 seconds. Of course, you can adjust it according to the desired final length of the video. If you’re aiming for the best, capture 20 minutes before and after the sun rises or sets.
Natural Moving Shadows
You can be creative with this, but as a general rule of thumb, 10-15 seconds is great. Your shooting duration can vary a lot, though.
Sun Moving Across the Sky
If you want to record the sun’s movement in your timelapse video, you should be shooting for at least half a day. With a wide-angle lens, the effect will be impressive. The best interval for this is 20-30 seconds.
Night Sky with Stars
This is one of the more demanding types of timelapse. Use at least a 20-second interval, and the sky’s the limit. Choose a fast shutter speed (less than 10 seconds) to avoid the stars blurring. If you want star trails, use longer shutter speeds (at least 50 seconds) and even longer intervals. A bright, wide-angle lens is indispensable.
People and Crowds
You can shoot this timelapse in numerous ways with various intervals.
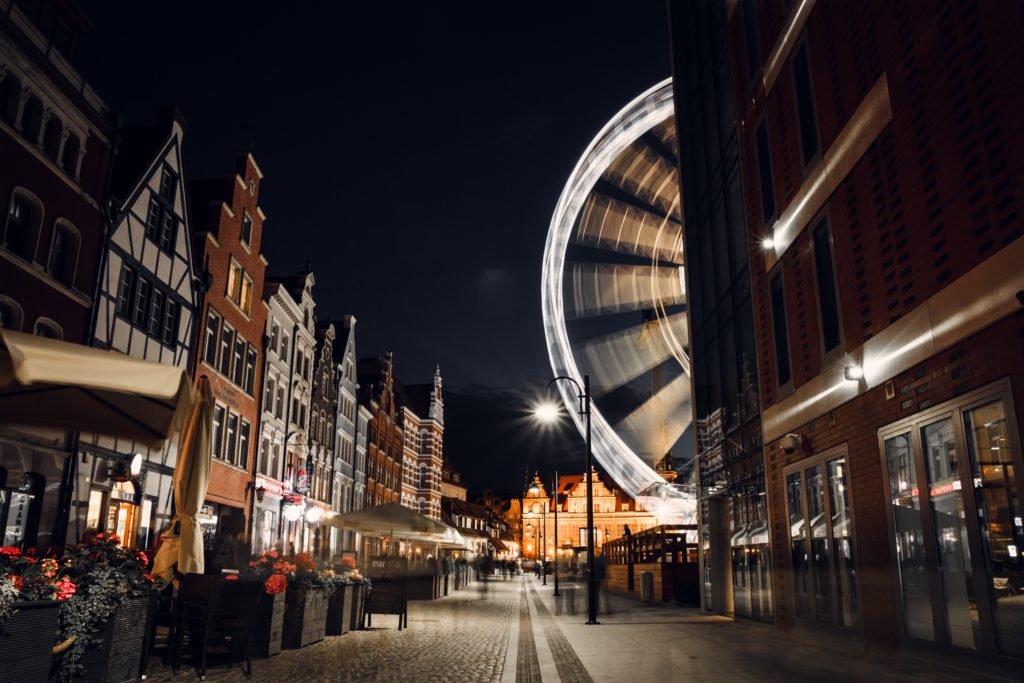
If you want to keep the silhouette of people, but also their movement, use a shorter interval of 1-2 seconds. This looks great with big fast-moving crowds, like on Times Square in New York or at the Shibuya crossing in Tokyo. Setting a shutter speed long enough to blur the crowds is crucial.
If the crowd is moving slower, use longer timelapse intervals accordingly. It can be anywhere from 3 to 10 seconds. You can achieve great shots of protests, queues, and exhibitions with longer intervals.
A great project idea is to document people for lengthy periods, capturing their changes. You should ideally choose an interval of one frame per day.
Note that the rules for this are very different. There’s no need for tripods and steady places. But, it’s important to do it continuously for at least a year. And prepare for tedious post-production.
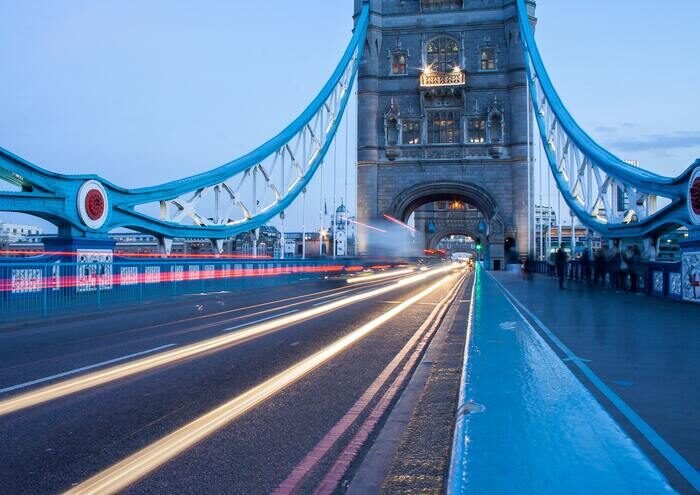
Vehicles and Traffic
Timelapse videos of traffic always look exciting. Cars are moving fast, so recording their motion is easy and effective.
General Traffic in Daylight
The best timelapse interval for this is 2-3 seconds. The fast motion of traffic already adds interest to your timelapse. Take it to the next level by setting longer shutter speeds to create blur and light trails. I advise using an ND filter in this case.
Airport and Train Station Time-Lapses
This a niche that not many people shoots. If you master this time-lapse, you can get acclaim quickly. Set a 1-3 second interval.
Drive Time-Lapses
They are shot from inside moving vehicles. They are especially appealing from the front of trains because of the symmetry of the tracks. Use a1-2 second interval and 0.5-second shutter speed. If you’re shooting a drive lapse at night, double these values.
Traffic at Night
At night, the traffic itself is less visible, but their lights seem brighter. Aim for longer light trails to add flow. Set a shutter speed around 5 seconds, and an interval of 6-7 seconds accordingly.
Ship Voyages
If you’re going on a multi-day trip, consider capturing it in a time-lapse. Place your camera in the middle of the ship, facing forward. Set at least 2 minutes for the interval, and let it roll. Set your shutter speed to a maximum of 0.5 seconds. Vibrations would cause visible blurring otherwise.
Growing Plants
To get a pleasing result, shoot 1-2 frames per hour for 1-2 months. Your shutter speed doesn’t matter in this case. Expect tiresome editing because of the constantly changing light, though.
Construction Projects
These can last for more than a year. Look for a spot that will provide a clear view all year. Shoot 10-20 images per day.
Conclusion
As an aspiring photographer, you must be able to communicate with your visual art.
Timelapse is a powerful form of expression. Knowing how to set the best-fitting intervals for your time-lapse footage is essential for your success.