
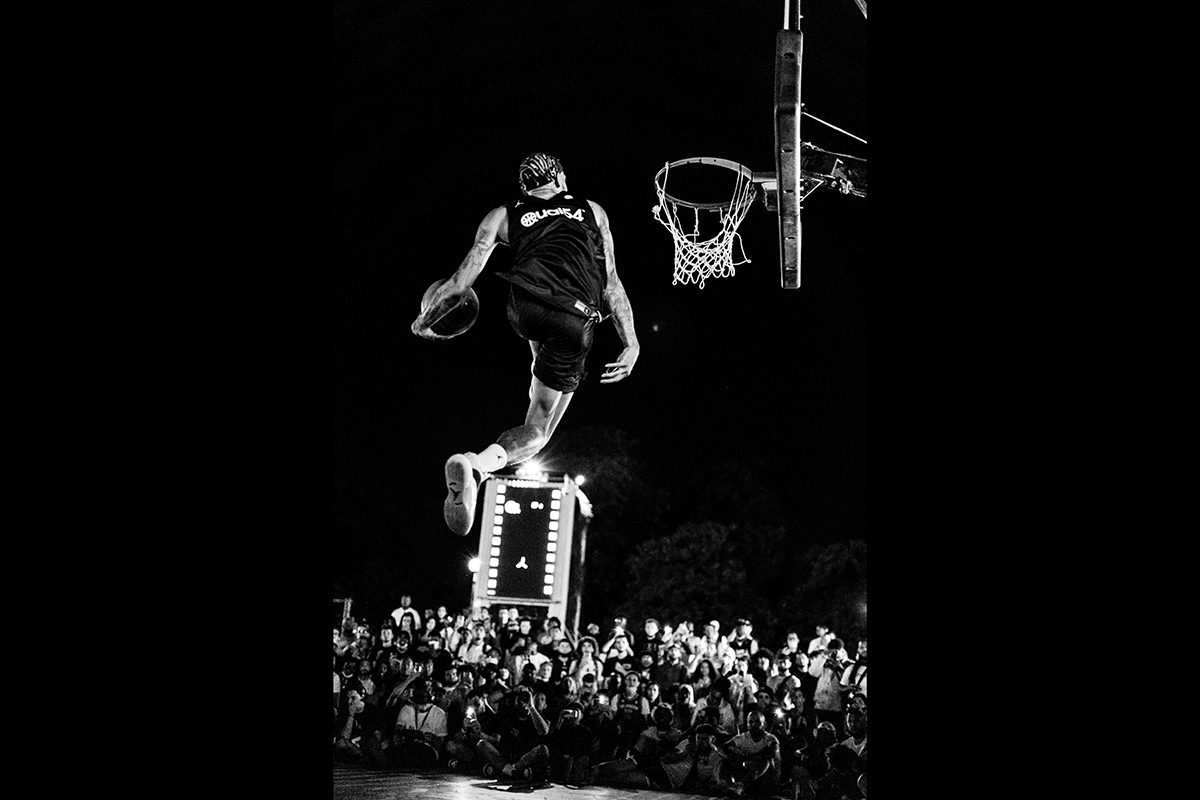
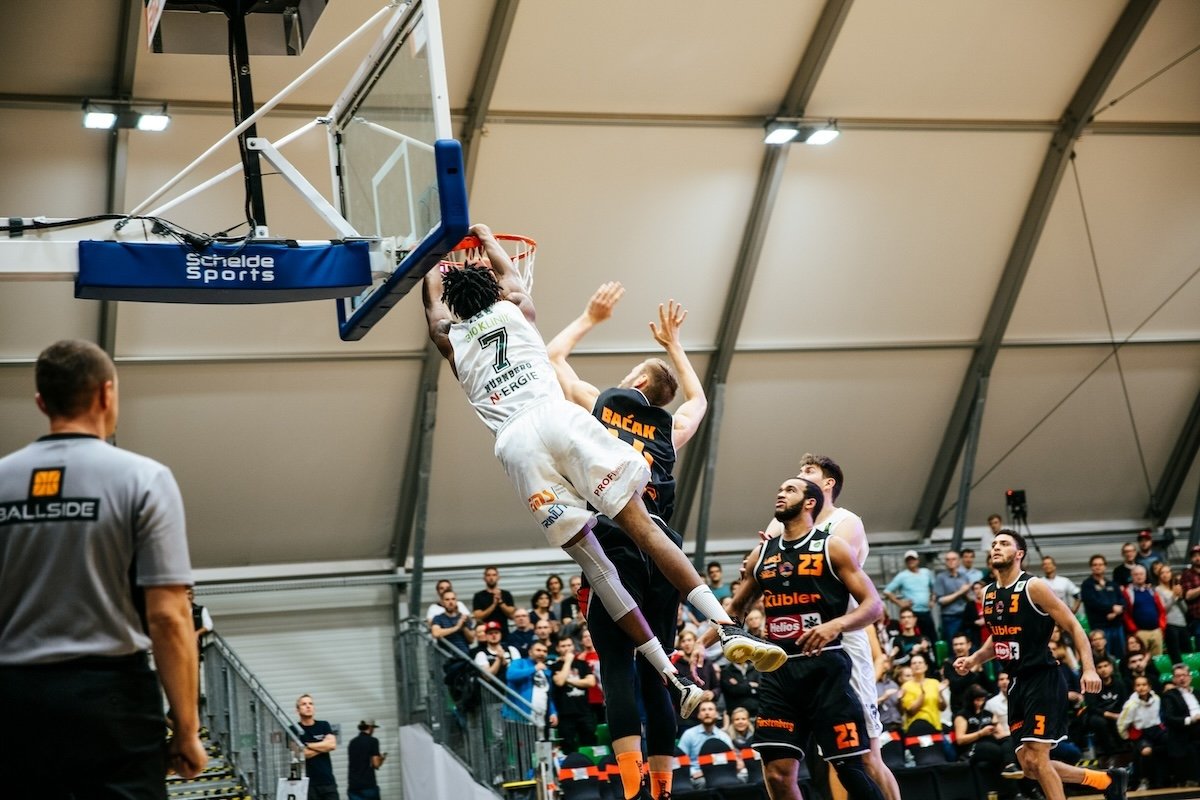
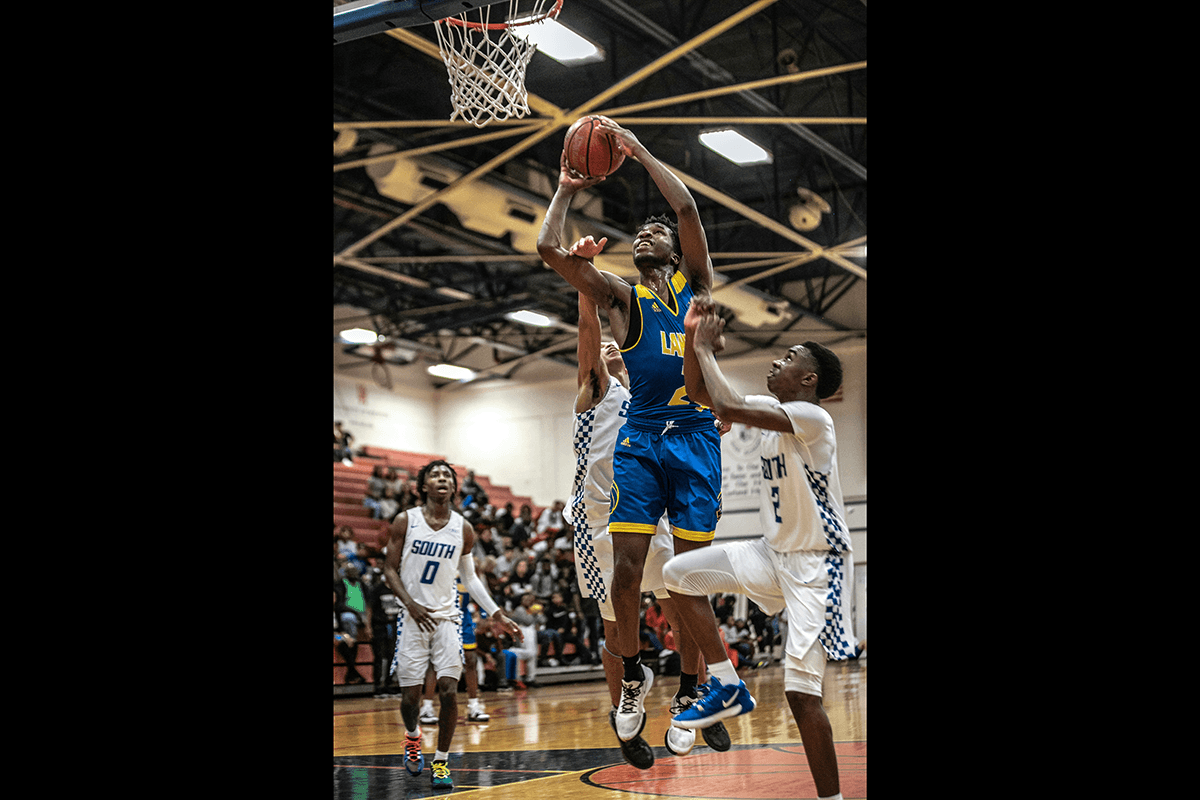
Basketball photography is an exciting and dynamic sport to shoot. But it can also be challenging because you must freeze motion. If you want to take razor-sharp action photos like those you see in the sports section of the newspaper, read on!
- Learn to use every tool for quick, professional edits.
- Discover seamless subject selection with a single click.
- Unlock hidden details in photos with our unique method.
10 Basketball Photography Tips
Here are ten tips to help you focus your camera and get sharp basketball photos.
1. Use Shutter Priority for Worry-Free Shooting
Your minimum shutter speed should be 1/500 s (seconds) to freeze action. Go even higher if the lighting situation and particular combination of your camera and lens allows it.
Manual mode is usually the best way to get professional-looking and properly exposed shots. But it’s not always the best choice for every situation.
When shooting sports, try setting your camera to shutter priority mode instead of manual mode. This ensures your camera stays at the minimum shutter speed while calculating the right f-stop and ISO required to properly expose your photos.
Ensure your ISO is on the auto-setting as well. You might also want to set a max ISO if you don’t want to introduce too much noise into your image (more on this later).
Shutter priority prevents you from having to worry about your settings. Take a few shots and check them for any unwanted blurring. If they’re not sharp enough, increase your shutter speed to 1/1000 s.
2. Shoot With a Wide Aperture for More Light
To shoot at a high shutter speed, you must use a wide aperture, ideally between f/2.8 and f/4. This allows more light into your camera.
The lens you use determines how wide you set your aperture. Use a good-quality sports lens with a maximum aperture of f/2.8 or f/4 for the best results.
In all likelihood, you’ll be using a telephoto zoom lens. If you crop in as close as possible, your lens won’t let as much light in. This is where the aperture is the narrowest. In this case, shoot wider and crop in post-production.
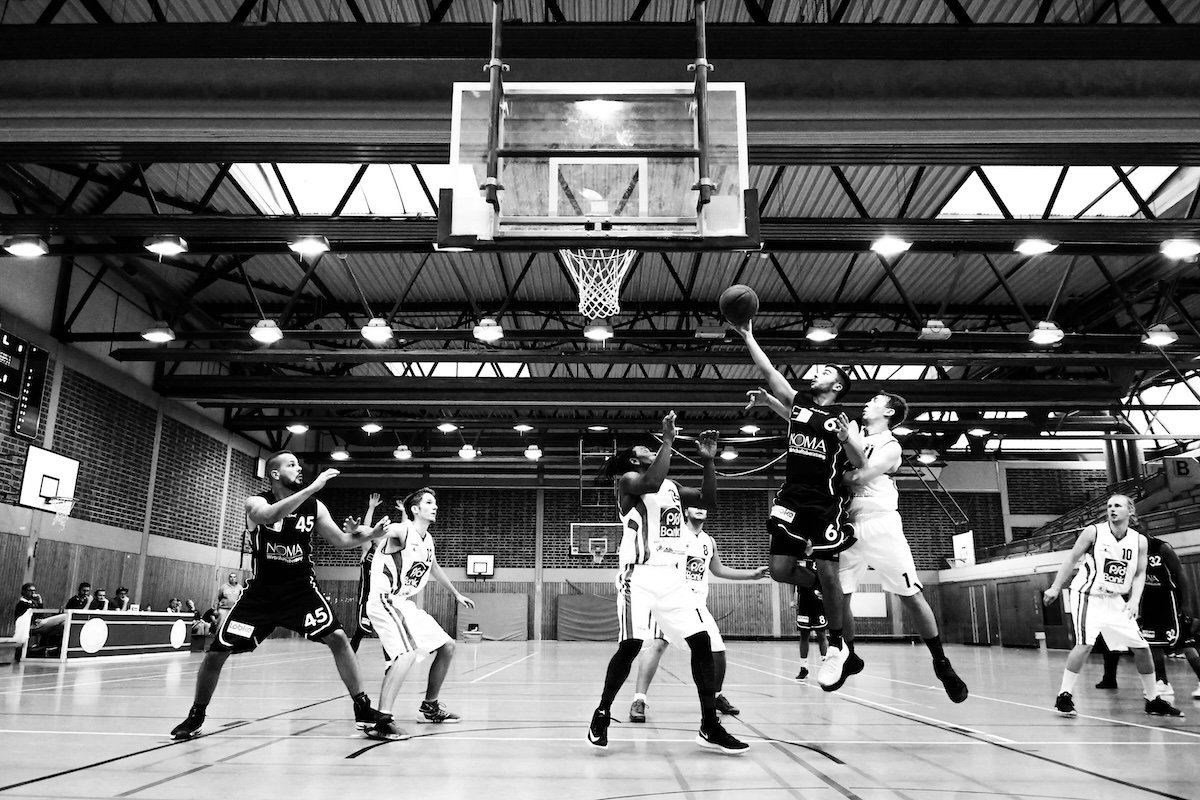
One bonus of shooting at a wide aperture is that it can produce a blurred background. This can look great in basketball photography and give the image a sense of urgency and speed.
The blurred backdrop can also help isolate a player as the main subject in a composition. It draws the viewer’s eye to the most important part of the image.

3. Increase ISO for More Light
Increasing your ISO is another way to get more light into your camera when shooting a basketball game. Ordinarily, playing with the shutter speed is the best way to increase the amount of light hitting your sensor. Increasing ISO can introduce grain or “noise” into the image.
This is not the best option in sports photography. The shutter speed must be fast to get sharp images. If you don’t have enough light coming into your camera, you have no choice but to increase your ISO.
You can fix any noise in post-production. Adobe Lightroom and other noise-reduction software have good options for eliminating noise.
You can also use dedicated noise repair plug-ins with either Lightroom or Photoshop, like DFine from the Nik Collection. These selectively repair the noise in an image and are tailored to whichever camera you use.


4. Use Autofocus With High Contast Scenes
When photographing a basketball game or any other sport, choosing autofocus (AF) over manual focus (MF) makes sense. You don’t have the time to fiddle with your lens that way.
Excellent eyesight is needed for manual focus. Even a millimeter off can cause you to miss focus and lose those killer shots.
For your camera’s autofocus system to function properly, there must be contrast in the area you want to focus. This can be a problem in low-light situations that are common indoors.
The camera doesn’t know where to focus when there is little contrast. If not enough light hits the sensor, the lens motor keeps moving. It will continue to hunt for focus without locking onto the subject.
This can cause you to lose precious seconds when you need to be getting crucial shots. So, be sure to focus on an area of contrast within your subject.
5. Use Multiple AF Points for Accurate Focus
The number of autofocus points partly influences the accuracy of your camera’s AF system. It can be difficult to focus if your camera has only nine AF points. The number of points the AF system offers is one of the biggest differences between cameras and their price points.
Costly, more professional cameras always have many AF points. Some newer mirrorless cameras even have focus points in every part of the screen. Use multiple AF points to control your camera’s autofocus system and produce sharper images.
6. Use Continuous AF to Best Focus on Movement
Continuous autofocus is when the AF system focuses constantly on the area covered by selected autofocus points. Most cameras have four focusing modes (manual, auto, single, or continuous).
On a Canon camera, continuous focus is called AF or AI Servo. On Nikon or Sony cameras, it’s AF-C.
In this mode, when the autofocus system detects a moving subject, it activates predictive tracking. It continuously monitors the focus distance and adjusts the focus when the distance from the camera to the subject changes.
The autofocus system adjusts the point of focus. If you want to focus on a subject not covered by AF points, you must lock the focus distance by pressing the AF lock button.
7. Switch to Back Button Focus
Back-button focus is a boon for every type of photographer, from portrait shooters to basketball photographers. Back-button focus transfers the focusing function from the shutter button to one of the buttons on the back of your camera.
Back-button focus increases shooting efficiency in basketball and other sports photography. You can shoot faster!
You don’t press the shutter button halfway down to focus. Instead, you press a button on the back of your camera with your thumb and use a finger to press the shutter.
This makes focusing and shooting a lot quicker. You don’t have to constantly refocus. You can also keep adjusting your composition without worrying about focusing every time. Your focus holds even if you release the shutter button.
Together with continuous focusing, it increases the likelihood of achieving perfect focus even with difficult shots. Check your camera manual to figure out how to set back-button focus for your particular camera brand and model.
It may feel awkward initially, but you quickly get used to it. You might even keep your camera on back-button focus all the time!

8. Use Burst Mode to Get the Best Composition
Set your camera to burst mode. This lets you shoot several frames by holding down the shutter button. It increases your chances of getting a perfectly composed action shot. But remember that it also fills up your memory card more quickly!
Be sure to bring extra memory cards with a high storage capacity. Having large-capacity cards prevents you from losing precious minutes in the game by not having to swap them out.
Your best bet is to use burst mode during crucial game moments. Otherwise, you can revert to single shots most of the time.
9. Shoot in JPEG for More Burst Shots
It may surprise you to hear me say you should consider shooting your sports photography in JPEG format. After all, you are repeatedly told to always shoot in RAW for professional-looking photos.
This may be true for several genres of photography. When photographing sports, capturing the game’s action is more important than taking high-quality photos that can withstand a lot of post-processing.
Shooting in JPEG lets you take more images in burst mode and fit more images on your memory card. As mentioned, you can miss a crucial part of the game in the few minutes it takes to swap out memory cards. The less often you change them, the better.

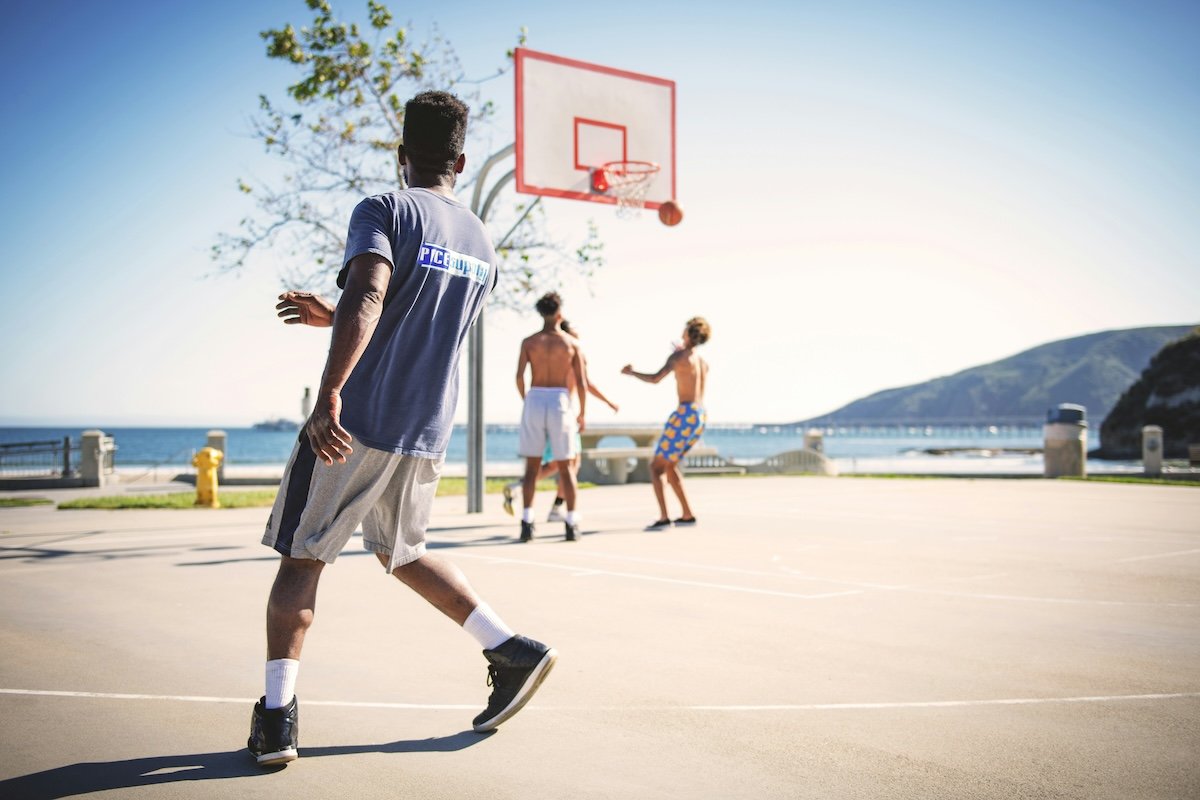
10. Find the Best Vantage Points
Lastly, think about your vantage point throughout the basketball game. Situating yourself for the biggest impact may mean moving around a lot if you can do so.
Don’t be afraid to move with the action. Have a plan beforehand for how you’ll maneuver around the court for the most advantageous point of view. Sports photography may also mean getting down to the ground or contorting yourself into awkward positions for dynamic shots.
One tip for shooting a basketball game outside on a sunny day is to ensure the sun is behind you. This helps get the best light into the lens and assists in getting up to those fast shutter speeds with less noise.
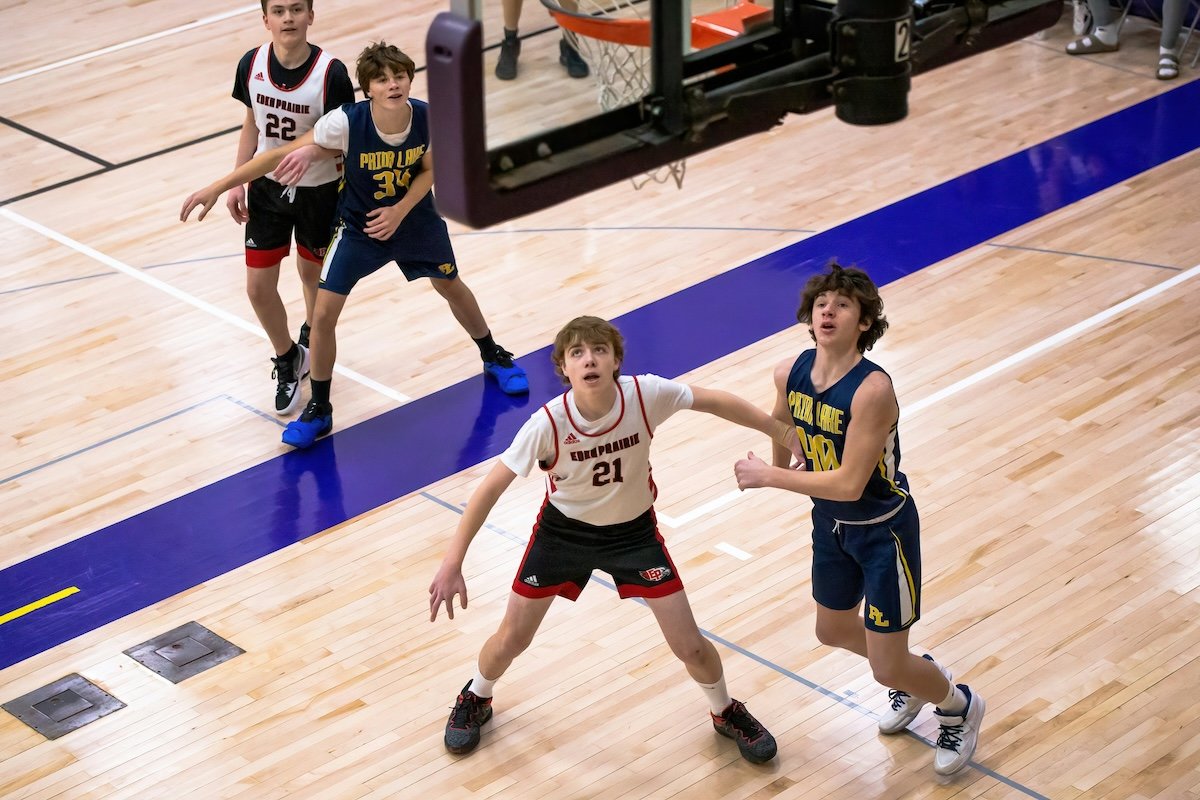
And finally, when you’re shooting basketball photography, be sure to fill the frame with the players. Capture their facial expressions. Documenting the emotions in a game is a crucial aspect of sports photography.
Conclusion: Basketball Photography
Be sure to take a few test shots before the game starts. You can check how sharp your images are beforehand and make any necessary adjustments to your camera settings.
Basketball photography is one of the most exciting sports to shoot. With these ten tips, you’ll be sure to take dynamic and sharp action photos the next time you shoot a basketball game.
- Learn to use every tool for quick, professional edits.
- Discover seamless subject selection with a single click.
- Unlock hidden details in photos with our unique method.
