How to Make a DIY Light Box (Three Different Easy Methods) Have you ever wondered how people shoot those fantastic product shots in catalogs or online stores? Professional photographers usually use a light box to create an…
How to Transfer Photos to Wood (Two Easy Methods) Learning how to transfer photos to wood is a unique and simple way to display your photographs. It is one of the easiest yet most…
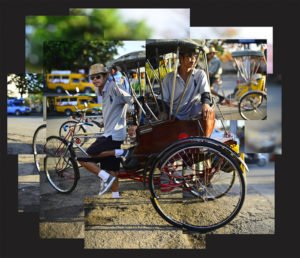
What is a Photomontage (And How to Make One) Imagine a progression of time visible in a single photographic artwork. Visualise a picture depicting various points of view on one flat surface. Welcome to…
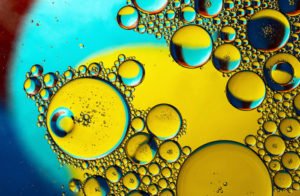
How to Create Abstract Oil and Water Photography Oil and water photography is a beautiful and unique way to capture the world around you. By mixing two seemingly incompatible elements together, you can…
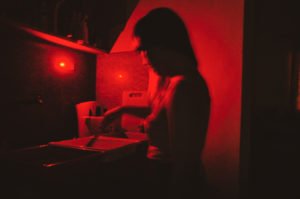
How to Best Build Your Own DIY Darkroom for Film Photography Are you into film photography and wish you had a darkroom? What if we told you you only need a bathroom (or any room with…
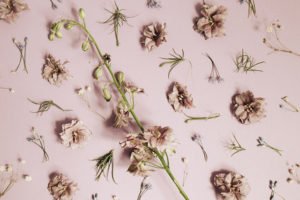
21 Awesome DIY Photo Backdrop Ideas You Should Try Today Are you tired of the same old photos with a white backdrop? A colorful background can make your photos pop and save them from looking…
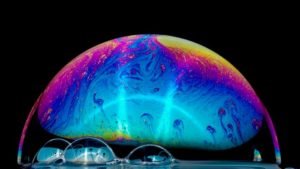
How to Shoot Beautiful Soap Bubble Photography (9 Steps) Soap bubbles aren't just fun to play with. They're also quite visually engaging. Have you always wanted to photograph their soapy psychedelic swirls? We'll show…
How to Build a DIY Softbox (Cheap or Free in 6 Easy Steps!) If you're looking for a way to improve your photography skills, consider building a DIY softbox. A softbox is a great way to soften the…
How to Easily Transfer Photographs to Fabric (Photo Transfer) I always encourage people to do more with their photos than keeping them on the computer. In this article, I will show you a simple…
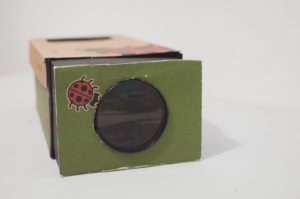
How to Make a Cheap DIY Smartphone Projector (Step by Step) Making your own homemade smartphone projector is a fun project that you can do with all the family. You will learn about how optics work…
How to Make Your Own DIY Backdrop Stand A DIY backdrop stand can let you take creative photos of people and products in the comfort of your own home. Photo backdrop stands are…
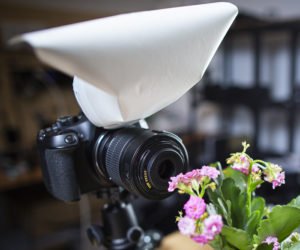
How to Make an Easy DIY Flash Diffuser for Macro Photography Flash diffusers are a game changer in almost any lighting situation. They add depth, softness, and definition to the light. They can also take your…