As a wedding photographer, you know that the best photos always come from capturing genuine moments between the bride and groom and their loved ones. But what about when it comes to photographing the groomsmen? Here are 27 cool groomsmen photo ideas to help you capture some great shots on their big day.
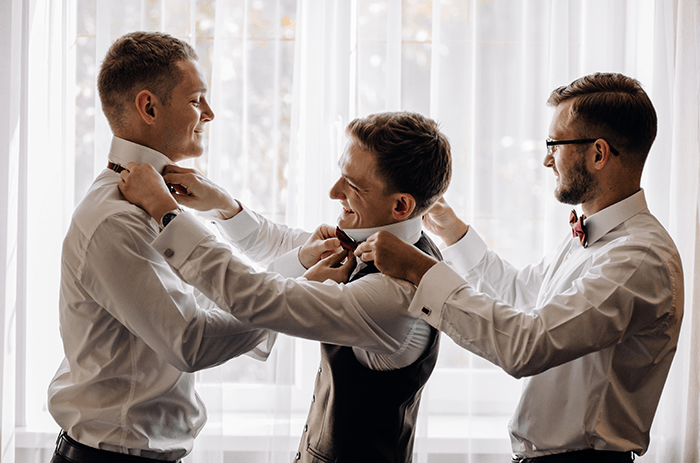
1. Groomsmen Photo Ideas: Getting Ready
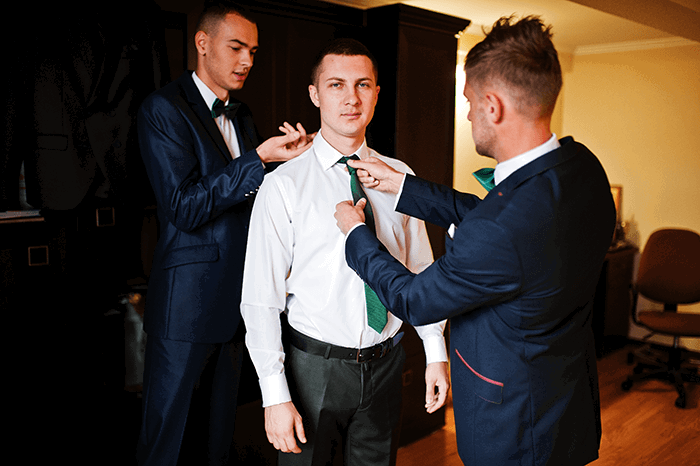
The groom and groomsmen getting ready will provide ample opportunity for candid shots. The classic picture shows the groom getting help with his tie or having his waistcoat buckle adjusted. Photos in the mirror can create intimacy and help frame those in the background while the man of the moment makes his final adjustments.
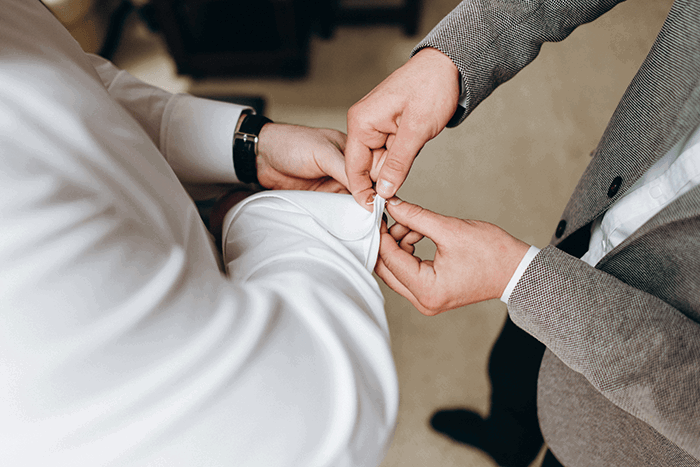
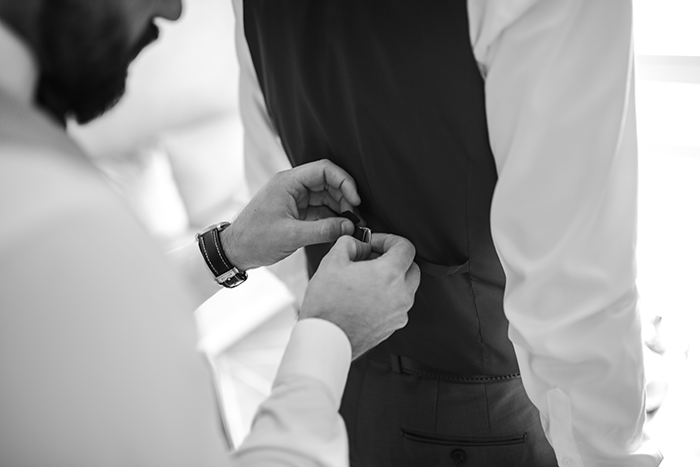
Checking Cufflinks
This will happen about 1,000 more times throughout the day, so do not panic if you don’t nail it here.
Mirror Shots
Black and white works well here. It will give a behind-the-scenes-before-the-big-show feeling.
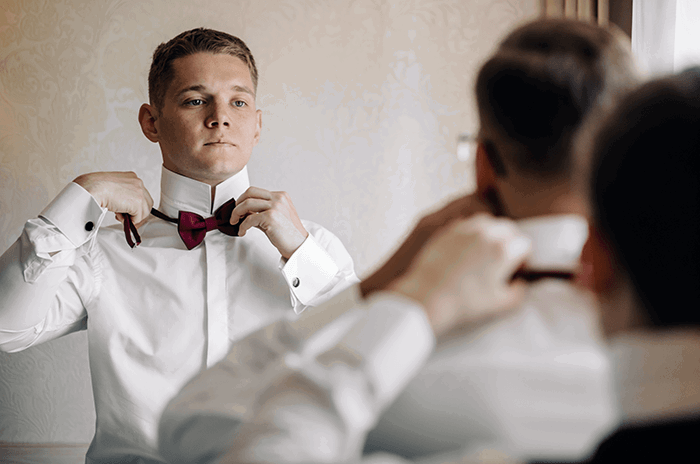
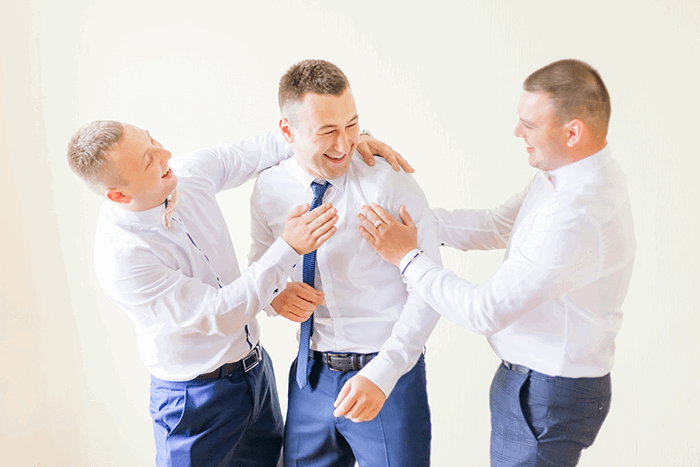
Tie the Tie
A great way to capture an emotional moment, with family members taking pride in the groom’s appearance for his special day.
Waistcoat Adjustment
Everyone adjusts each other, making a conga line of buckle adjusting.
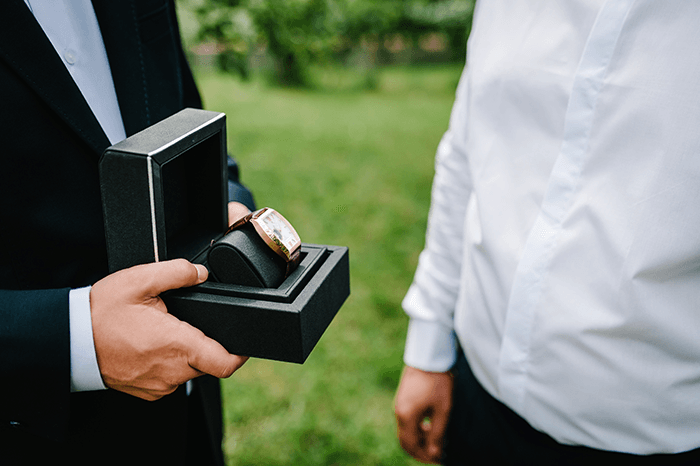
Giving of Gifts
Wedding day tradition sees the groom giving gifts to his groomsmen. These could be something worn or tucked in an inside pocket for drinking later in the day. Either way, it is a moment of sharing that every wedding photographer should try and catch.
Ready Shot
The groom looking resplendent in his wedding suit.
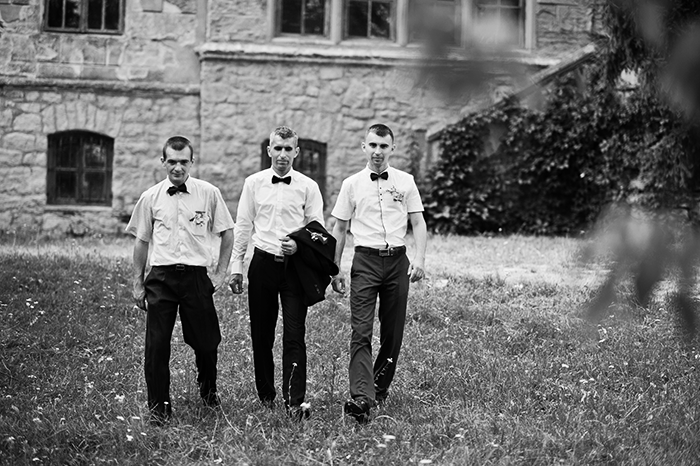
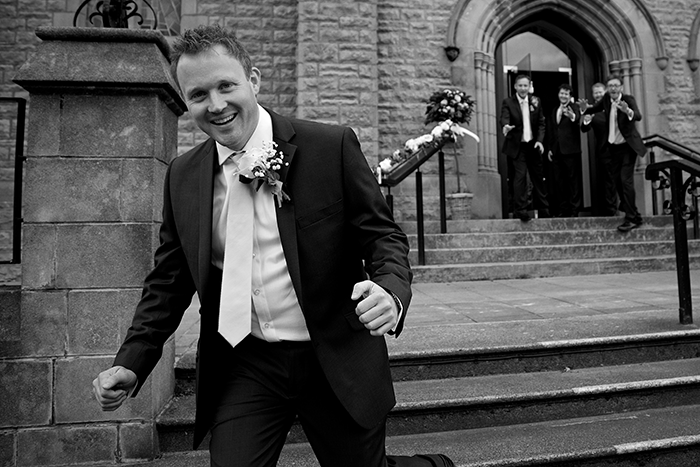
2. The Walk
The journey from the grooming station to the venue can also provide ample opportunity for nice groomsmen photos. Think of the famous shot from Reservoir Dogs—the slow-motion walk at the beginning. Get low to emphasise gravitas and have the group walk towards you.
Reservoir Dogs
It helps if you sing the tune.
Beatles Crosswalk Shot
Don’t stop traffic to shoot in the street, but a profile view of the groomsmen walking in a line can be a great way to show personality. If there are lots of them, you may need to shoot panoramic to achieve this.
Moonwalk
Even if it makes for a terrible shot, the set-up will allow some fantastic candid photography of the groomsmen trying to moonwalk.
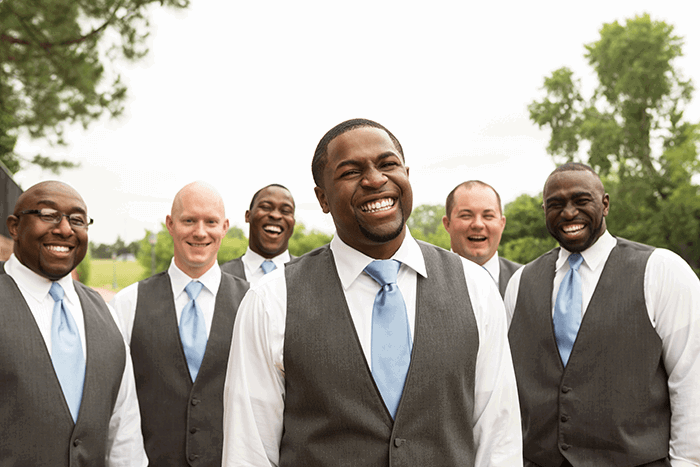
3. Pose The Group
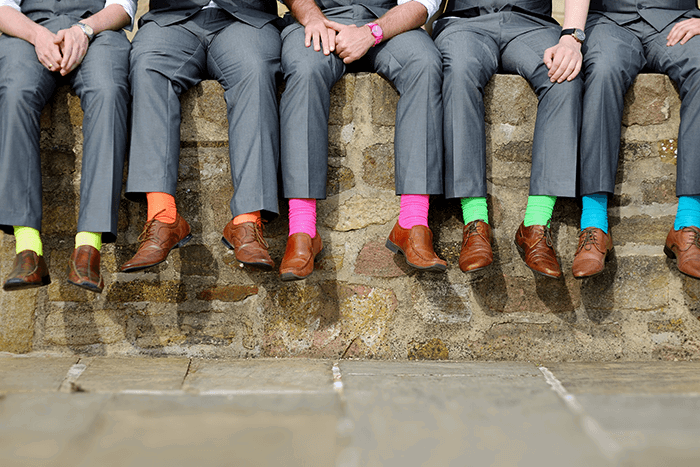
Have the guys show off their matching groomsmen attire—be it colorful socks, superhero cufflinks or matching buttonholes. This is where you can have some fun with your surroundings—use windows, hay bails, climbing frames, whatever you can find to get that quirky group shot.
Recreate the Groom’s Favourite Album Cover
Asking the group to pose like an album cover is an interesting one. It depends on what sort of music they are into as some covers are easier to recreate than others.
Showing Matching Socks/Superhero Vests
At an older wedding, it may be matching tie clips. Finding a common thread in the outfit makes for a unifying pose that sets itself up as everyone presents the matching item.
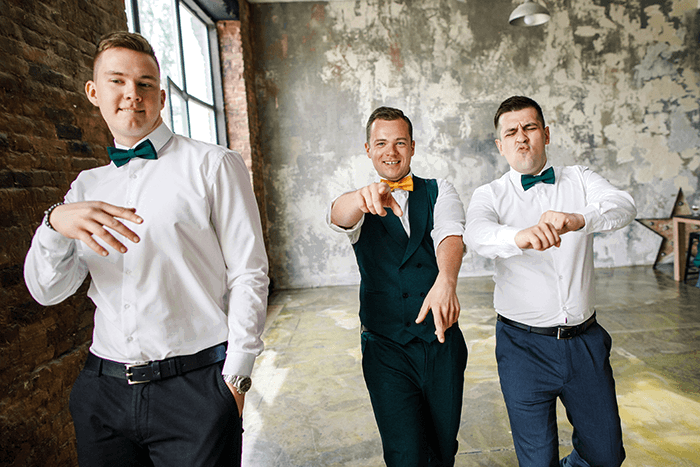
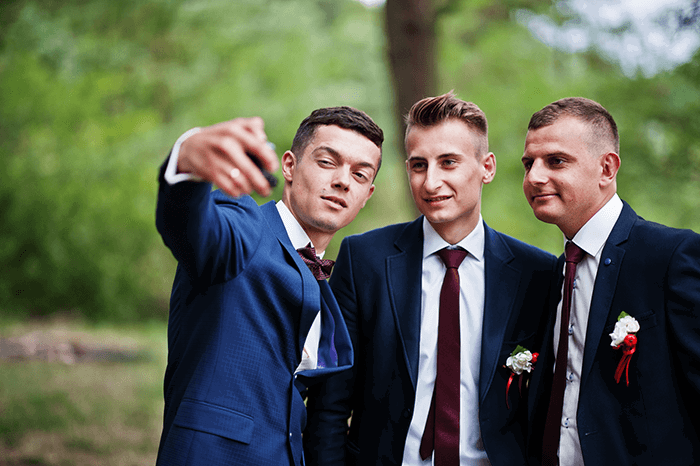
Selfie Shot
It’s that time on the wedding day that needs to be posted on social media. Capturing the group taking a selfie shows the connection between the groom and groomsmen.
Super Hero Pose
Shoot from low down and have everyone look off-camera except the groom.
Beatles Help Album Cover
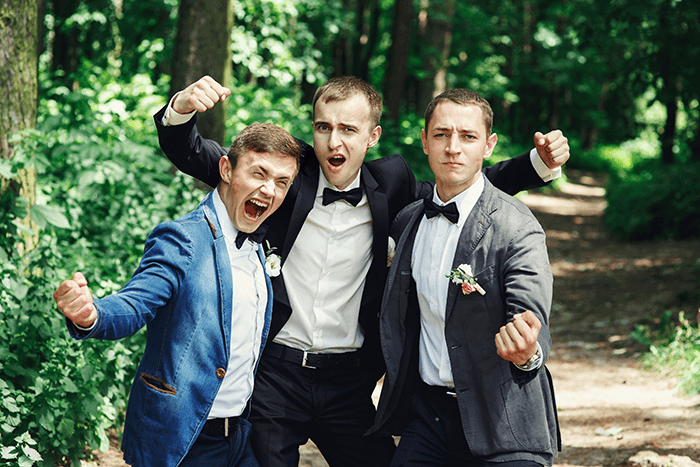
This one is like a party game. Have the group all strike a different pose every shot. No two poses can be the same. Don’t give them much time to think between shots as a rapid-fire pose session will undoubtedly end in…
Group Laughing
This is bound to happen several times throughout the morning. Pick the best shot for the wedding album.
4. Take Formation Photographs
Now everyone is super relaxed and enjoying having their picture taken, you can pose more traditional wedding photos. Unify what people do with their hands for a more formal look. You can also mix it up a bit with hands in pockets, holding lapels/braces, props, adjusting cufflinks, or glasses.
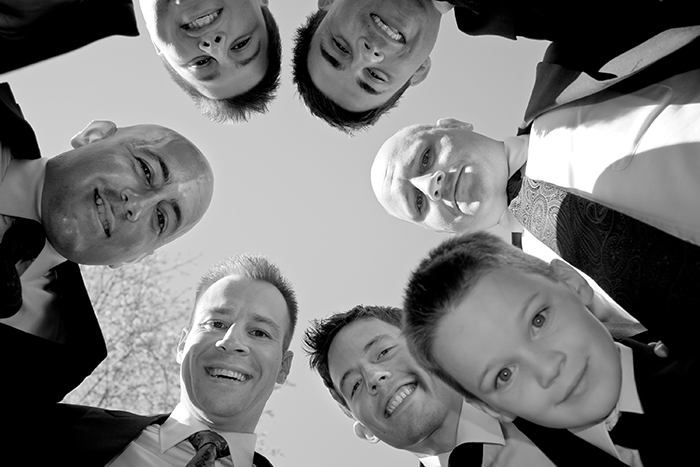
Horseshoe
Groom dead center with the groomsmen forming a semicircle behind him. Have them all look down the lens or have the group look at the groom.
Arrow Formation
Groom front and center again, this time with straight lines of groomsmen forming an arrow. This works well if you are shooting from above or standing on steps or a slope.
![]()
Split View
Stand the groom to one side of the frame, have the gang of groomsmen back out of focus on the other. You could have the groom running and the groomsmen going after him.
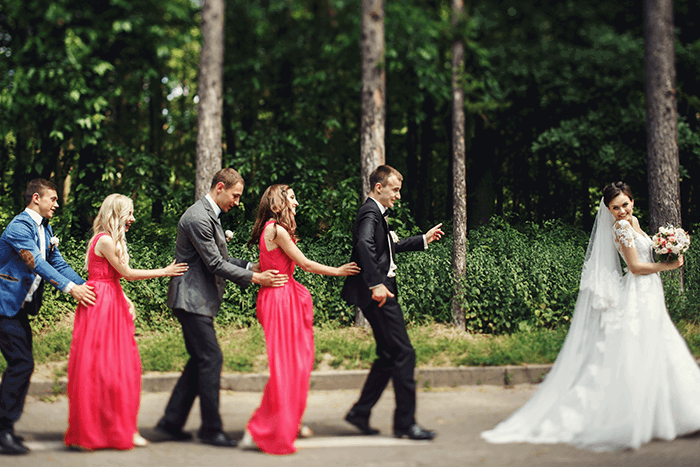
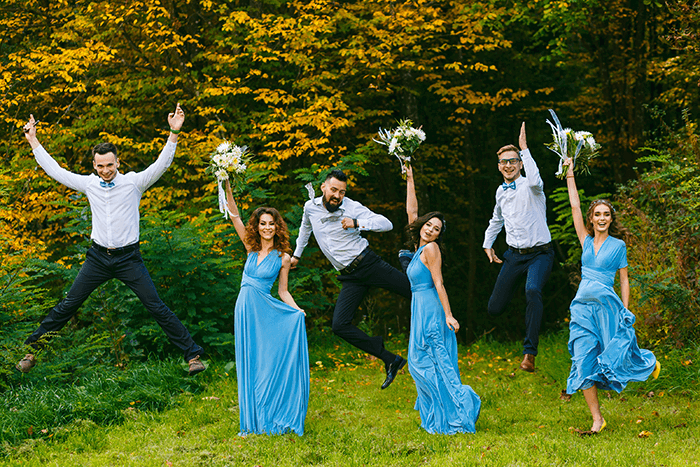
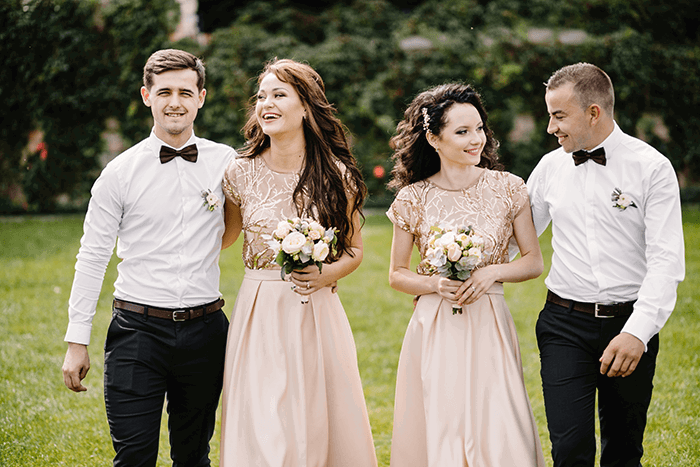
With Bridesmaids
Always nice to get the bridesmaids and groomsmen together. Try the formations above. If appropriate, stand them in couples.
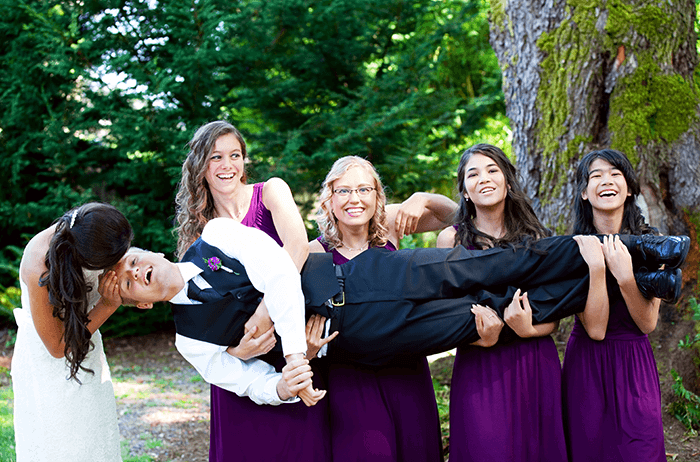
Carry the Groom
Getting the bridesmaids to hold the groom in the air can take some doing, but the result will be worth it. Just don’t let them drop him before the ceremony.
5. Change Your Viewpoint
Creating creative groomsmen pictures is all about changing the way you are looking at the wedding. Rather than thinking only about moving your groomsmen around, try and change how you are shooting them instead.
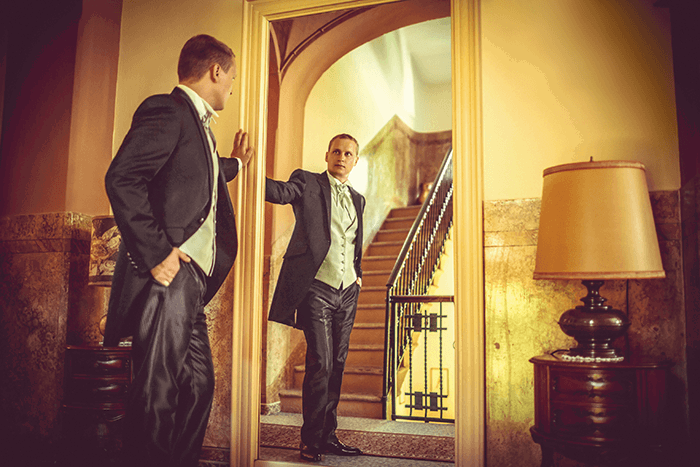
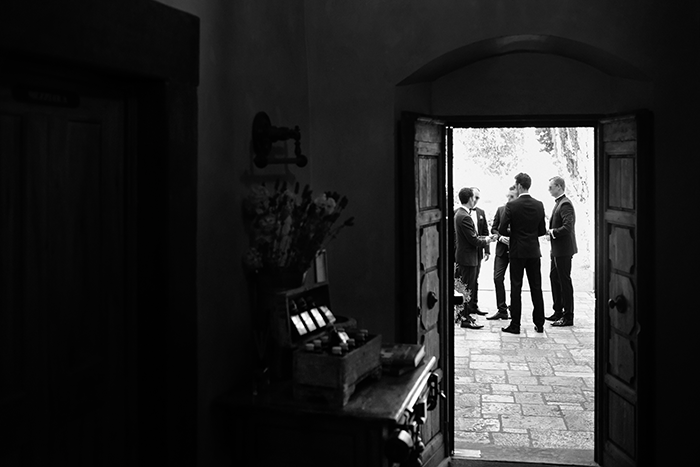
Use Your Surroundings
Use stairs, either to pose your groomsmen or to get a high vantage point. Shoot the group from a first-floor window or frame them through a doorway. Making a point of changing your viewpoint will make you think more about your framing and can help you capture that unique shot.
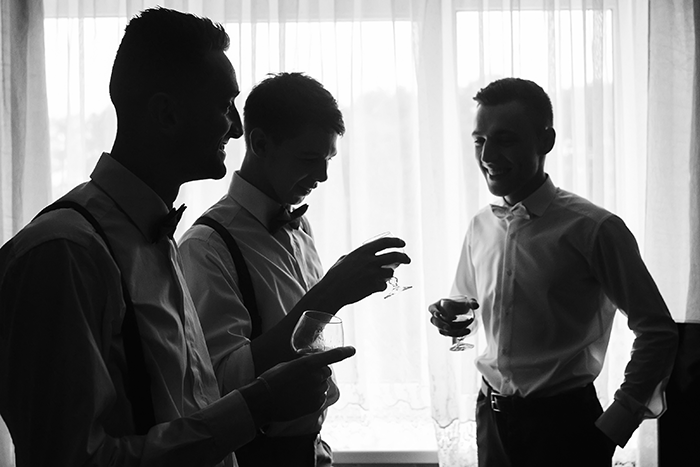
Backlight for Dramatic Effect
Wireless flash is a must-have piece of kit for your camera bag. Otherwise, frame your subject against a window for a cool silhouette.
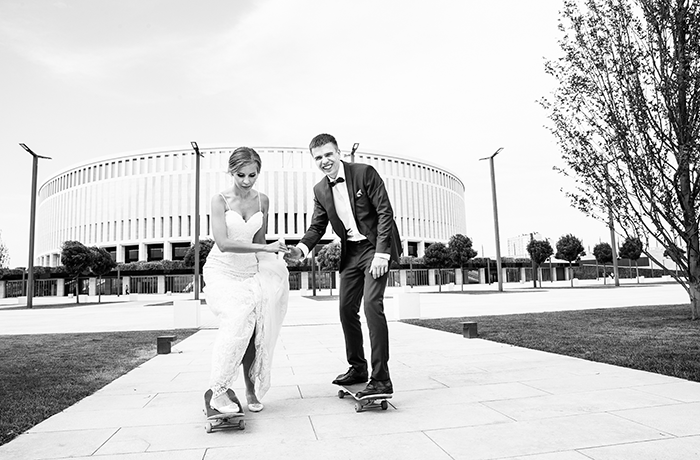
Include Interests
Find out what the groom and friends are into, and incorporate it into your shots.
6. Shoot Wedding Party Individuals
Having a zoom lens or second body can be handy to get those close-ups whilst shooting the group. If you have time, shoot some groomsmen photos individually. After all, everyone wants a new profile picture for social media, and having it link back to you can only be a good thing.
Portraits
For individuals, pairs or small groups, have them all look at the ground, then on the count of three, look up and give you their best model face. Call out emotions and then capture the laughter as they try and look quizzical, alluring, hungry, etc.

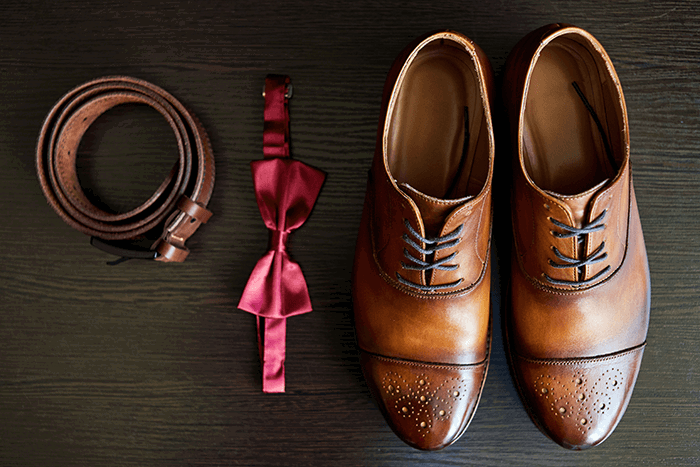
Details
It is the culmination of little things that make the big day. With that in mind, make sure you get close up shots of the flowers, buckles, tartan, cufflinks and any personalised items or gifts.
Conclusion
Use the groomsmen photo ideas above to keep the creative energy flowing on your big wedding day shoot. Remember, you are there to guide the wedding party. But it is letting the emotion and personality show that makes genuinely great wedding photos.
Learn the fastest way to launch a highly profitable portrait photography business with our Profit from Portraits course!