Abstract flower photography is a style that doesn’t reveal everything. It demands a closer look to be understood.
Abstract flowers are fun to create. They can help you take astounding photos using simple tools.
Benefits of Practicing Abstract Flower Photography
There are different kinds of abstract photography that appeal to a great variety of photographers.
But why are abstract flowers so popular? And why should you start with them?
Flowers can be found anywhere and all have unique designs. You can experiment with different kinds of flowers in one day. All without spending a lot of money or traveling the world.
At the end of your photoshoot, you’ll have colorful results that you can proudly share with others.
Once you master the art of abstract flower photography, you’ll be able to adapt to any lighting or setting.
These are the main reasons that make this sub-genre so appealing.
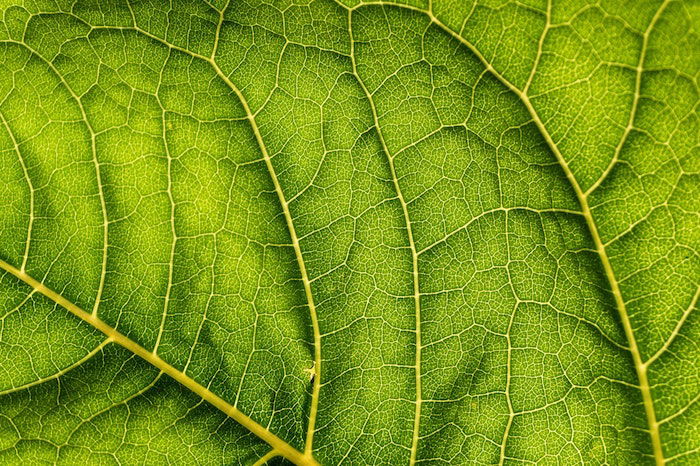
Use a Macro Lens to Capture as Many Details as Possible
It’s possible to take abstract photos with wide-angle or prime lenses. But you might find it easier to use a macro lens instead.
There are no specific requirements for macro lenses when it comes to this genre.
As long as you have a macro lens, you can take gorgeous abstract photos of any flower.
Or Use Any Other Lens and Crop Your Photos
If you’re eager to take photos right now but don’t have a macro lens, you can still take stunning abstract photos.
Once your photos are ready, all you have to do is crop them.
During your shoot, keep cropping in mind. Get as close to your subject as your lens allows so that you don’t have to crop too much.
If you take a wide photo and crop it dramatically, you’ll be left with a low-quality image.
Also, if you’re using a wide-angle lens, keep your flower centered so that it doesn’t get distorted at the edges.
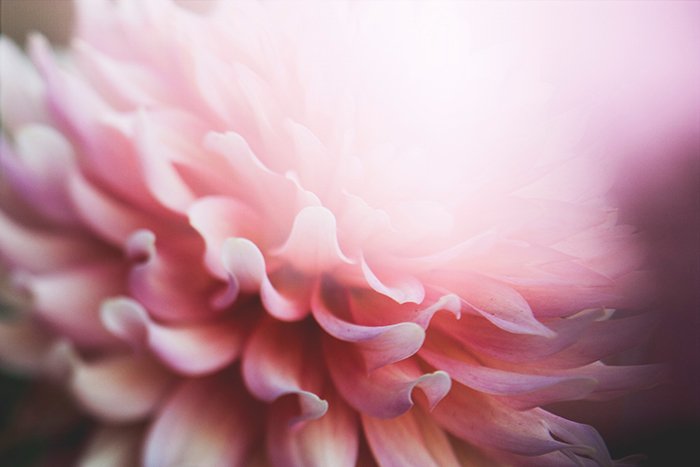
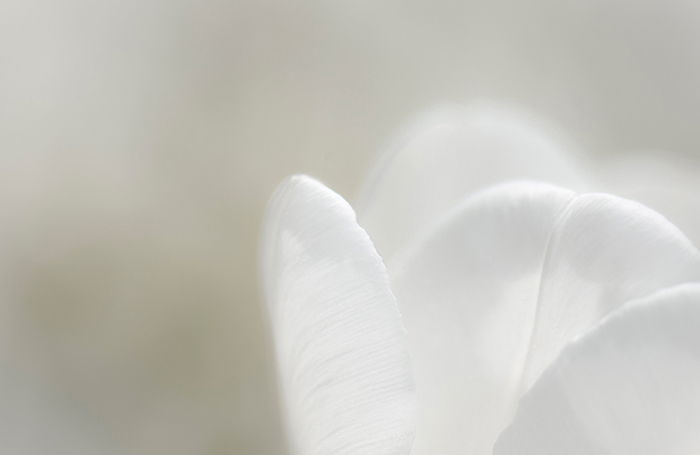
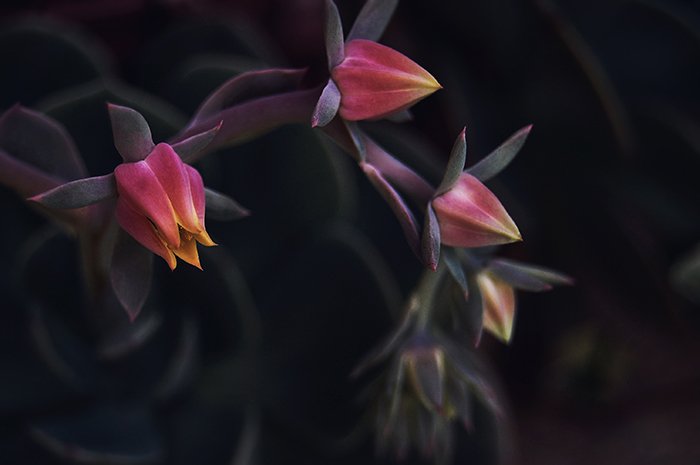
Use a Large Aperture to Focus on Specific Parts of a Flower
The photo above wouldn’t look abstract if the background were visible.
Background distractions can make it easier for people to understand what’s going on in a photo.
To avoid this, use a large aperture, or a small f-number, such as f/2.5.
A small f-number will let you focus on one specific thing and blur out everything else beyond your subject.
You can take this further by placing petals or branches right in front of your lens. It will create a blurred foreground.
Experiment with Different Angles to Find Your Style
Angles are everything. An unusual angle will make your flower look even more abstract.
If you shoot from a very low angle, you’ll be able to capture parts of a flower that is usually not seen in other photos.
On the other hand, a commonly used angle will result in dull photos. It won’t challenge you to get out of your comfort zone.
There are no unflattering angles in flower photography. So feel free to experiment as much as you want.
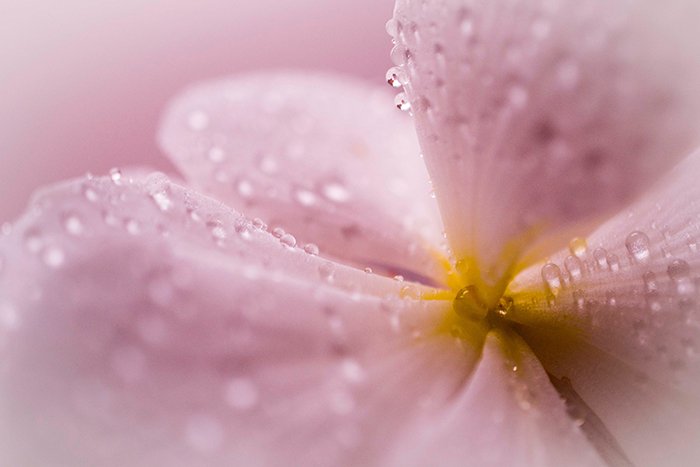
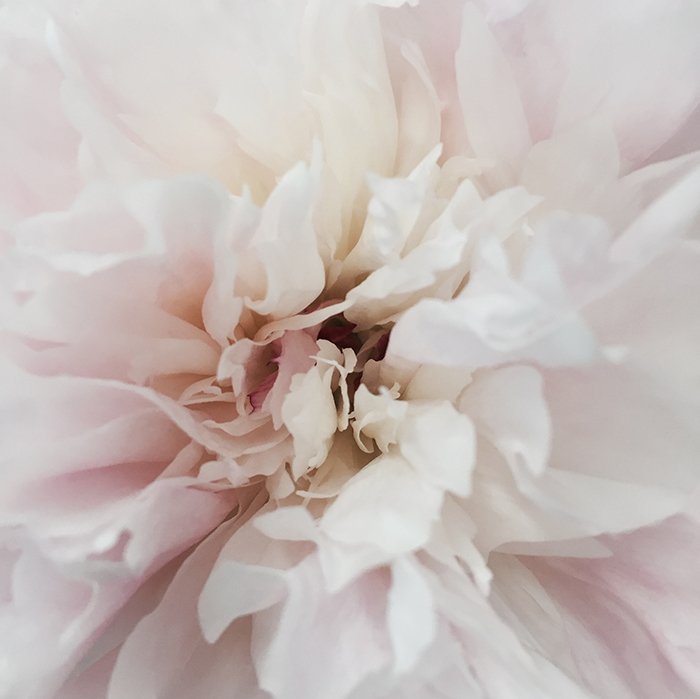
Use Both Natural and Artificial Light to Create Unique Abstract Photos
Abstract images of flowers are often very delicate and bright. To re-create this effect, take photos next to a large window.
You can remove unwanted shadows using a reflector.
If you want to try something completely different, work with colored artificial light.
Harsh light and vibrant colors are unusual for this genre. But they can make your photos stand out.
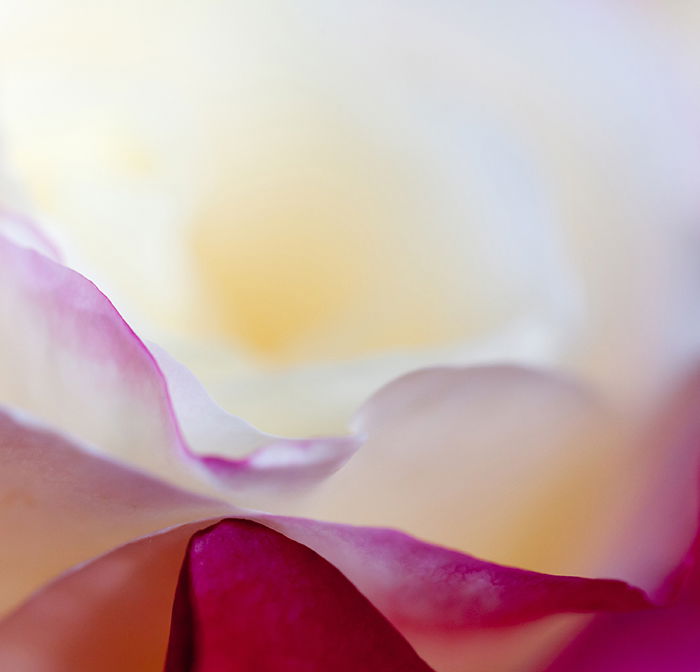
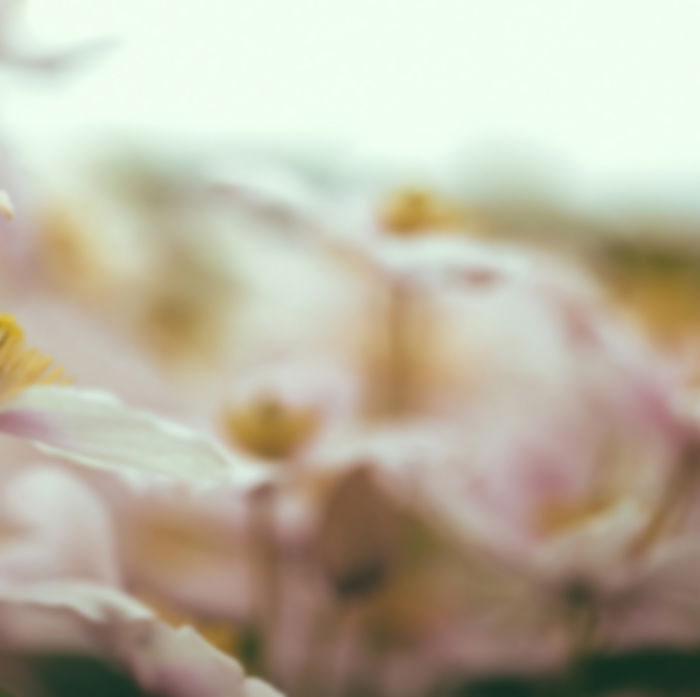
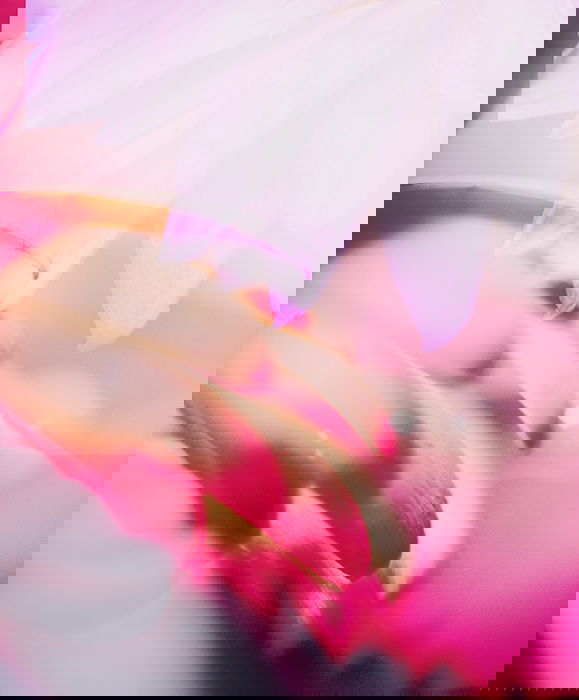
Blur Your Photos on Purpose to Create a Painterly Effect
Blurring your photos on purpose is a great way to sharpen your manual focusing skills.
Many photographers take blurred photos to make their subjects completely unrecognizable.
To understand what’s going on in the photo above, you have to analyze it very carefully. You might even mistake it for an abstract painting!
The painterly effect is prominent in this genre thanks to its dreaminess. The soft, blurred colors create a nostalgic feel.
To re-create it, all you have to do is switch to manual focus and focus away from your subject.
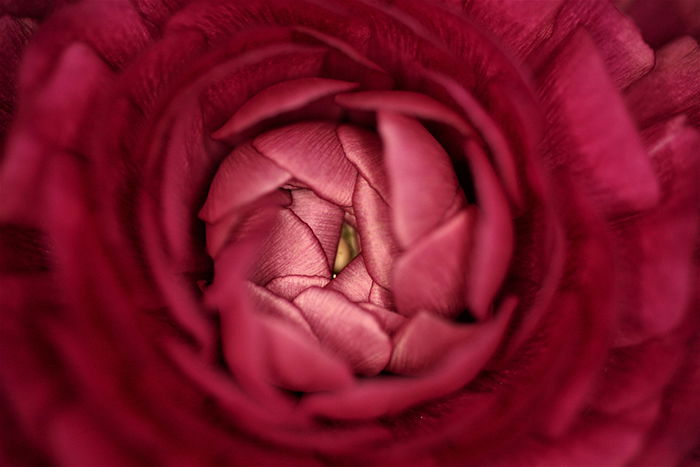
If You Want Something Moodier, Shoot in Front of a Black Background
Abstract photography doesn’t always involve blur and cropped compositions.
Sometimes, a specific atmosphere can make a harmless flower look like a moody character in a film.
To create this atmosphere, shoot in front of a dark backdrop. You can use natural side light to add depth to the flowers.
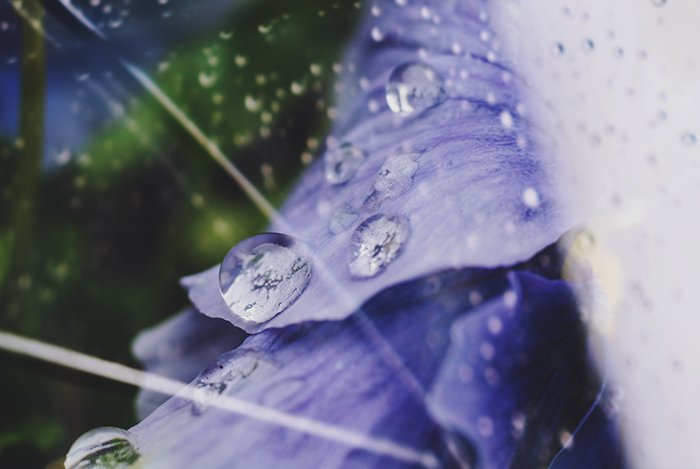
Shoot in Front of a Window to Create Stunning Reflections
If you want to add texture to your abstract photos, you can use a variety of things you already own.
Put your flower behind a window or a piece of glass. Use an angle that creates a decent amount of reflections.
Avoid standing in front of the window unless you want to be included in the reflection.
To add even more depth and textures, you can spray the glass with water. This will create bokeh-like patterns in the foreground.
You can also paint the glass to make your photos look more vibrant.
Create In-Camera Double Exposures for Perfect Abstract Art
Some cameras, like the Canon 5D Mark III, have a double exposure feature that you can use to combine two photos.
This is inspired by multiple exposures in analog photography.
A combination of two macro photos can make it difficult to understand what’s going on in a photo. That is your goal.
You can also use double exposures to enhance dull compositions and fill up negative space.
If your camera doesn’t support this feature, you can create multiple exposures in your editing program using layers and Screen mode.
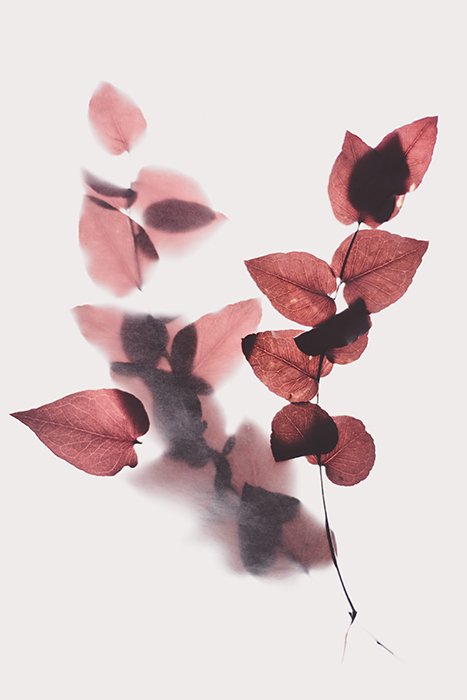
Shoot Through Transparent Fabric to Create Otherworldly Silhouettes
If you have any kind of transparent material, be it a curtain or a thin sheet of paper, you can use this idea.
Start by placing a few flowers on something transparent. Your aim is to shoot through the material. Make sure you place it in a way that gives you enough room to move around.
Create backlight (light shining behind your subject) using natural light or bright artificial light, like a torch.
Transparency and backlight will create a soft silhouette.
Conclusion
The term ‘abstract flowers’ might seem like an intimidating genre.
In reality, it’s something anyone can enjoy whenever you want regardless of budget and equipment.