Photography for kids isn’t quite the same as photography for adults. Chances are, adults already have an idea of what a good photograph is supposed to look like. This sets the bar high from the start when teaching them.
But kids? Kids are naturally curious and expressive. They don’t yet have creativity-squashing rules in their minds. So, teaching photography to kids is less about giving them rules and more about allowing their creativity to blossom.
You might want to create formal photography classes for kids or teach your child the joys of photography. Either way, if you teach a child photography, their curiosity and creativity will skyrocket!
- Learn to effortlessly set up your camera for any situation.
- Master the art of selecting the perfect exposure every time.
- Discover 10 composition rules that elevate your photos instantly.
Photography for Kids: 15 Valuable Lessons
Here are 15 valuable photography lessons for kids. You don’t have to teach them all these lessons at once. You can bookmark this post and choose a subject to cover whenever you take pictures with them.
1. Choosing a Subject
A photo’s subject is one of photography’s most basic and essential details. Most kids understand, even innately, that a photo should have an object or person in it.
Talk to them about what’s in the photograph and what is most important in the photo. Introduce the term “subject” and ask them to think of other ways to photograph that same subject.
2. How to Compose a Photo
By default, most kids tend to center everything in the photo. Some kids place subjects so far off the edge of the image that the object or person is cut off entirely!
Start teaching kids composition by introducing the idea of placing subjects elsewhere in the photo. You can introduce this idea by taking your own photos of the same subject with a different composition.
Another popular photography exercise for kids is to give them a picture frame with no glass or back. Ask them to “frame” objects around the house in different ways. This photography exercise doesn’t even need a camera!
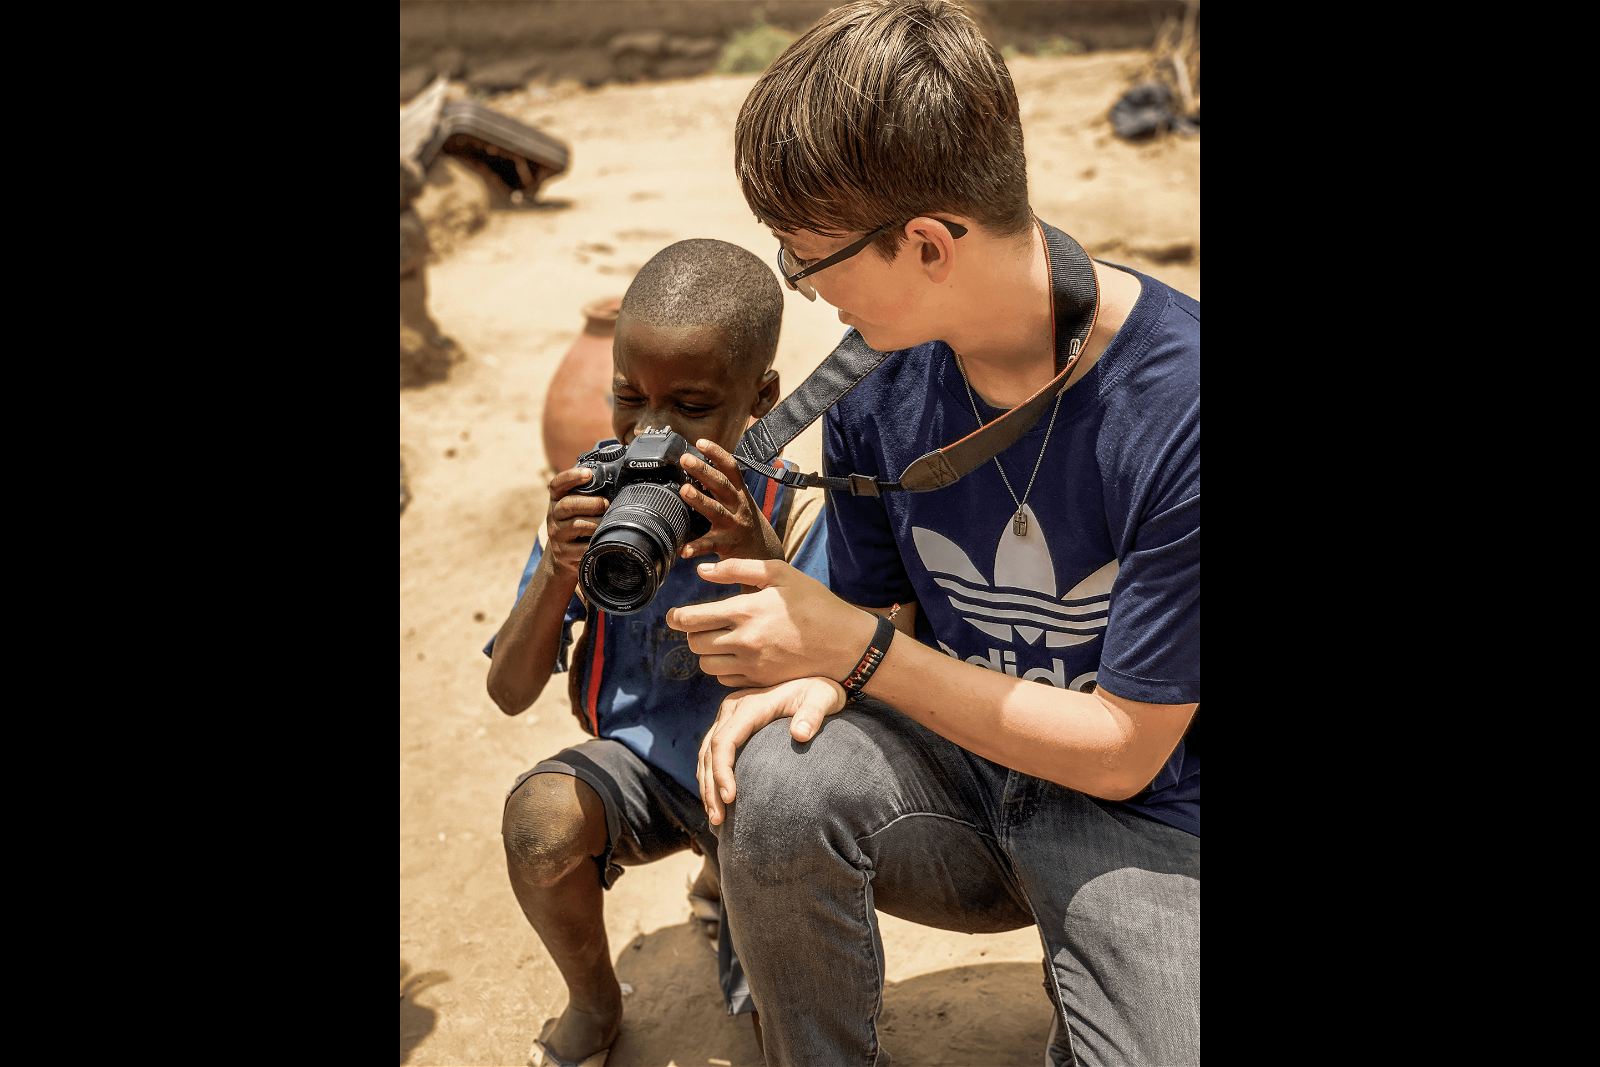
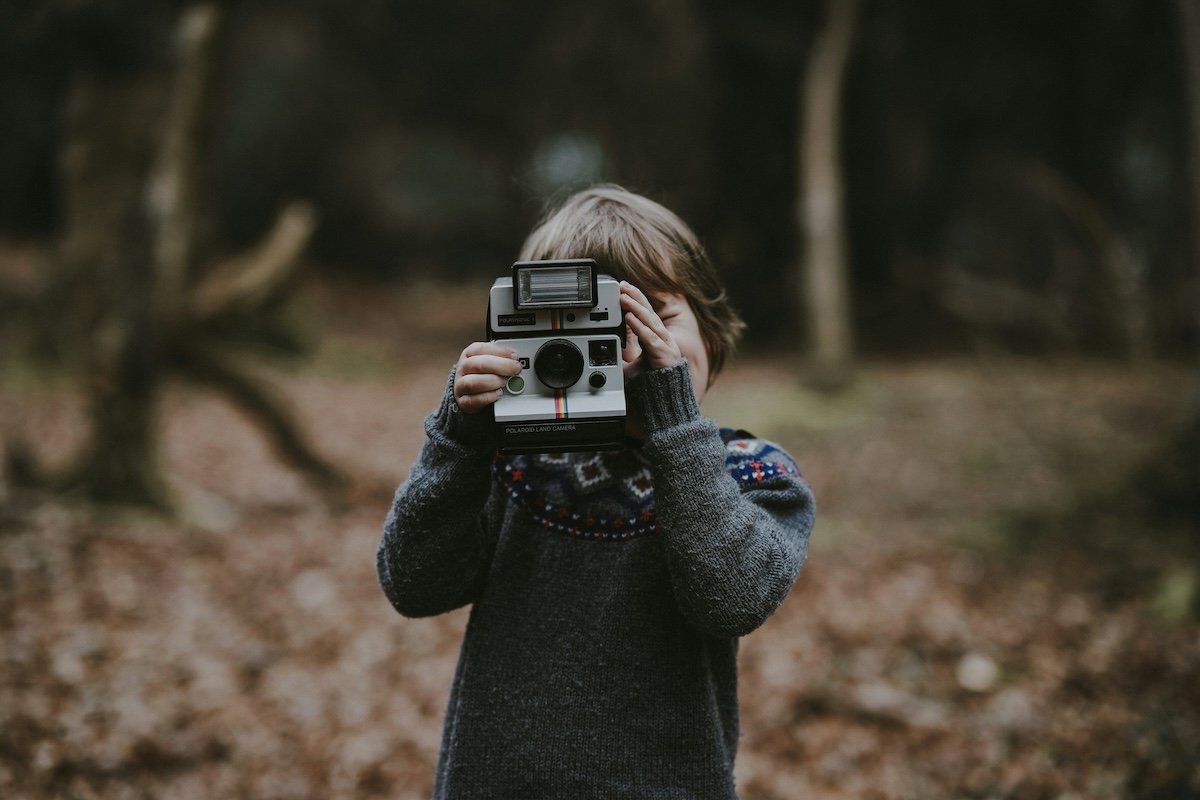
3. How to Hold a Camera
Holding a camera isn’t just about grabbing it in whatever way is comfortable. A proper grip helps reduce camera shake while allowing easy access to the rest of the camera’s controls.
Teach kids to wrap their bottom three fingers around the camera grip. Then, have them place their index finger on the shutter button and their thumb at the back. With larger cameras, their left hand should go under the lens to help support that weight.
4. How to Focus
When you first give a child a camera, they will use the auto area autofocus (AF) mode. As kids build a basic grasp of photography, show them single-point AF mode (if their camera has one). They can select where the camera focuses using the arrow keys on the back of the camera.
For an exercise, place two objects on a table, one close to the camera and one farther away. Have them move the focal point over one, then the other, refocusing each time. This is a great way to introduce how focus varies based on distance.
5. Camera Modes and Settings
Before teaching a child about exposure, explain the camera modes for different types of photography. Show them Sports mode for action shots and Macro mode for close-ups.
Show them how to change the camera mode and what each mode is best for. This will help build a foundation for learning about exposure.
Exposure
Kids with a firm grasp of basic photography concepts can start to learn about exposure. Don’t dive straight into Manual mode. This is overwhelming, even for adults. Teach one aspect of exposure at a time. Use simple language and lots of practice.
Shutter Speed
A visual aid may help teach kids shutter speed. Show a YouTube video of a camera shutter at work. Explain how the shutter is a door that opens to take the picture, and anything that moves while that door is open will blur.
Find a moving object, like the family dog or a fan. To show this, take a photo with a fast and a slow shutter speed. Encourage practice using shutter priority mode.
Aperture
Visuals are helpful here, too. Go outside on or before a rainy day with a narrow glass and a wide bucket. Ask them which one they think will collect more rain. Then, wait and see if they’re right. Explain that, like a wider bucket gathers more water, a wider aperture gathers more light.
You can then better introduce the concept of depth of field. Ask them to take a photo at a wide aperture and then the same photo at a narrow aperture. Compare how the background in the two images looks.
6. Experimenting With a Camera
Most photographers—at any age—learn through experimenting. And with digital or instant photography, there are few consequences for kids trying something one way and then another.
Kids who learn by experimenting often remember information better than verbal instruction alone. And with digital cameras, no film is wasted. You can delete an image with a few clicks. So, encourage kids to try multiple ways to take a photo.
Giving them an object to photograph is a great exercise to encourage kids to explore with their cameras. Ask them to take ten different photos of that object.
If they get stuck, help them brainstorm other options. These might be changing the point of view, moving the object to a new location, or adjusting the camera settings.
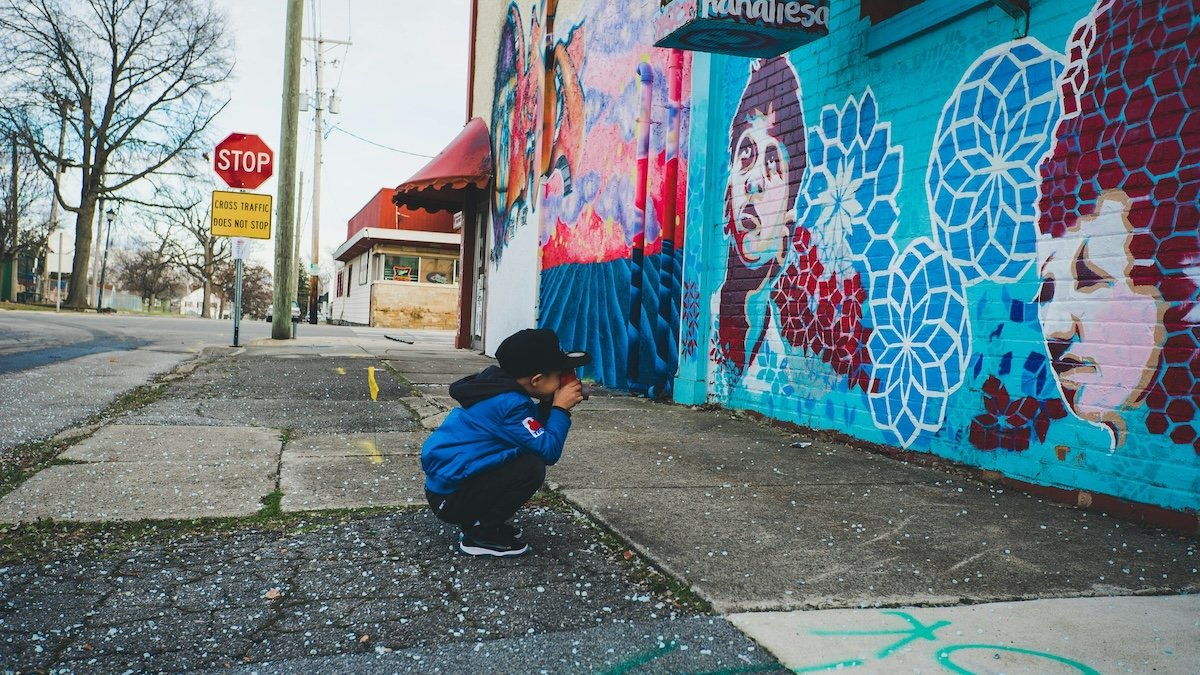
7. Changing Perspective
Photography is a way of seeing. A camera helps young photographers show others their unique viewpoints. So, offer tips on perspective when teaching photography to kids. This is especially helpful if they only photograph everything at eye level.
Encourage them to shoot while lying on the ground or standing on tiptoes. Suggest they take a picture of their subject from another angle, like above or below.
8. Zooming In
Changing camera angles isn’t the only way to adjust perspective. Getting closer or farther away from the subject is another way to change perspective.
So, teach your child to use the camera’s zoom to make objects closer or farther away. Then, ensure kids know they can zoom with their feet, too!
While teaching how to zoom, encourage them to explore macro photography. You can show them how to turn on a camera’s macro mode.
A fun exercise in macro photography is to ask them to take pictures of objects up close. Then, have them show you their photos and see if you can guess what those objects are.
9. Having an Eye for Detail
An eye for detail is a great thing to have as a photographer. Encourage them to slow down before they take the picture.
Are they holding the camera straight? Is the subject crooked? Is there a random, distracting object in the photo that could be removed? This is a good time to teach young photographers to look for distractions in the background, too.
Make suggestions on looking for distracting objects that could be removed by adjusting the perspective and zoom. Help them see awkward background placement, like a telephone pole sprouting from the subject’s head.
A great exercise to teach this is to try the opposite. Ask them to take funny pictures of their stuffed animal wearing funny “hats.” Have them position objects in the background that appear to pop from the stuffed animal’s head.
10. Being Creative
Children often have their drawings and artwork graded in today’s rigid academic schedule. Take a different approach to photography for kids. Let the child know that photography is about creativity and showing others how you see the world.
Encourage creativity, even if it means “breaking the rules.” Tell them what you love about the photo. Then, instead of telling them what you hate about the photo, encourage them by using “what ifs.”
For example, “What if you laid on your belly to photograph that flower instead of standing over it?” Or, “What if you placed the flower off to the side of the picture instead of in the center?” Rather than criticizing, help them see the possibilities!
11. Storytelling With Pictures
A good photograph tells a story. And it’s important to teach kids that it’s possible to do this with their photography.
Look over their photos and ask them to tell you a story about what’s going on in the photo. This exercise helps kids recognize that photographs tell a story or a narrative.
12. Setting a Daily Photo Challenge
This is particularly good if you’re on vacation, where every day can present a different challenge. One day, it could be door handles. The next day, street animals or sea shells.
The possibilities are endless, and the challenge helps your kids look for things deliberately. They then think about how to capture and present the subject interestingly.
You can expand the challenge on a day out. For instance, telling them, “Find five different chairs and photograph them,” could keep them busy all day. And they will always see the world around them with a photographer’s eye!
13. How to Care for a Camera
Simply owning a camera is a lesson in itself in responsibility. If you give a child a camera, teach them how to take care of it. If they know and appreciate the value of a camera, it might also save you some money in the long run!
Whether it’s a kid’s camera or a more advanced digital one, it’s important to teach them that cameras are fragile. This can also be a good time to review the parts of a camera and the basics of how it works.
Kids should be taught to use the neck strap to avoid accidentally dropping the camera. They should also be instructed to keep it in a camera case or a safe spot when not in use so it’s not damaged. It’s also a good idea to teach kids how to use a lens cloth to clean the lens.
14. Appreciating Photos as Art
Photography for kids can also build an appreciation of art in general. Besides encouraging kids to take photos, encourage them to look at photos too.
Go to an art museum and talk about the images or Google images of some of their favorite places or things. Discuss the images and why they like them or not. You can also discuss the photography terms or concepts you’ve already introduced.
15. Practicing Picture-Taking
If the kids you teach use digital cameras, little is wasted when practicing photography. Encourage children to take another shot to fix what they didn’t like the first time.
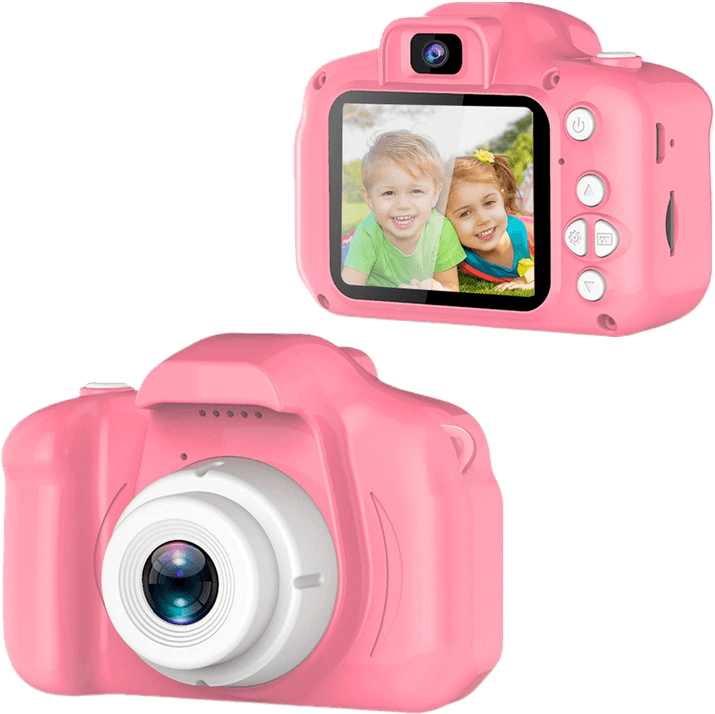
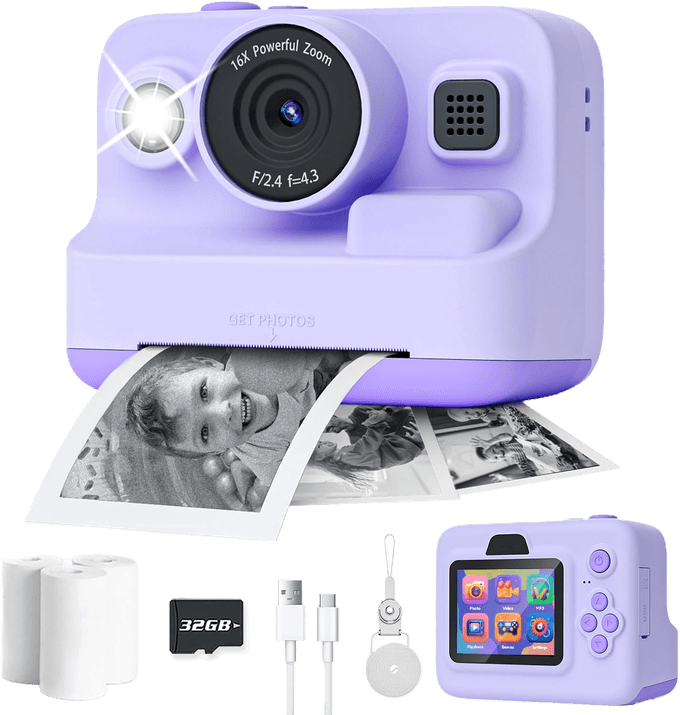
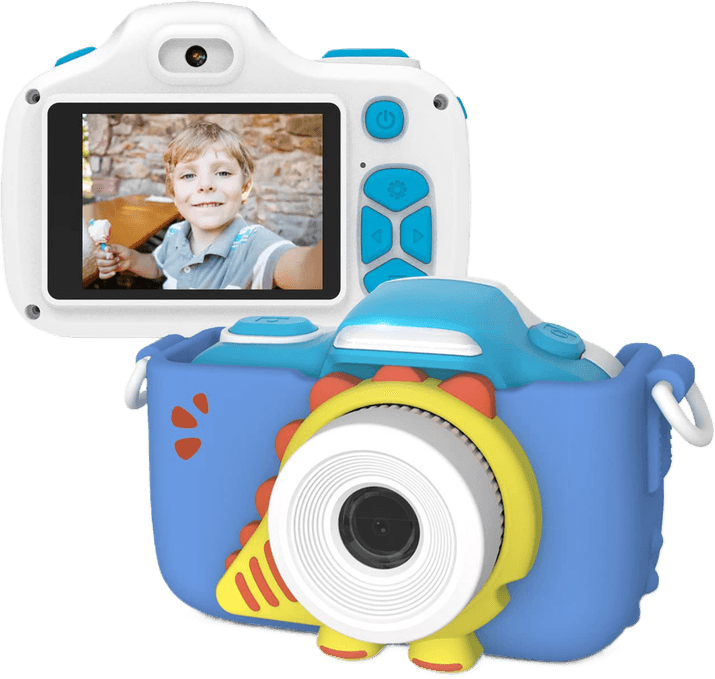
Cameras that kids can use without supervision are perfect. They should be inexpensive and not overly complicated. These include kid cameras or even instant or Polaroid cameras. Kids can practice with them anytime.
It’s best if they can take their camera places to photograph whatever inspires them as they go through their day. This makes picture-taking second nature to them.

Photography for Kids FAQs
These are common and frequently asked questions we get about photography for kids. We hope these answers help you better teach kids about photography.
How Do I Start Photography for Kids?
Start with simple, engaging activities like photo scavenger hunts or capturing what’s in your backyard. Emphasize fun and experimentation to ignite their interest.
What Is a Good Age to Start Photography?
Kids as young as five can grasp basic concepts. But at around 8 to 10 years old, they develop better motor skills and attention span for structured learning.
How Do I Teach My Child to Take Pictures?
Begin with the fundamentals—holding the camera steady, choosing and framing subjects. Encourage creativity and storytelling, guiding them to see the world through their lens.
Teaching older kids concepts such as camera modes and exposure is good. The biggest thing to remember when teaching photography to kids is to encourage them to be creative and show their view of the world.
What Are the Best Photography Classes for Kids?
We have recommendations for beginner photography classes online. These classes are geared toward adults, but you can use them as a reference to teach kids about photography.
Basic photography classes teach students how to use a camera, recognize a picture in a scene, and compose an image. Some common topics include exposure, shutter speed, aperture, ISO, focus, and editing software.
What Is the Best Beginner Camera for a Child?
The best beginner camera for a child is durable, easy to use, and offers different shooting modes. Waterproof cameras are great for kids because they’re hard to destroy.
An older child may do well with a used, beginner DSLR or cheap digital camera. You can also start kids with disposable cameras or instant cameras. Of course, many kids start with your smartphone’s camera or theirs. That’s fine, too, and it is a great learning opportunity.
Conclusion: Photography for Kids
Teaching children photography doesn’t just give them the skills to take a good photograph. Photography for kids exercises their creative muscles and encourages exploration. It builds valuable visual and critical thinking skills for later in life.
When teaching kids photography, start slow and use plenty of encouragement. Build on each skill, moving at whatever pace works best for the child’s skill level. Encourage practice with photography games and give them lots of time with a camera!
- Learn to effortlessly set up your camera for any situation.
- Master the art of selecting the perfect exposure every time.
- Discover 10 composition rules that elevate your photos instantly.